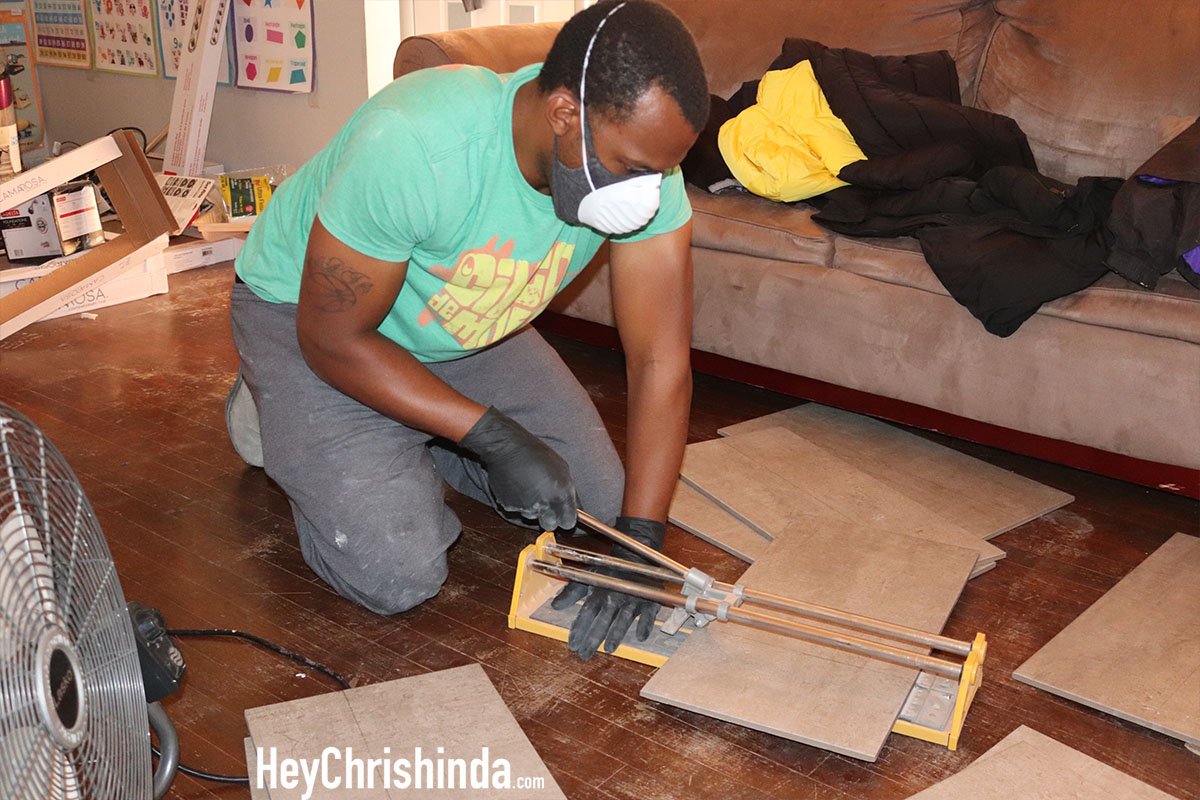
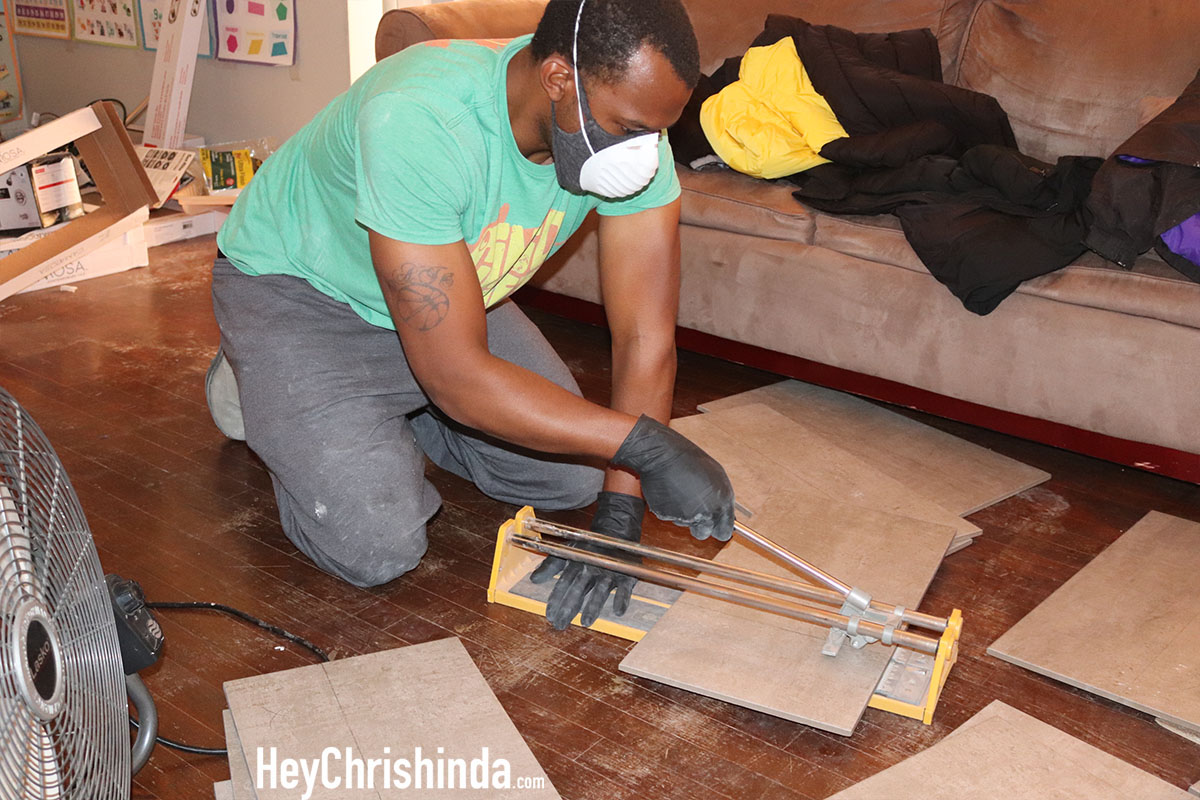
Can you tile over tile? The answer is yes! We did and it turned out great. You’d never know we didn’t rip out our old floors to install the new ones.
I knew laying tile over tile was possible, but after the amount of work it took for my husband, Derrick, to tear the walls out in our 1950s bathroom and KNOWING the same wire mesh that was behind the shower tiles would be in the floor, it was either do tile over tile or keep the same old floor and update around it and that just wasn’t happening.
Derrick is a structural engineer, but laying floor down was a new task. We hired one of our neighbors to re-plumb the house and help renovate the bathroom. My neighbor was glad to have the extra hands. Derrick wanted the floors done, and quick, so he ended up continuing to work on the floors without our neighbor.
The floors were wiped down and then they got to work.
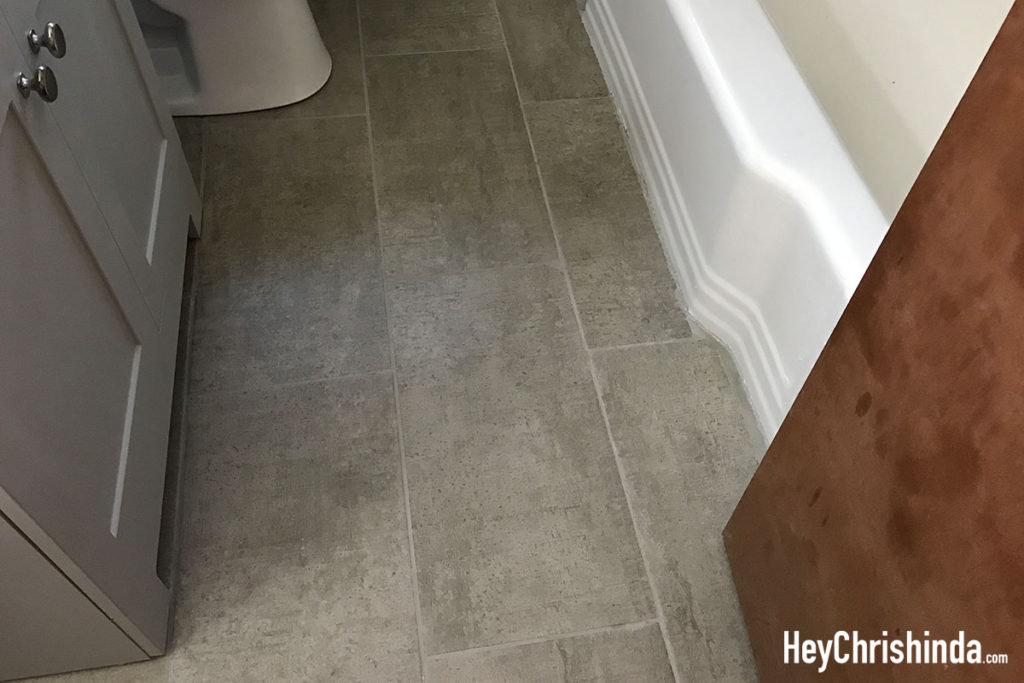
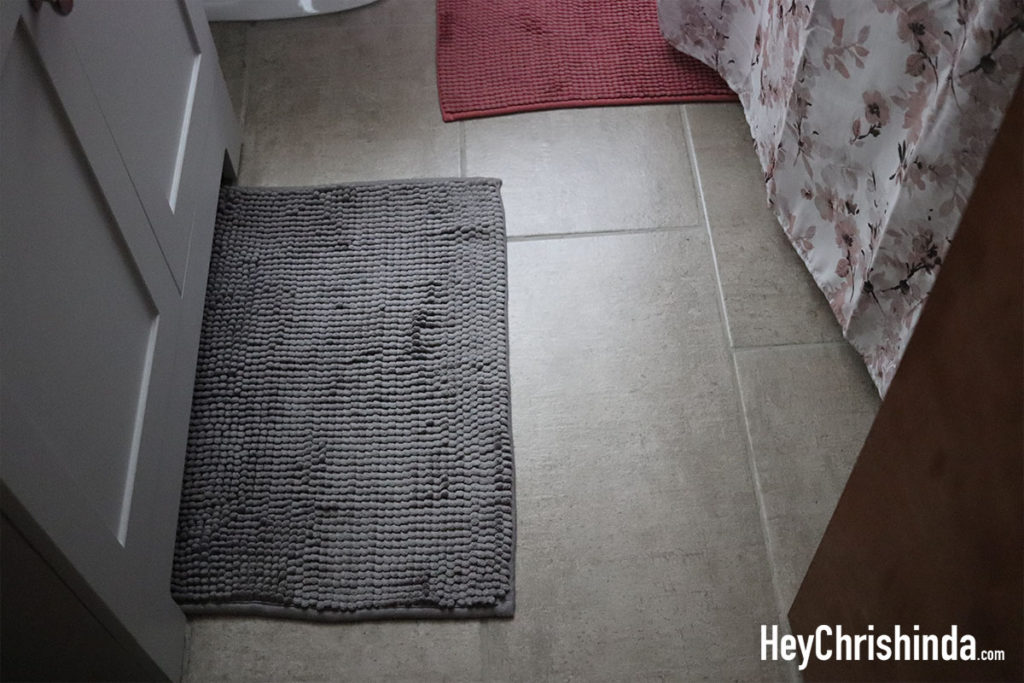
Floor tiles we used: Floor and Decor – Cascade Gray Porcelain Tile > Get a closer, or better look at the tiles on my blog post here.
GROUT COLOR: PEWTER by MAPEI Ultracolor Plus FA. This grout color is a perfect match for these Cascade Gray tiles.
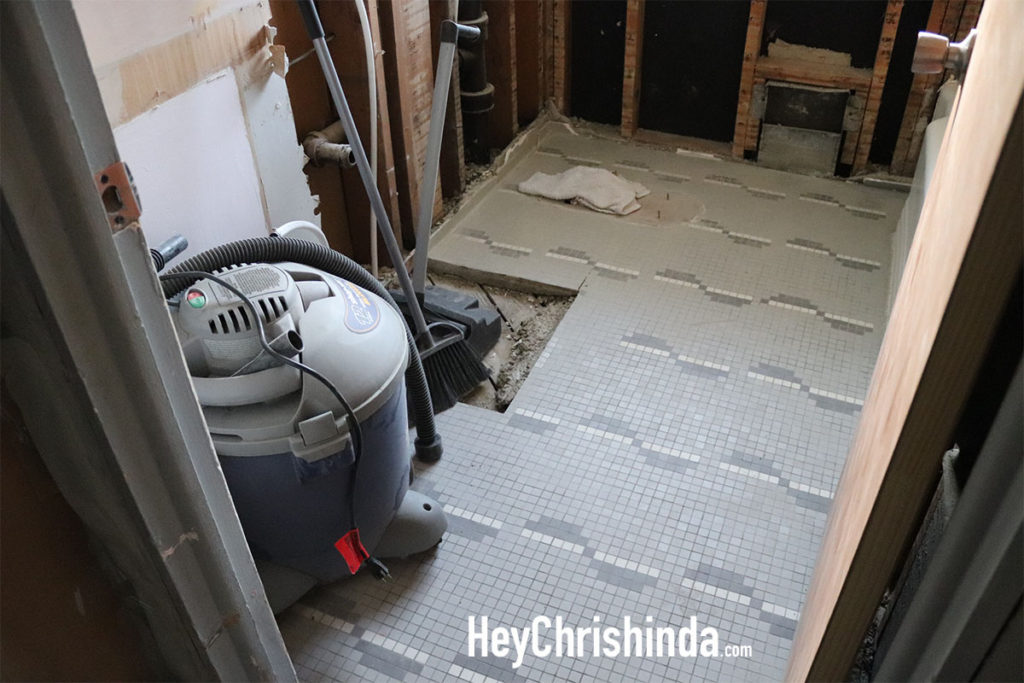
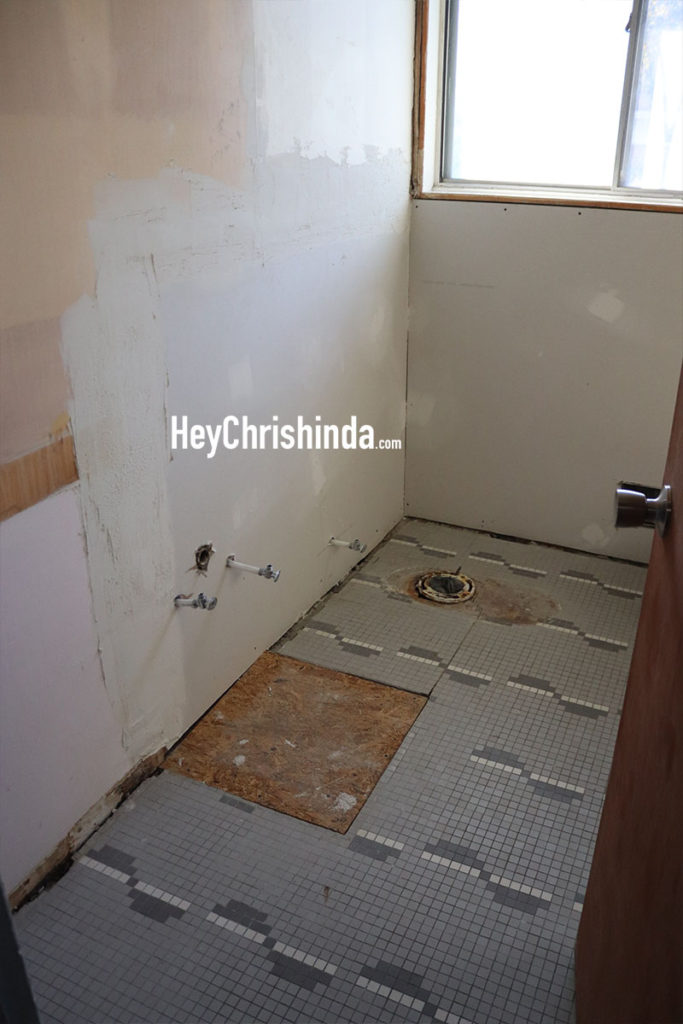
Bathroom Floor Tiles Before…
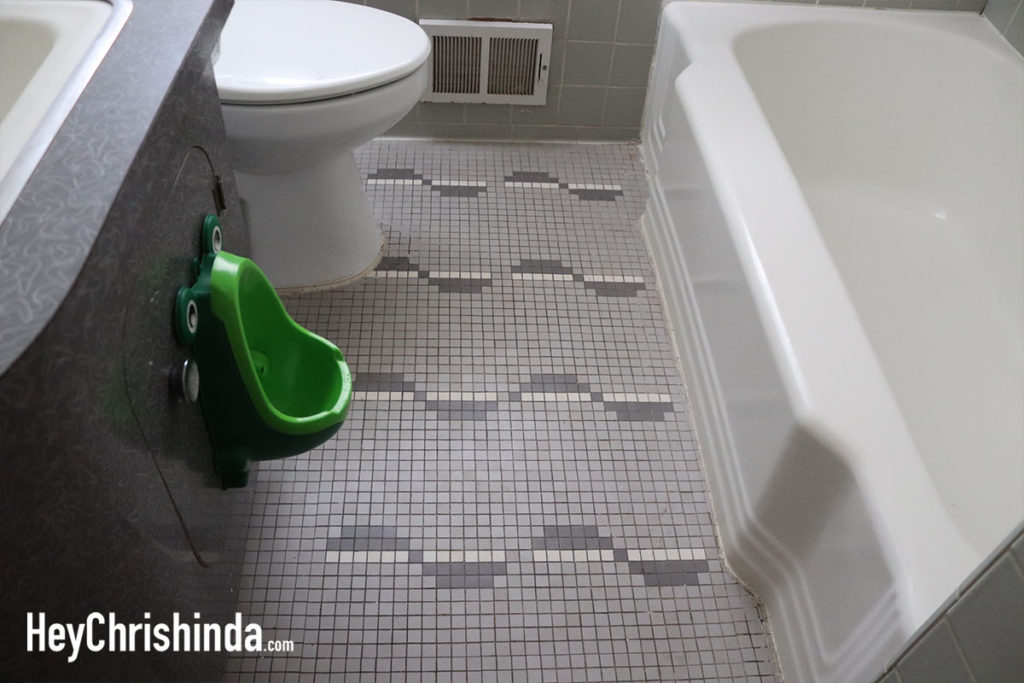
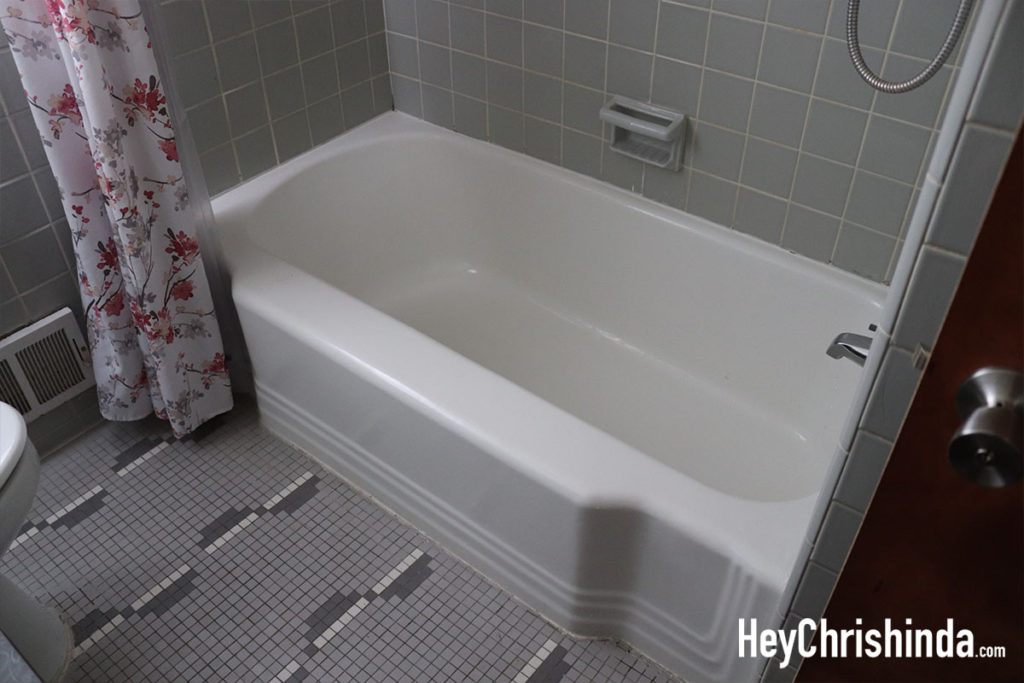
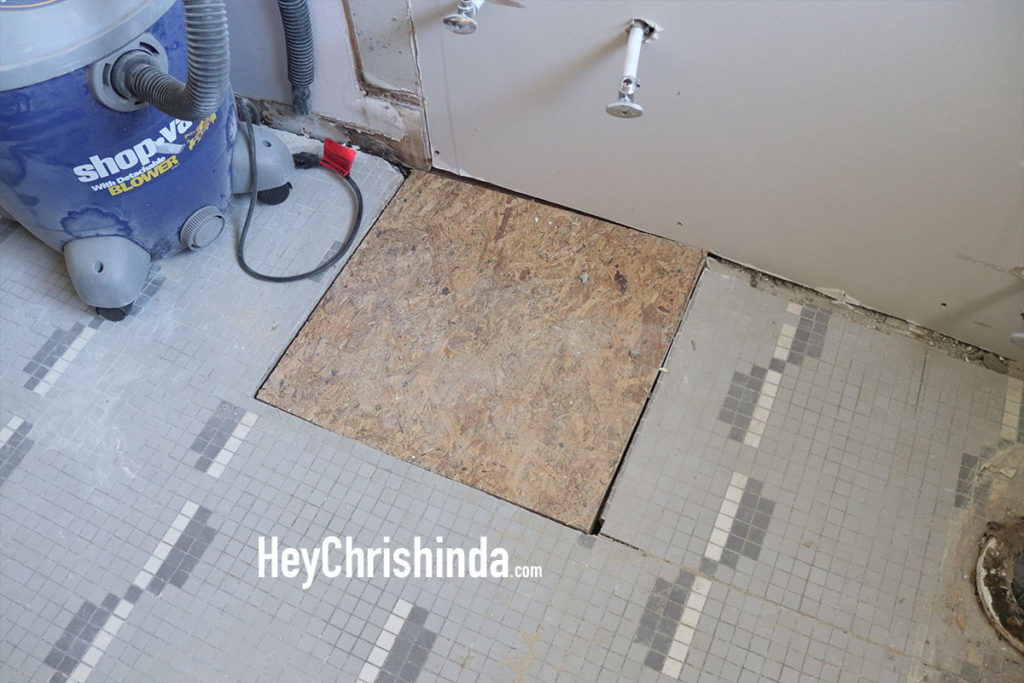
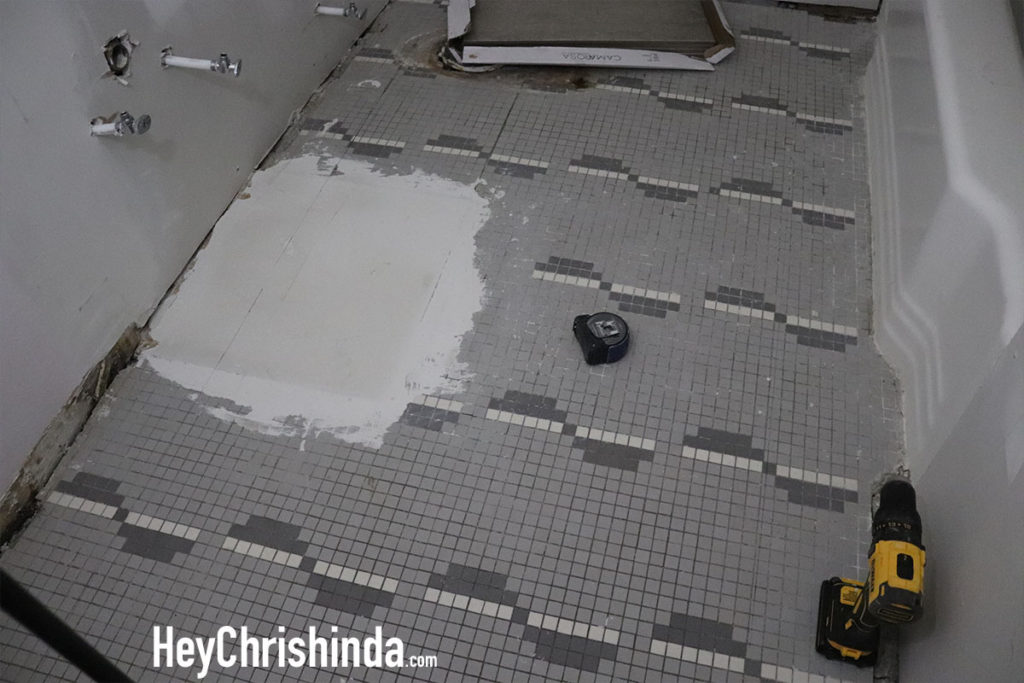
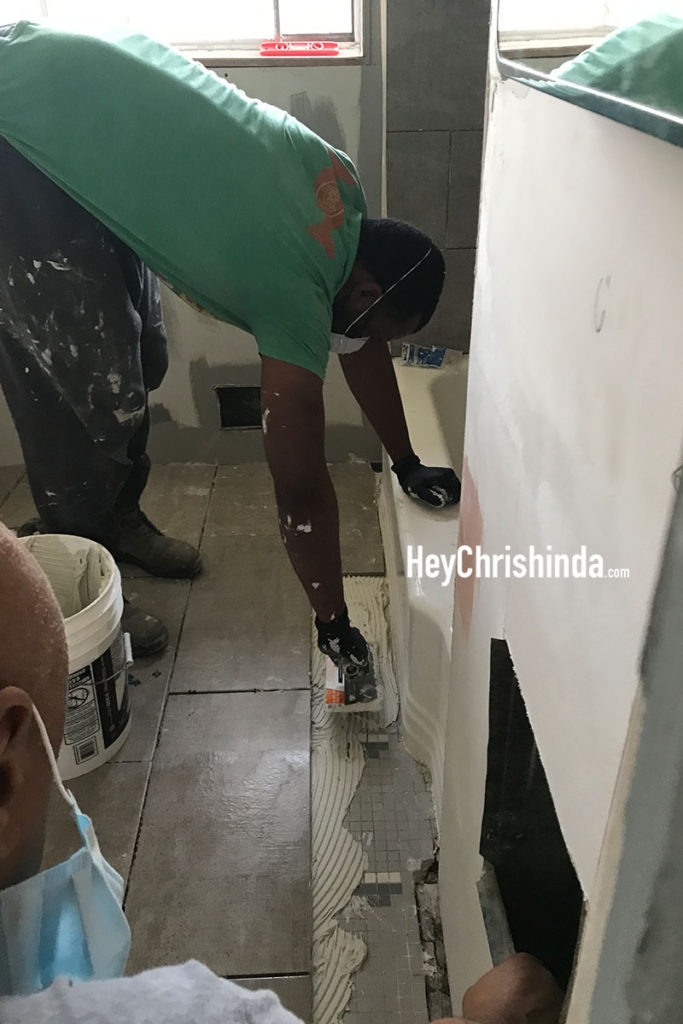
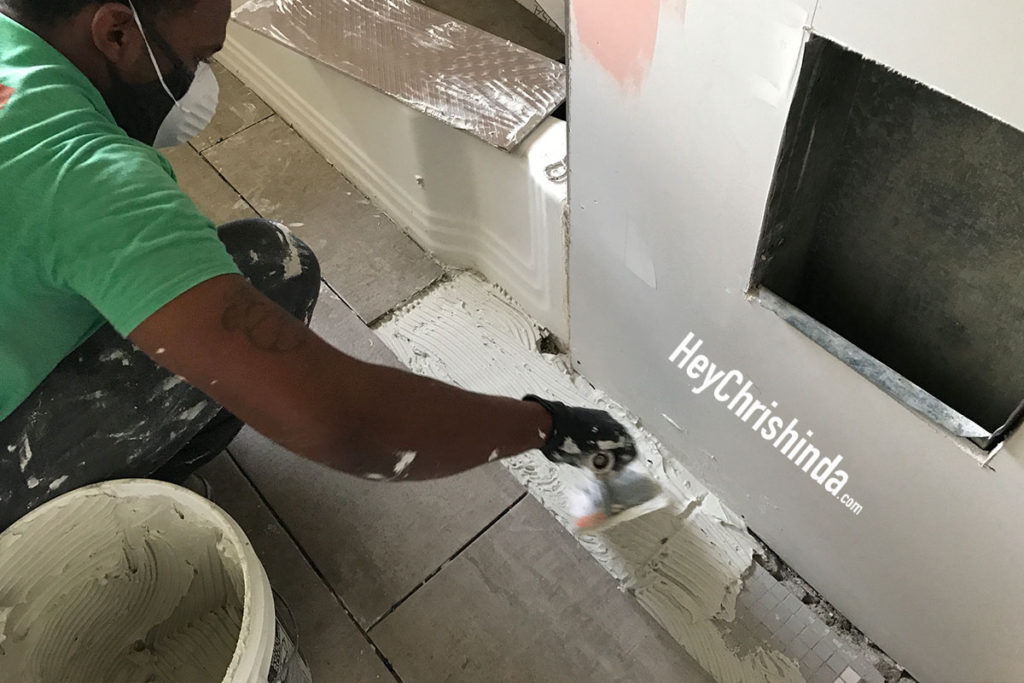
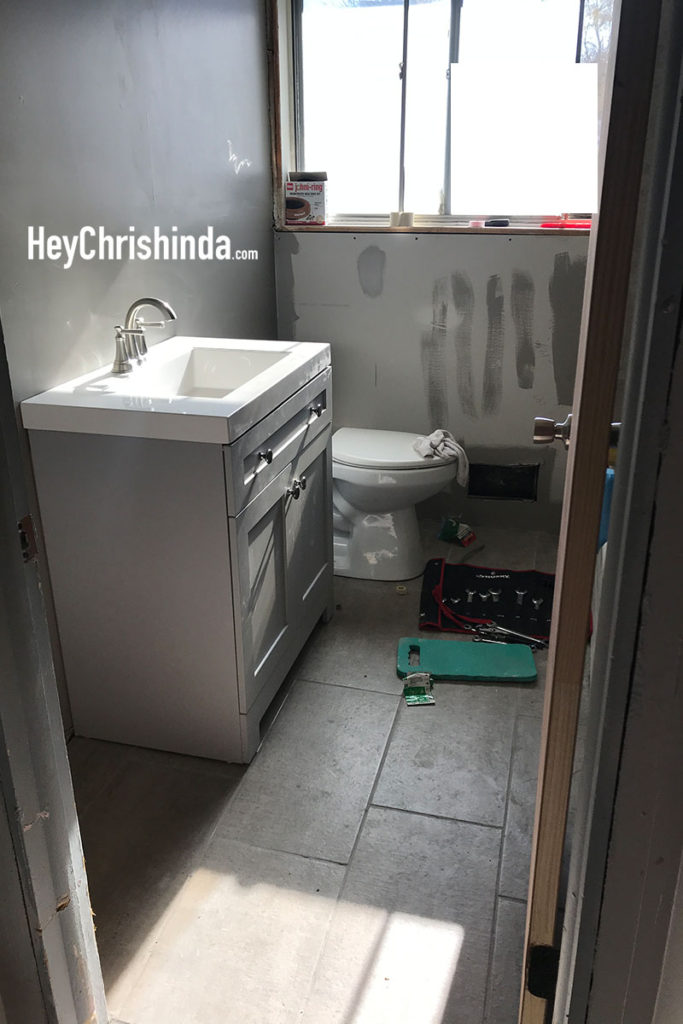
Since we were remodeling the original 1950’s bathroom, the base of the vanity (sink) was cut to fit in the floor, so once the sink was removed, there was a “hole” that needed to be filled, or leveled. A piece of plywood was cut to fit and then the gaps were filled and leveled off with the mortar.
We didn’t use any extra products like adhesives, etc… just mortar and grout.
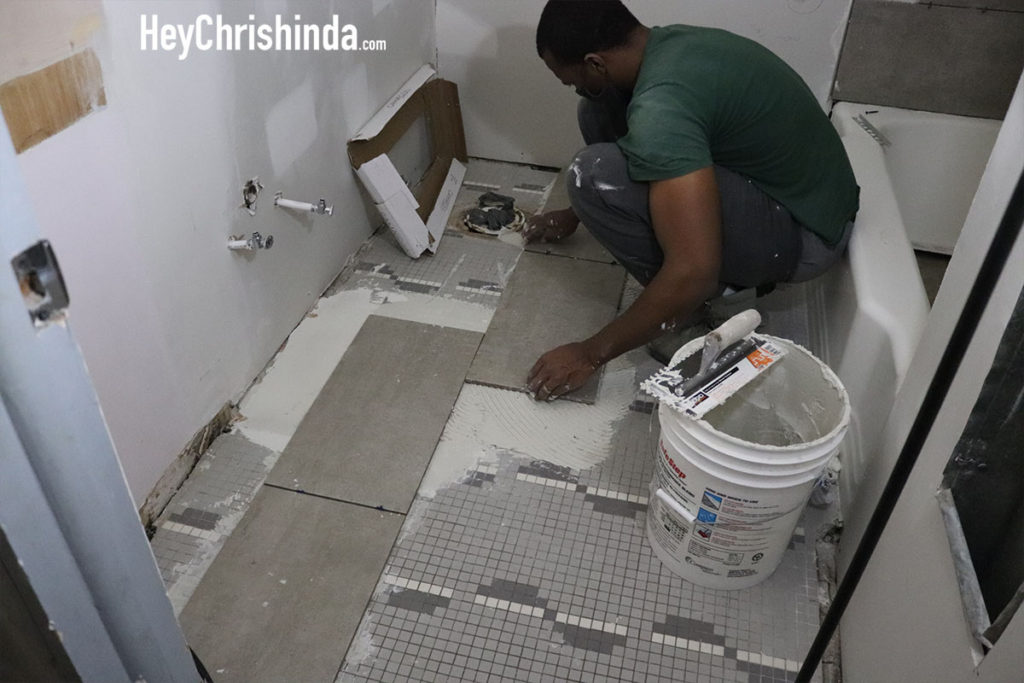
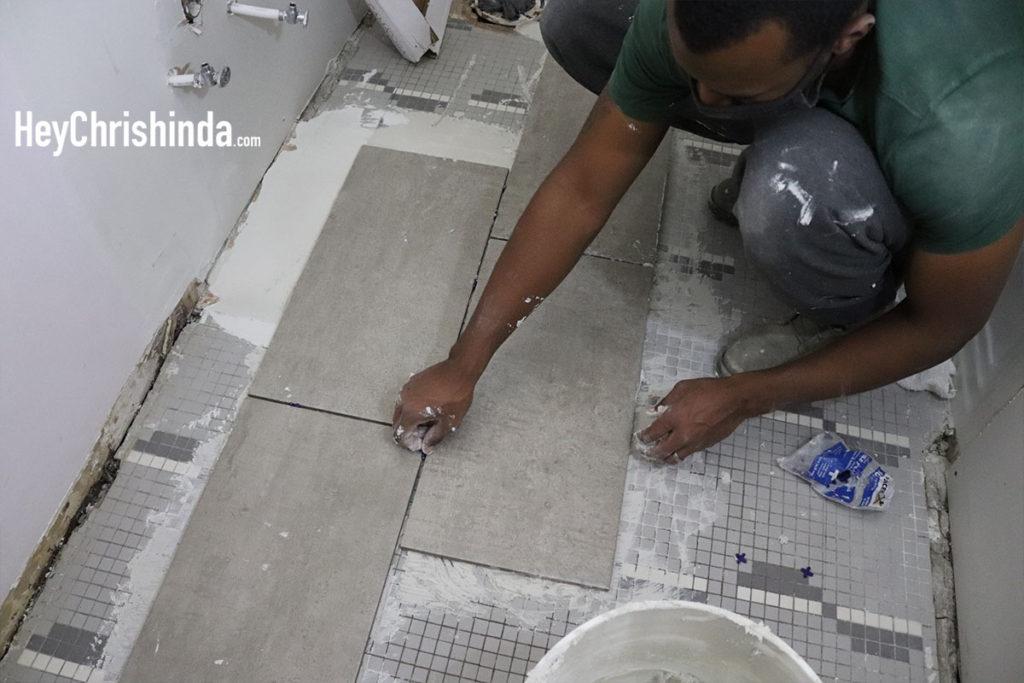
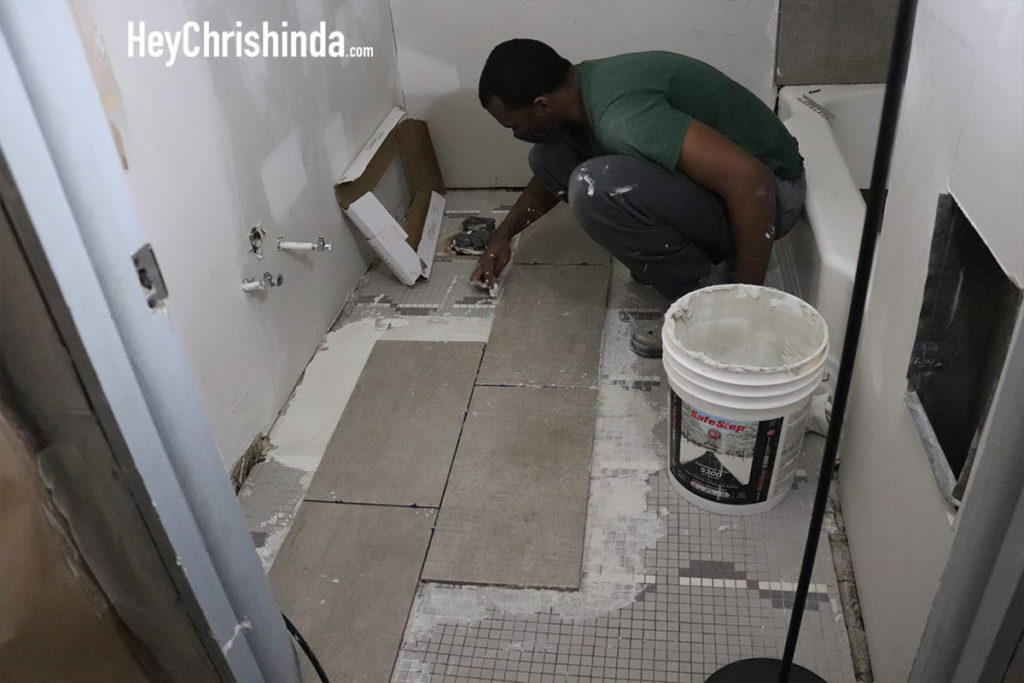
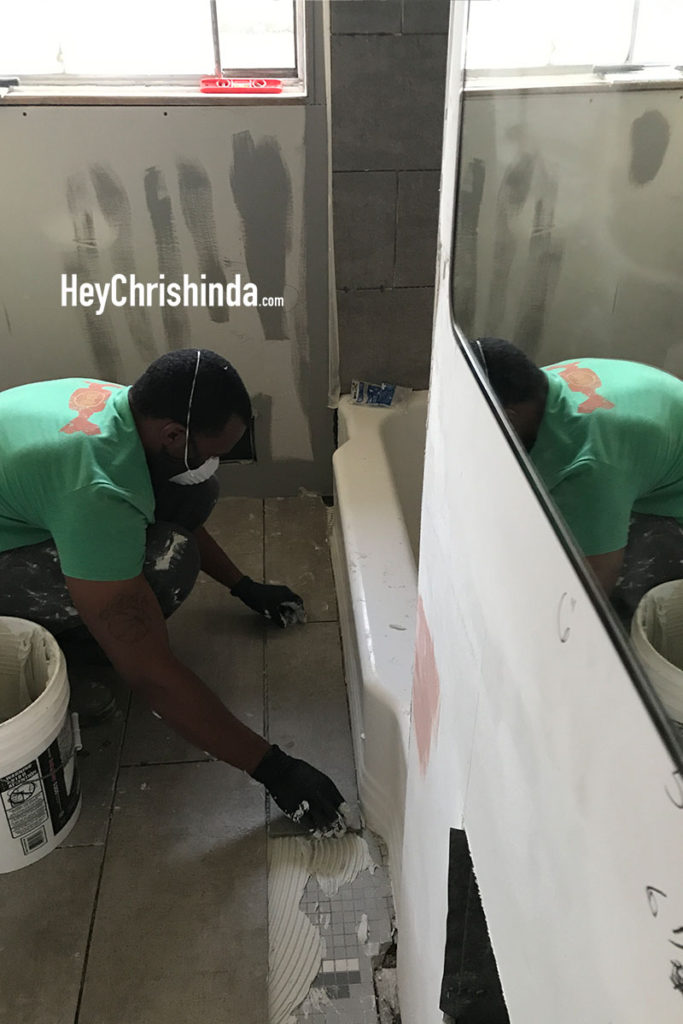
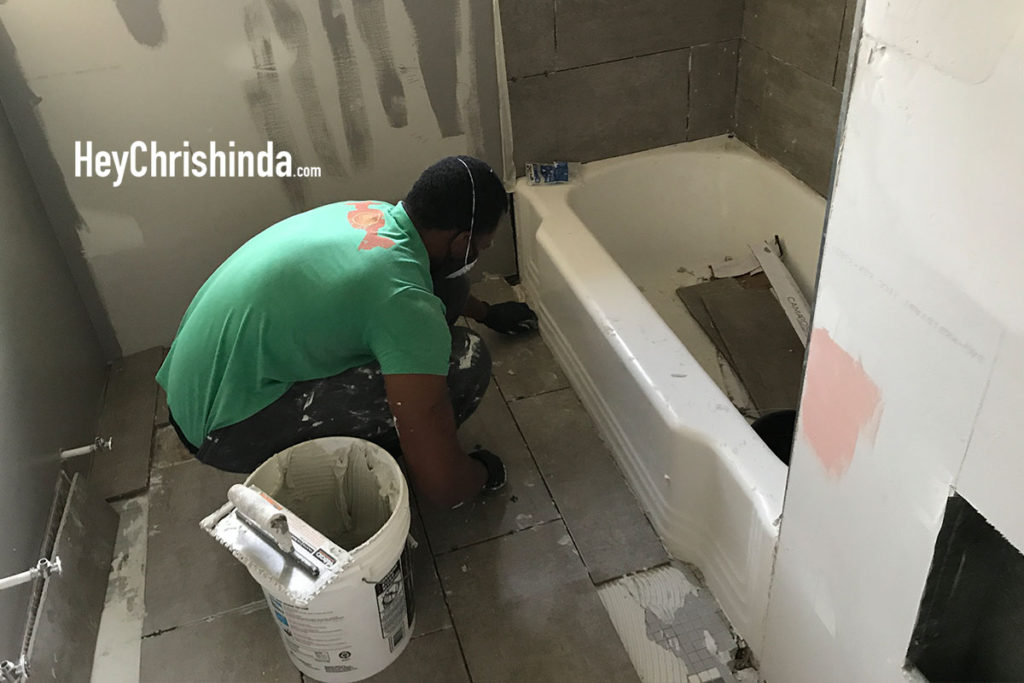
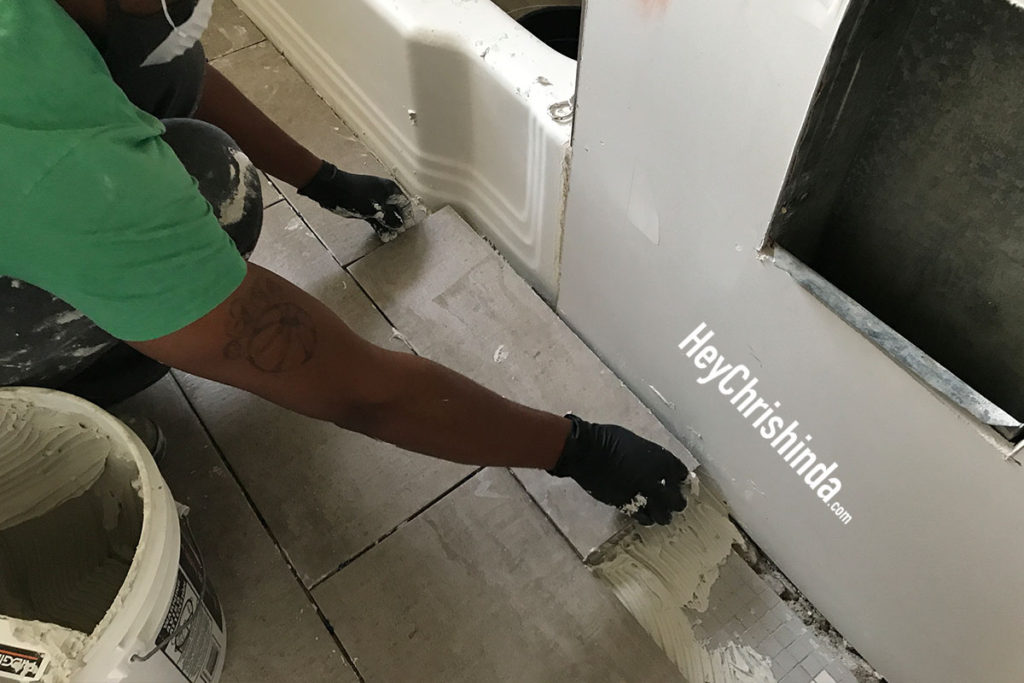
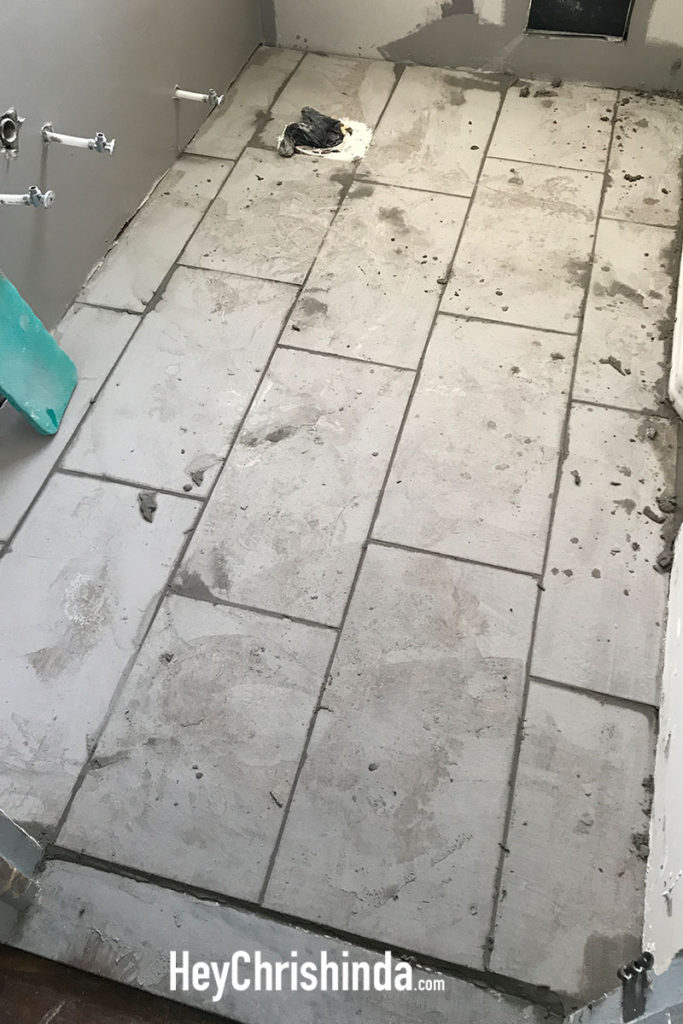
After the part that was filled and leveled out dried, he started the process of laying tile over tile.
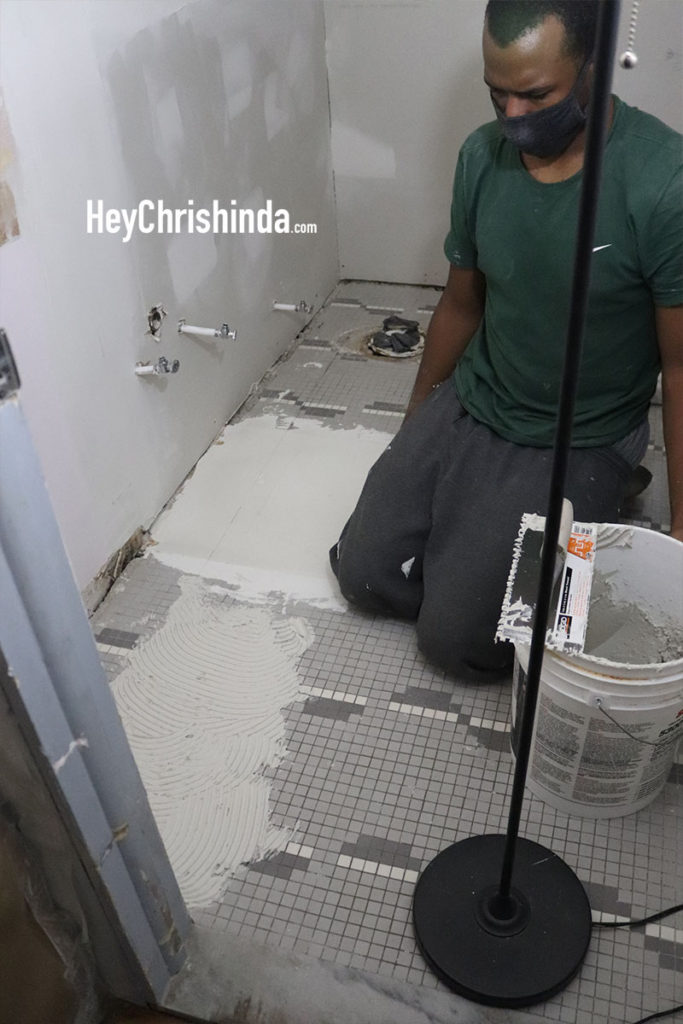
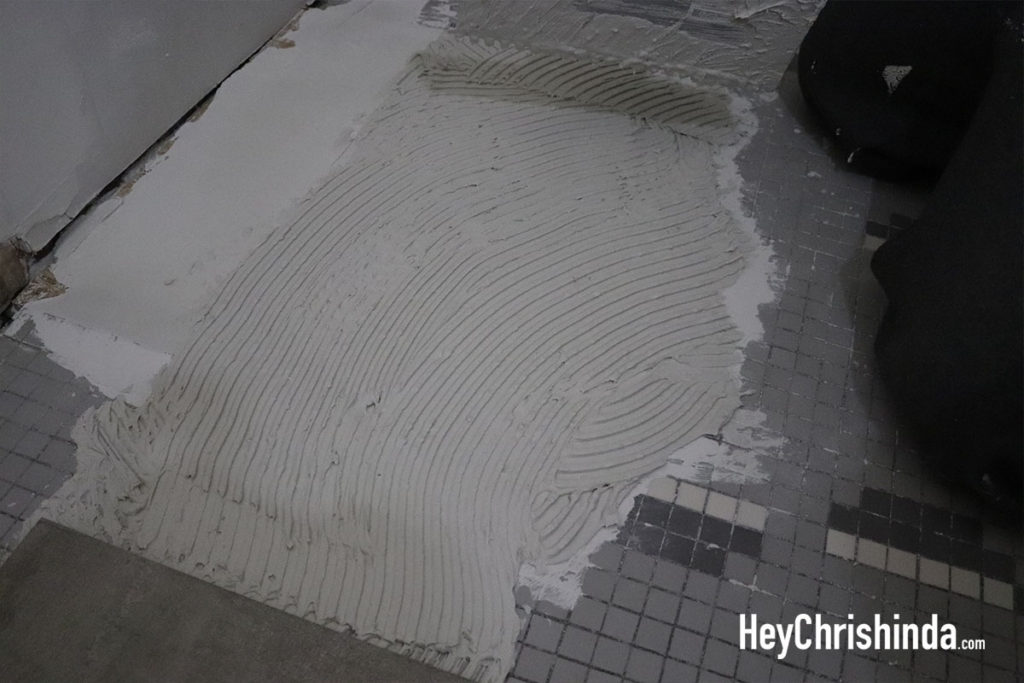
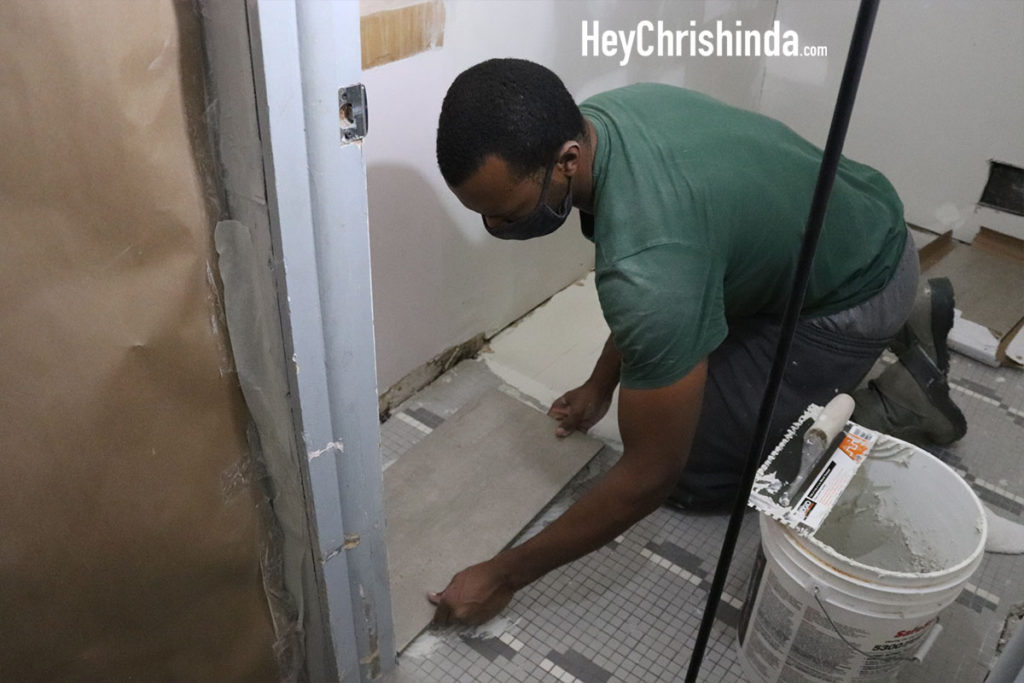
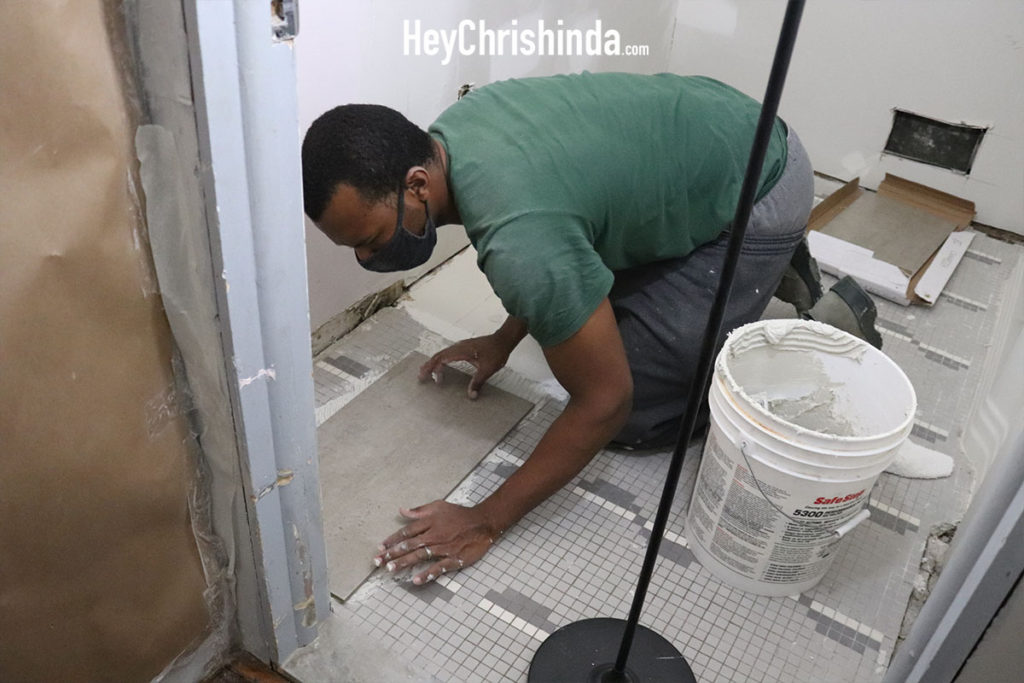
I don’t like big grout lines, so instead of inserting the spacers perpendicular to the tiles, we placed them parallel. Don’t forget to take the spacers out before you start grouting the lines. We had already opened the package and didn’t want to go through the hassle of returning/exchanging… and placing them parallel gave us the right amount of space for the grout lines.
If there’s any excess mortar after you lay your tile, use the flat side of the floor trowel (name of the tool you use to spread the mortar) and get as close as you can to the edge of the tile and scrape it up. You don’t want the excess mortar to harden before you have laid the rest of the tiles because then you’ll have to figure out how to get the hardened mortar up.
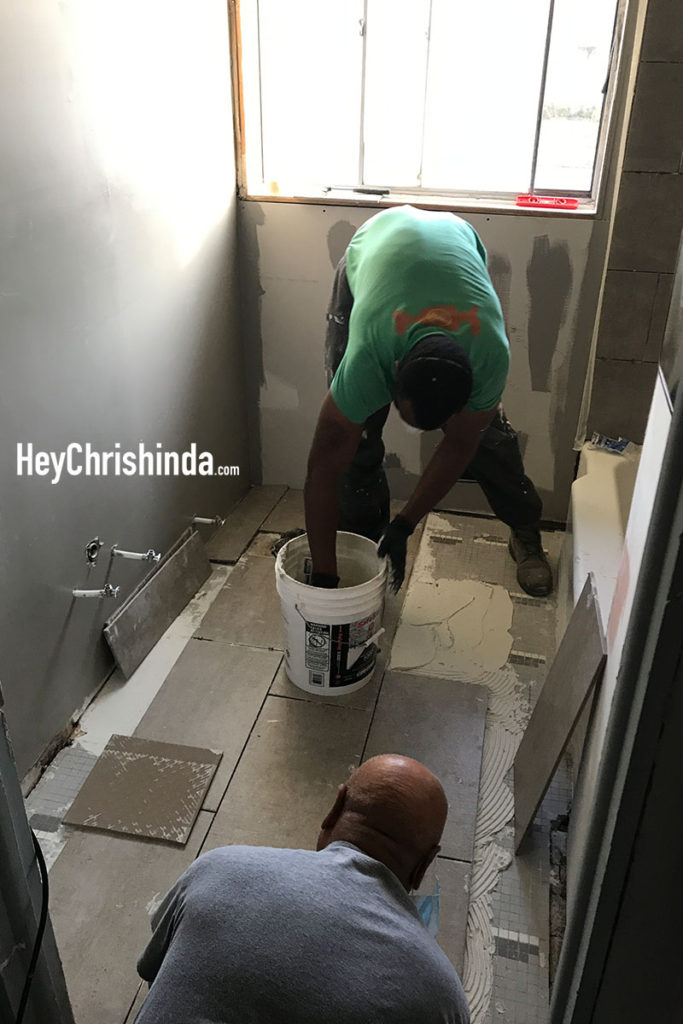
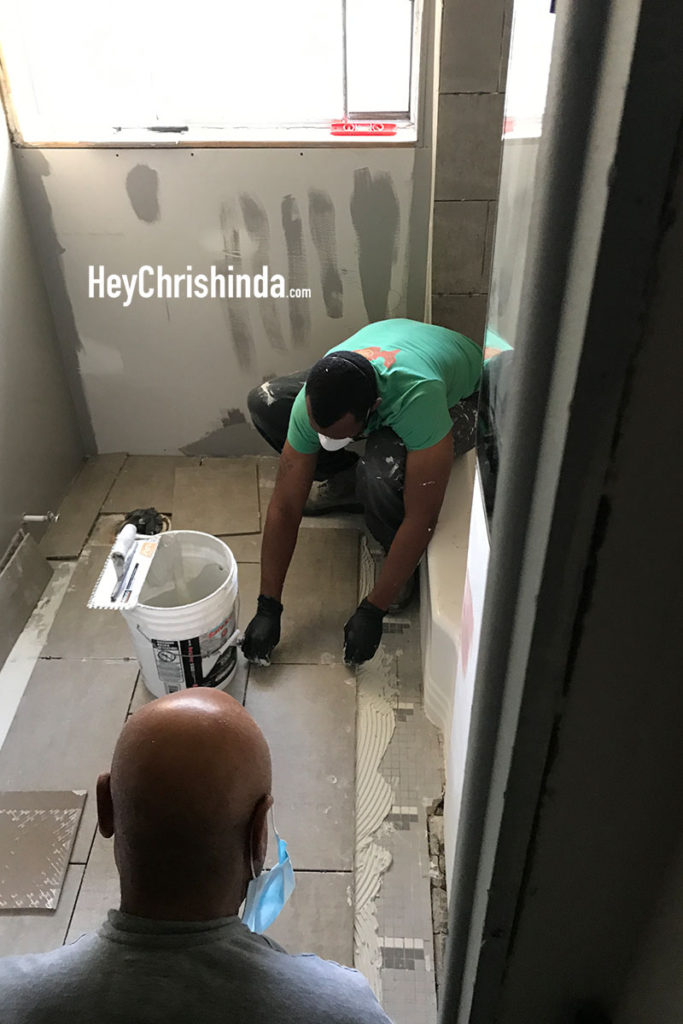
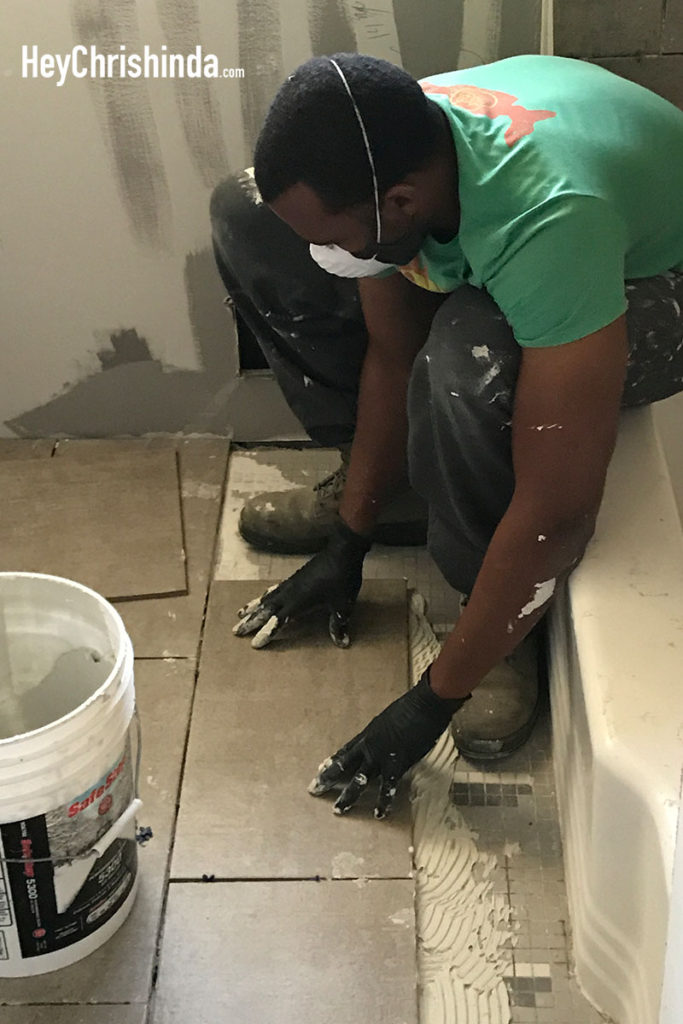
• Our tiles were not cut to fit the curves of the tub, but just goes straight across and the gap is just filled in with grout. At first I didn’t like that it wasn’t cut to fit, now it’s not a big deal.
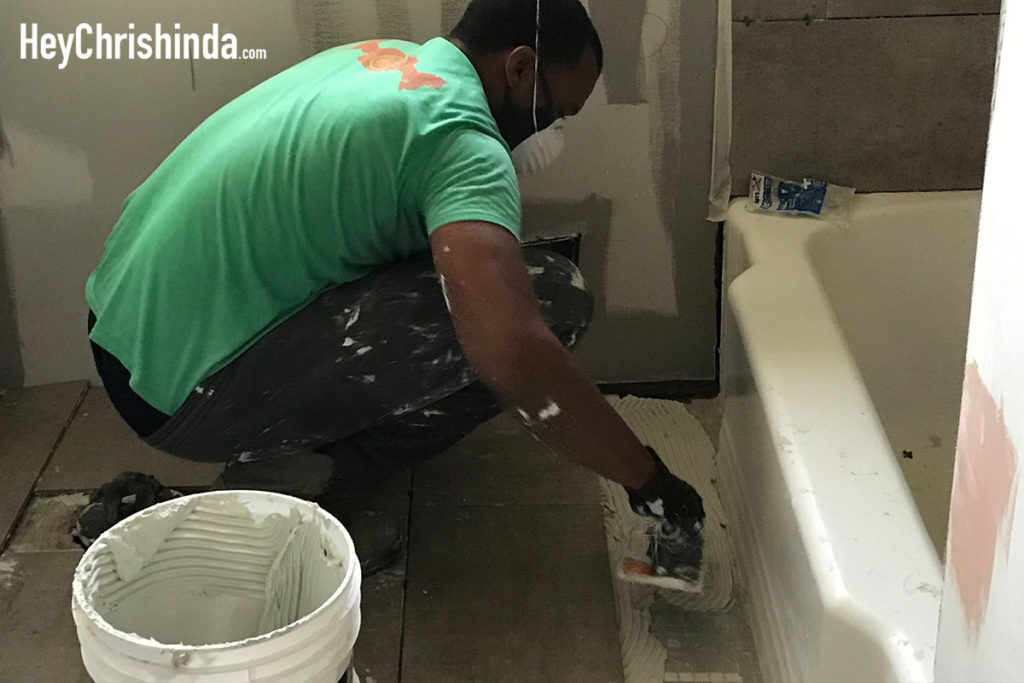
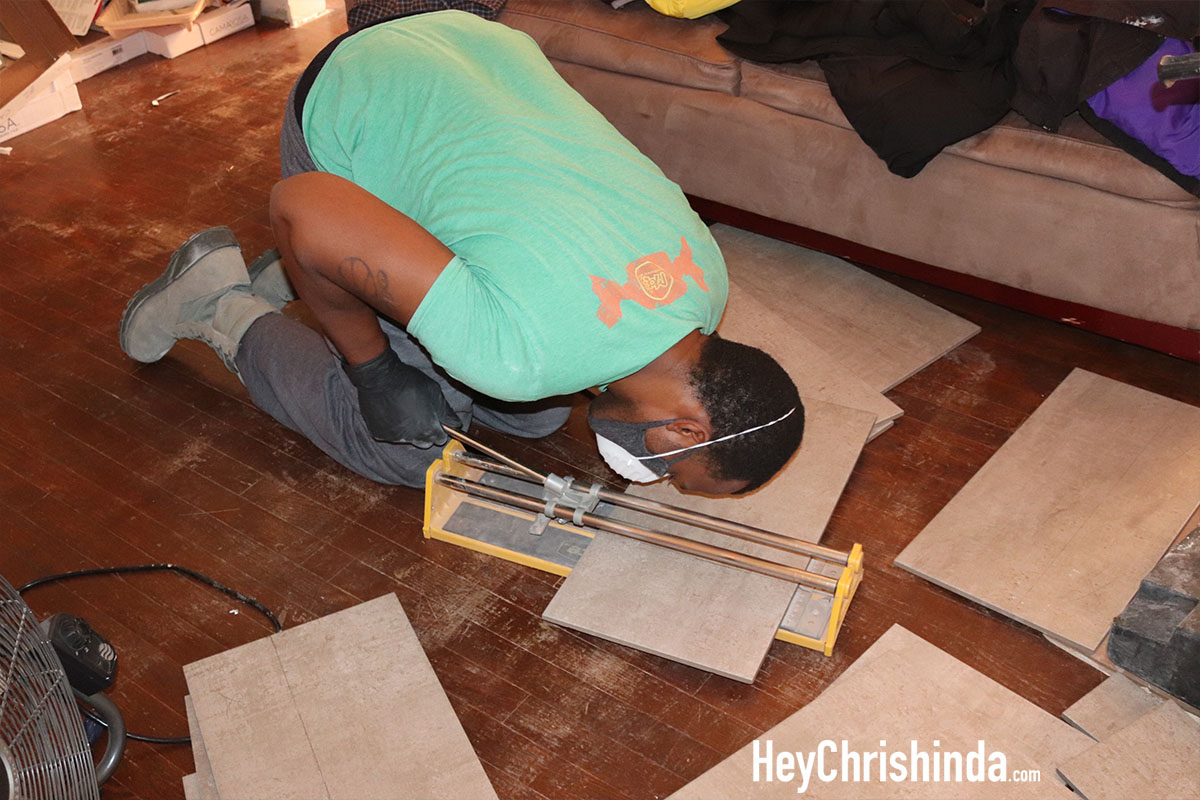
Cutting the remaining pieces that will go the the left up against the wall.
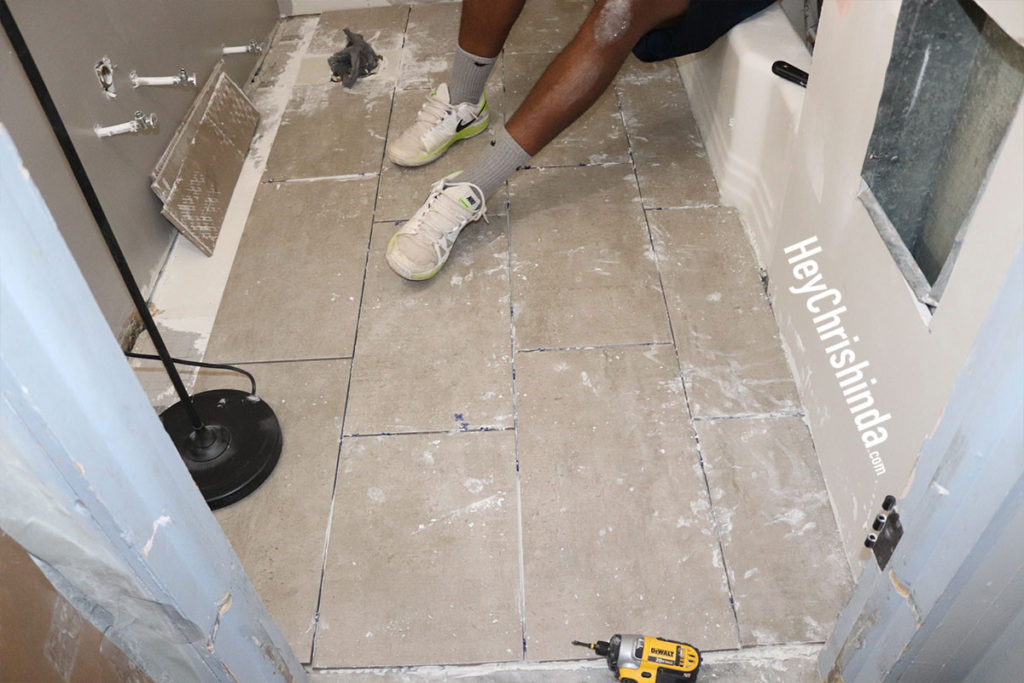
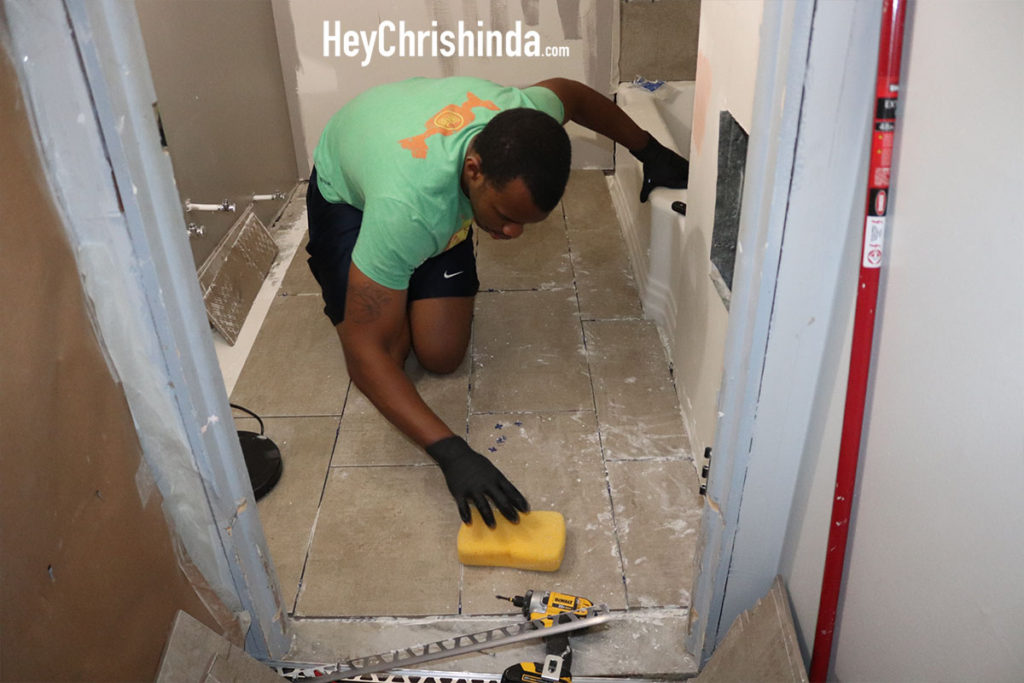
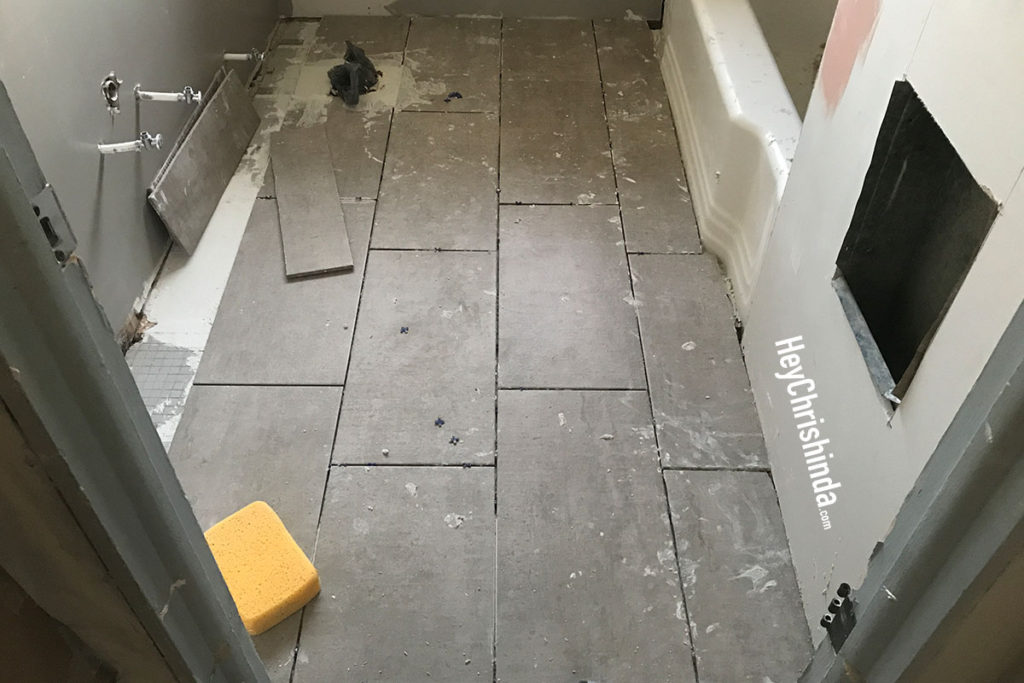
Finished, but now to clean up the mess on top of the tiles.
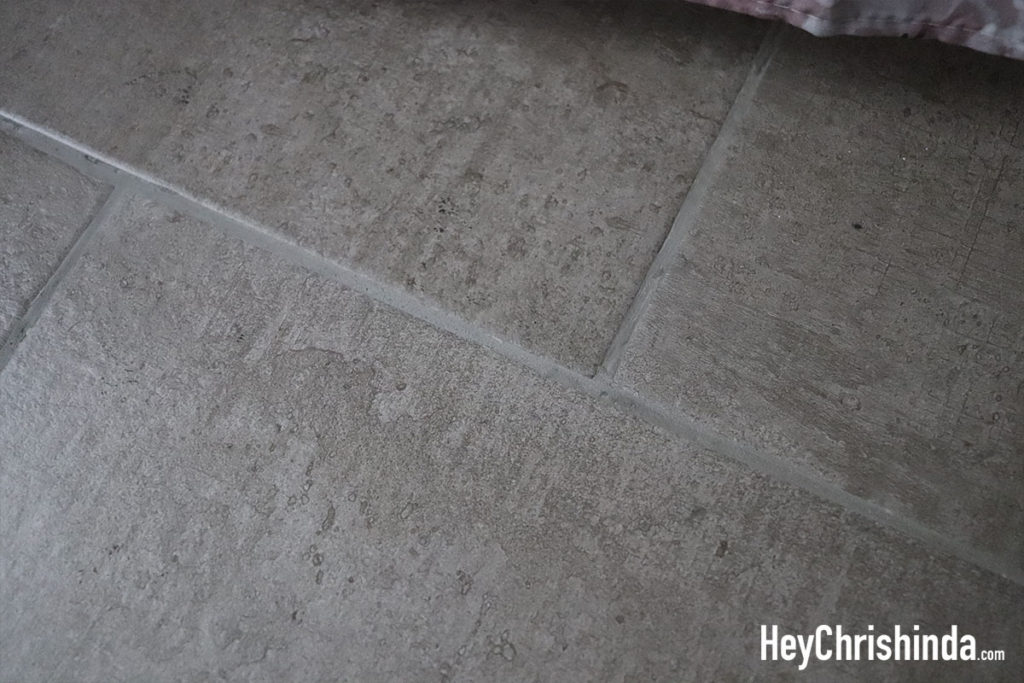
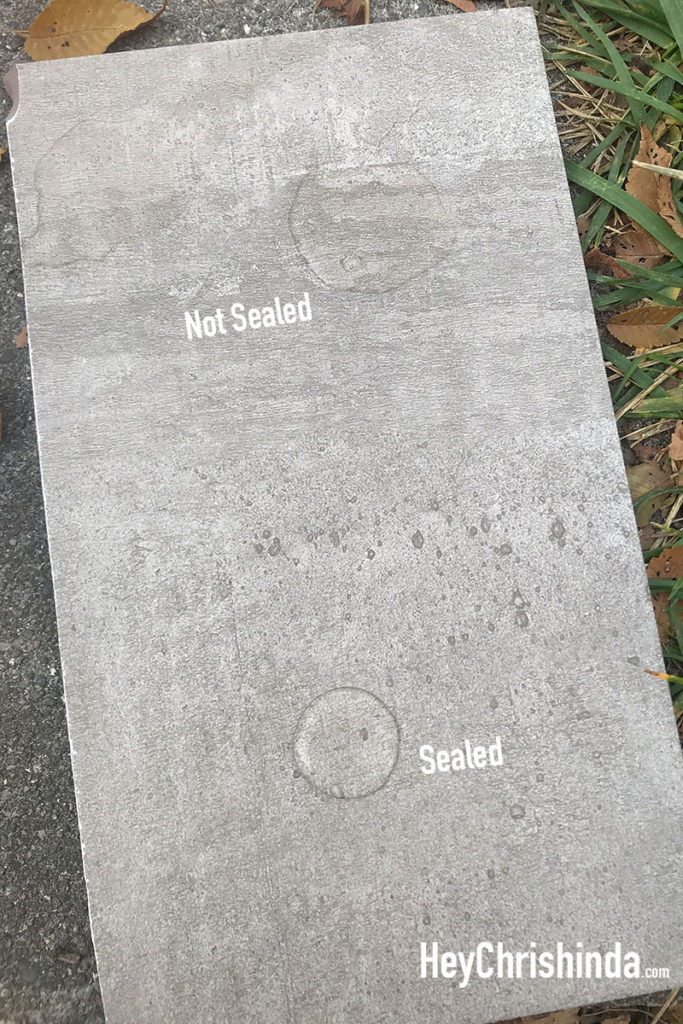
DON’T FORGET to seal your grout and the surface of your tiles with a tile and grout SEALER.
Thank you so much for checking out my blog post! If you have any questions, be sure to leave a comment and I’ll get back to you.
Until my next post… ✌🏽


