• WATCH THE TUTORIAL HERE!!
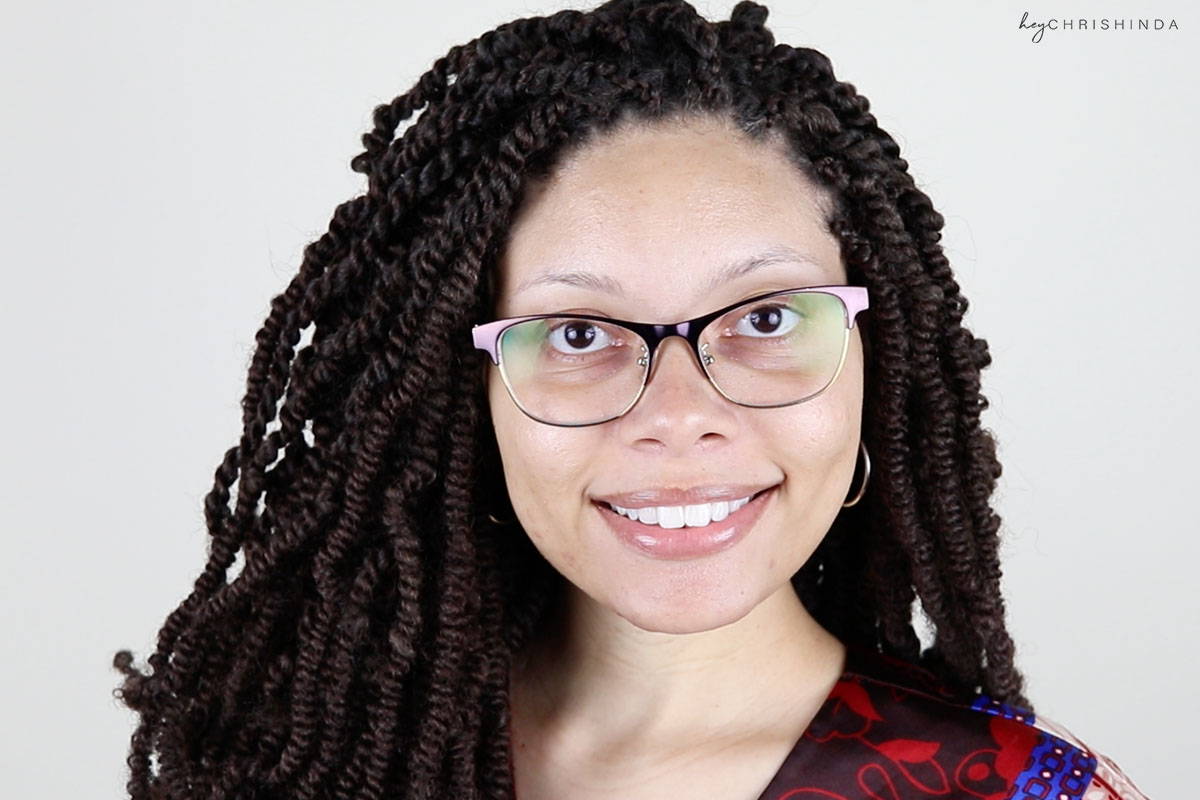
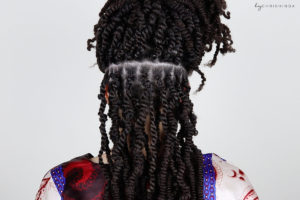
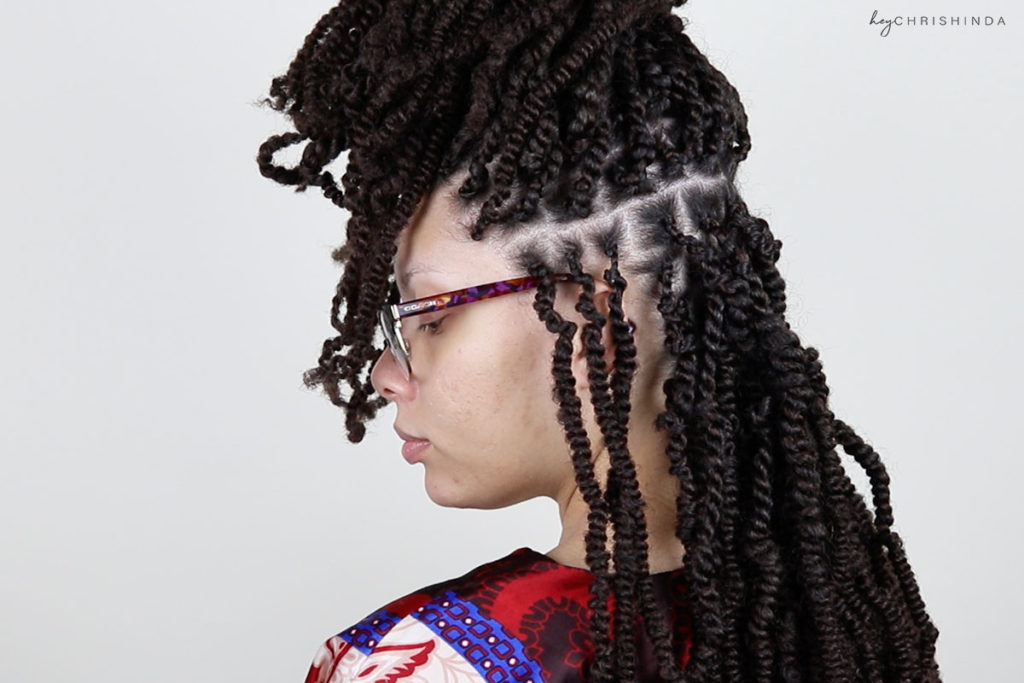
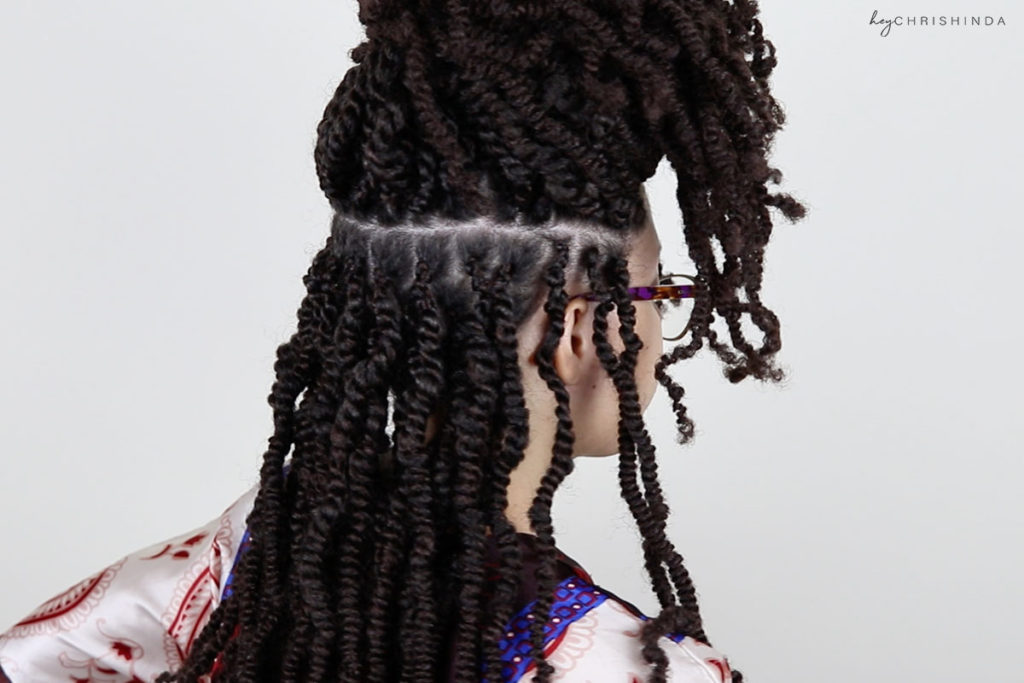
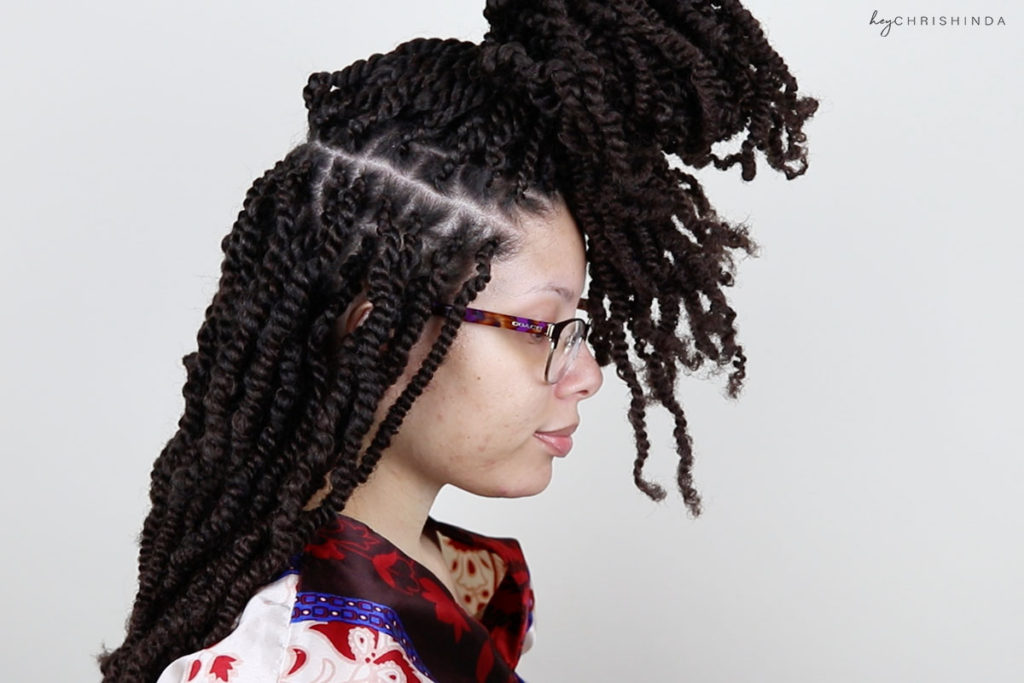
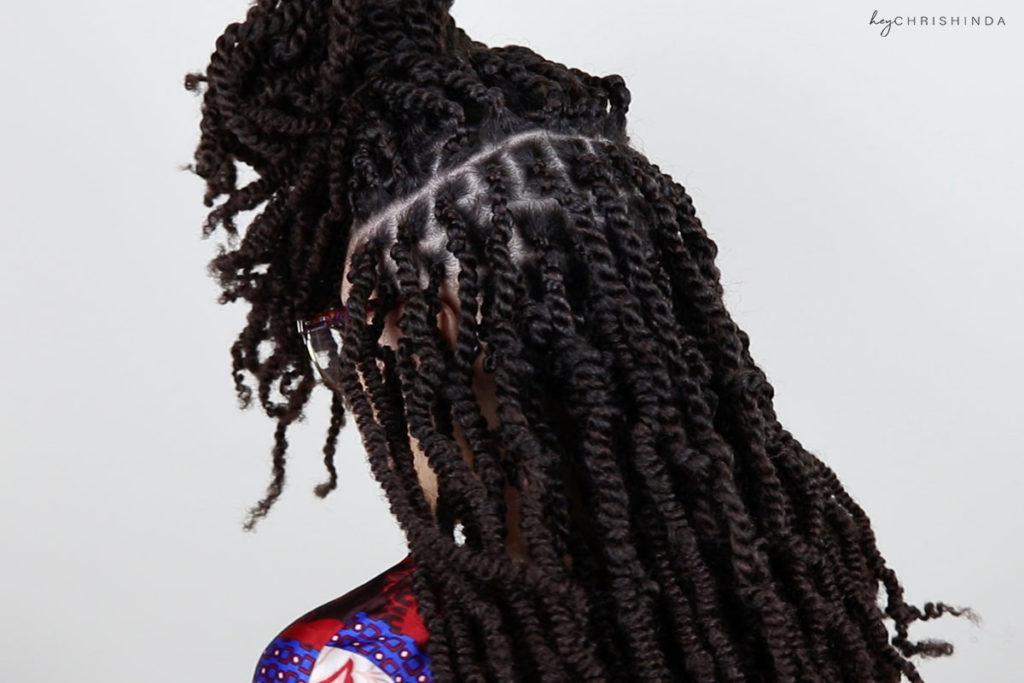
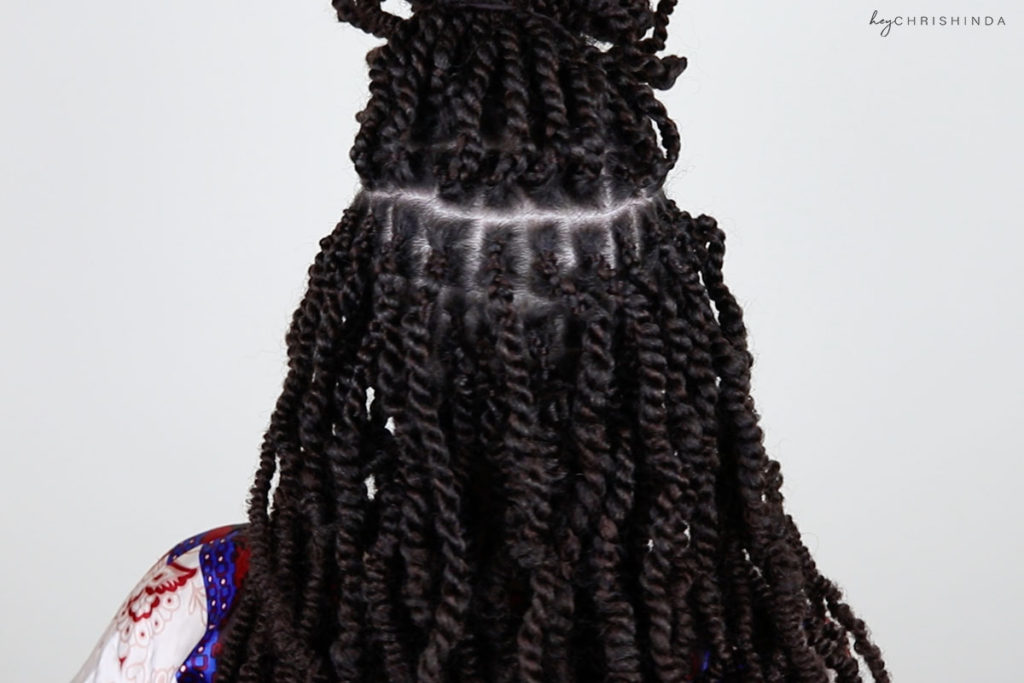
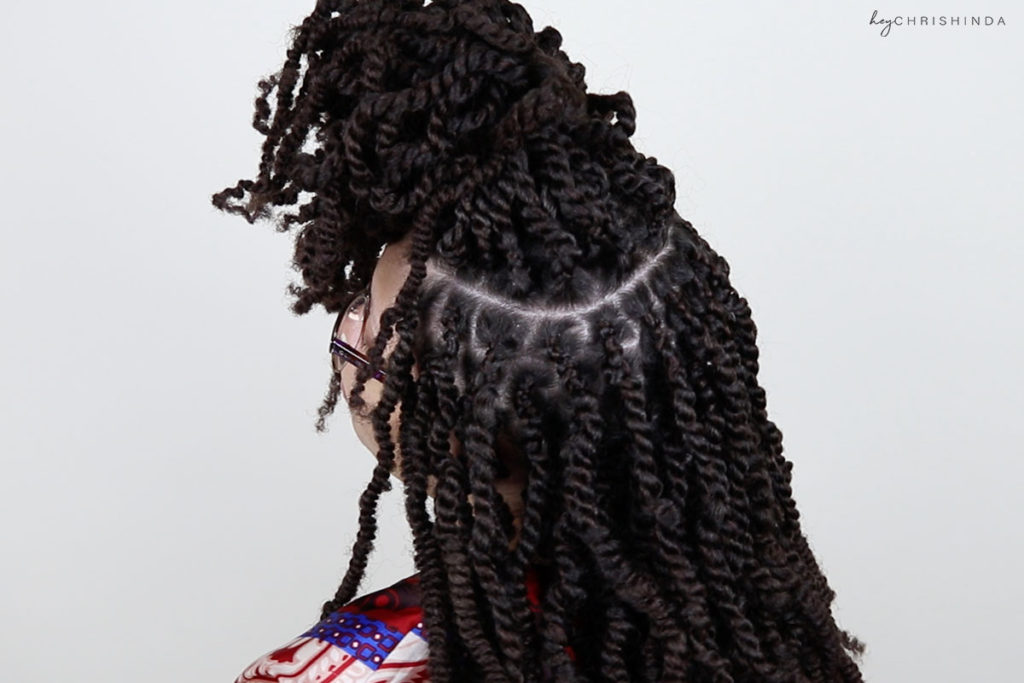
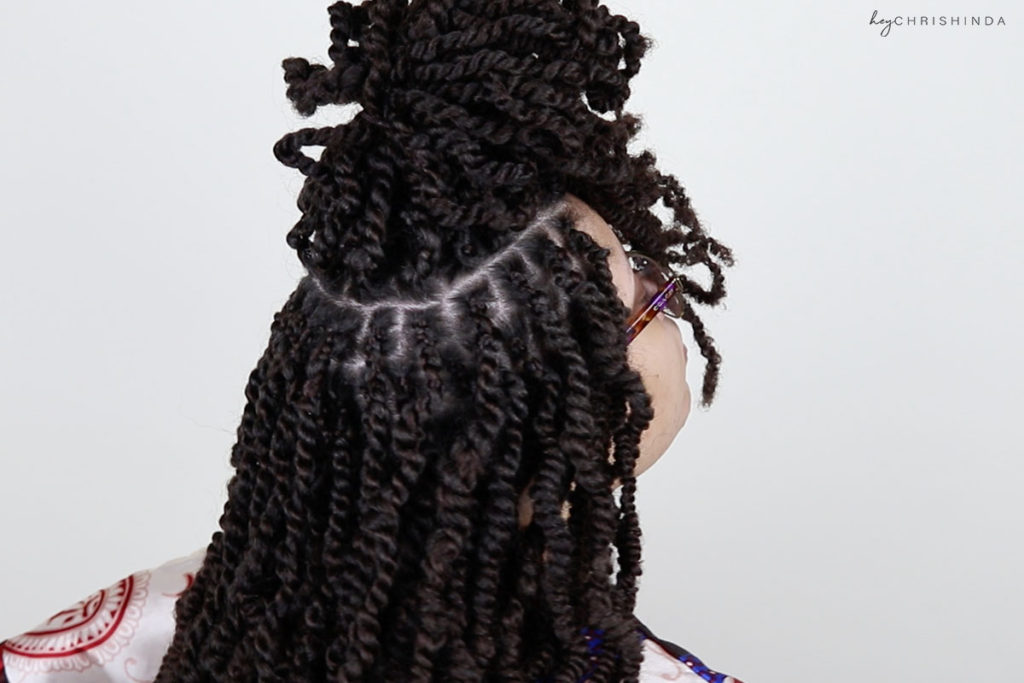
One day I decided to pick a random hashtag to scroll through that dealt with natural hair and came across a picture with a lady that had crochet spring twists and immediately thought to myself that I just had to do this style. I opted for individuals instead of crochet. Luckily, in the hashtags for the style, they named what type of twists they were and that’s where my research began.
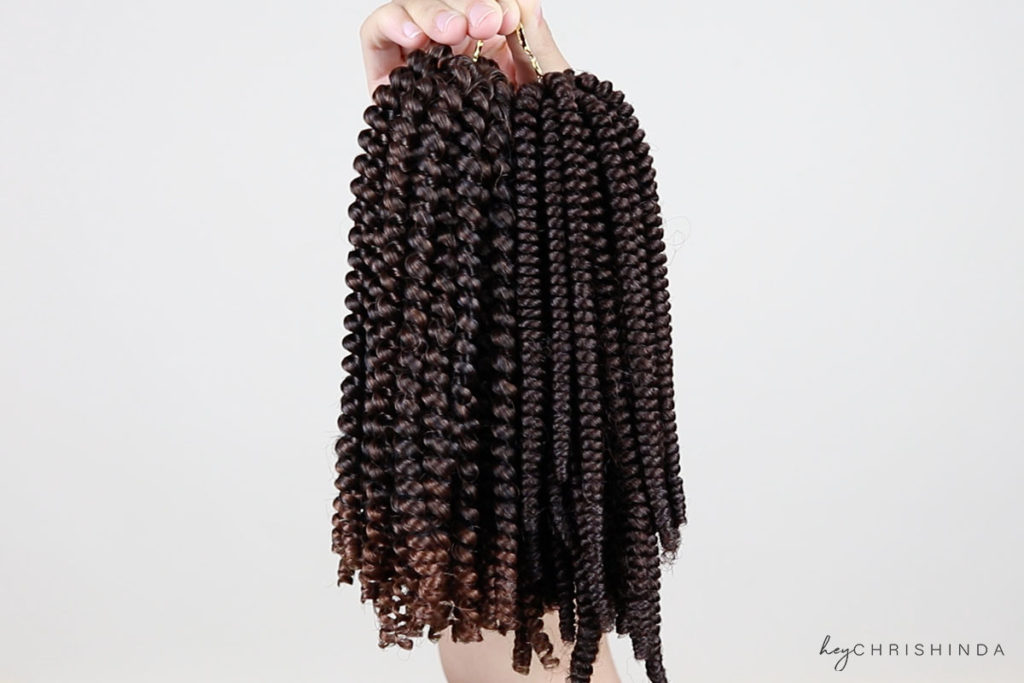
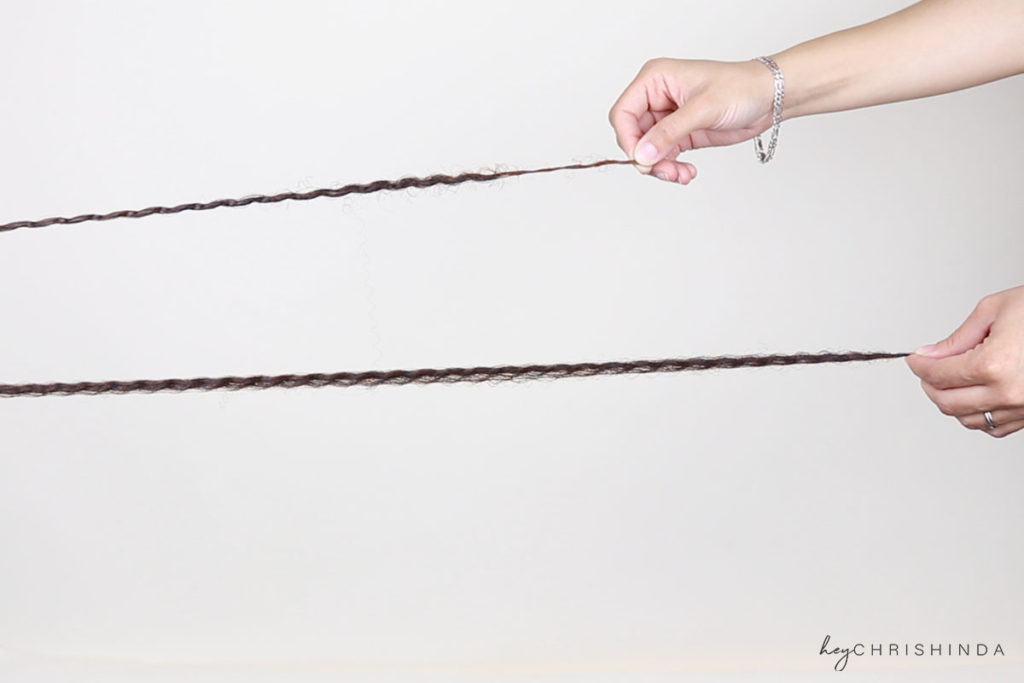
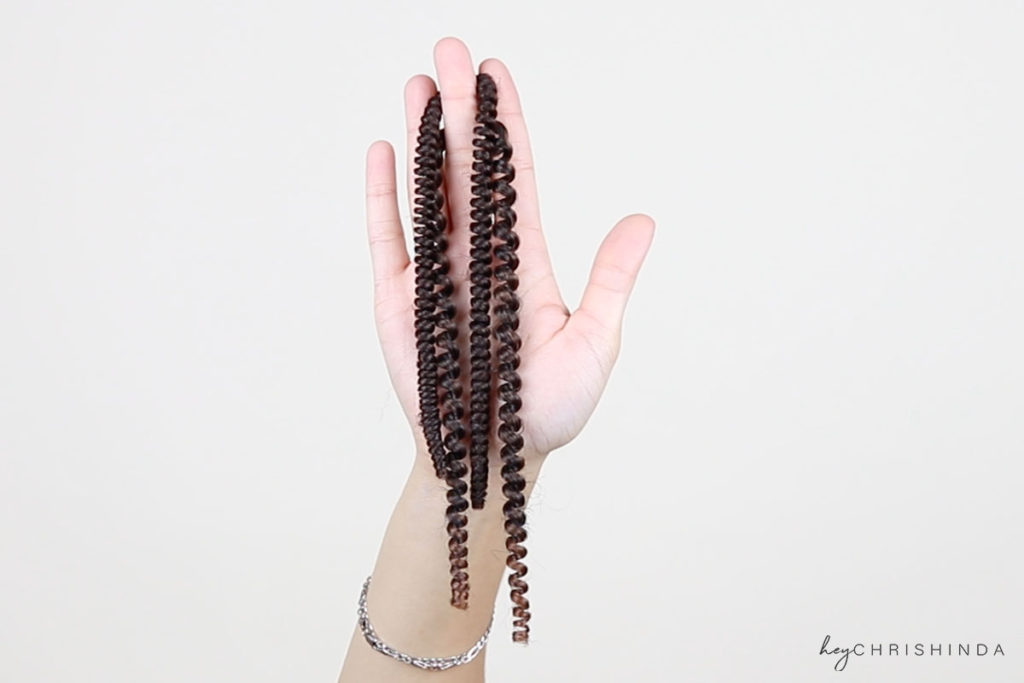
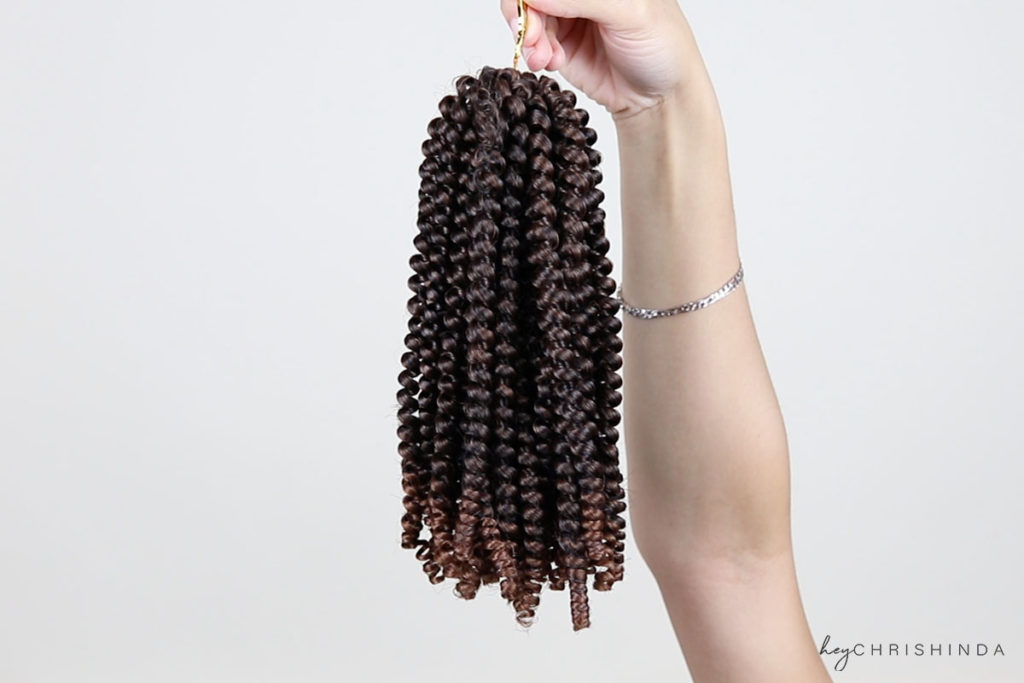
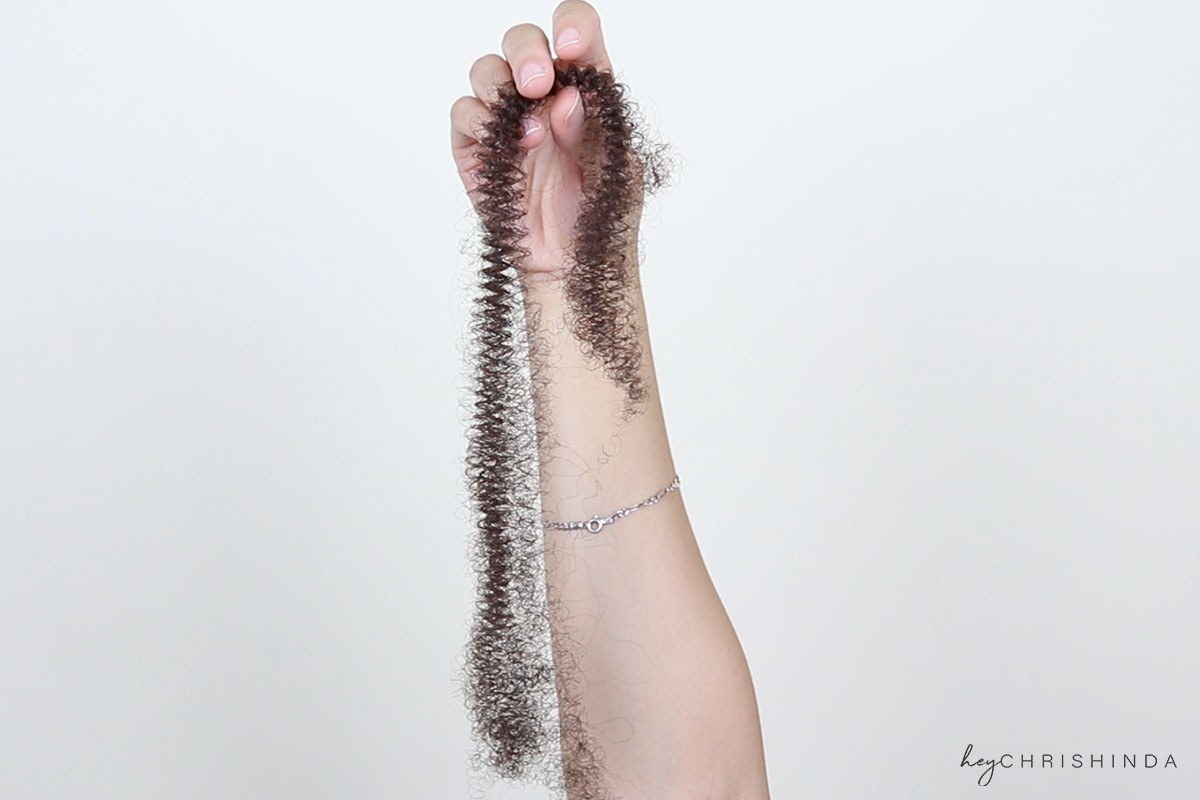
Most of the hair I came across said the length was 8 inches and my hair is way longer than 8 inches, but as I looked through a lot of pictures that people posted as reviews, I seen that a lot of people’s twists were really long, so I decided to order the 8 inch hair along with hair that was 42 inches stretched. Turns out they were pretty close in length. The difference in both brands of hair was the texture and curl pattern. One was coarse and tight and one was silky with a looser curl.
- 8″ hair on left
- 8″ hair on top
- 8″ hair is the longer one
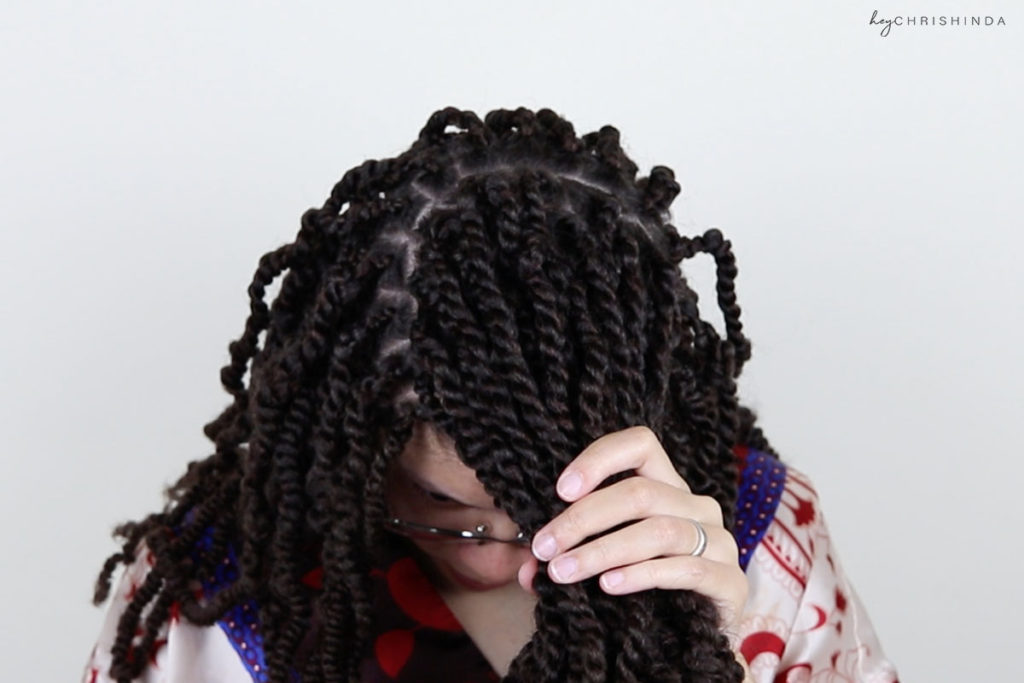
This post will just show the products used, hair, and parting method. For more details, watch my tutorial on YouTube.
• Affiliate links are used – I make a small commission if you purchase using the links provided. Does not affect the price you pay •
Spring Twist Hair
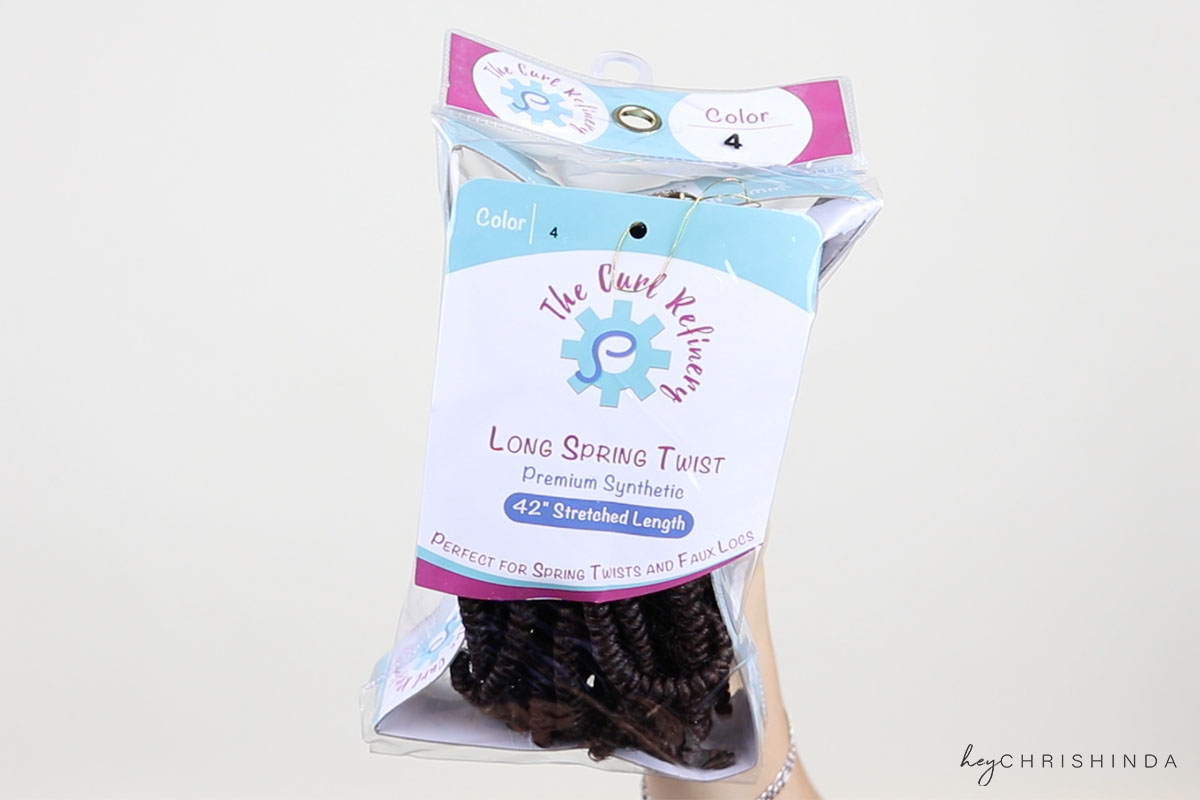
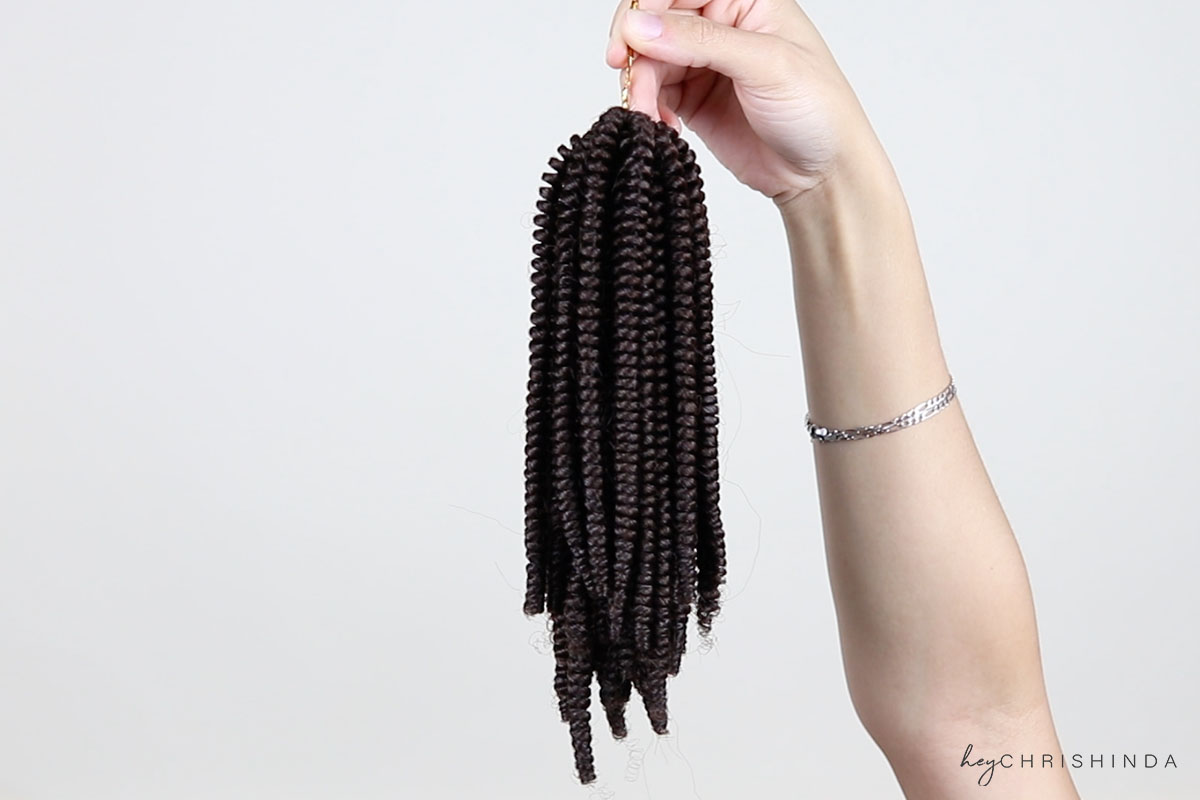
Option 1: The hair I used was the Long Spring Twist Hair in the #4 from TheCurlRefinery.com at $13 a pack. I used 2 ½ packs. This hair is coarse with a tight curl.
- TheCurlRefinery.com
- TheCurlRefinery.com
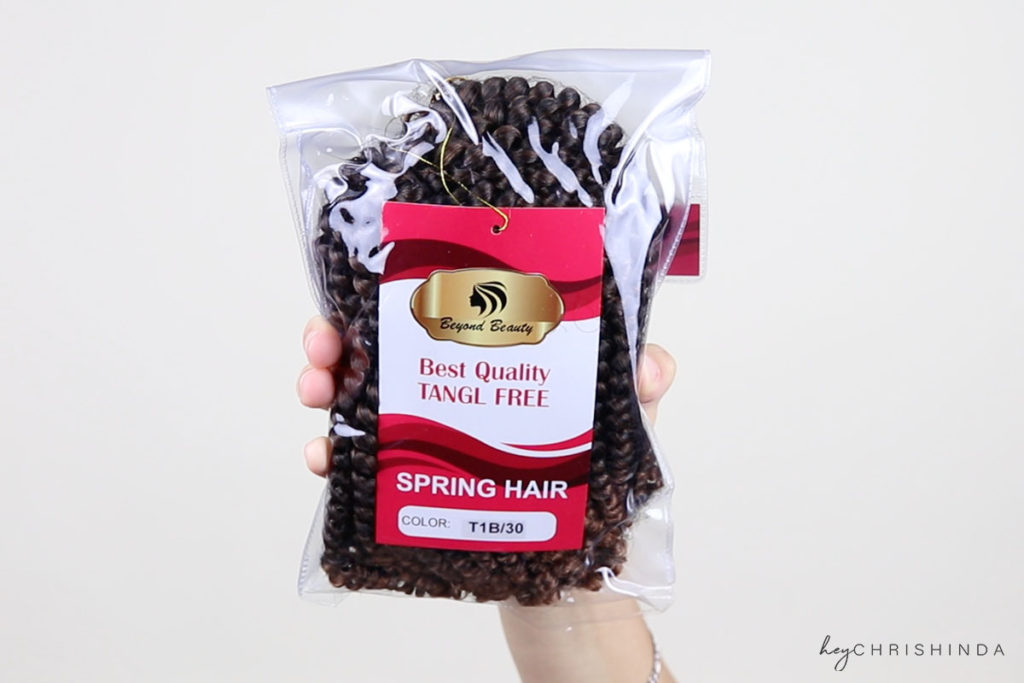
Option 2: From Amazon. Beyond Beauty . You get three bundles of hair for less than $25. This hair is silky with a looser curl.
- Beyond Beauty Spring Twist Hair from Amazon
- Beyond Beauty Spring Twist Hair from Amazon
*Tip* If you want really long spring twists, you can make the hair like a candy cane, where one side is short and the other is really long. What you would do it start off with a braid, split the third section so that there are only two sections, start twisting, and before you get to the end of the shorter side, you want to blend that with the longer side, splitting that as well. I got this tip from Ria Stuart’s video . Start around 3:45
Parting Method for Twists
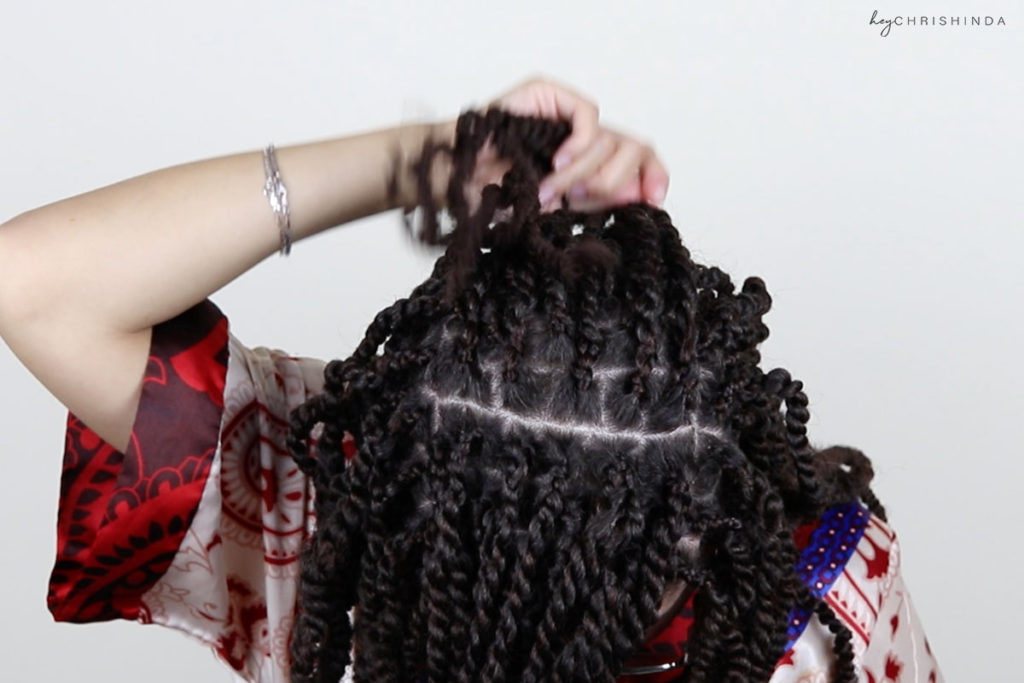
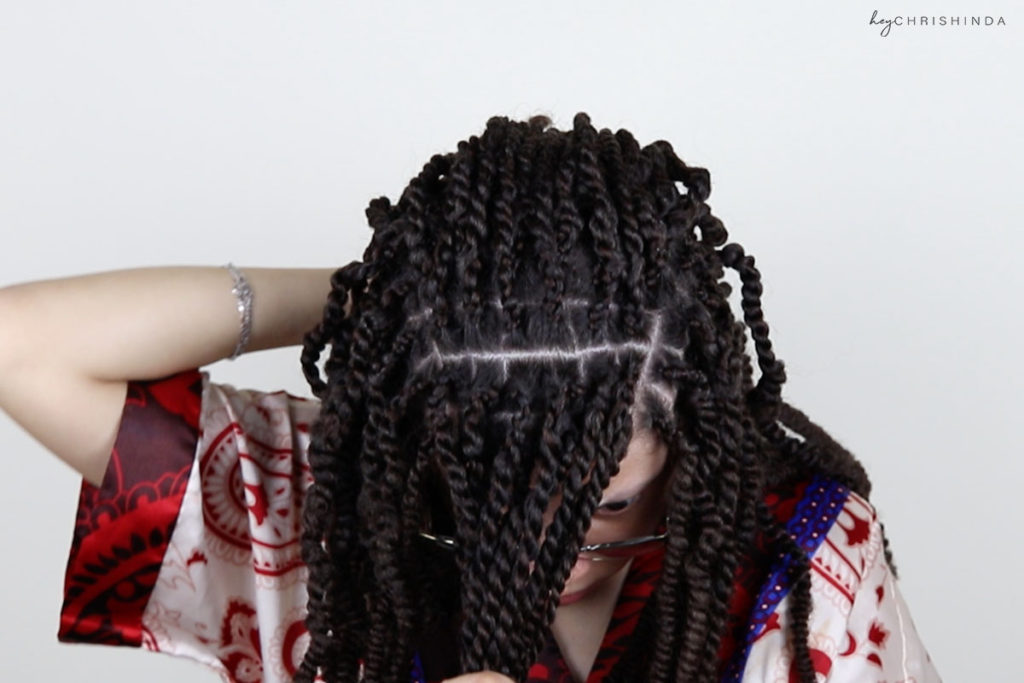
I’m a fan of box/square parting so I went that route. I made main parts, then followed up by pre-parting the individual boxes/squares. Makes the process so much faster.
Parting horizontally, or parallel to the ground, I make ~1 inch sections
When I get to the middle of my head, I begin a U shape from temple to temple and continue parting with a U shape for 3-4 parts
Part the remaining top section from side to side, continuing with 1 inch sections.
Products Used
Taliah Waajid has a protective styles collection that is really good. I used the Shampoo; it’s super tingly, the leave-in, styling cream, and the edge control.
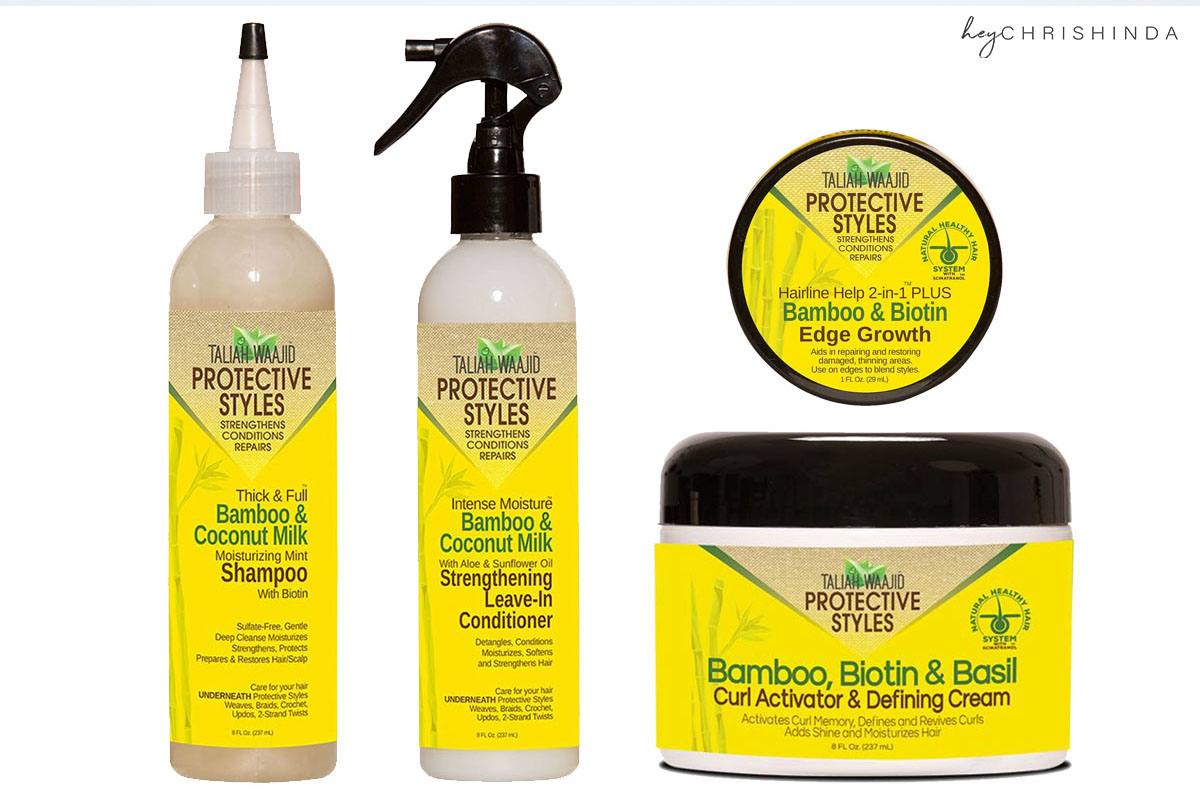
*I was sent the products to test out and have used them multiple times*
Until my next tutorial…


2 comments
Hey there, I love your site!!
Thank you so much!