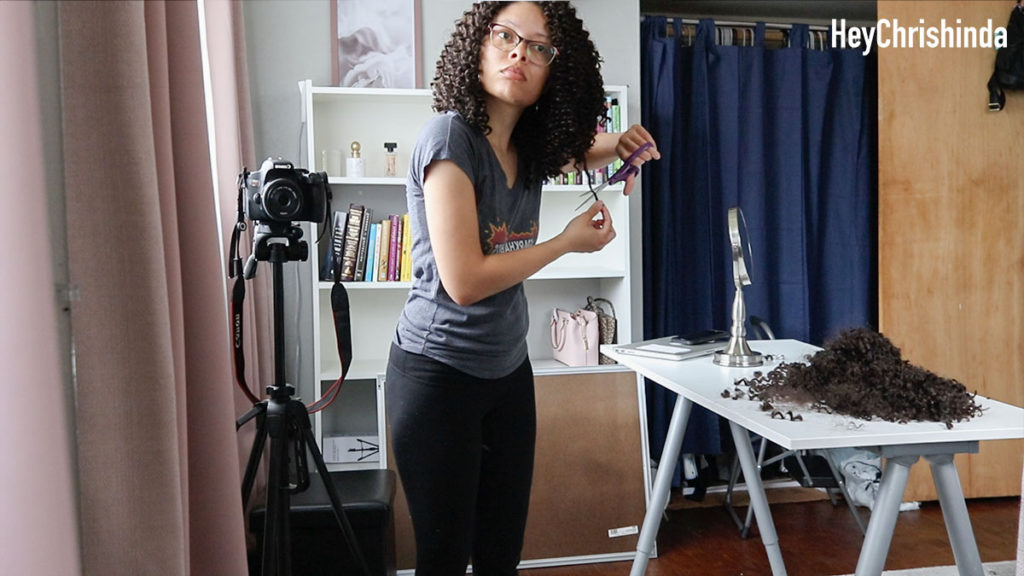
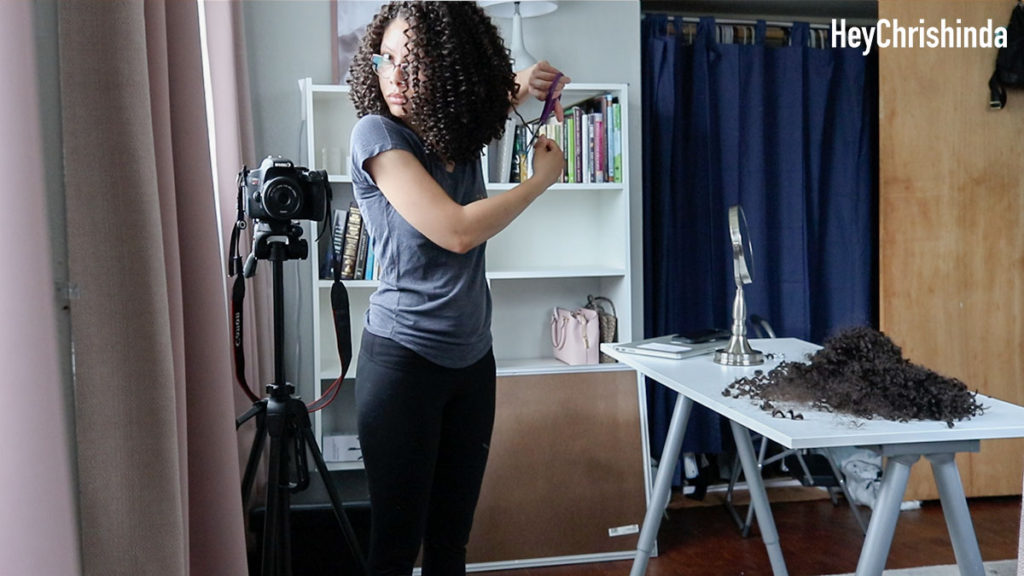
What prompted me to start wearing crochet braids or crochet hair was that, for whatever reason, I kept getting crochet braid video suggestions on my YouTube. After seeing all those suggestions, I was like, okay, bet, that’s really cute. A lot of crochet hair comes in 18 inches and for me, and probably a lot of you, that is just entirely too much hair… at least for the curly crochet hair. 18 inch crochet twists, braids, and locs are a different story.
In this blog post I’ll be sharing how to cut long crochet braids into a short style.
I KNEW that having curly, synthetic 18 inch hair was not gonna work for me. Synthetic hair gets tangled and matted. Next time, I’ll cut the hair in 1/2 before installing, but I wanted to see what the full length looked like.
• Keep scrolling for step-by-step pictures on how I cut my hair •
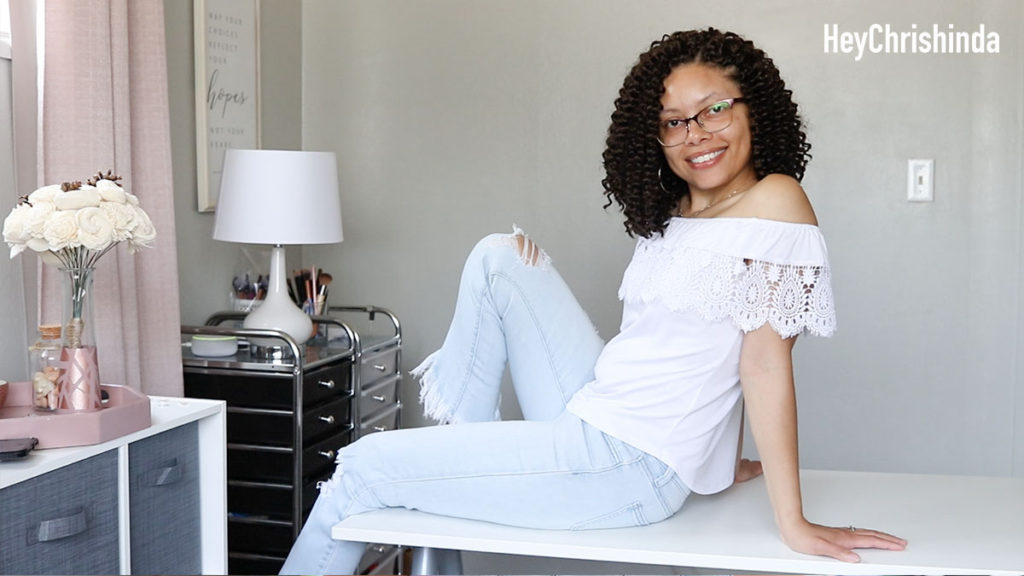
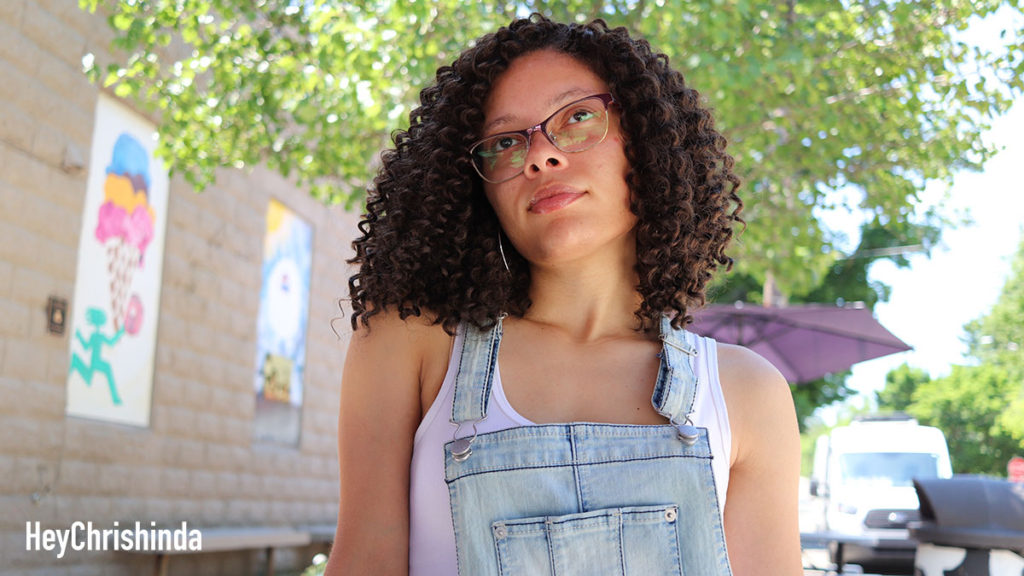
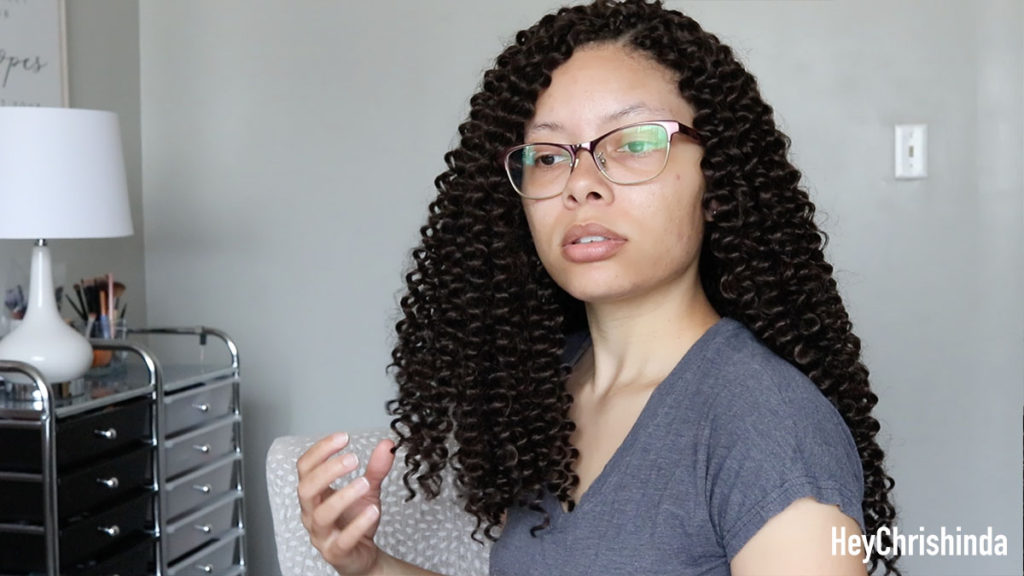
Here’s the end result of my cut. I loved the hair and how it turned out.
How to Cut Long Crochet Hair into a Short Style
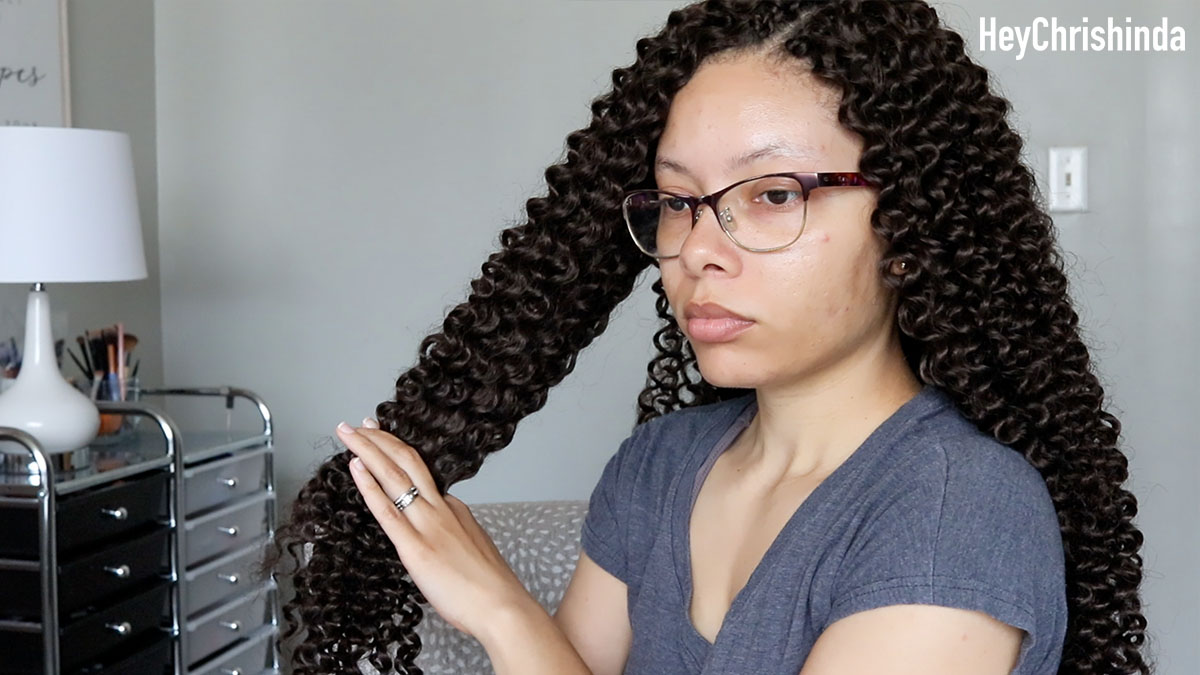
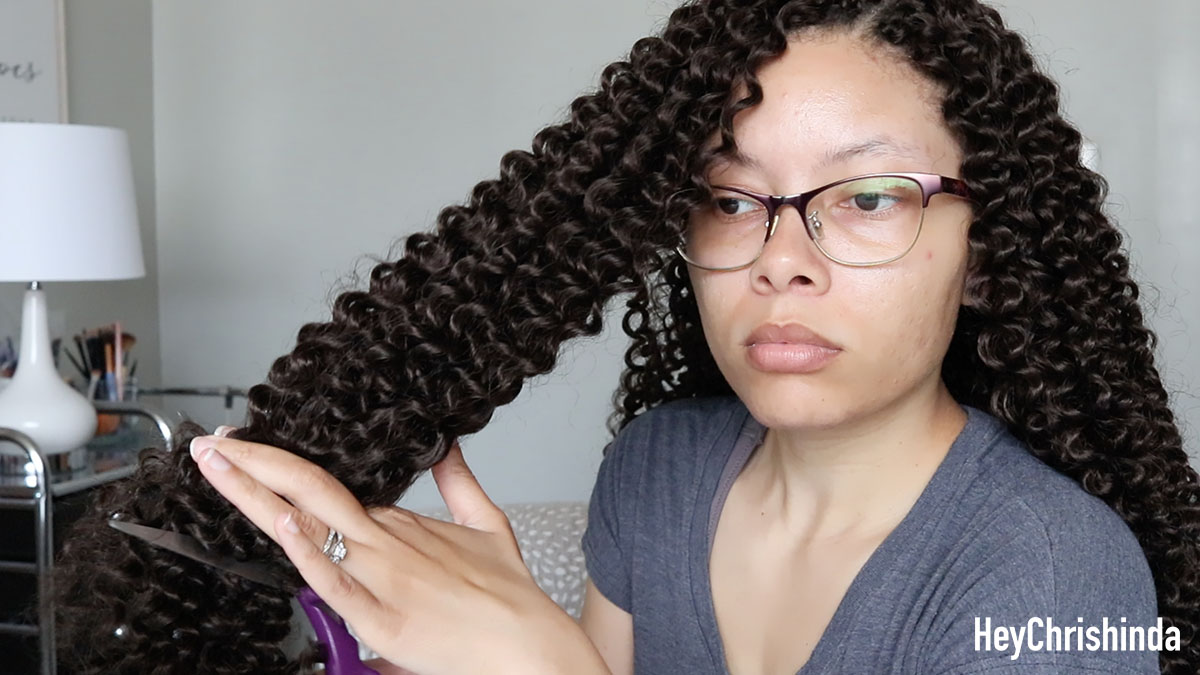
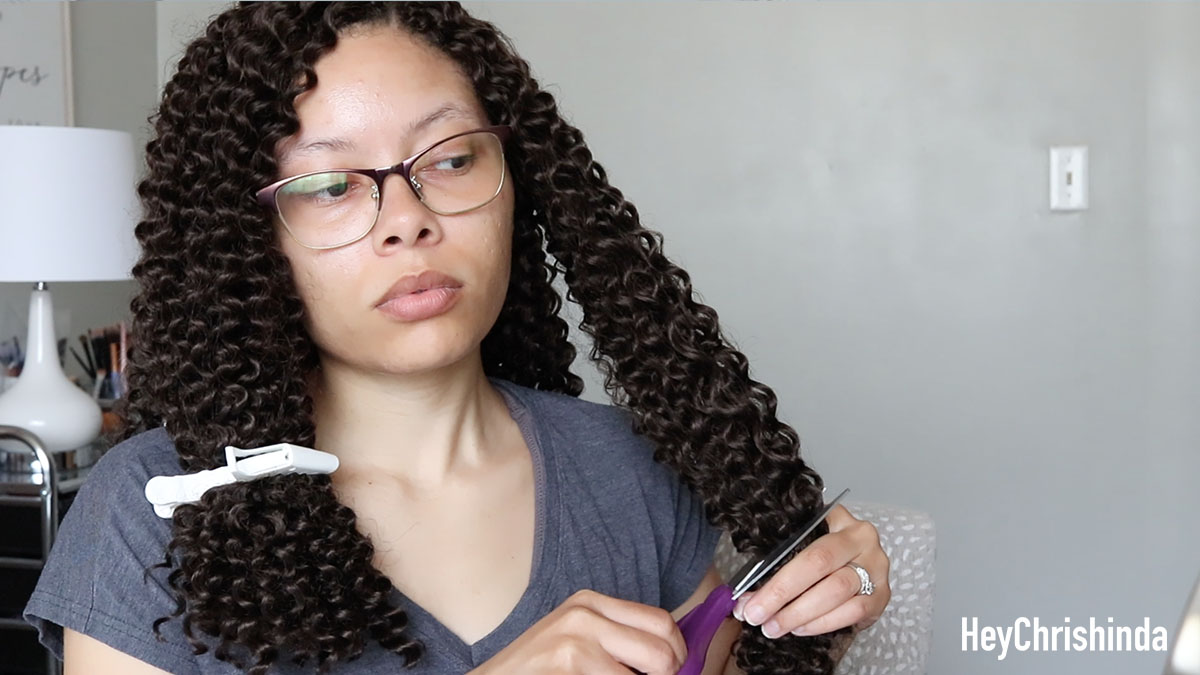
Let’s begin shall we. When I started, the hair was super long.
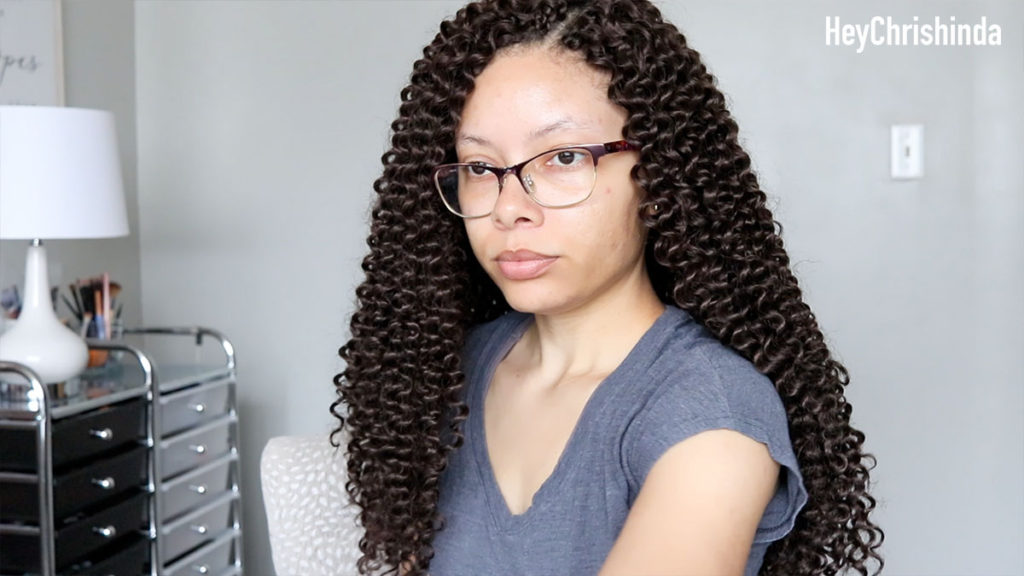
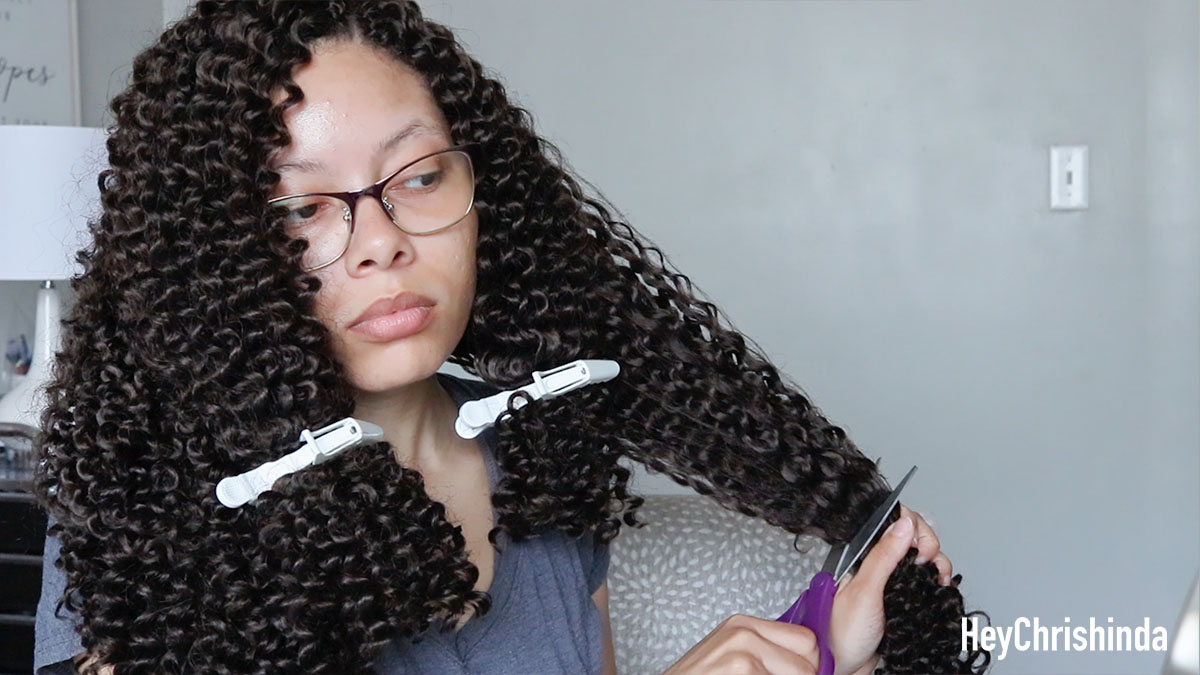
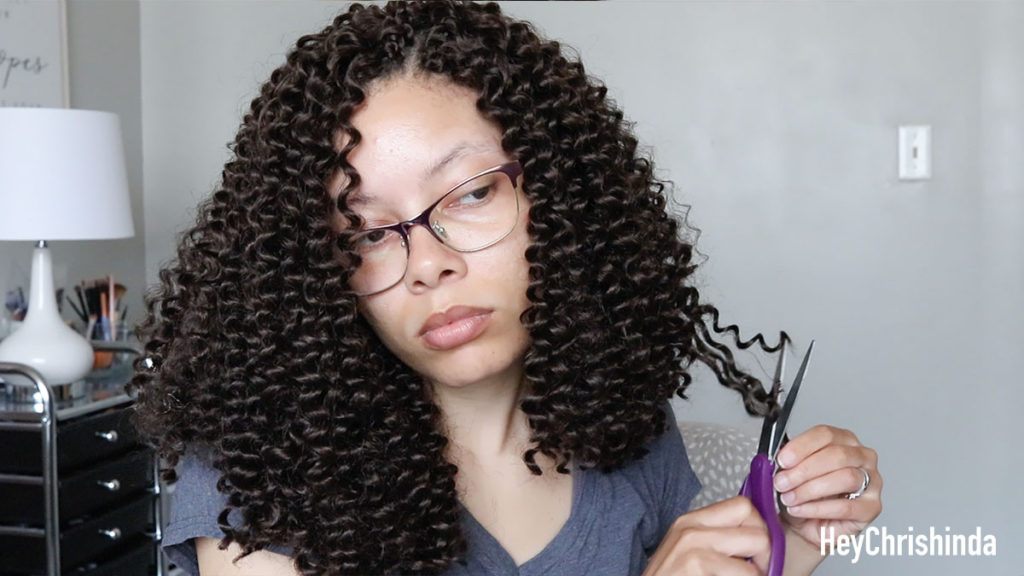
• You want to start by taking chunks of hair. Not too big, not too small.
•If you have curly hair, DON’T pull on it to stretch it. You want to just hold it together, because if you pull on it, once you cut it, it’s gonna spring back up and you may end up cutting too much.
•I started by cutting off about 6 inches. You’ll want to cut a little at a time, because you can always cut more, but you can’t get it back once it’s gone. Cutting it shorter, a little at a time, also lets you get your hand placement correct before getting to the actual cut you’re going for.
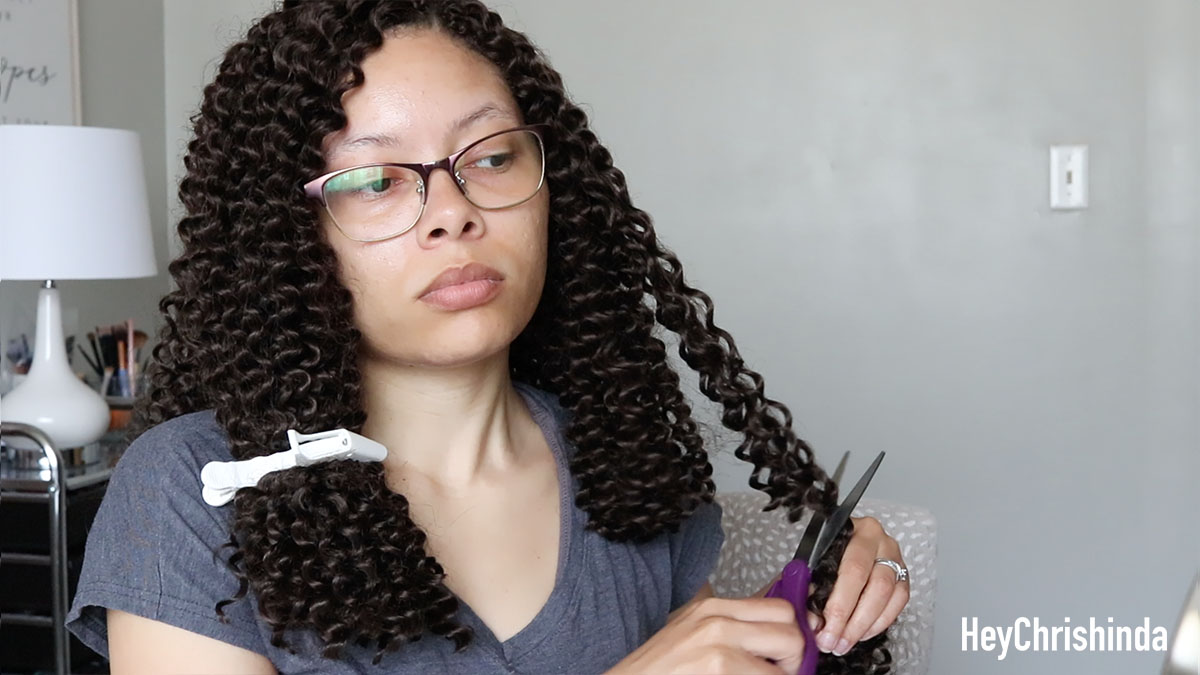
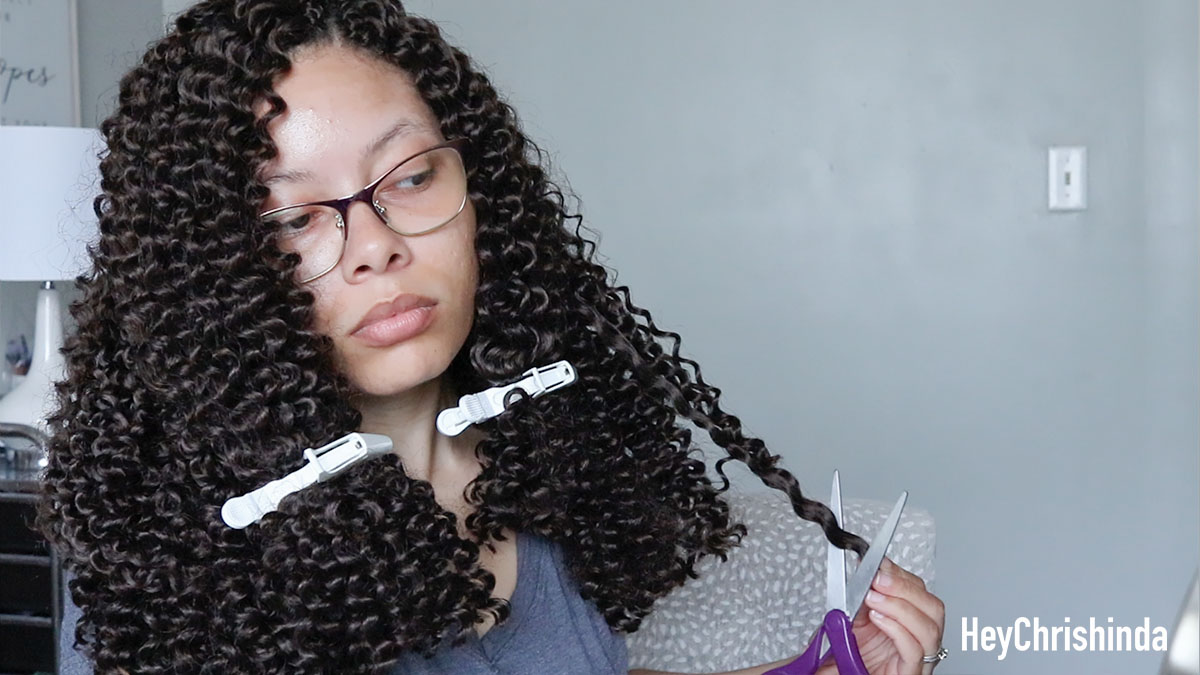
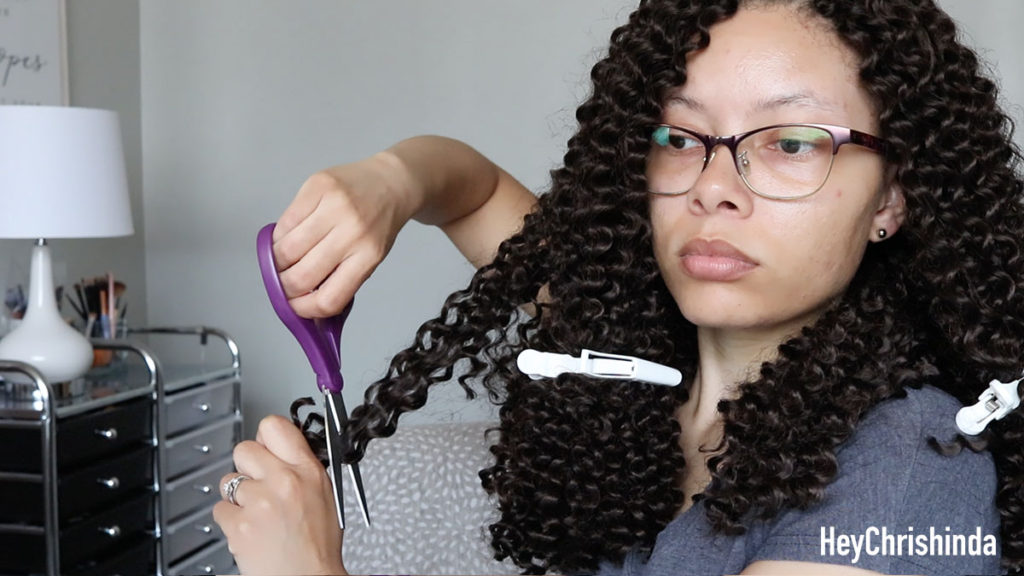
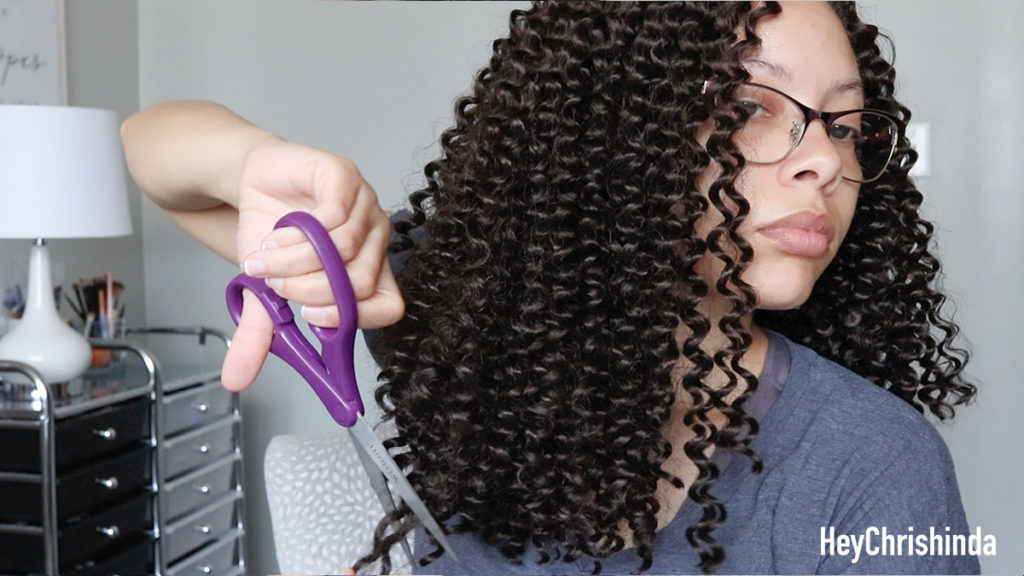
• This was the first cut. My hand placement wasn’t right, so it’s a little…wonky. You see how in the picture above, I’m holding the scissors more straight. If I was to hold my hair down, instead of out, my scissors would be parallel with the ground… that’s what you DON’t want unless you’re going for a blunt cut.
• Scissor placement: You want your scissors at an angle, either pointing away from you with the blades pointing towards the sky OR with the blades at an angle pointing towards you but downward towards the floor.
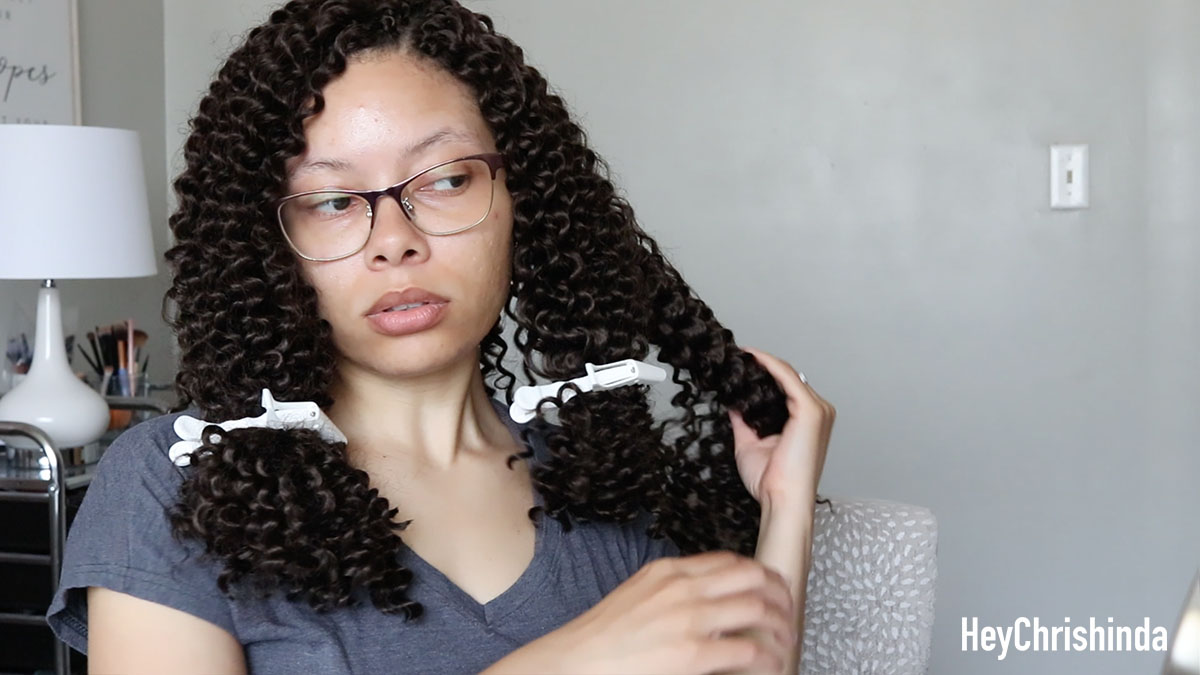
•After my fist cut, I was trying to do a little shaping, but it wasn’t as short as I wanted, so I moved on to the next section and I came back.
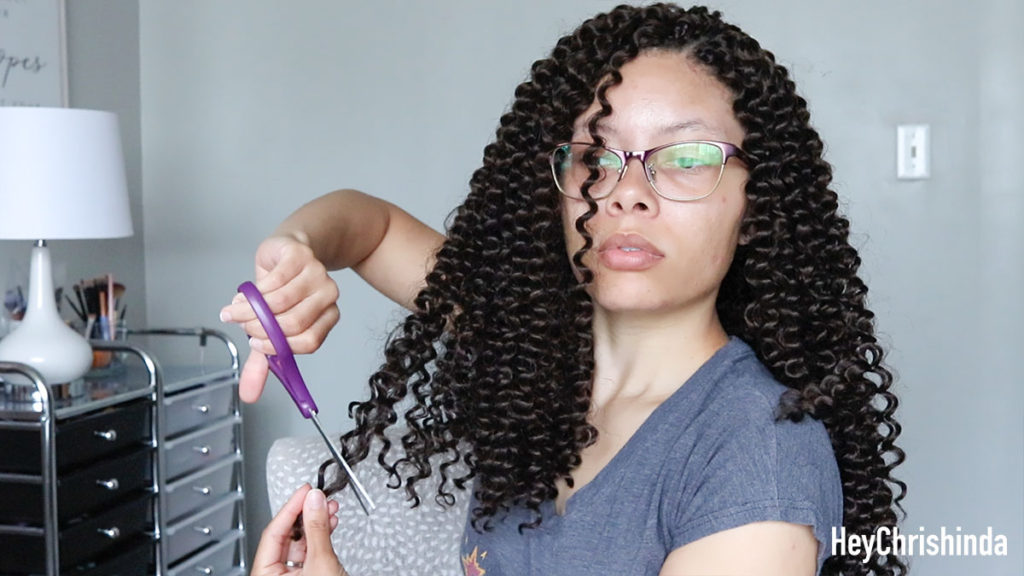
• Do the same thing with the other side.
•I cut a little more off of this side on the initial cut, but I wanted it this length or shorter.
•Be sure to use clips to hold the hair you have already cut out of the way.
Cutting the Back
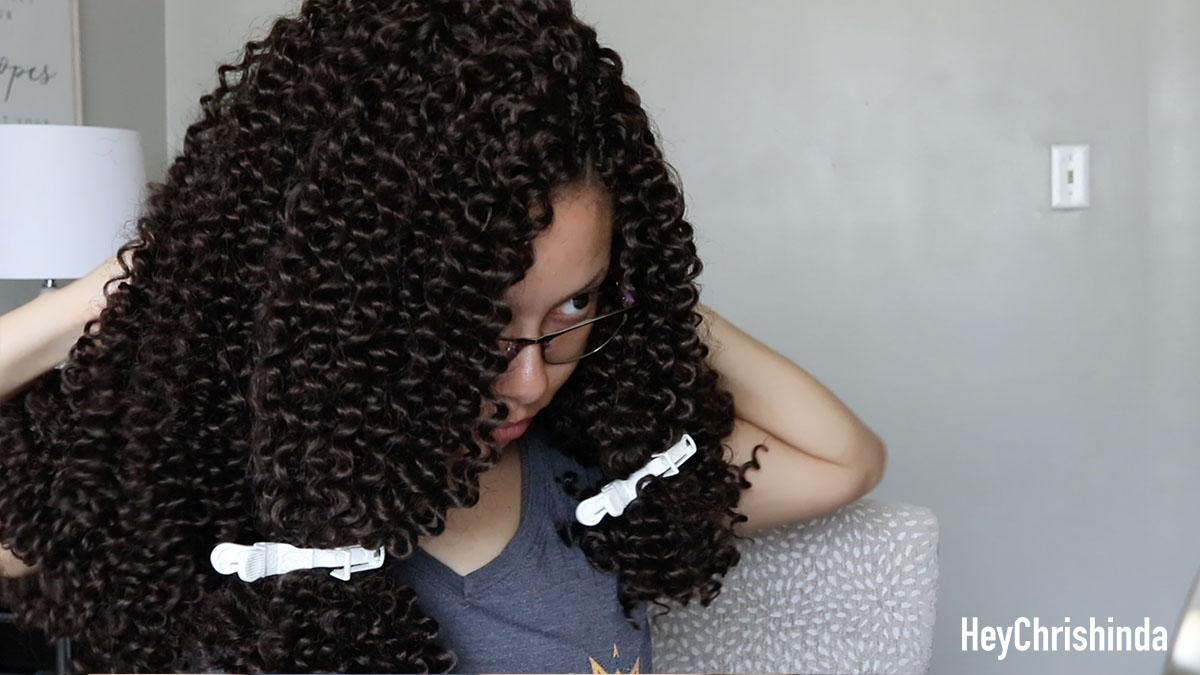
•Moving on to the back. I finger-parted my hair right down the middle and pullet each side forward.
•I only cut in 4 big chunks this time, but I’d suggest 6, then you go back in and shape it even better, little by little.
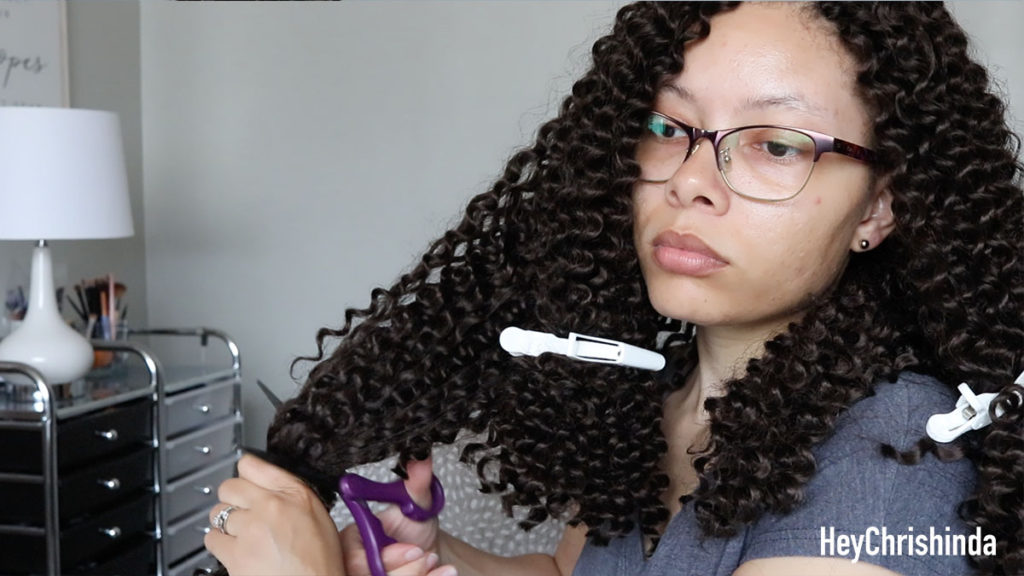
•This is a back section. I cut upward for the initial cut and little by little for the smaller pieces to make it shorter.
•After removing all the hair clips, this is after the initial cuts. I went back in to make it even shorter.
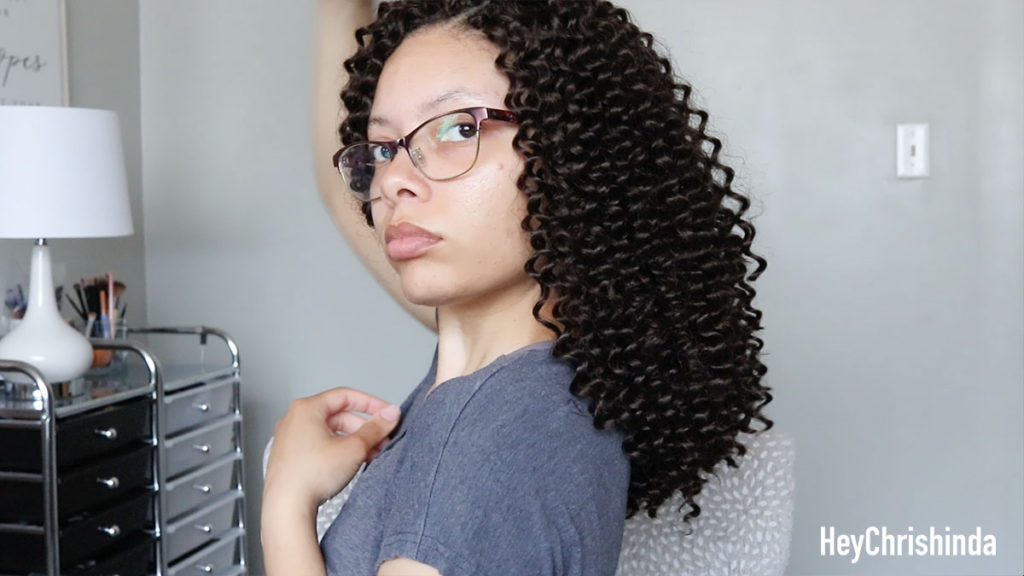
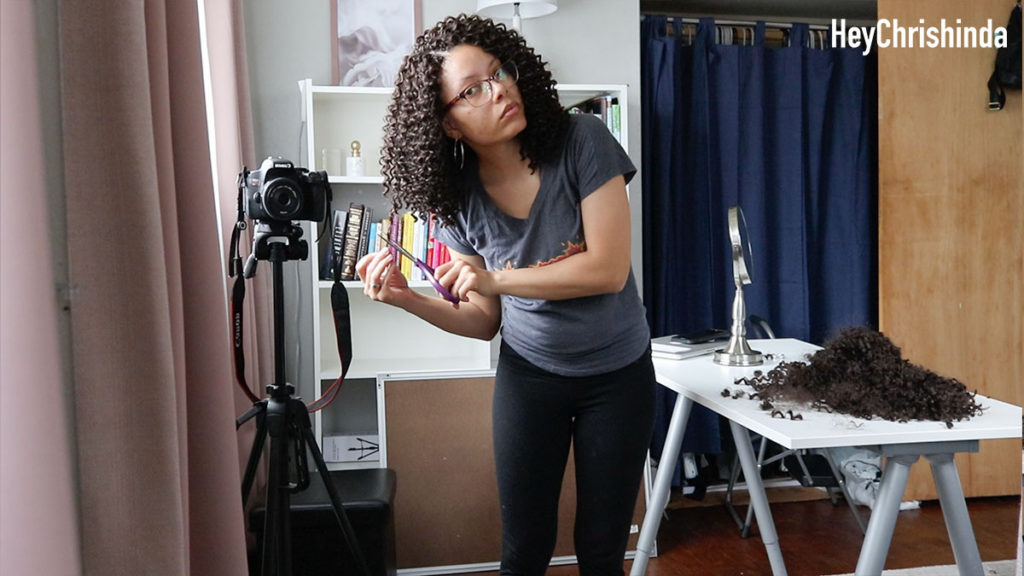
•I tilted my head and just cut at the angle that I wanted, until I got to the length I wanted.
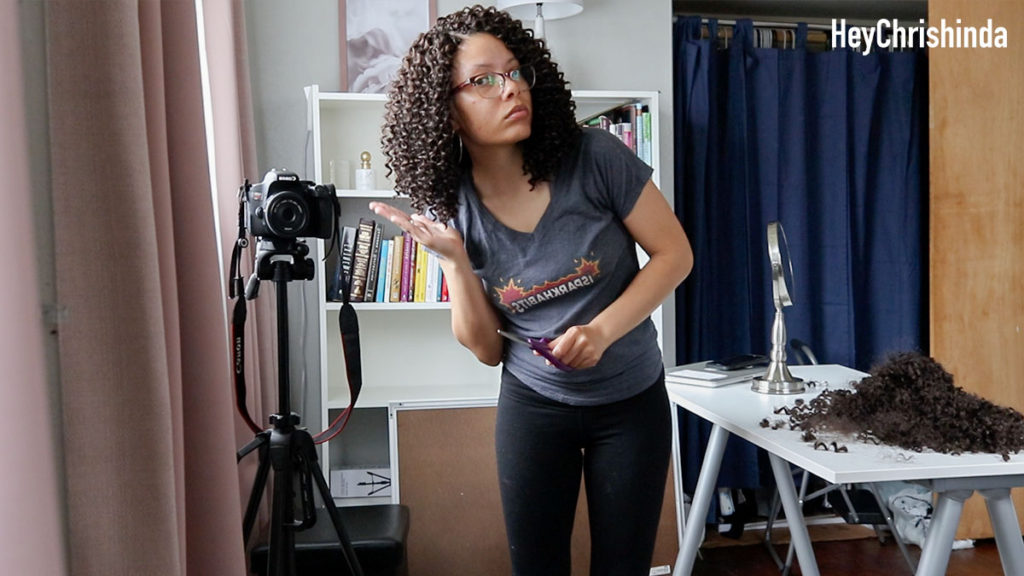
•Another suggestion is to stand in front of the mirror and tilt your body. This helps with getting the back, especially if you’re working in smaller sections. Also, turn your head to the side as far as you can. The back is very tricky. You really just gotta figure it out. I’m still working on it.
The Results of My Cut
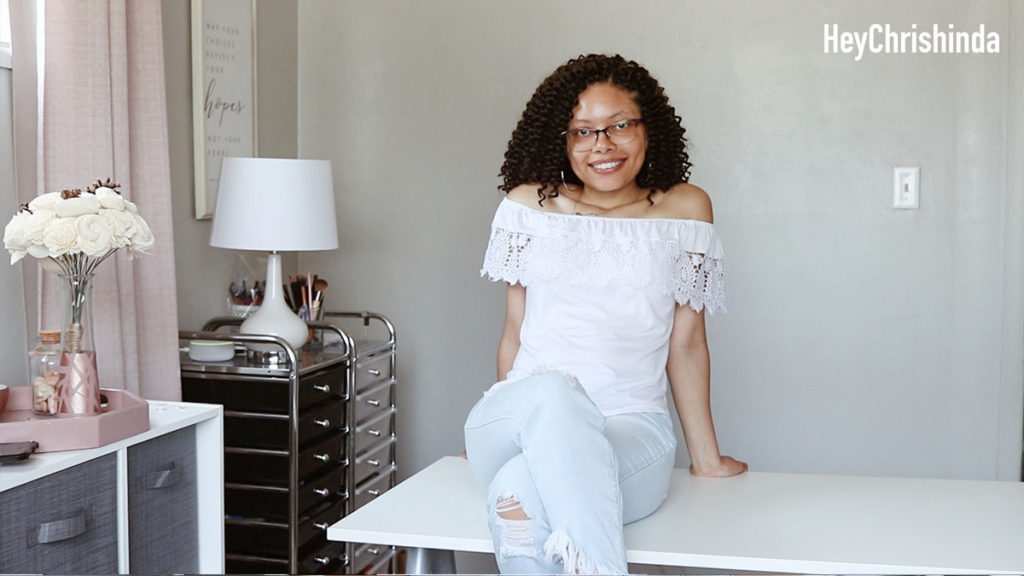
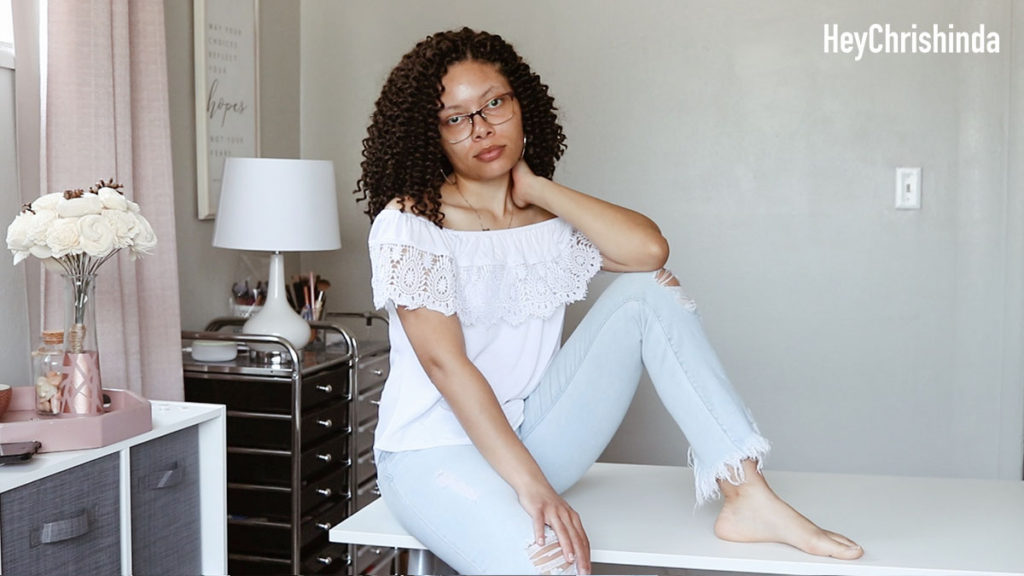
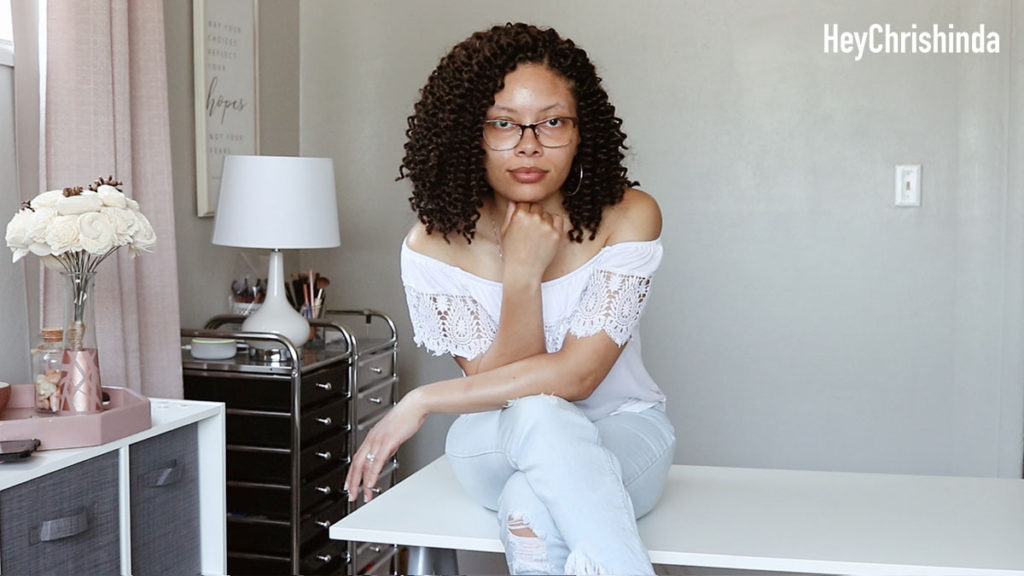
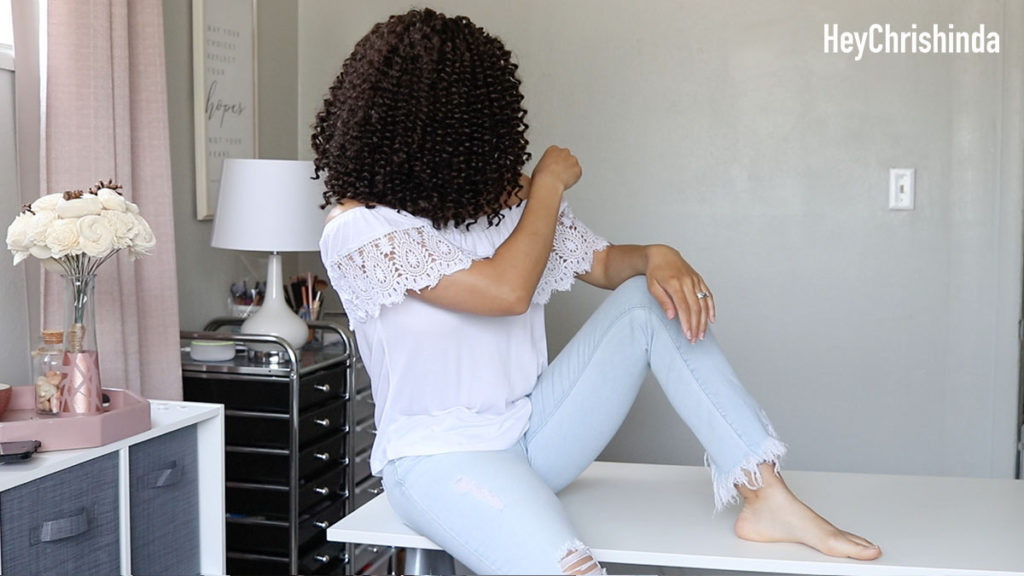
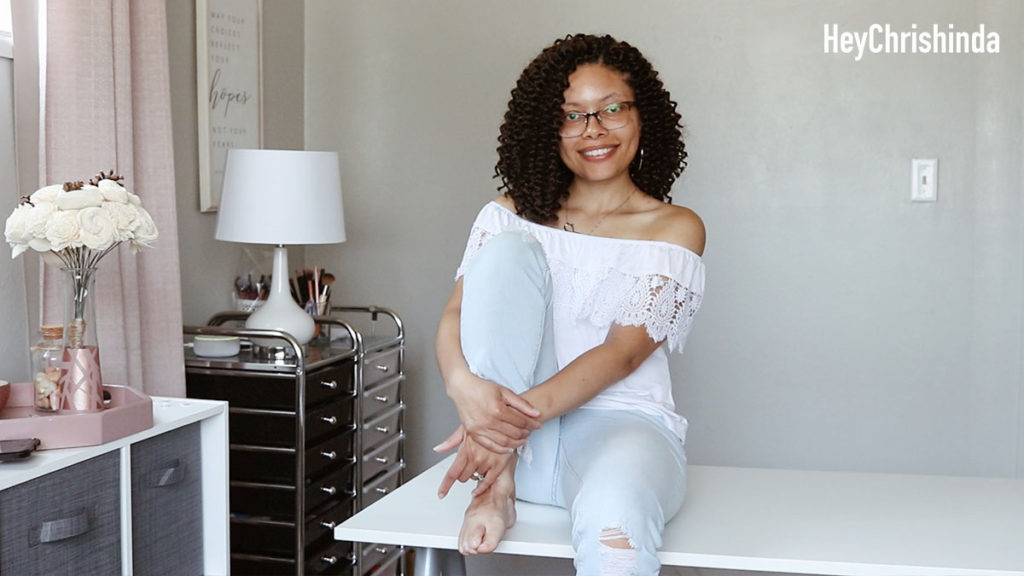
Hair details: Lulutress Island Twist Crochet hair – 18 inch – Color 4. I used like, 8 packs.
How I Installed this hair
Remove curly crochet hair
If you’re wondering what plugin I’m using for my gallery posts that you can click through and it not open a new page it’s Visual Portfolio, Posts & Image Gallery .
Thank you so much for scrolling through. I hope it was helpful to you and until my next post…


