To watch the full tutorial on how to install these crochet spring twists, click the video above!
Crochet braids are back! Well, for a lot of people they never went out of style, but I never tried them until mid 2020; well into my 20’s. I kept getting these random crochet braid video suggestions on my YouTube home feed and I mean, they were CUTE, so I had to try them. My first crochet braid style was a success and this one, which is my second, was also a success. I’m officially never going back to my wearing my own hair… there’s just so many styles to choose from.
What are crochet braids you ask?
Crochet braids are a protective style in which you cornrow your hair and THEN add extensions. After you cornrow your hair, you take a latch hook and either slide it under your braids if they’re on the thinner side, and through the braid if they’re more chunky (something I learned from BeautyCanBraid. After sliding the latch hook under your braid, you place the hair onto the hook, close the latch and then pull the latch hook out, which pulls the hair under your braid. Lastly, you need to knot the hair, repeat for your entire head, and then you’re done!
Let’s get into the hair and step by step tutorial! Pictures of me wearing this hair throughout the 4 weeks will be all the way at the end!
Crochet Hair Details
Freetress 2x Spring Twists / 12 inch / Color #4 / 20 twists per pack / I used 6 packs for a total of 120 twists.
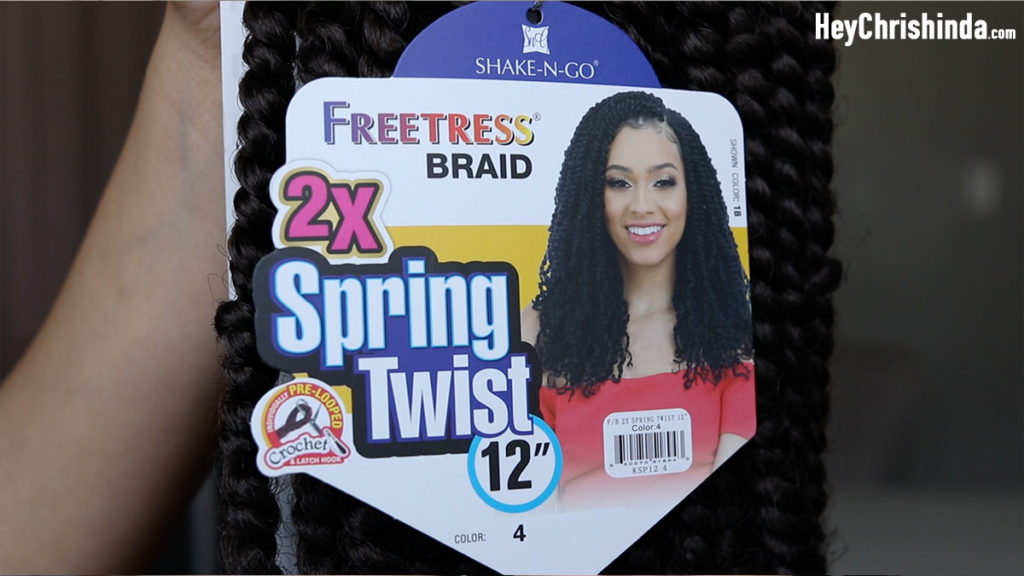
Crochet Spring Twists – Step-by-step
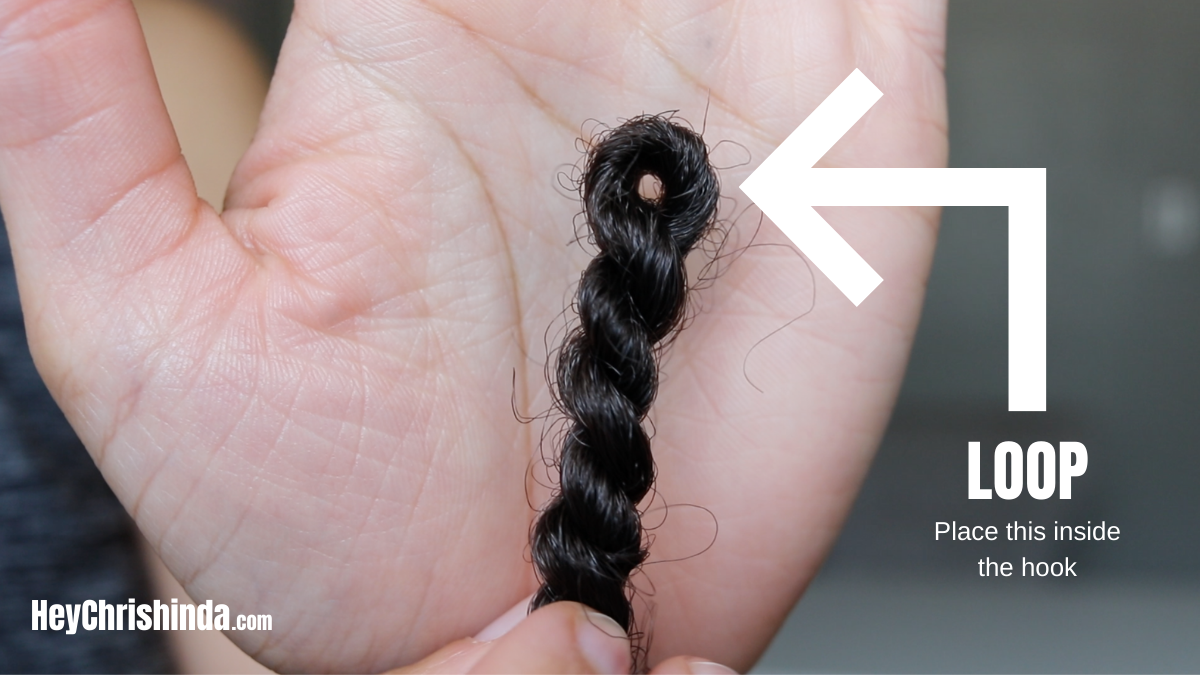
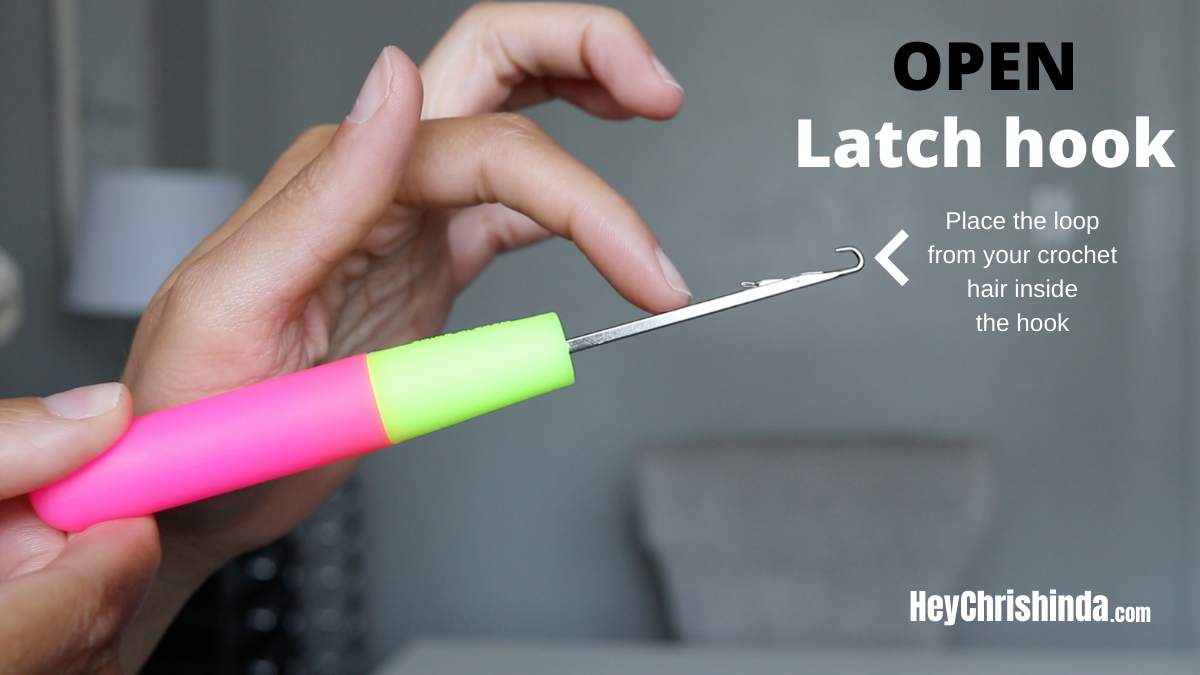
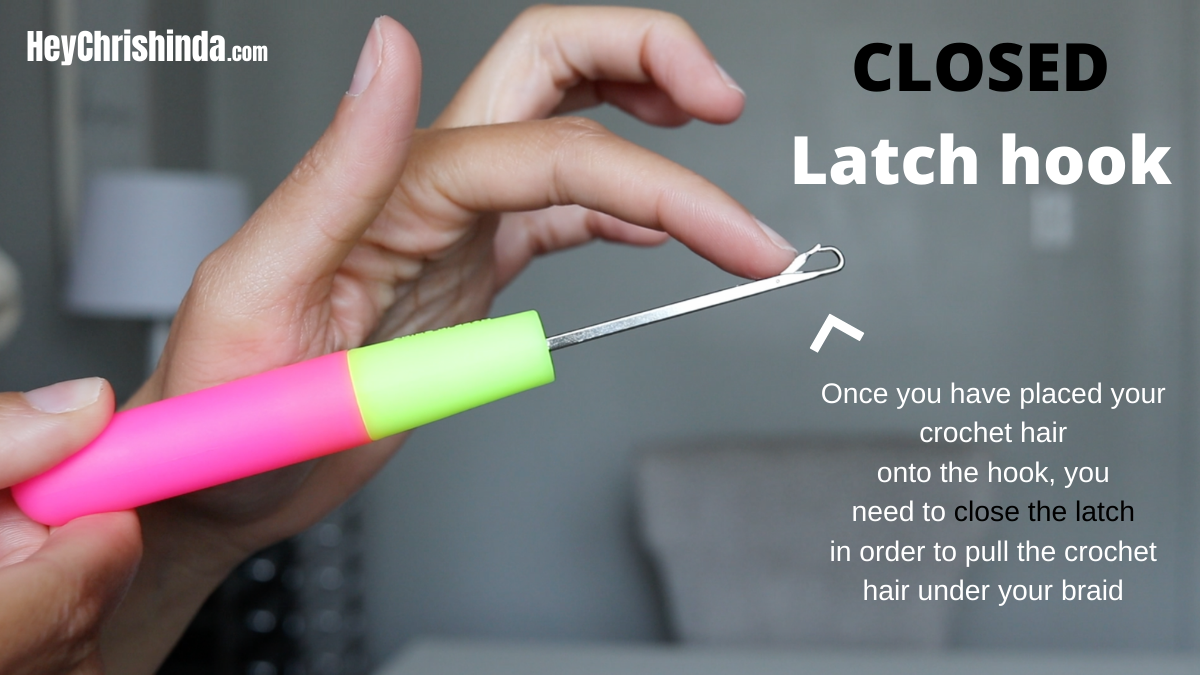
First, let me show you the open latch hook, closed latch hook, and the loop on this hair.
To crochet pre-looped crochet hair is very simple. Getting your hand placement right can be a little tricky though, but once you get the hang of it, you got it!
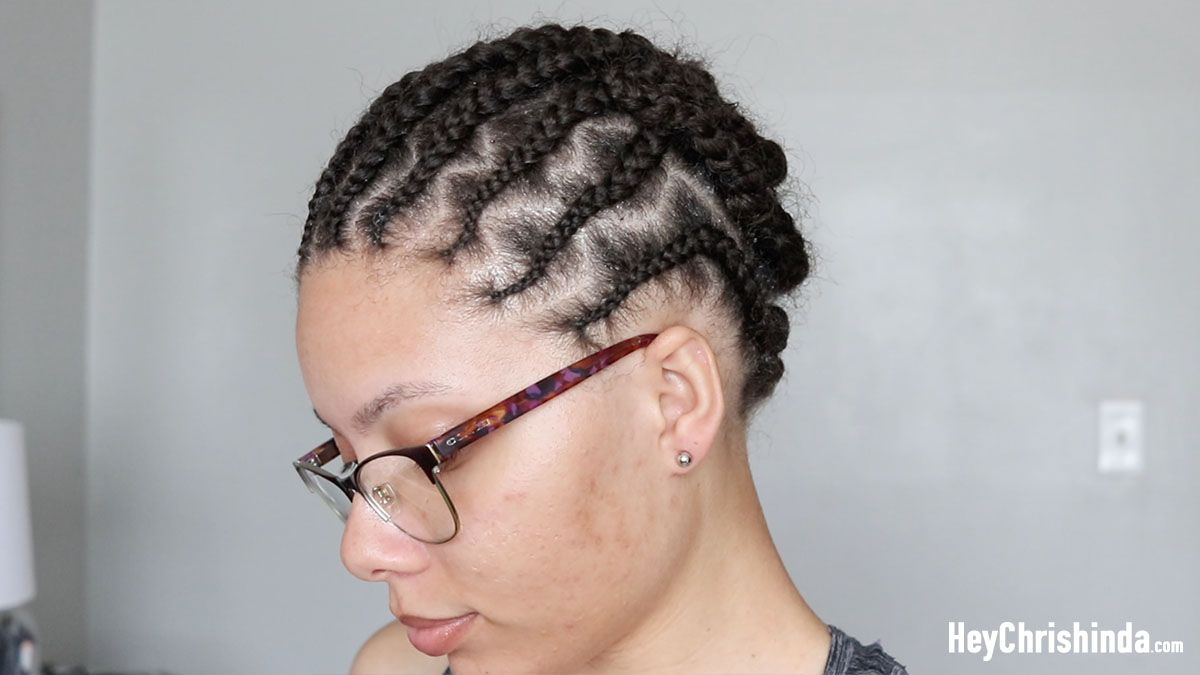
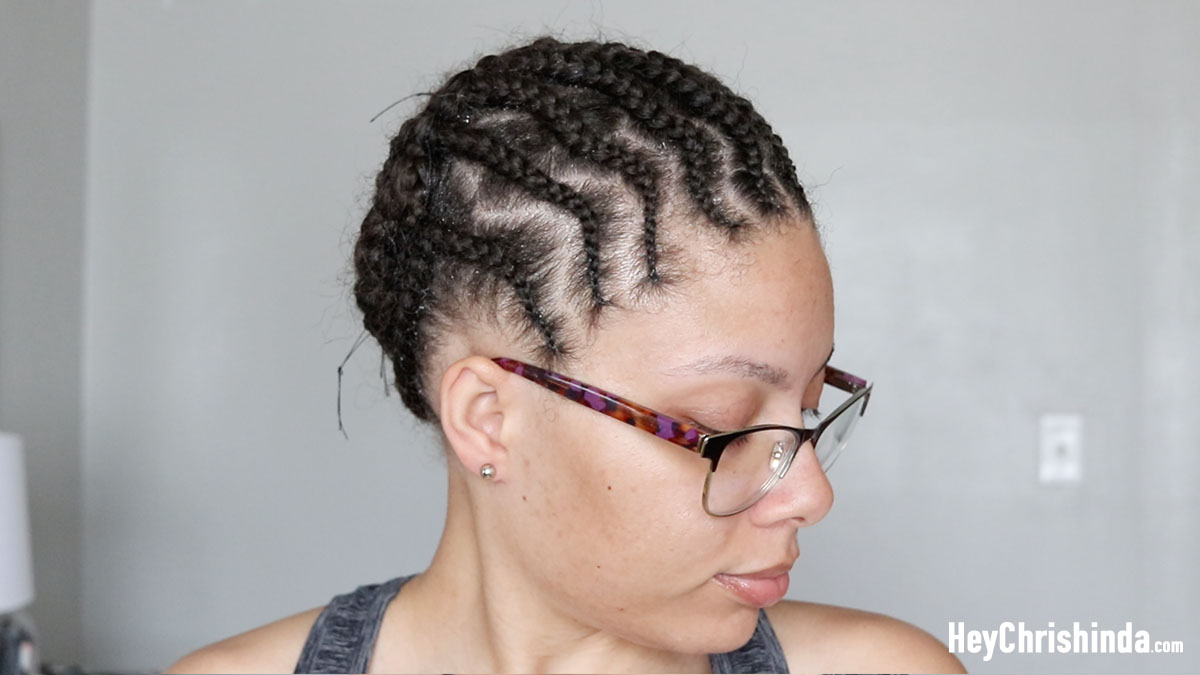
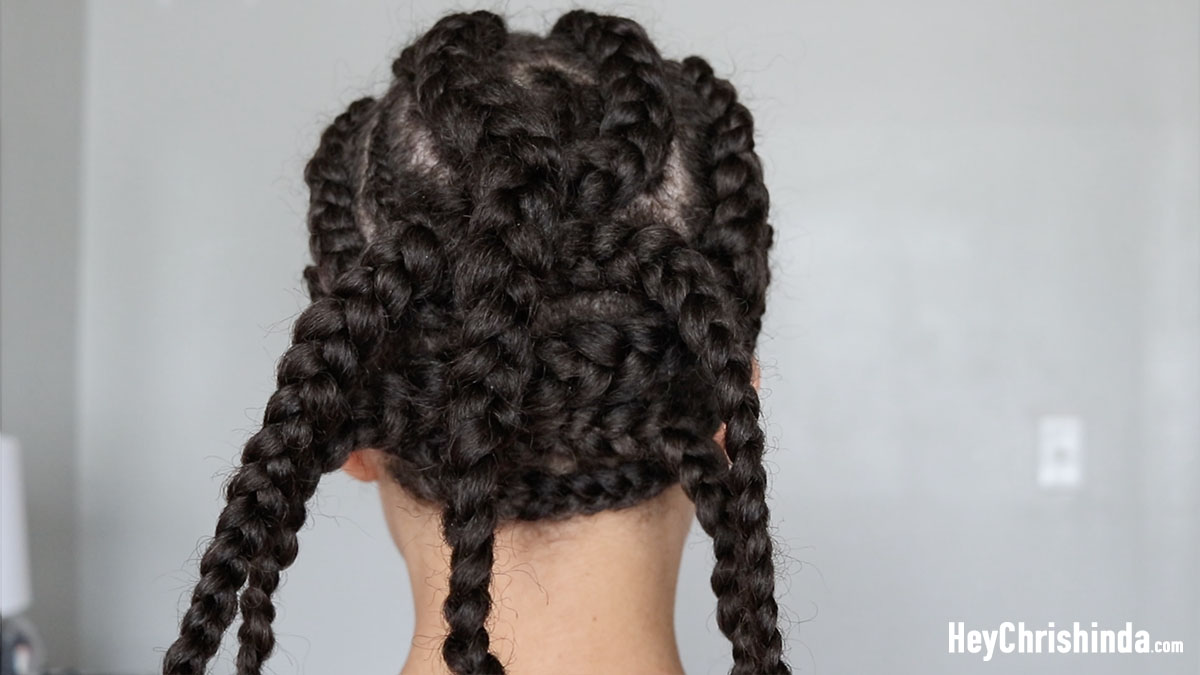
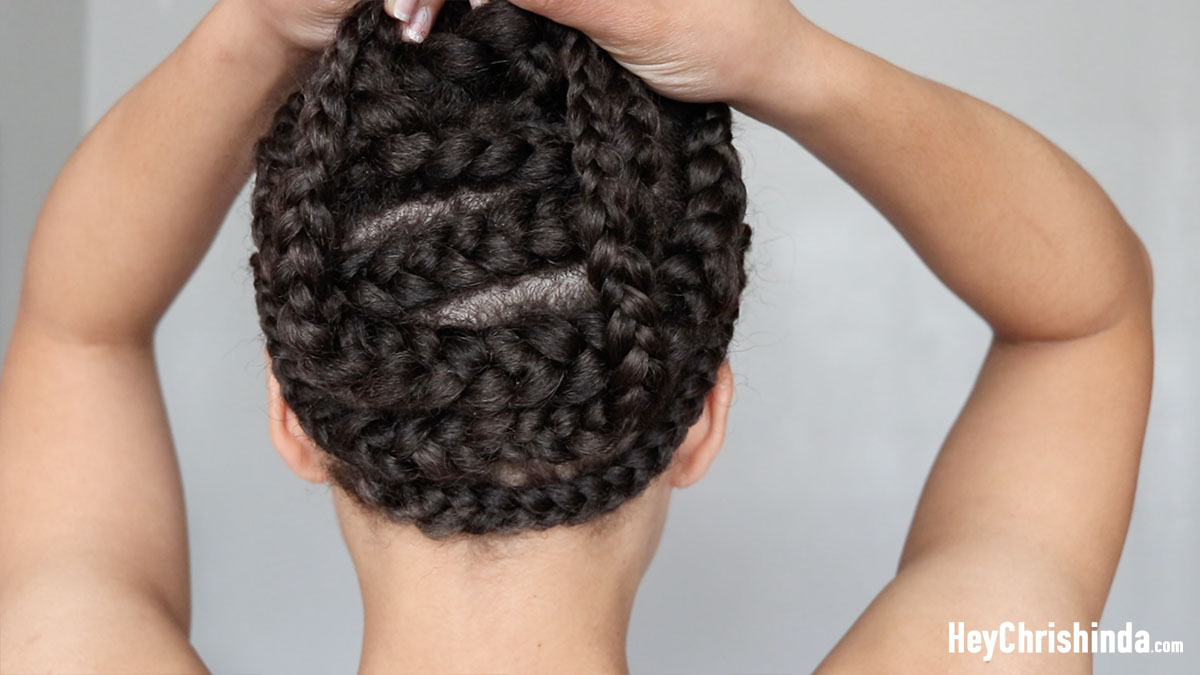
Crochet braid pattern for long hair
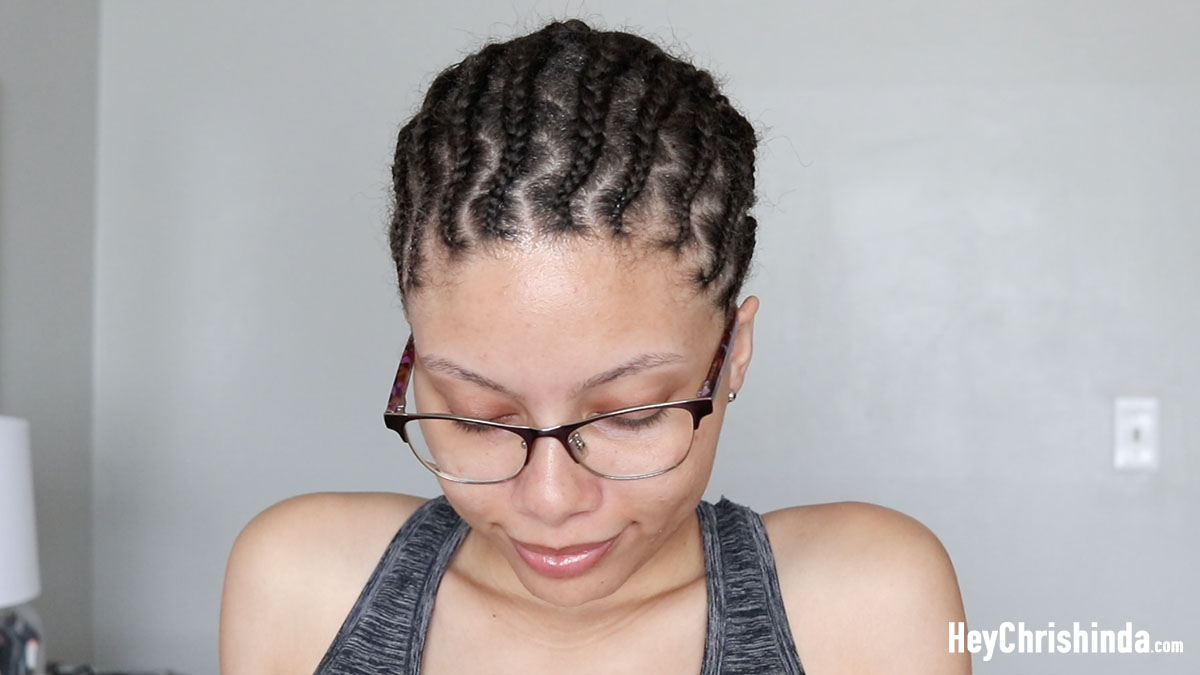
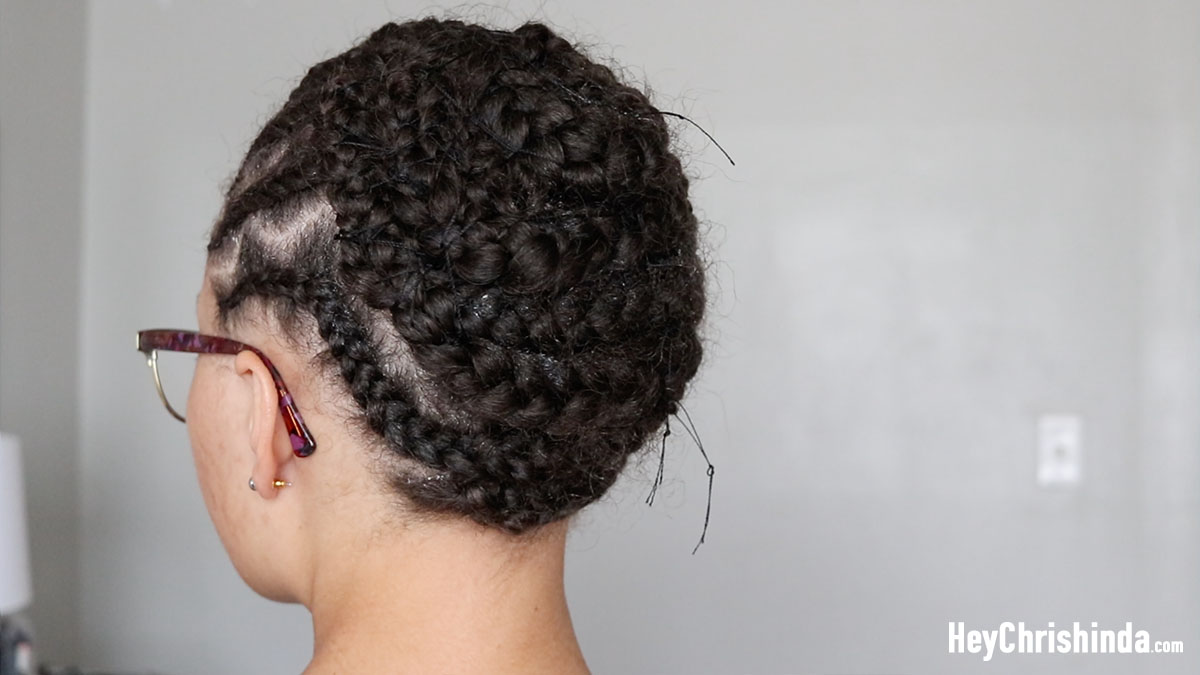
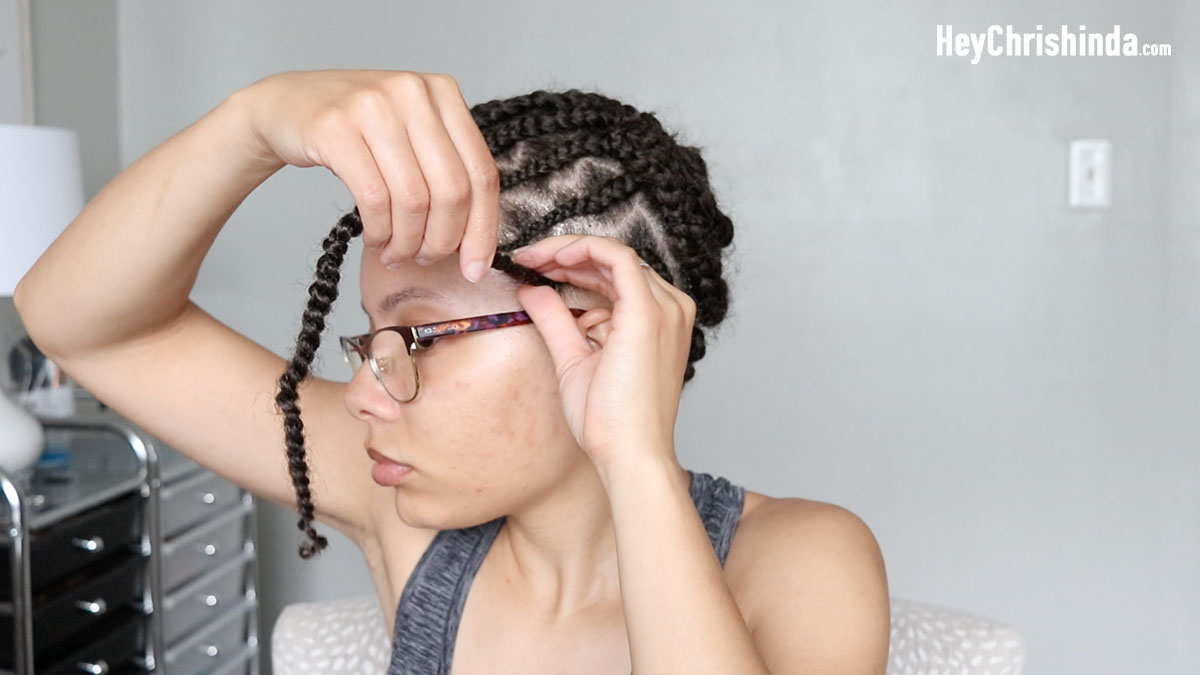
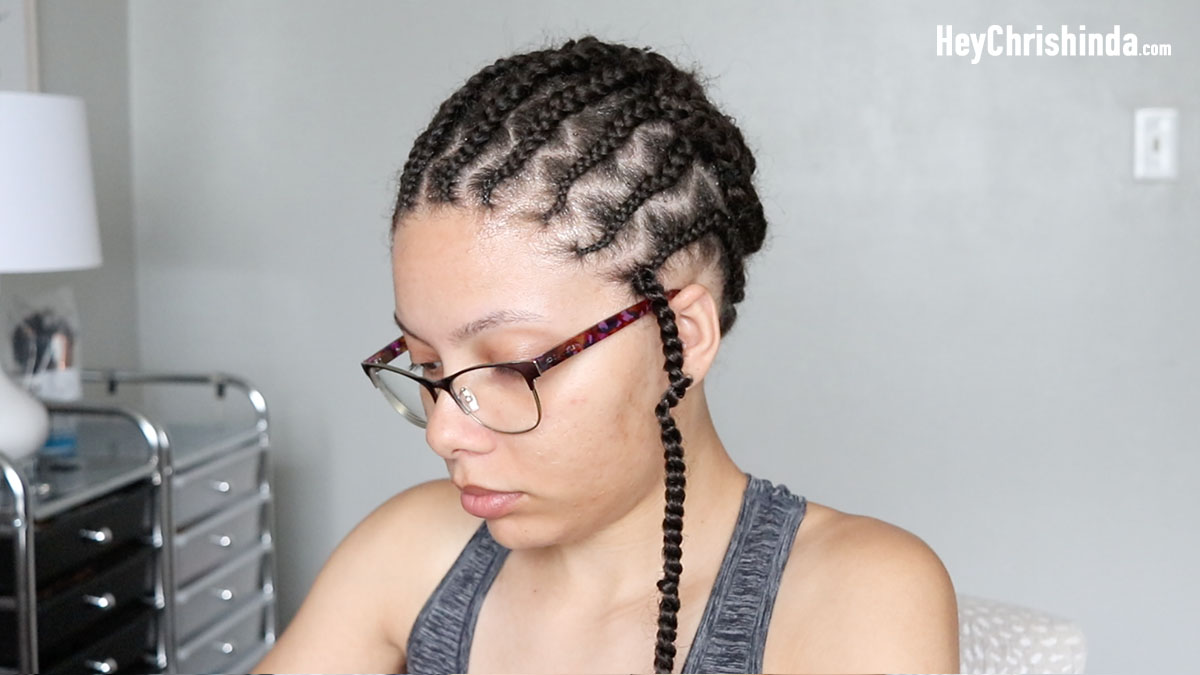
My sister braided my hair for this style. I told her that I wanted to try the zig zag parts in the front, but didn’t give her any direction for the back. I didn’t know what to with the back because my hair is so long that it can easily look super bulk, but she worked it out.
2 braids were joined to make 1 braid a few times and there’s a few extra braids thrown in there in the back. The 2 outside braids made an anchor braid and became 1 at the back left. Every braid in the back go in the opposite direction. Meaning, she braided to the right, the next one to the left, then right, then left… until there was no hair left and then sewed it up to get this flat foundation.
If you’re wondering how to sew up your LONG hair for crochet braids, check out this post.
Installing the crochet spring twists
•When you click on a picture to make it bigger, the steps will be in white text UNDER the picture•
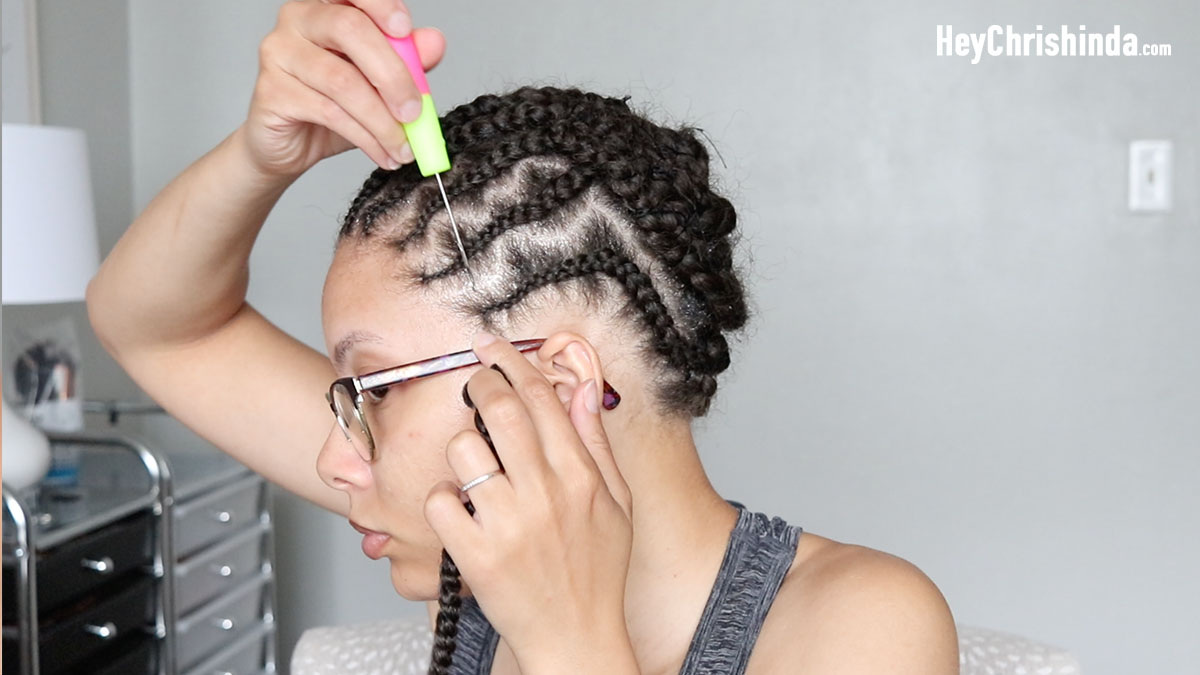
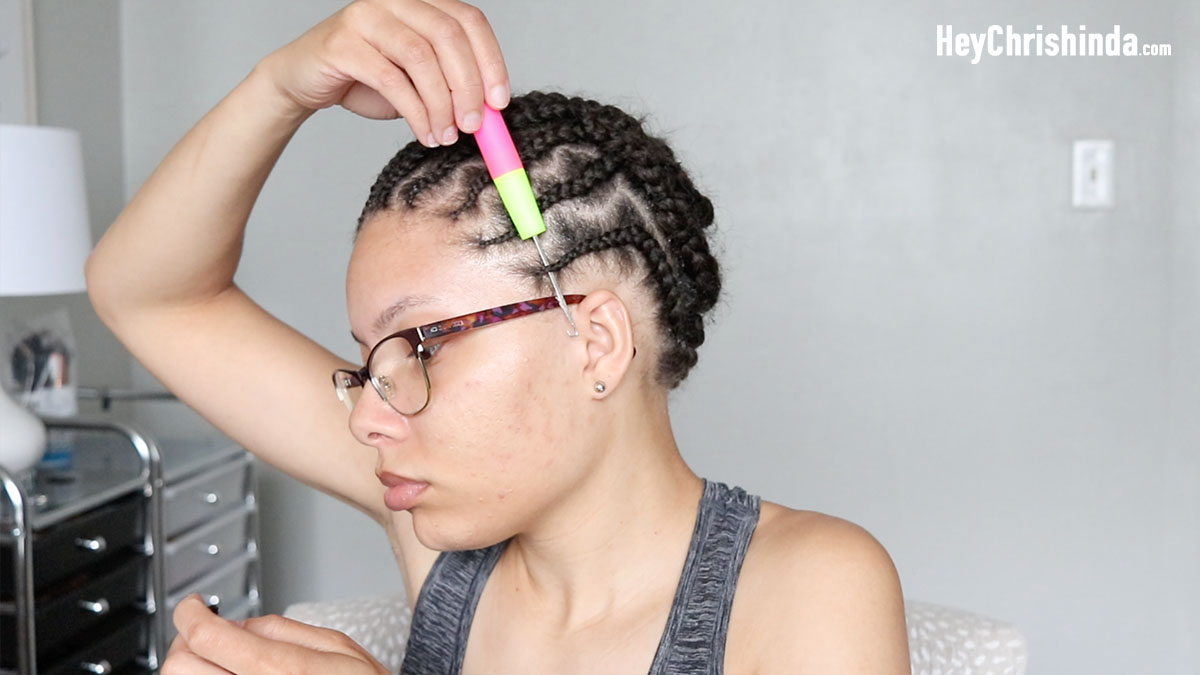
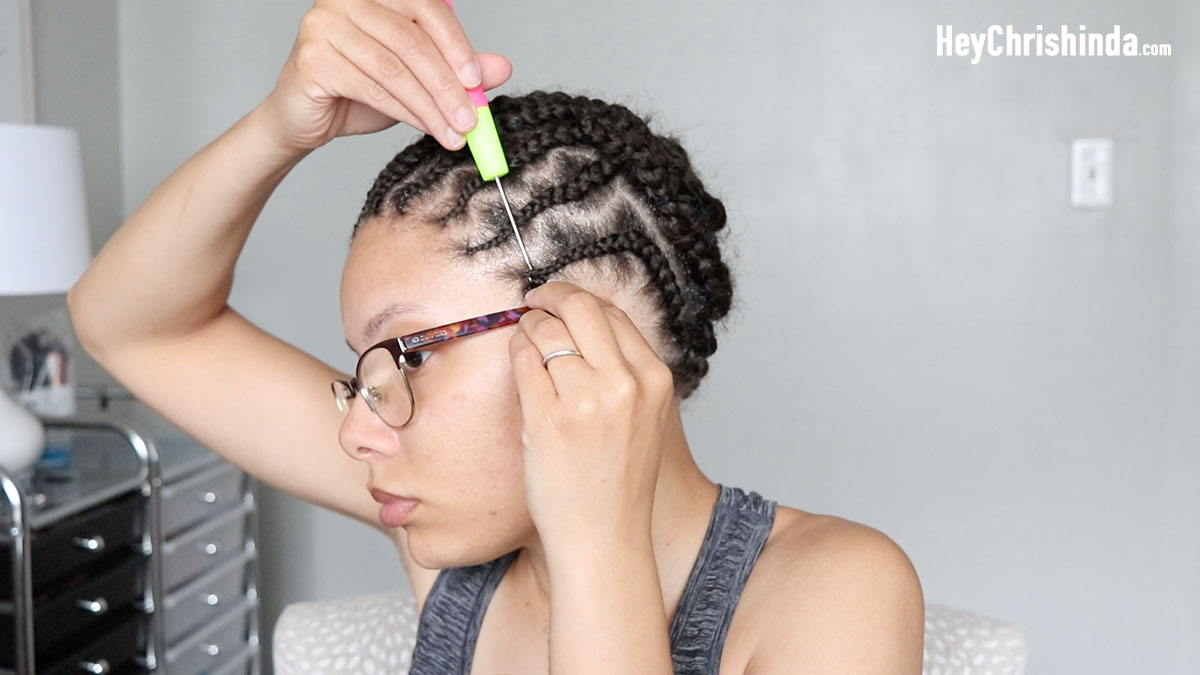
- Point the latch hook downward. This will make the knot be on the bottom.
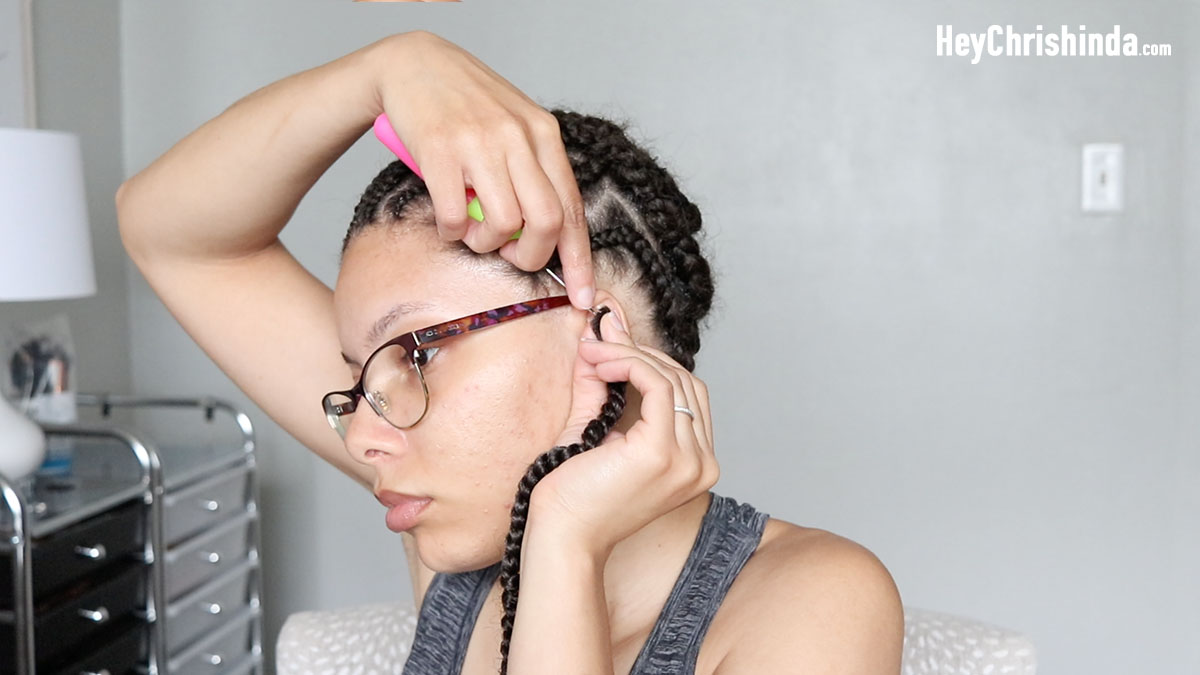
- Slide the OPEN latch hook under your braid… a lot of times you’ll just end up leaving it there while you get the hair together.
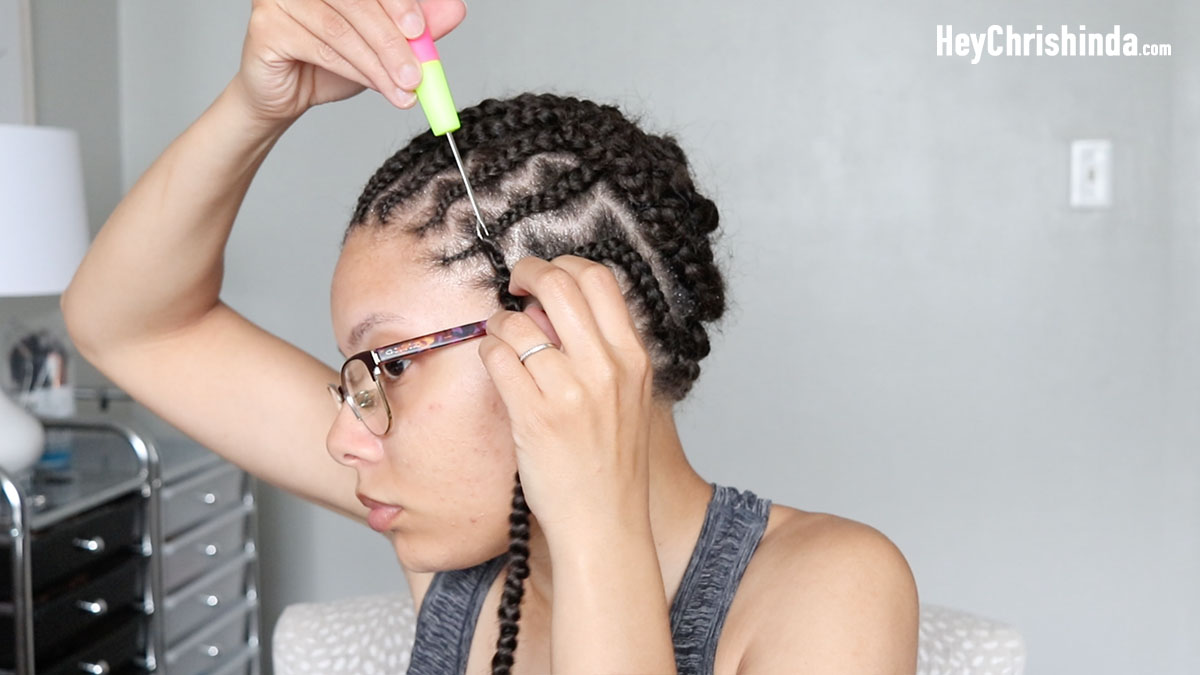
- Place the loop of the crochet hair onto the hook and CLOSE the latch
- Since you inserted the latch hook downward, once you close the latch, you’ll gently pull the closed latch hook upward, sliding the crochet hair under your braid.
- Pull a little more
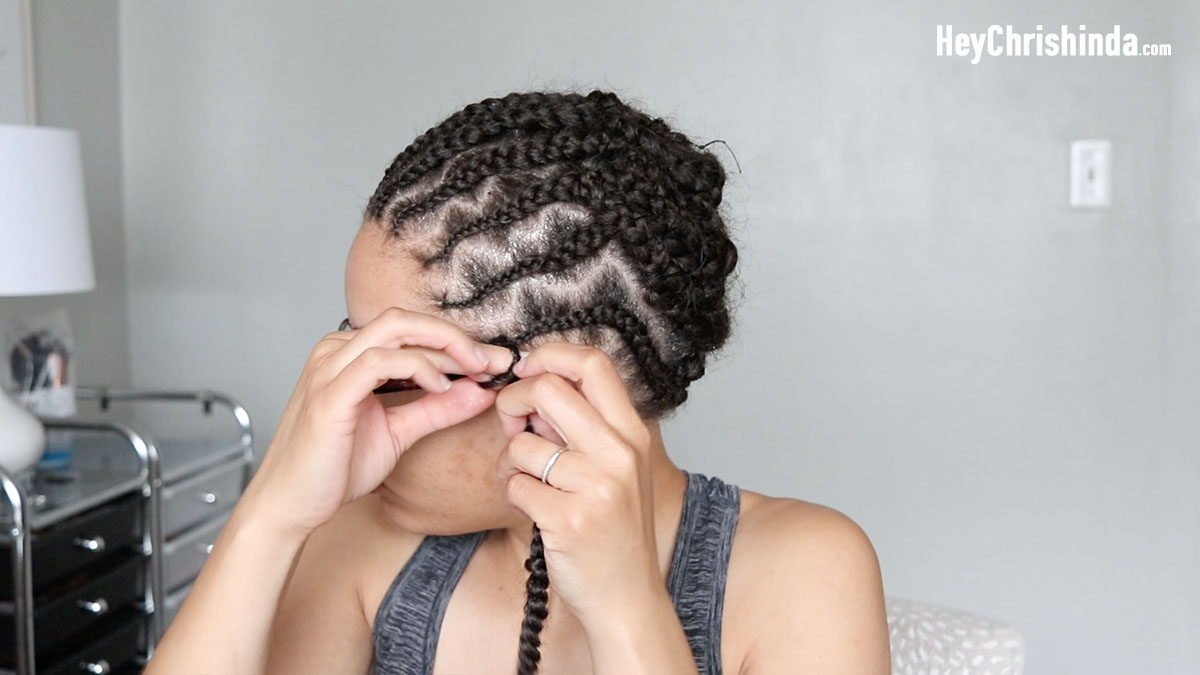
- Open the loop of the crochet hair with your fingers. You can also do this entire process with your latch hook.
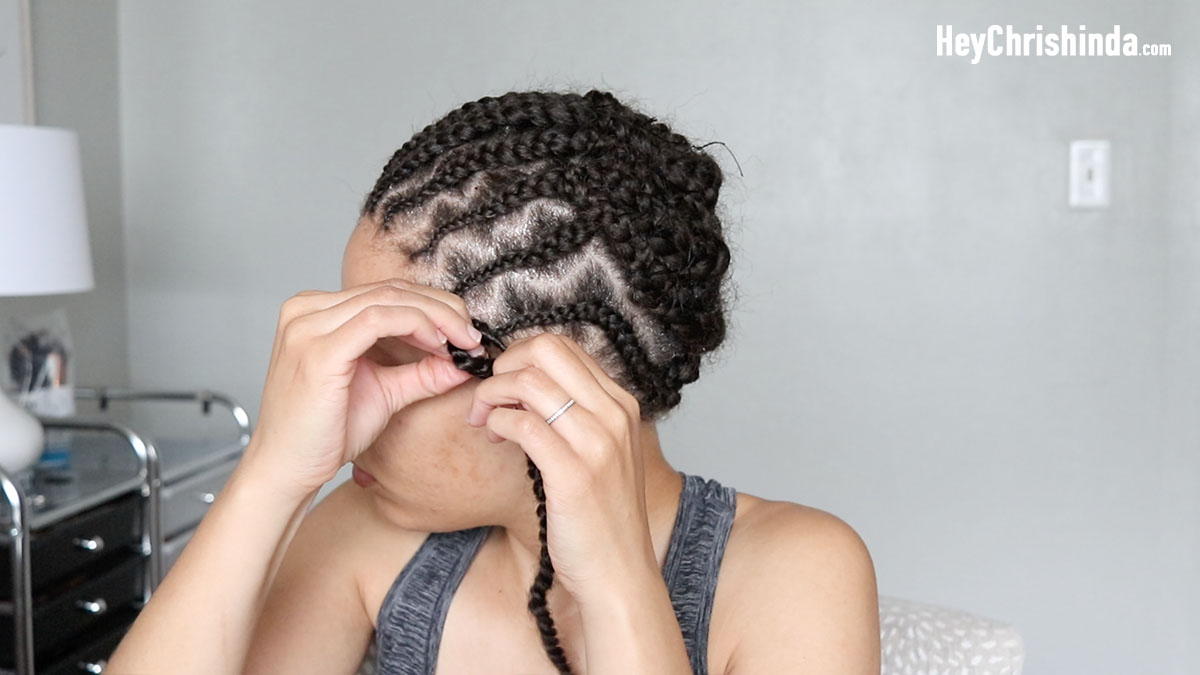
- Once you have opened the loop, pull the twist through the loop.
- Pull to tighten. One hand should be at the base of the twist and the other should be pulling the twist. You don’t want to pull at your own hair, that’s why keeping one hand at the base is important.
- You’re done. Repeat for the rest of your head.
Crocheting the back
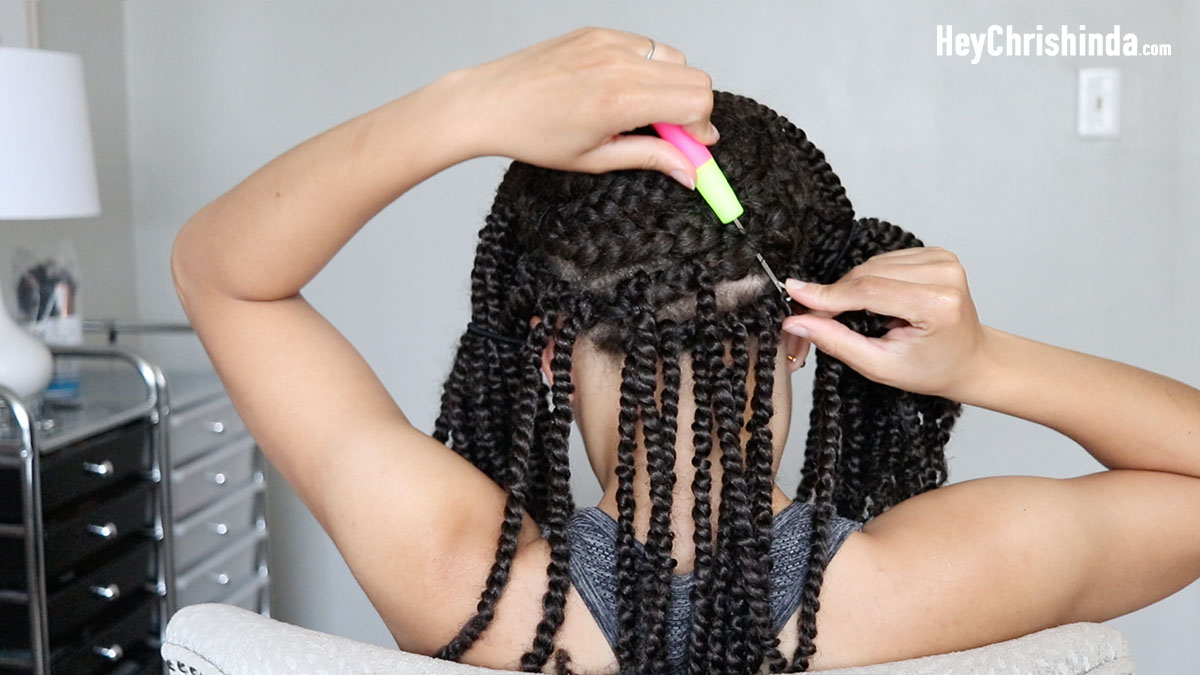
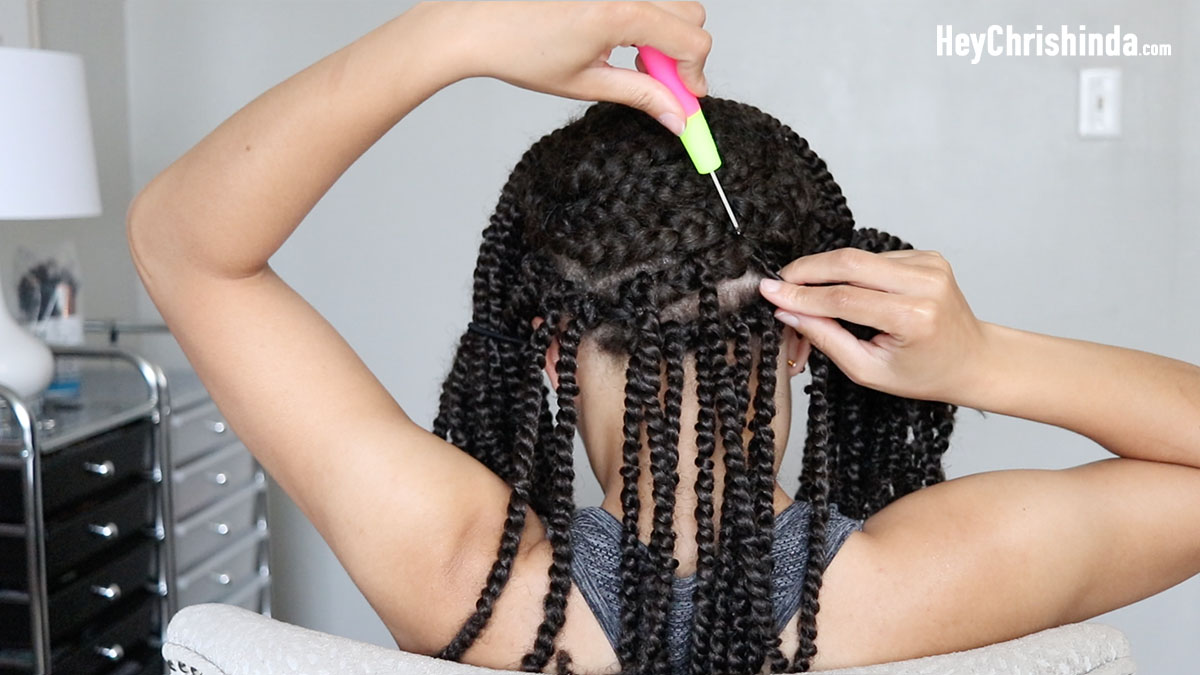
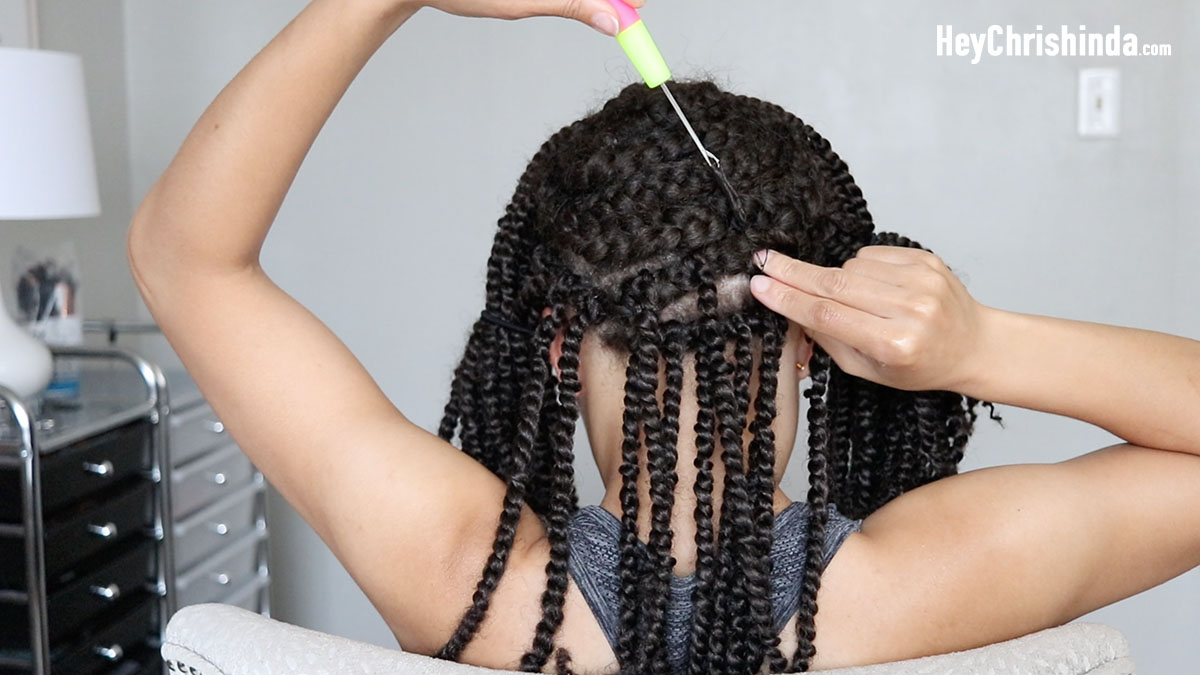
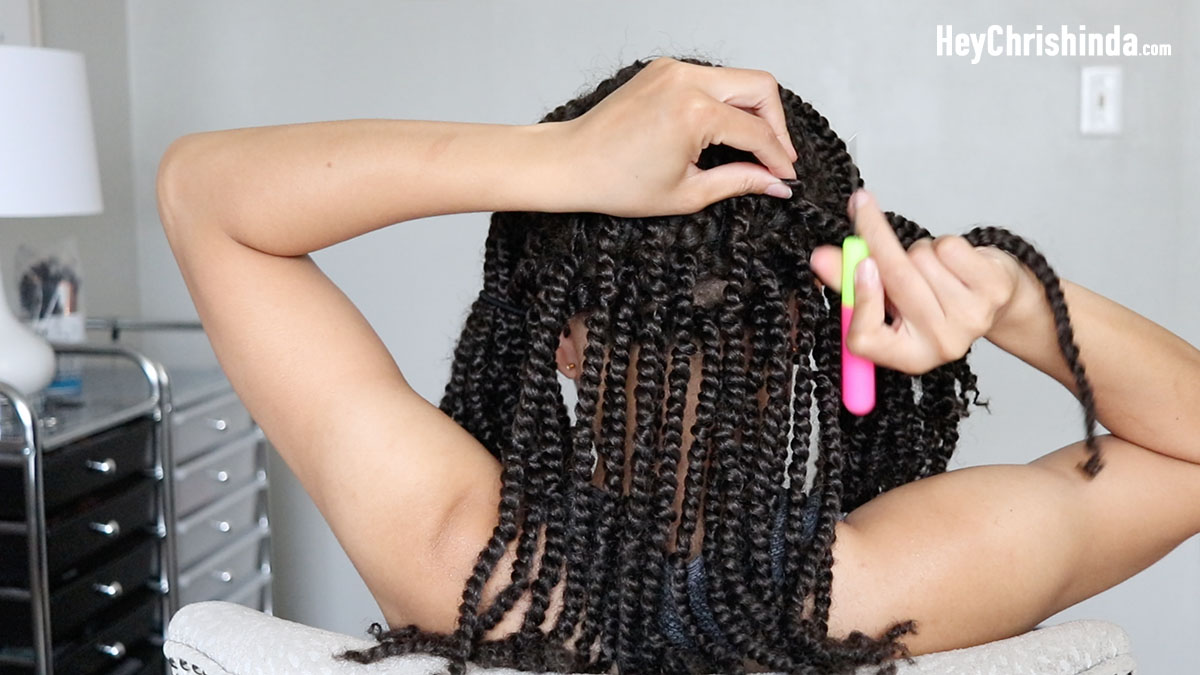
• If your braids are really chunky in the back, you should go THROUGH the braid instead of under.
• You can insert the latch hook upward or downward in the back, doesn’t really matter. If you insert the latch hook going down, the knot will be under the twist (at the bottom). If you insert the latch hook going upward, the knot will be on top of the twists.
- Insert the latch hook through your braid
- Place the loop of the crochet hair onto the latch hook.
- Close the latch
- Once the latch is closed, you pull the latch hook upward
- Pull a little bit more
- Unhook the crochet hair
- Open the loop with your fingers
- Pull the twist through the loop
- Tighten. One hand at the base, the other hand pulling the twist.
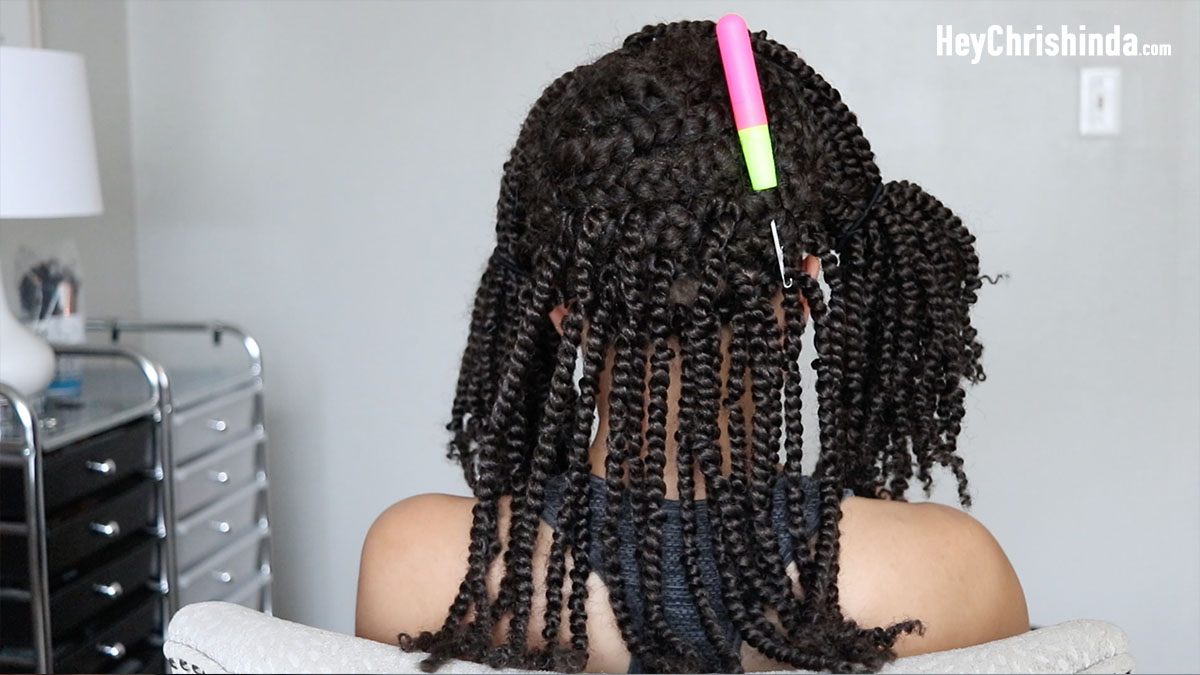
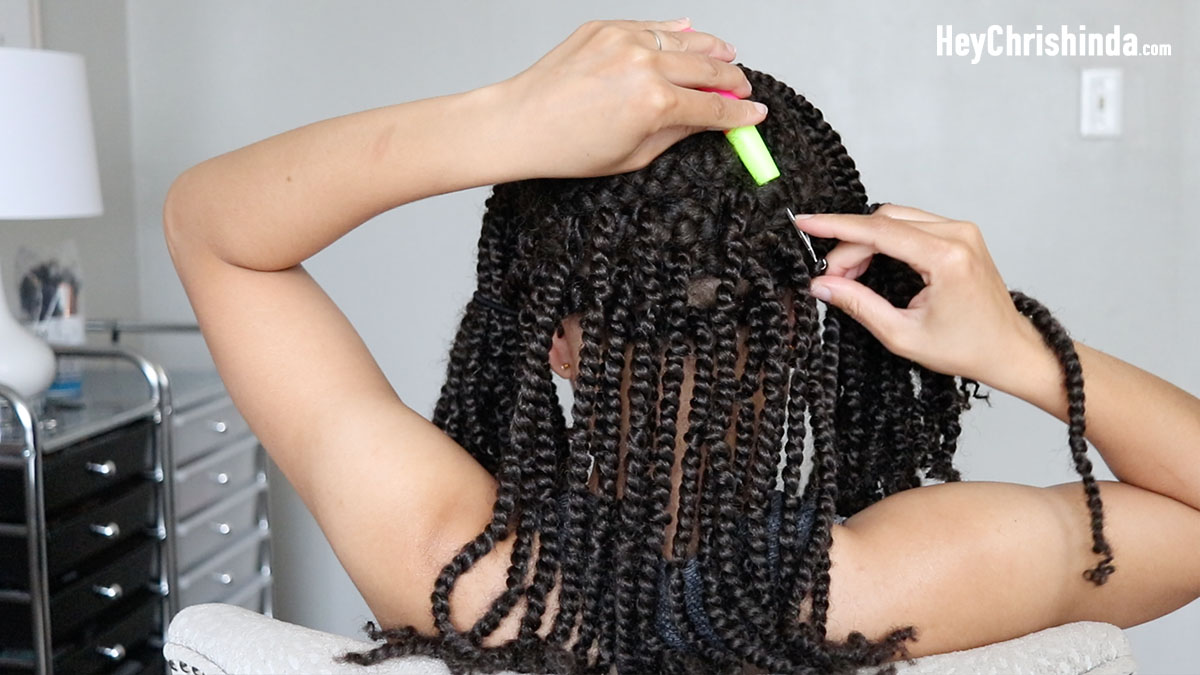
Finished installing crochet spring twists
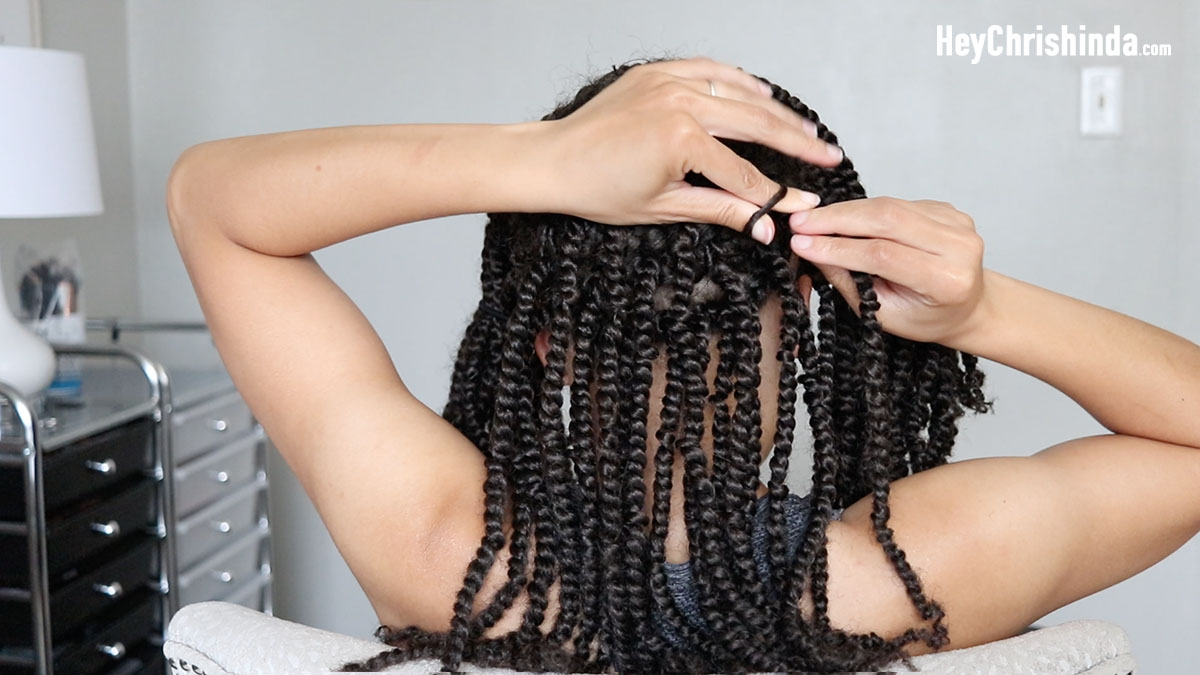
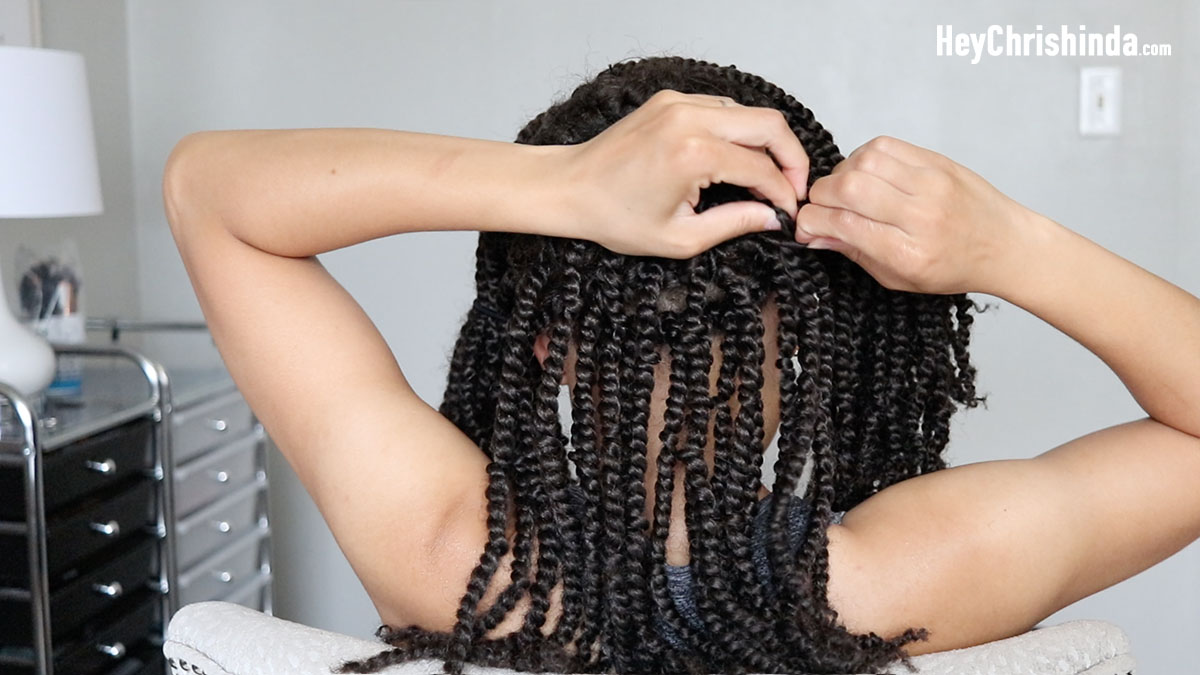
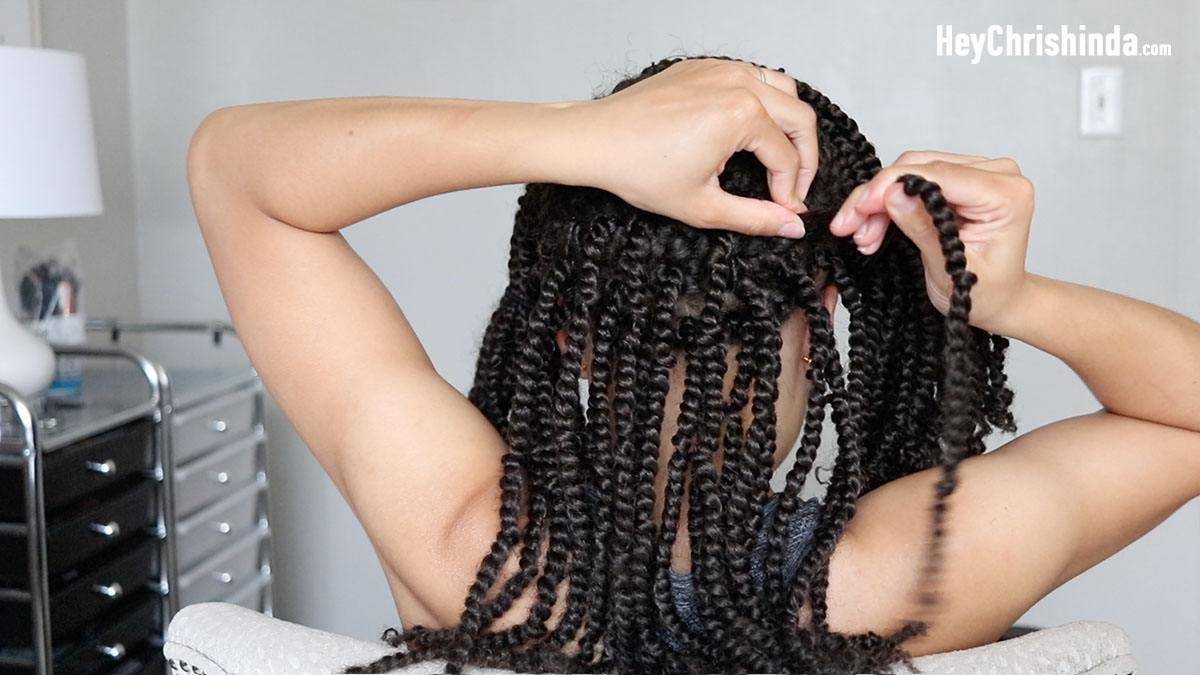
The zig zag parts give the illusion of individuals once pulled up into ponytail.
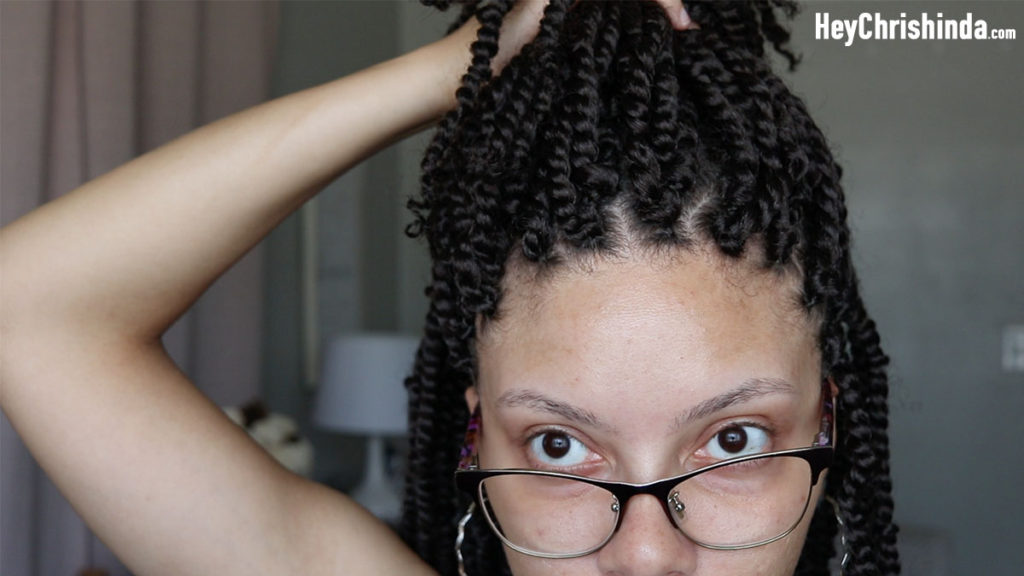
I have the two anchor braids and this braid pattern that was not meant for ponytails. The plan was to only wear 1/2 up 1/2 down styles. I can wear a ponytail with a headband with this braid patten.
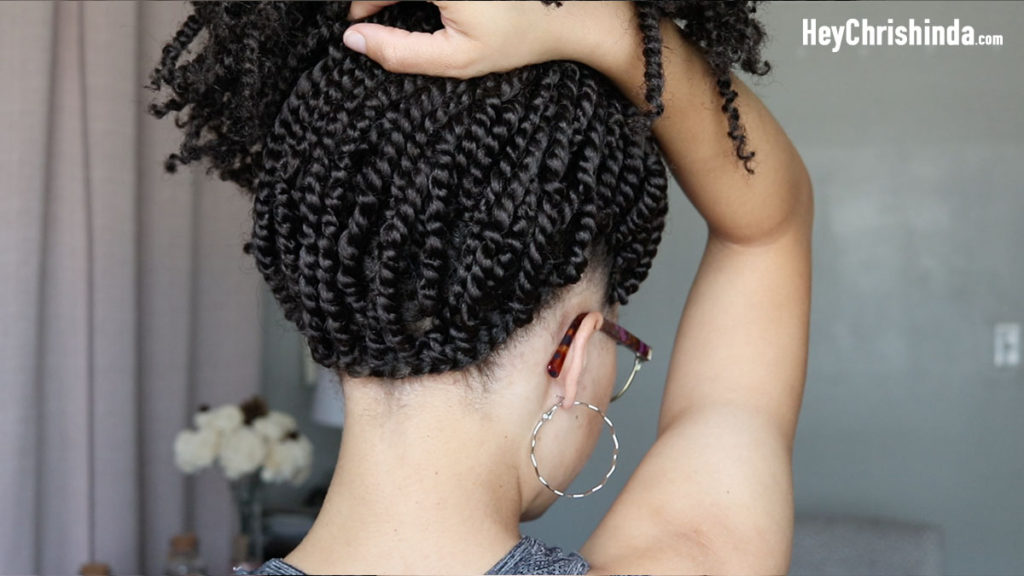
These twists are 12 inches and for reference, I am 5 ft.
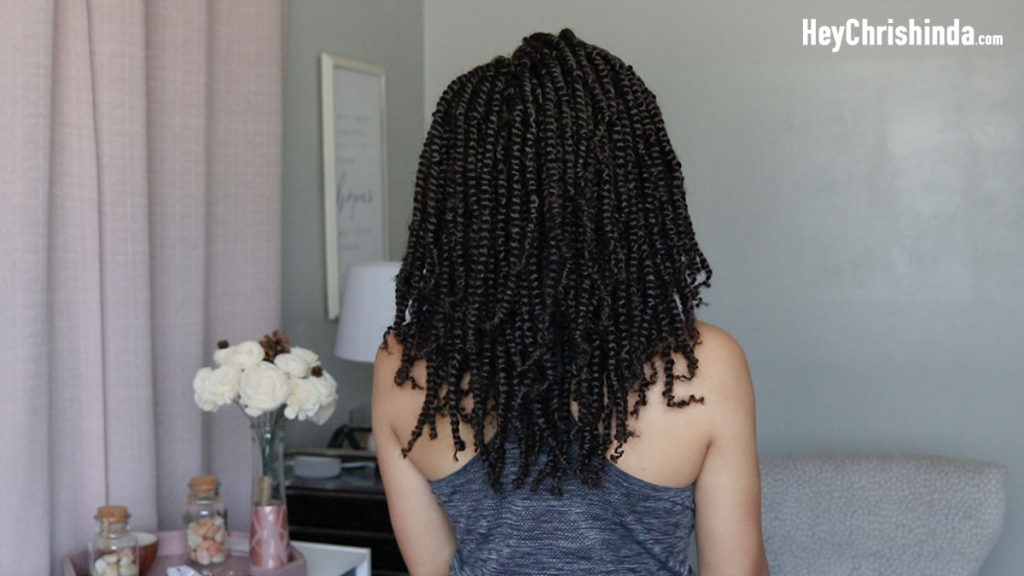
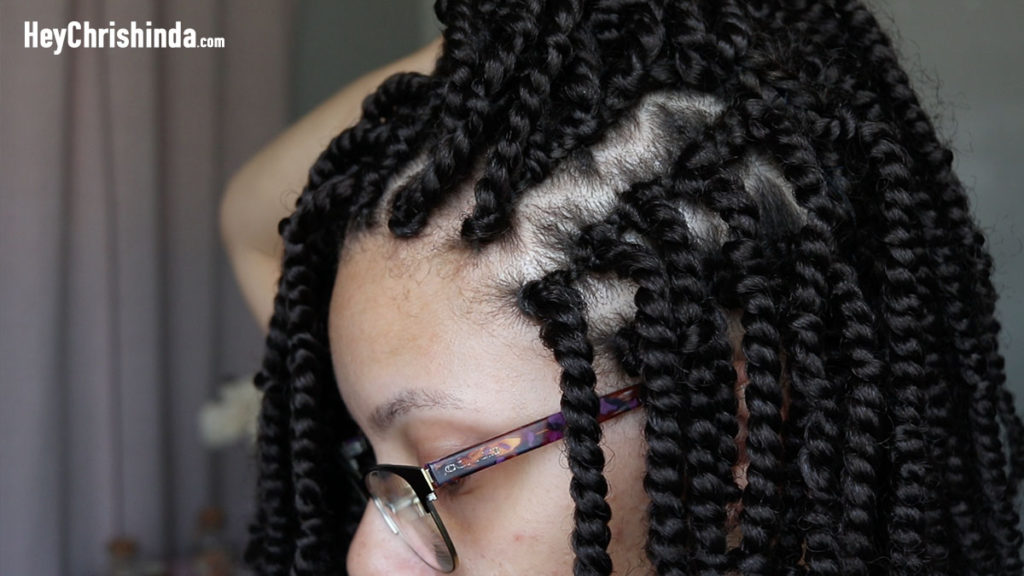
Here’s the parting of my braids with the twists installed.
If you wanna get a little fancy, you can add hair jewelry (Filigree)
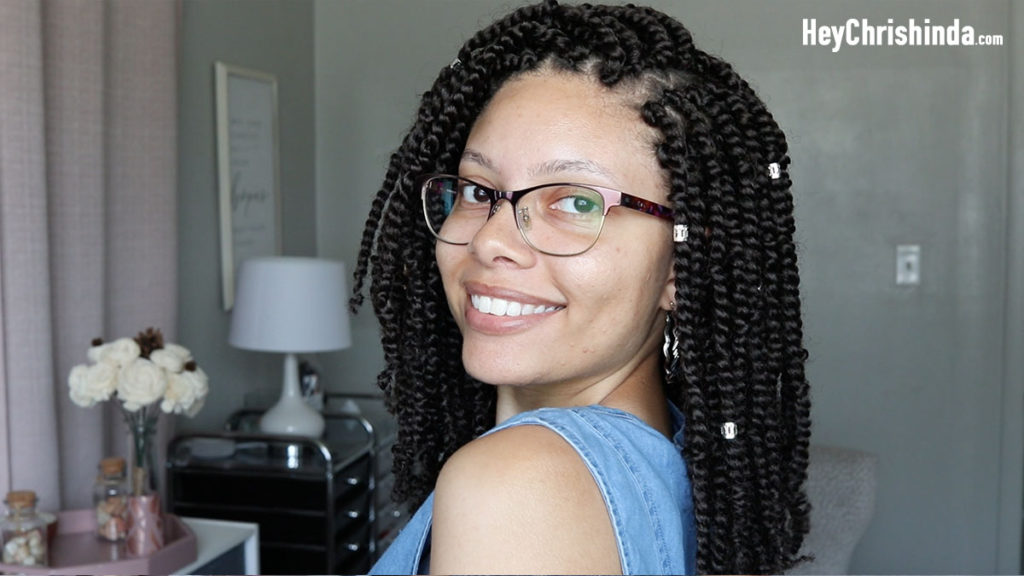
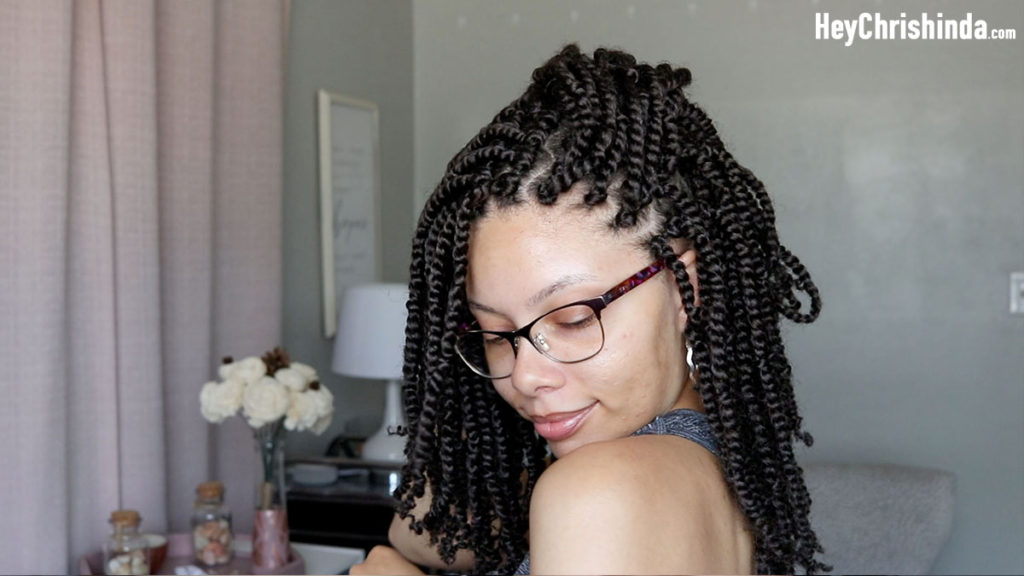
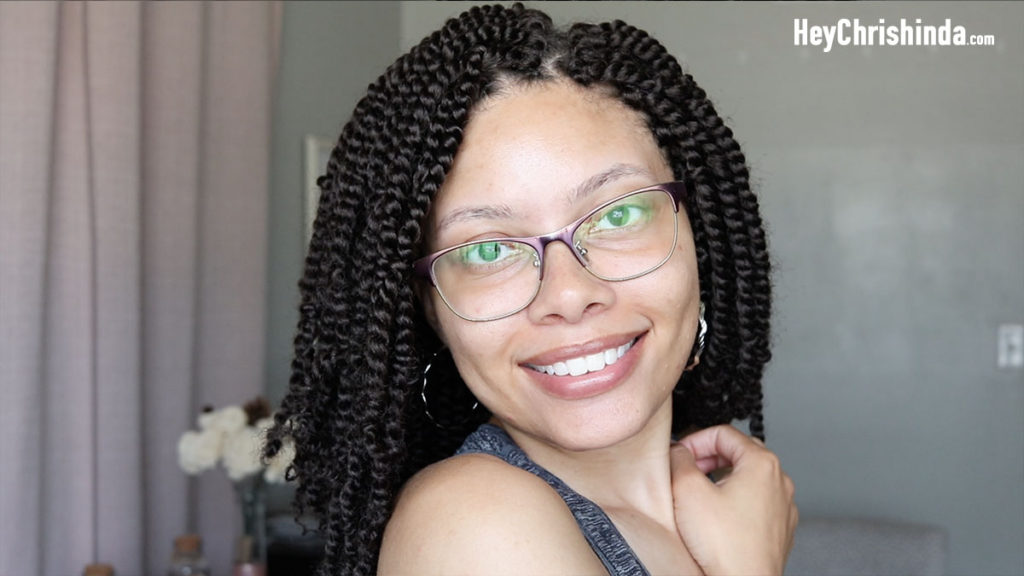
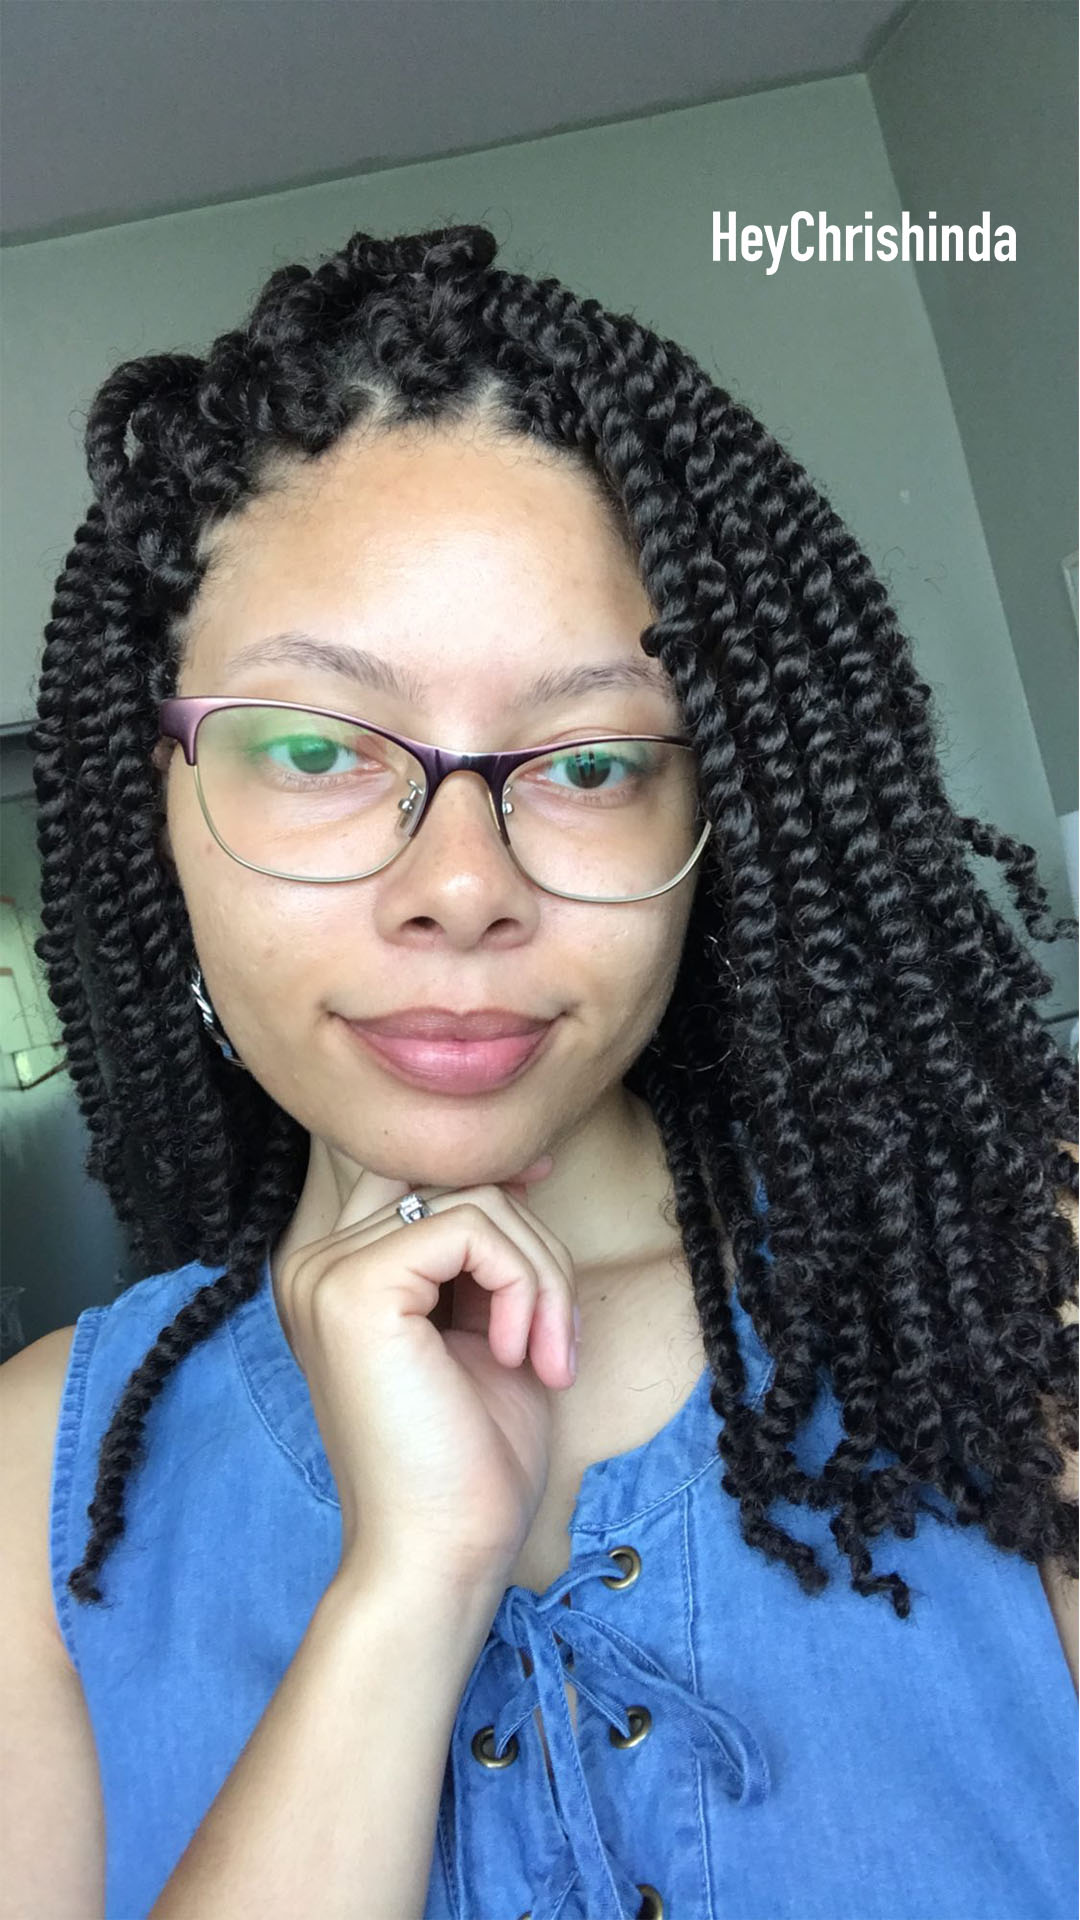
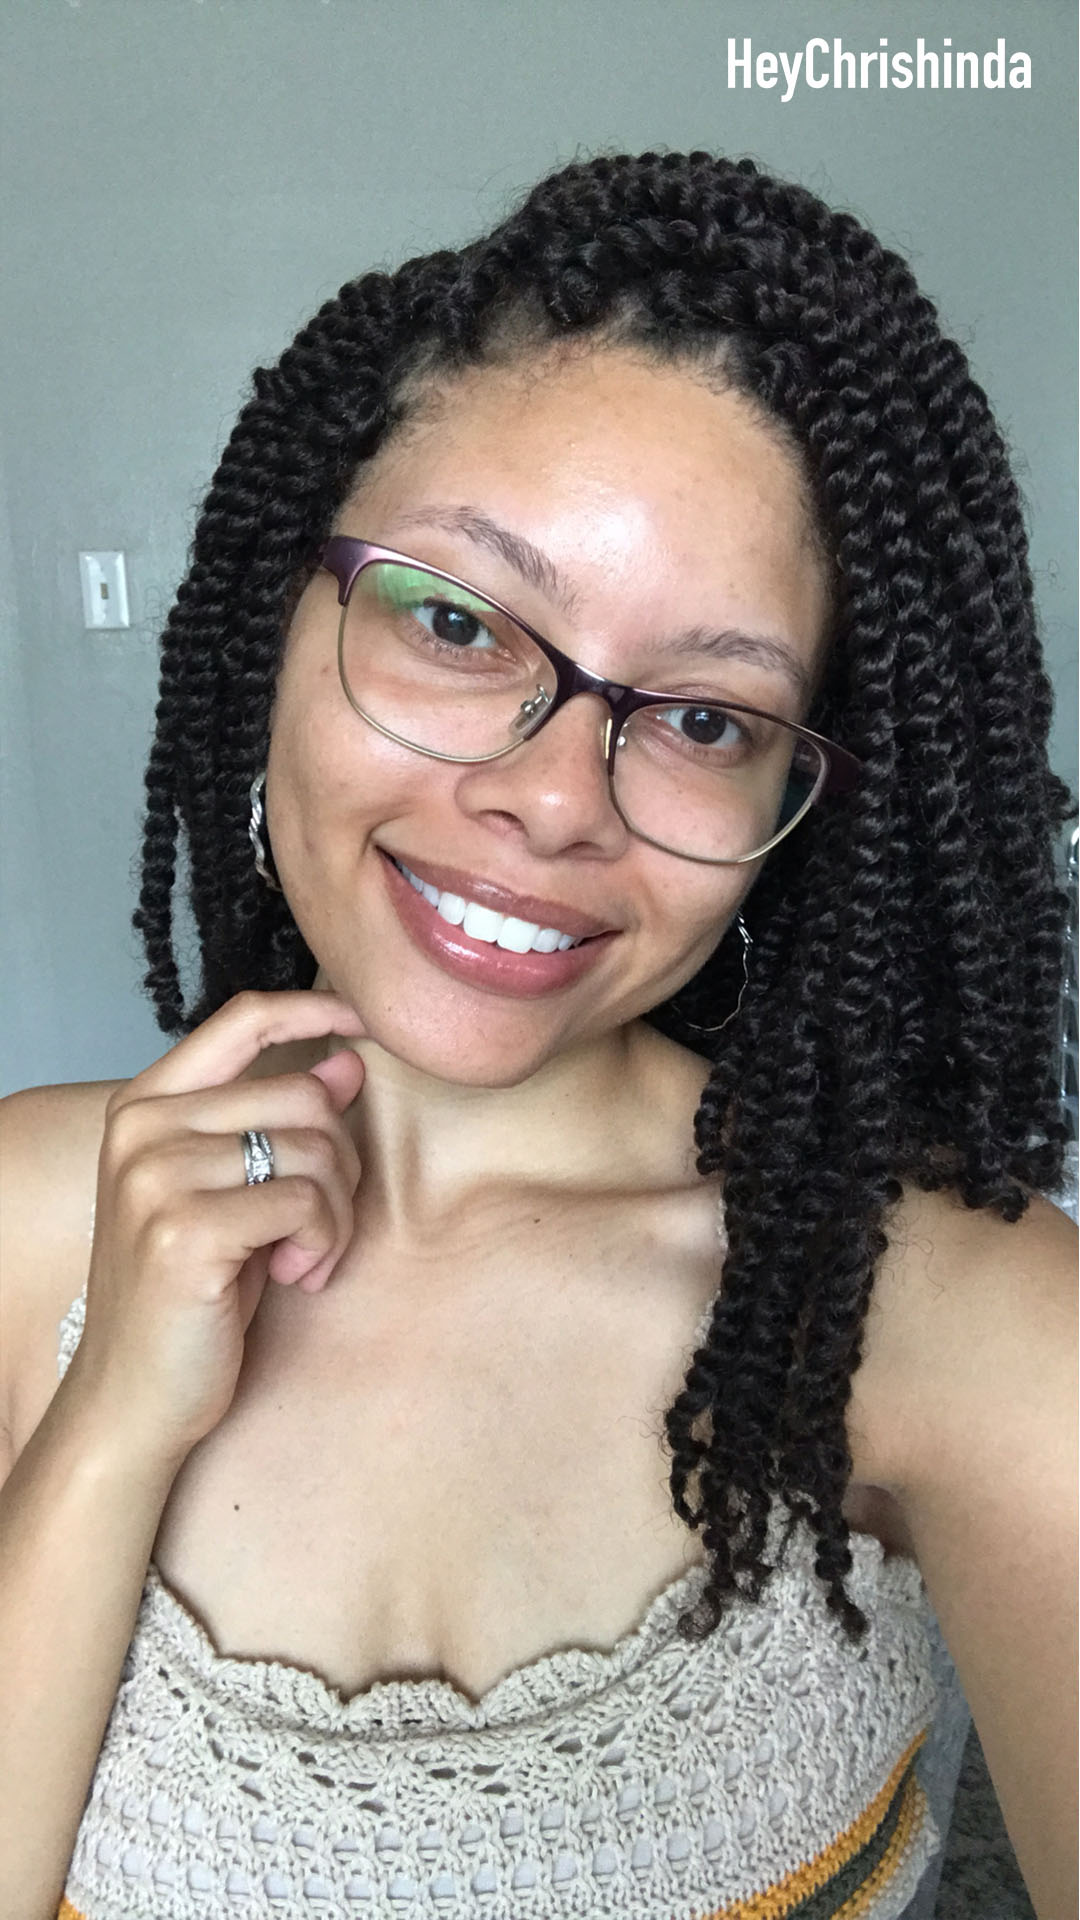
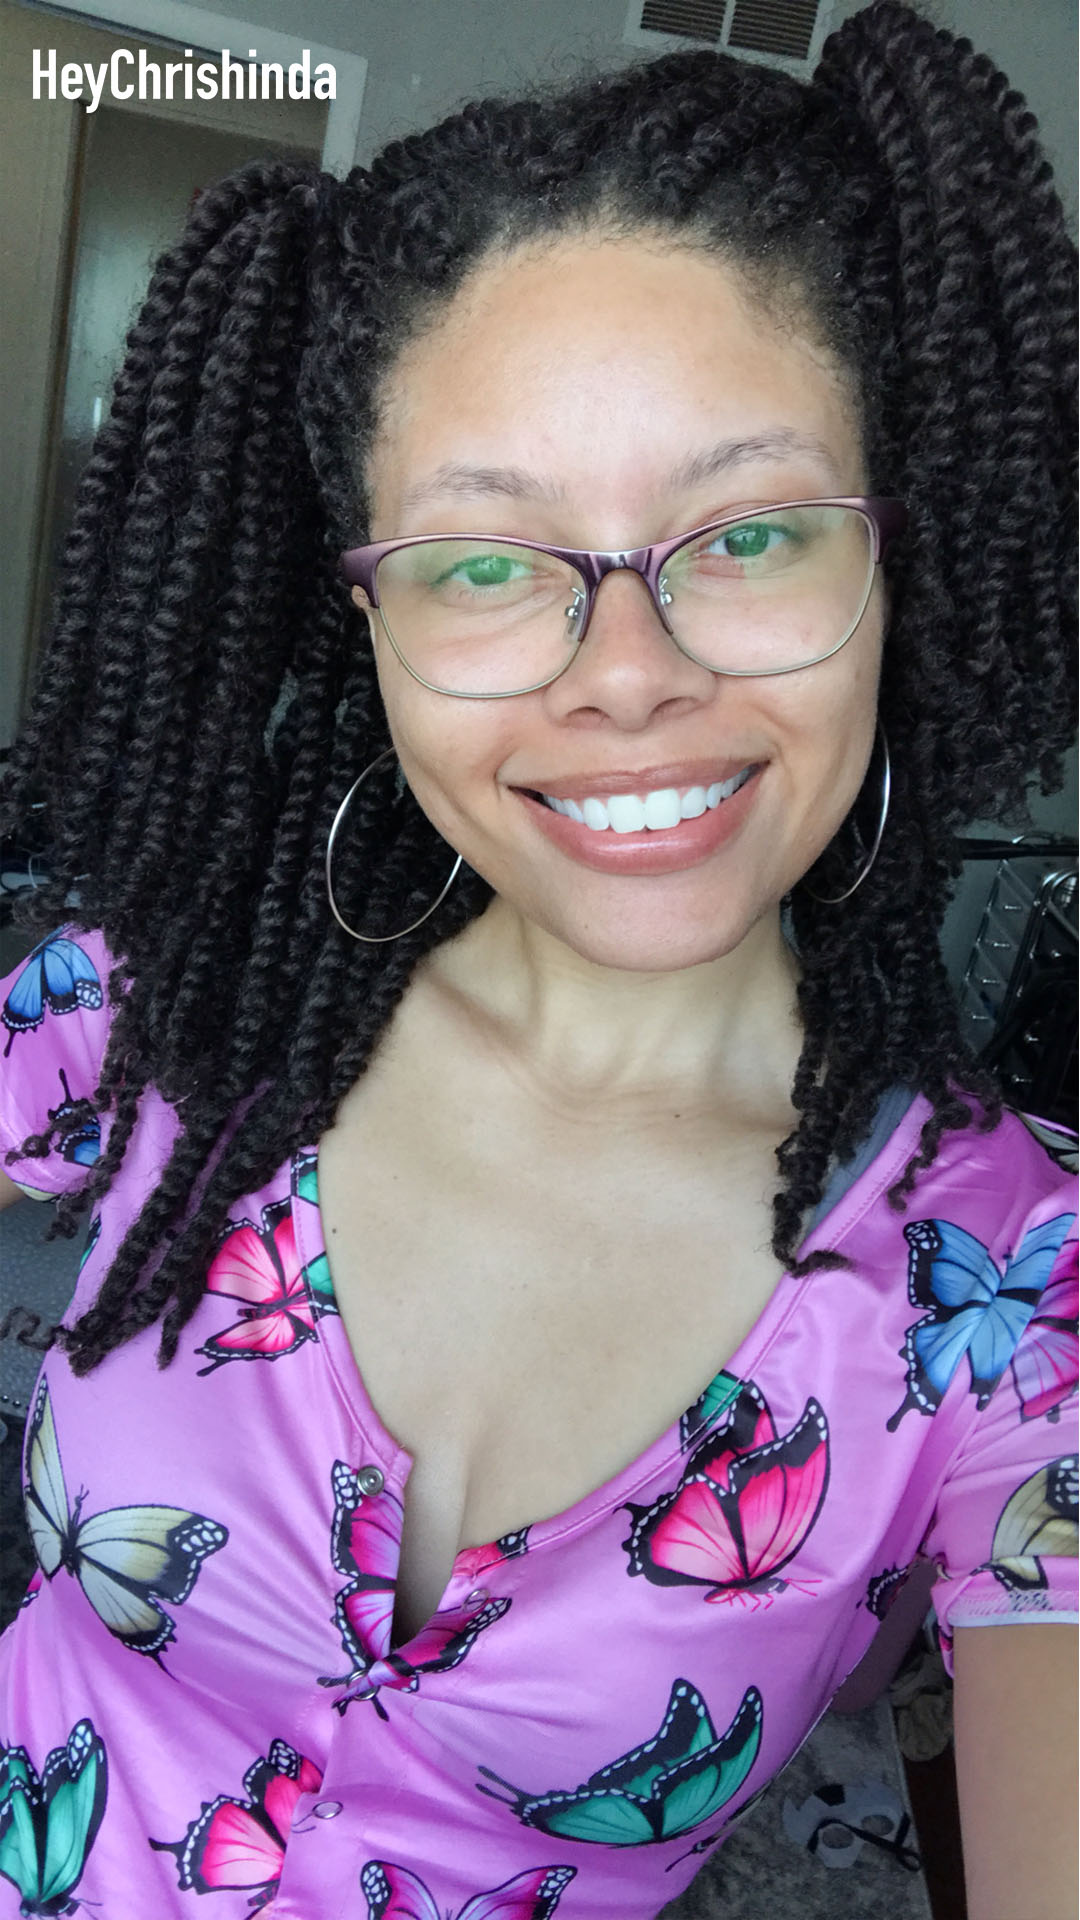
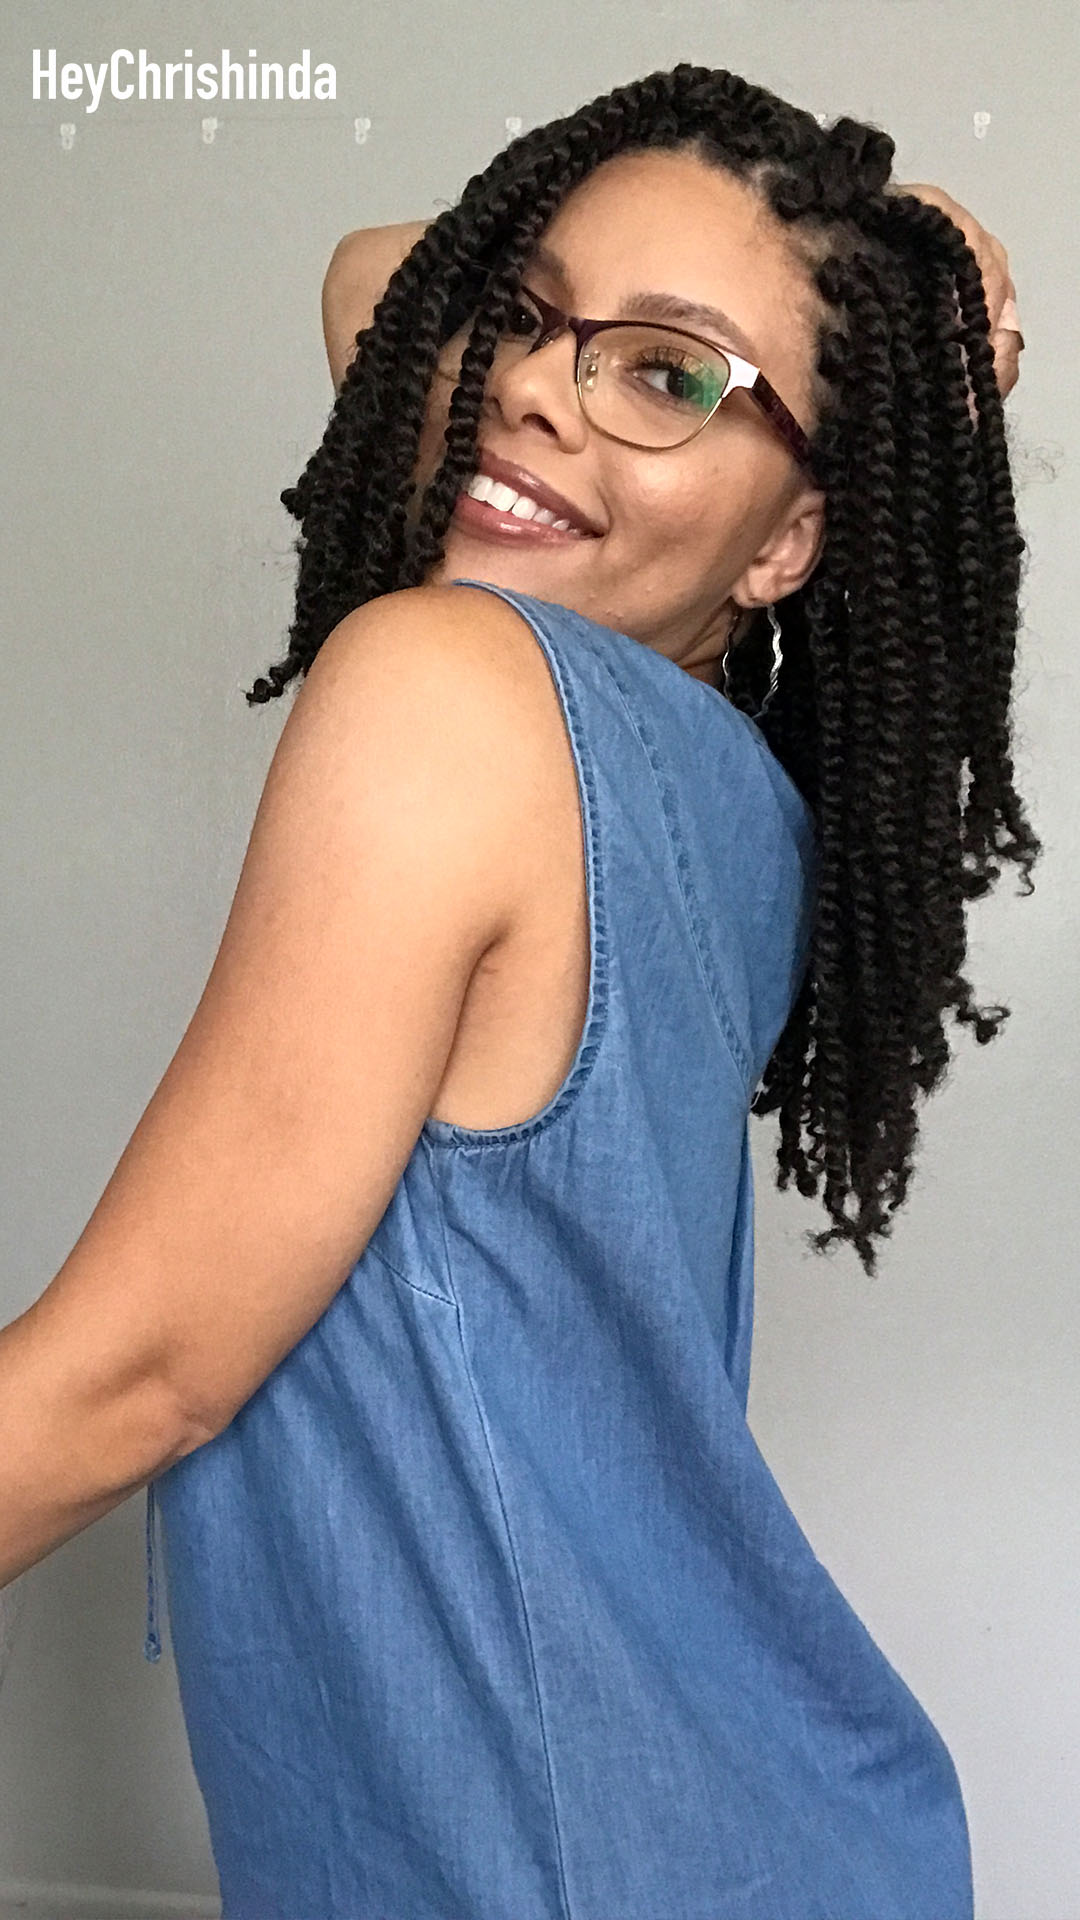
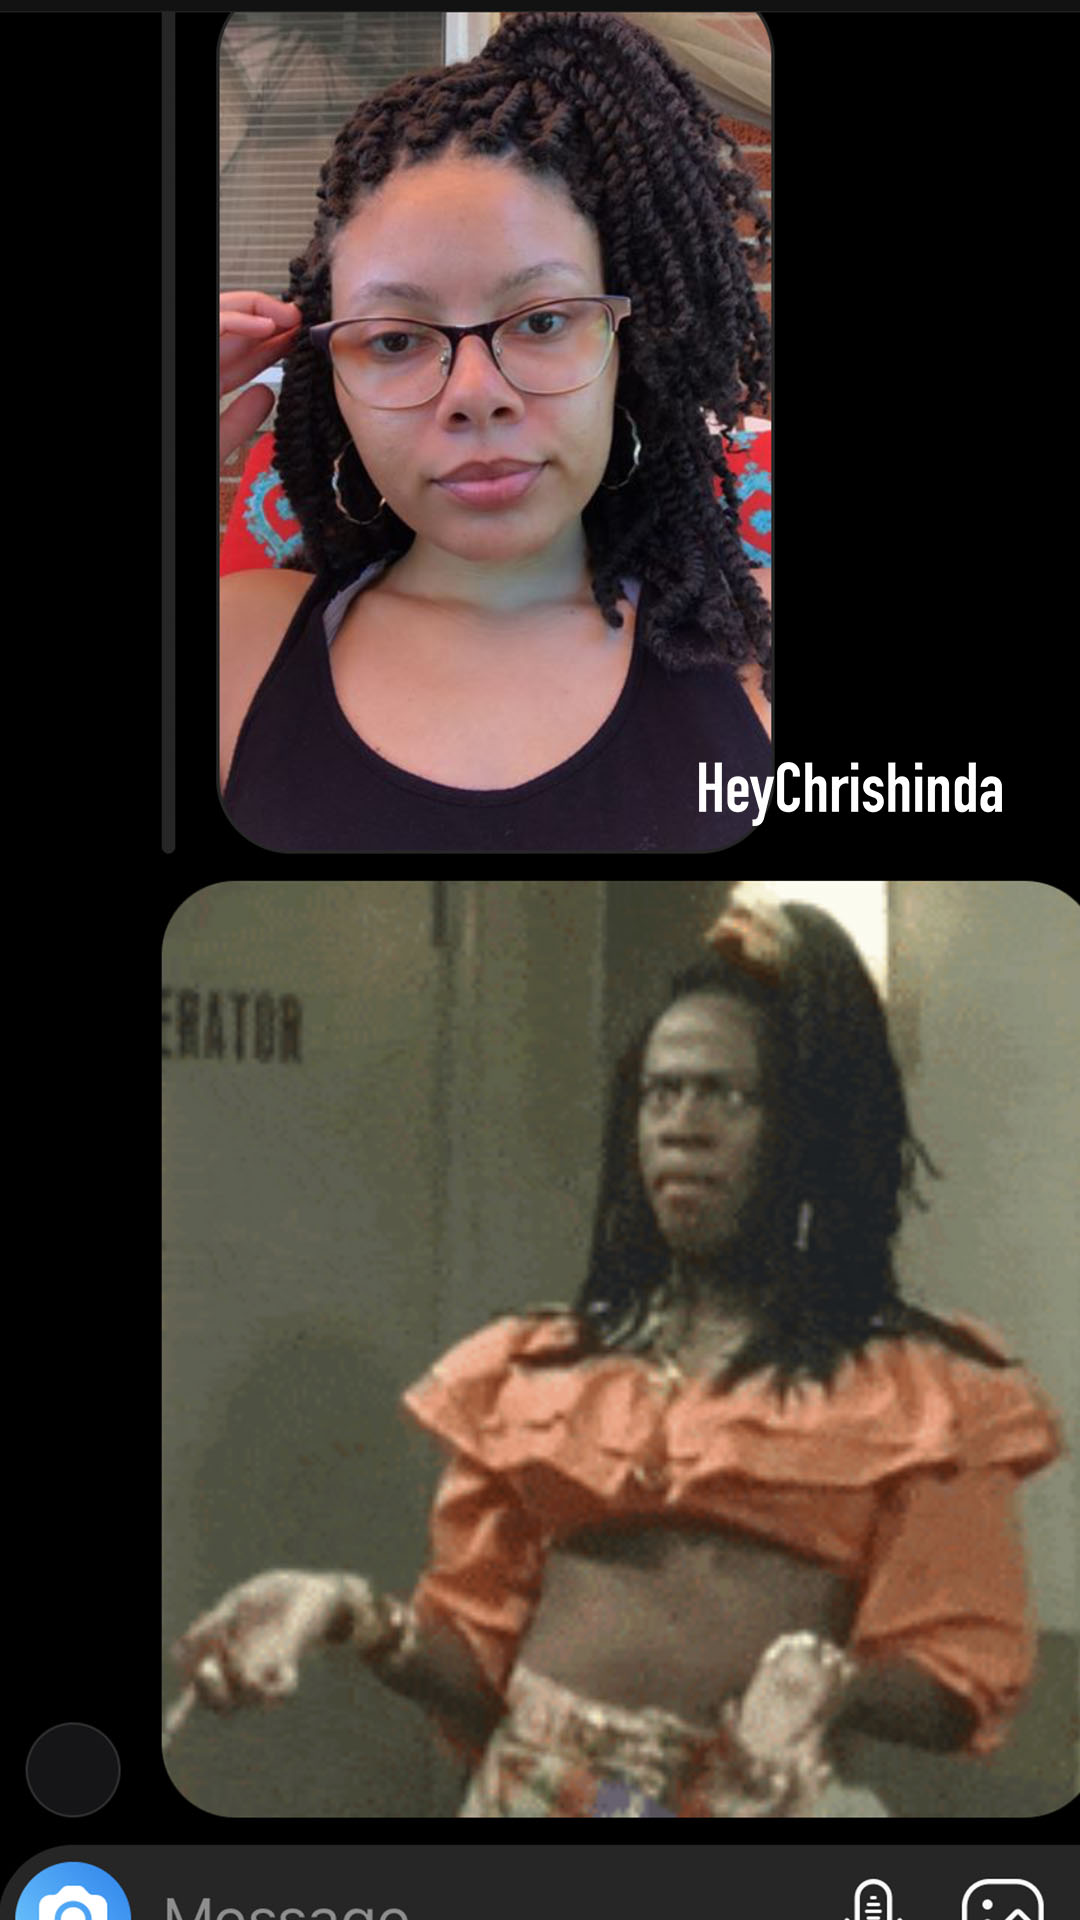
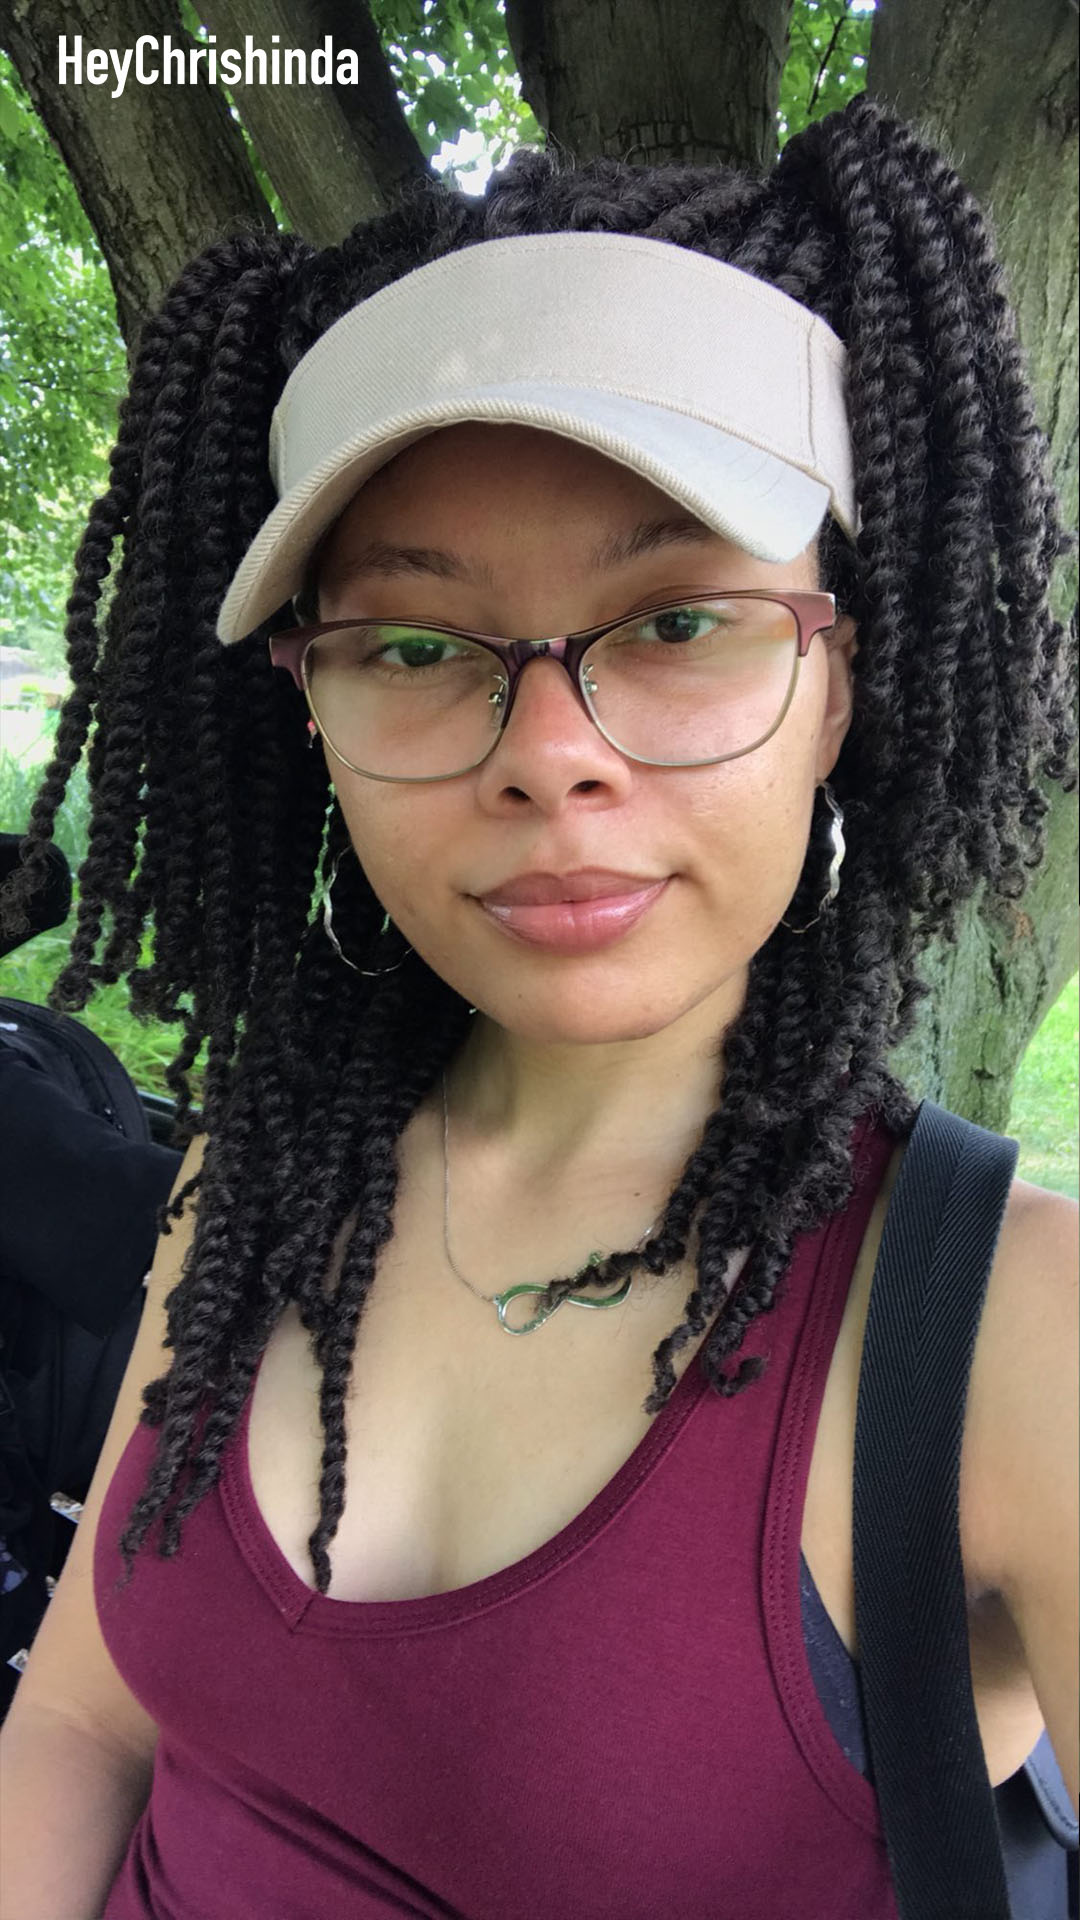
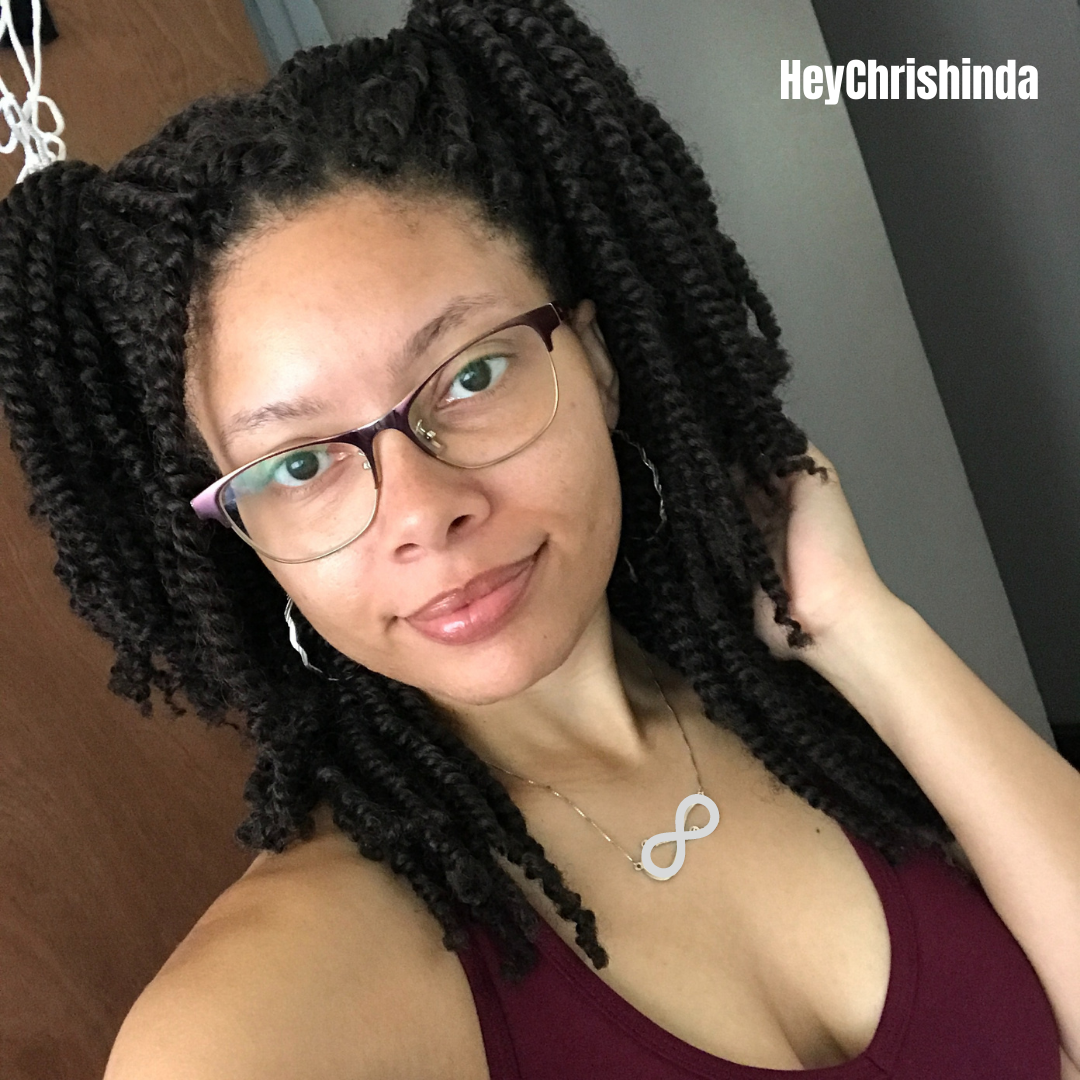
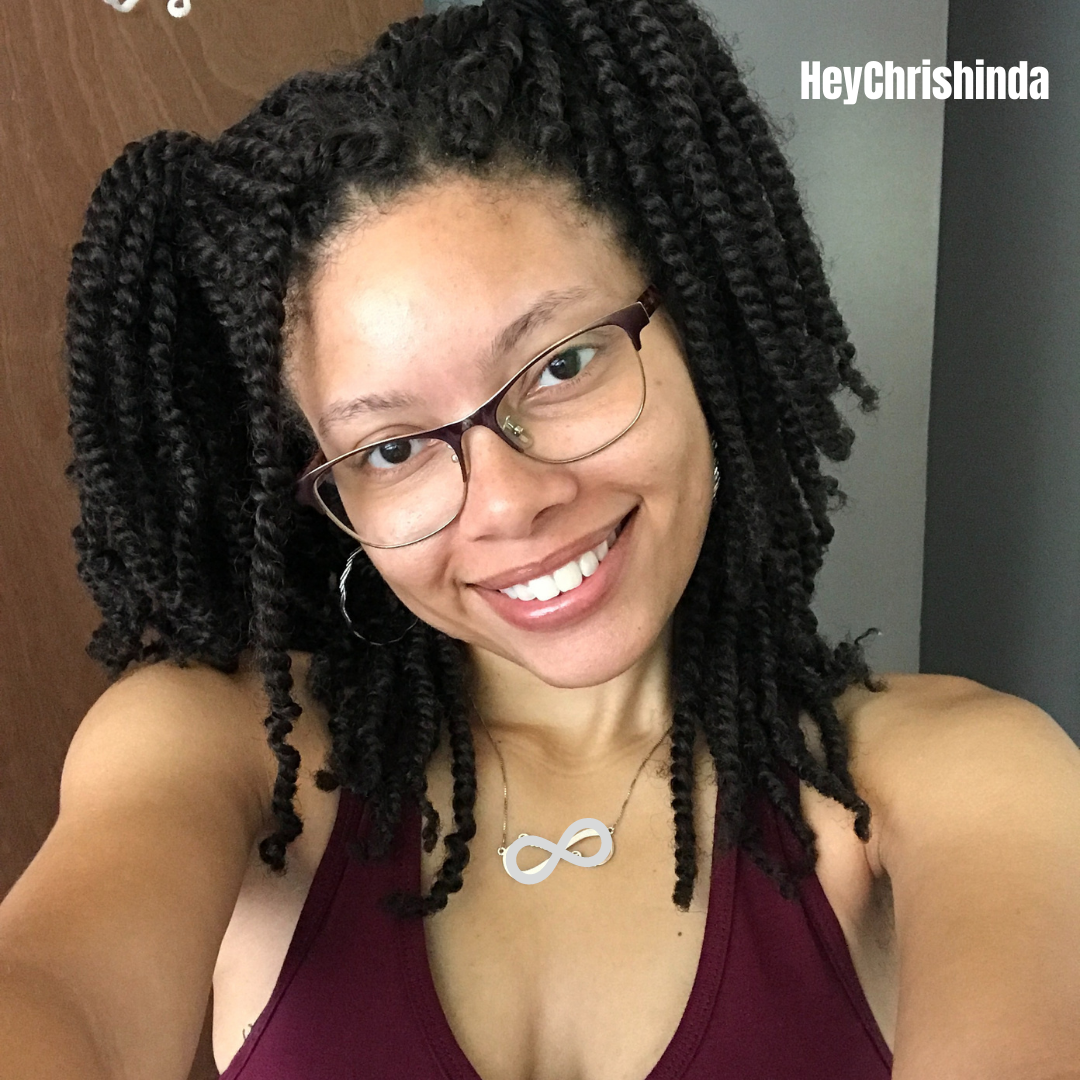
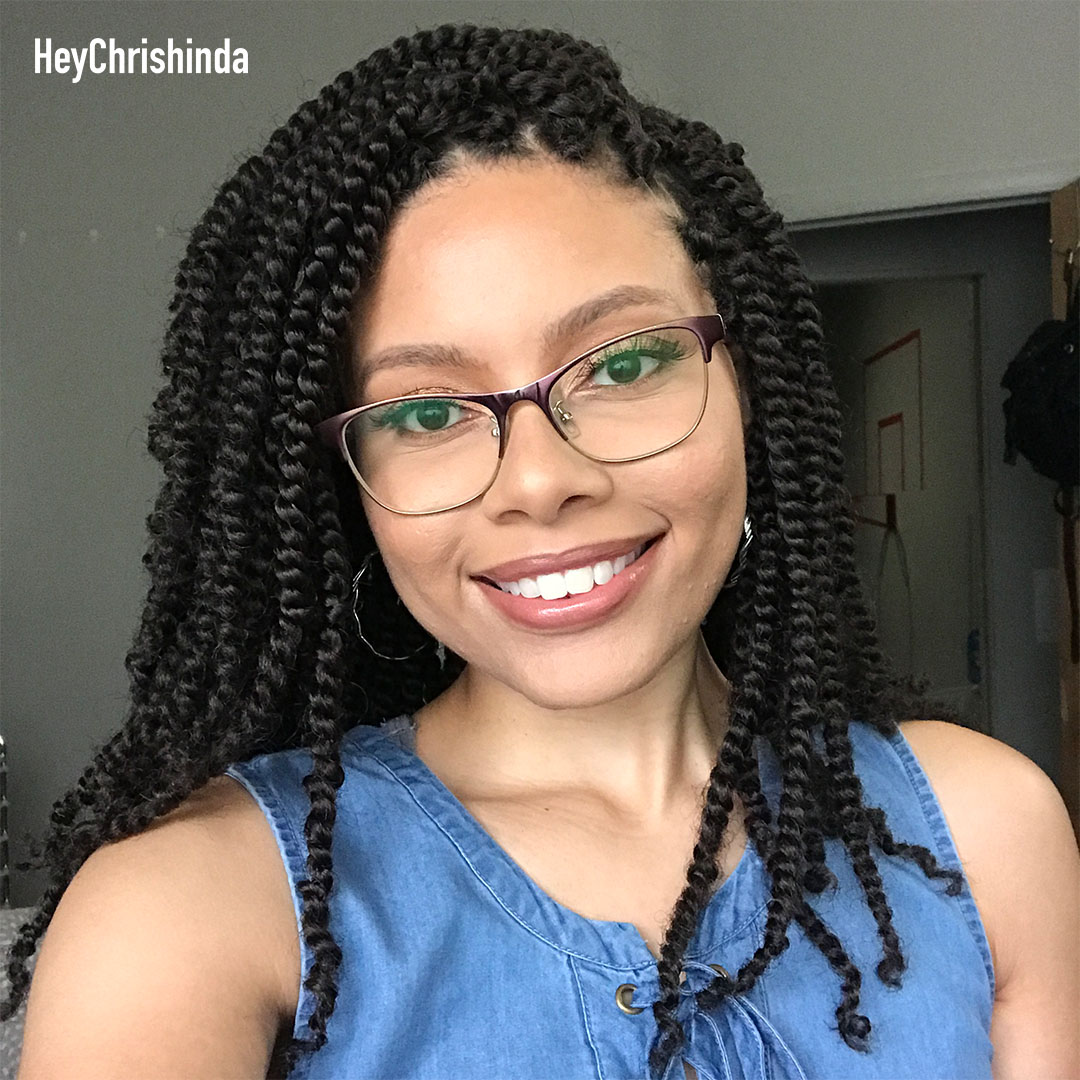
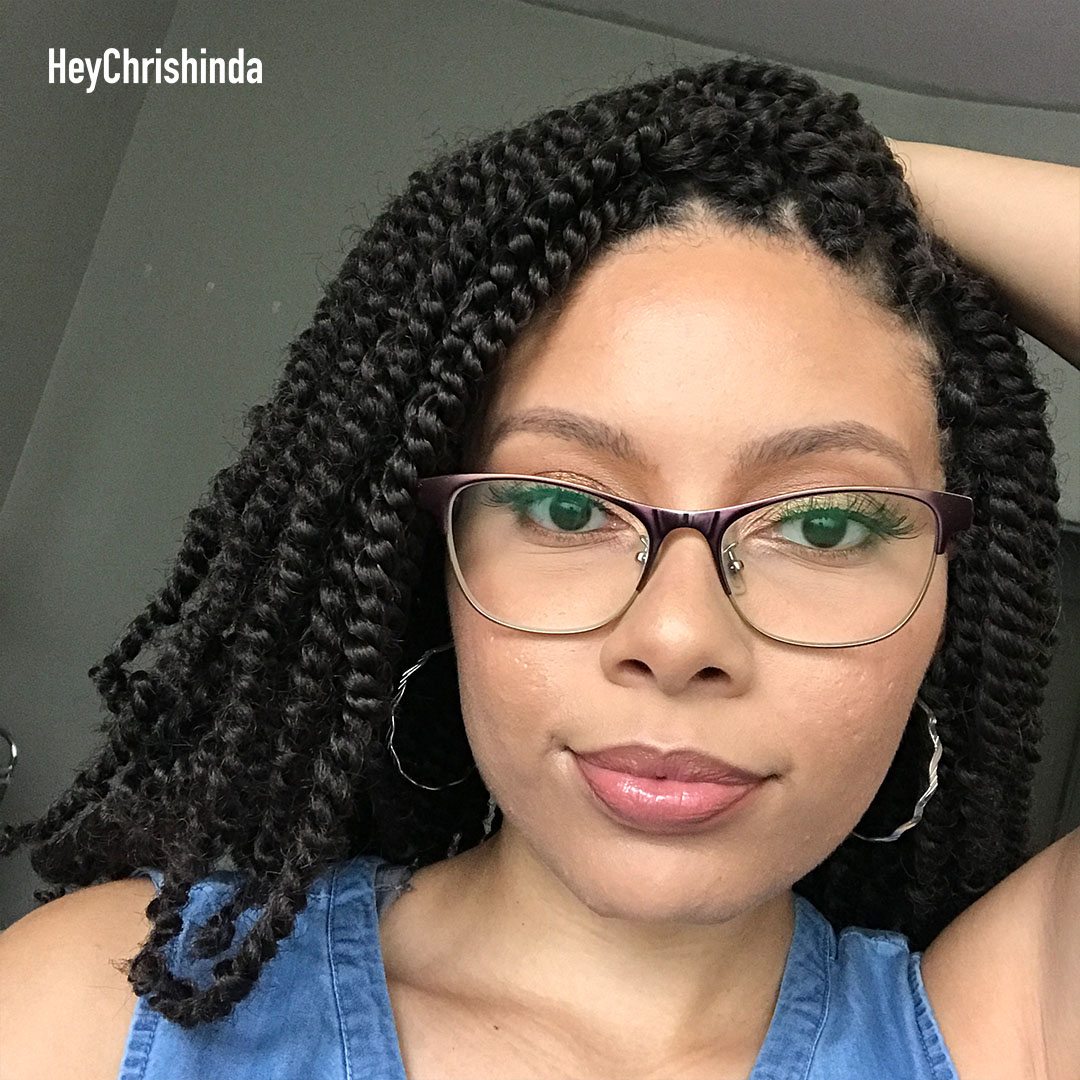
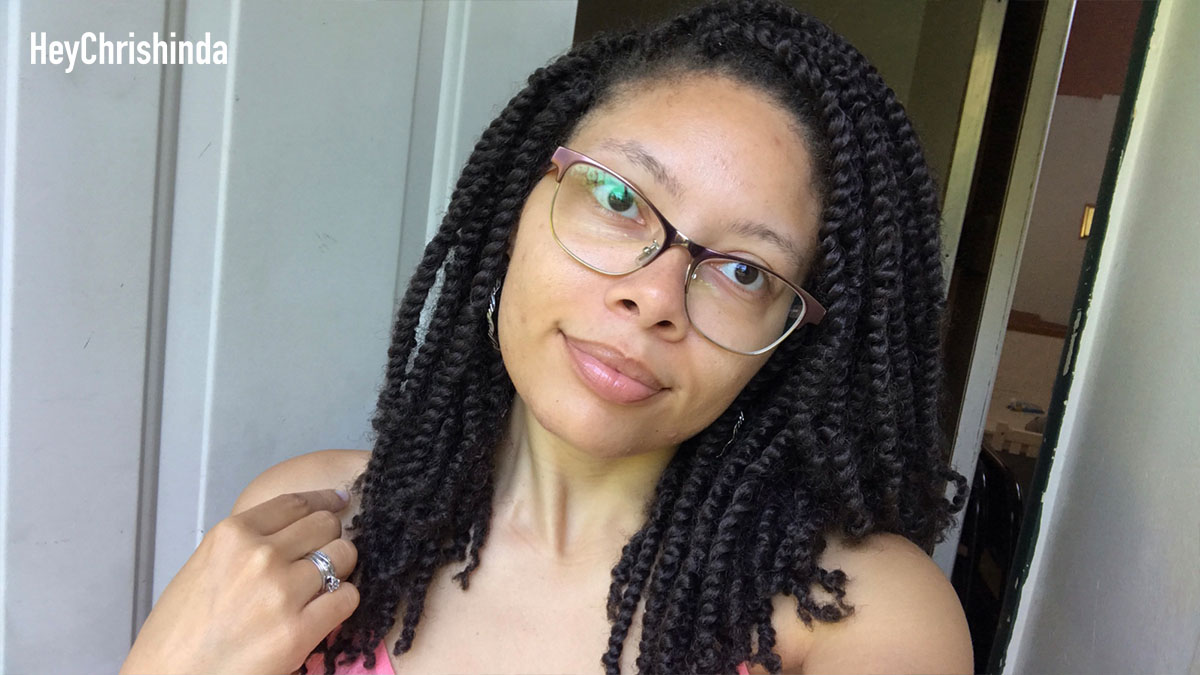
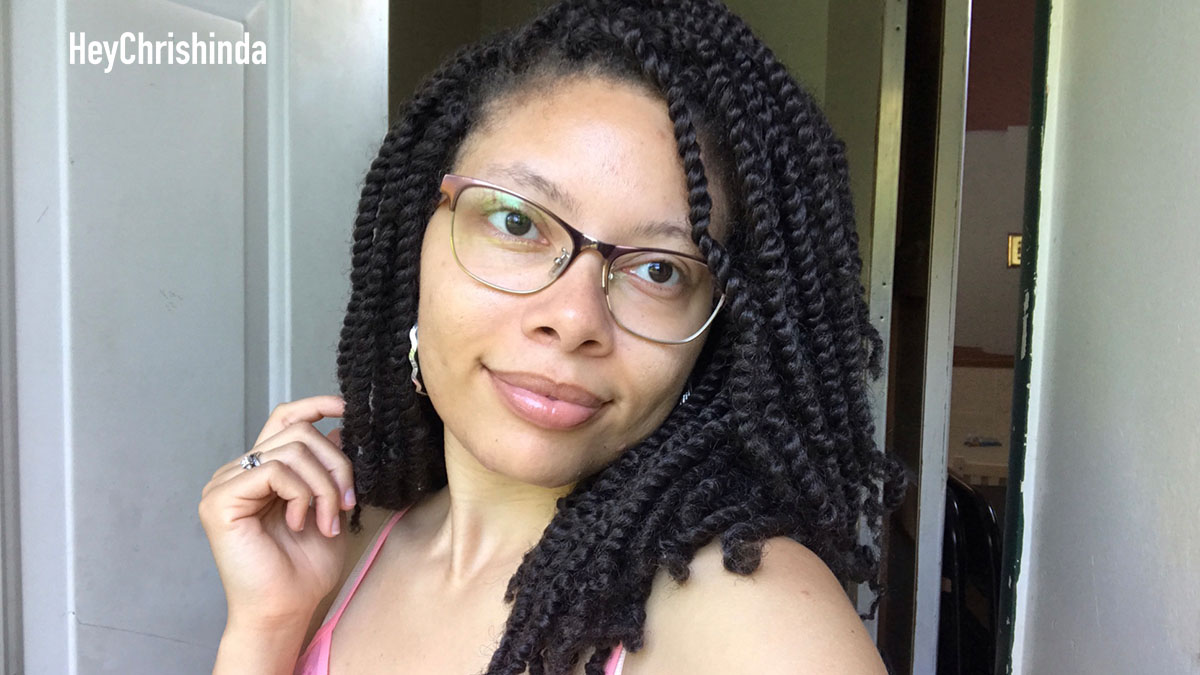
Here are a few pictures from the time I wore this hair.
Thank you for checking out my blog post… and until next time, ✌🏼!


2 comments
Very nice 👍 Thank you for showing it all how you do it. The styles look beautiful ❤️ on you 😍 my hair is so thin in the front now so I’m not sure how I’m going to put them in my hair. I’ll have to use a knackolon braid I spelled it wrong..lol to add but even then my hair is very very short to add. Any suggestions.
Thank you so much! My suggestion is a 1/2 wig or a U-PART crochet wig. With those options you don’t have to do cornrows… you can plait your hair and crochet it through the base of your plaits.
Thank you for checking out my blog post and leaving a comment.