Watch video tutorial HERE!!
Usually pin curls are done on straight hair after the hair has been curled so that at night, you don’t have to put more heat on your hair. Who doesn’t love heatless curls, right? To get a pin curl, you roll your hair like a cinnamon roll and use bobby pins or some type of other hair pins to secure the hair to your head.
I put a twist on the usual pin curl. Instead of doing them on straight hair, I pin curled my braids to give you a cute and simple style you can wear anywhere. This style came about a few years ago while I was transitioning because I could not get perm rods to stay at the ends of my braids or twists; because I prefer(red) the braid and curl or twist and curl look.
Earrings: Beauty Supply
Lipstick: Colourpop x iLuvSarahii – Arriba
Necklace: MyNameNecklace
How to Get The Style
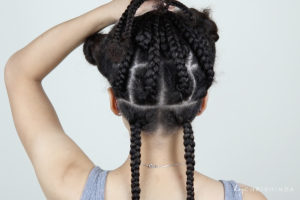
• I start with a side part, as I do with most of my hairstyles. Part hair down the middle in the back and from ear to ear. You could just grab sections if you’d prefer.
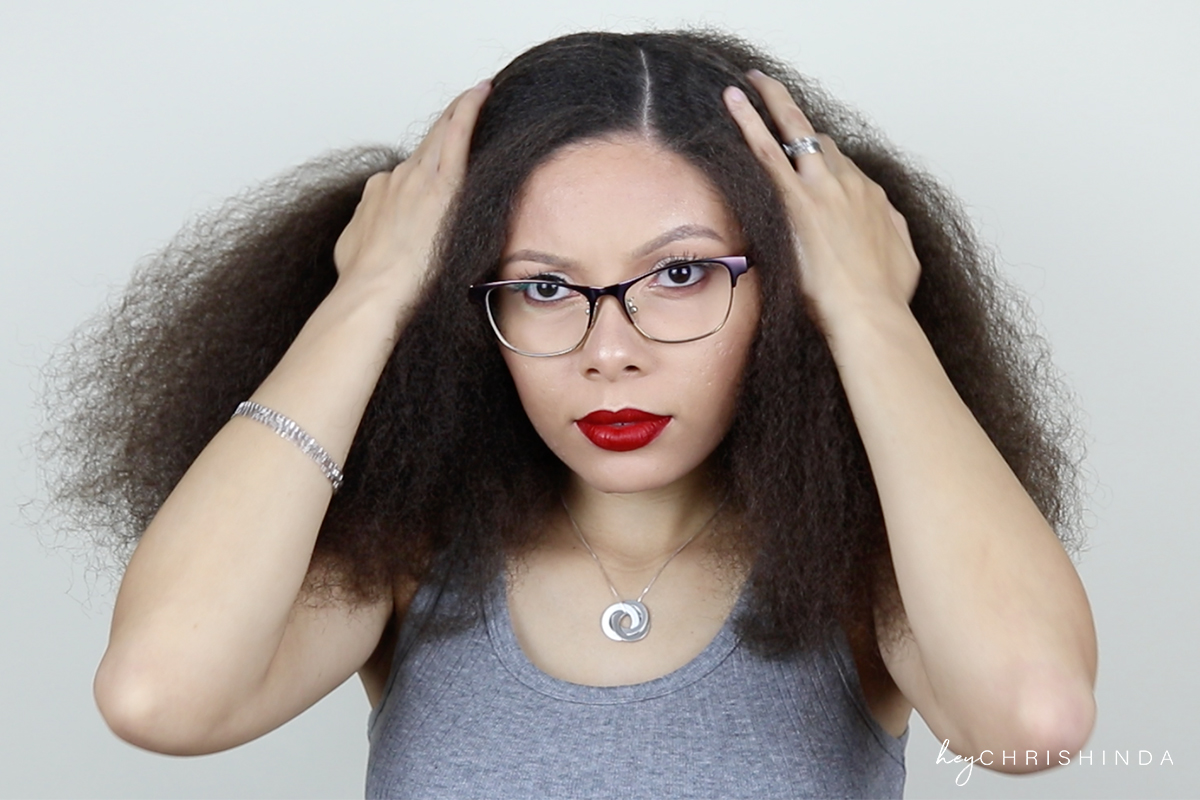
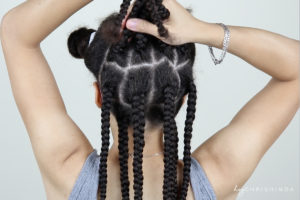
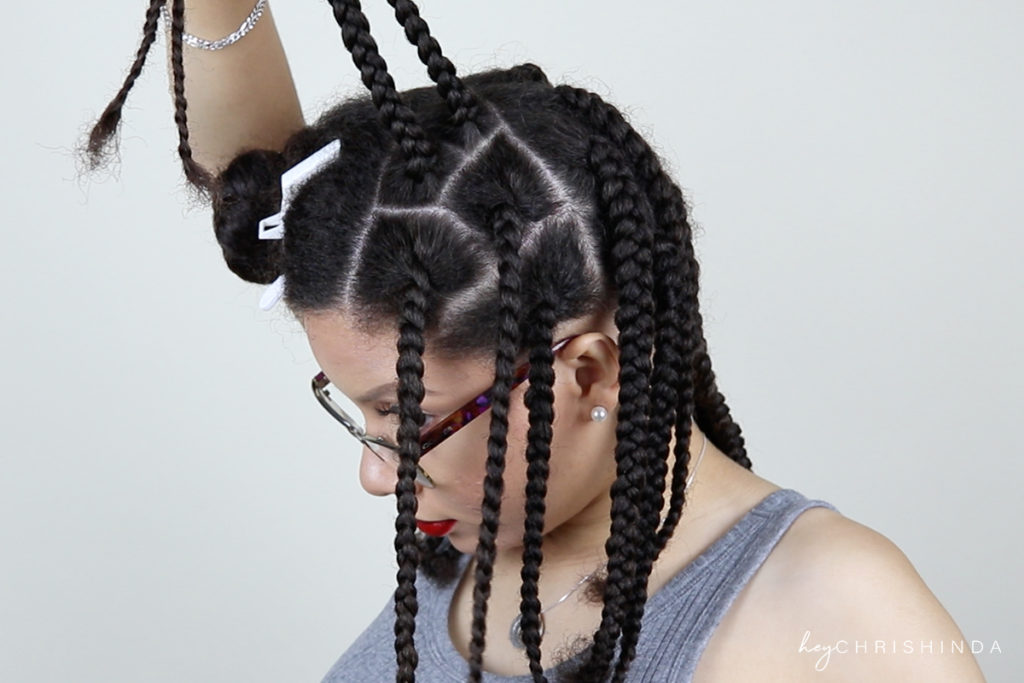
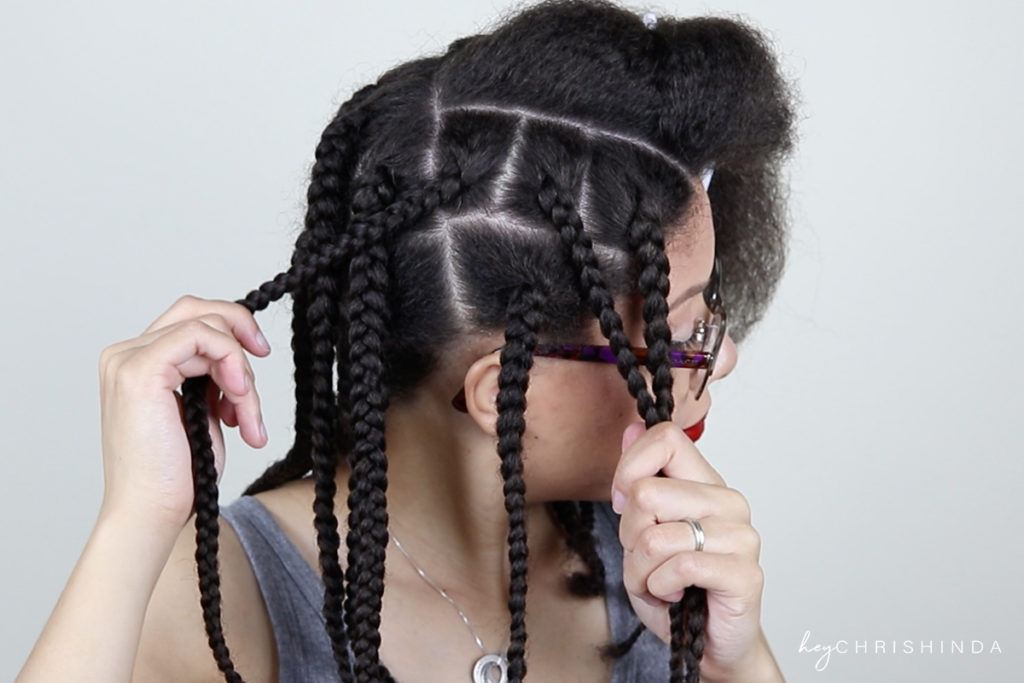
• Start braiding / plaiting hair from roots to ends. You will continue until all of your hair is braided.
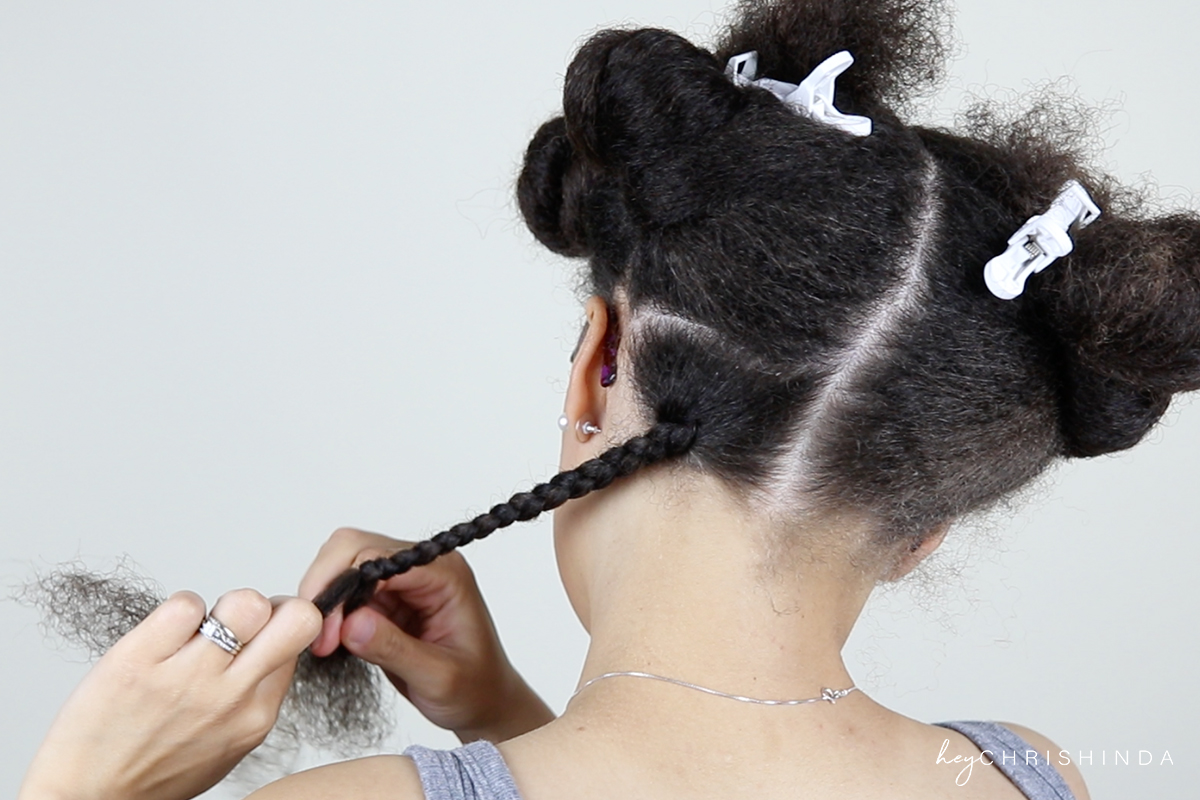
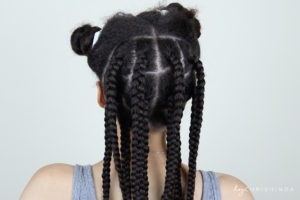
• Here is my parting. Yours does not have to be exact.
• Of course you could always just wear the braids as is…
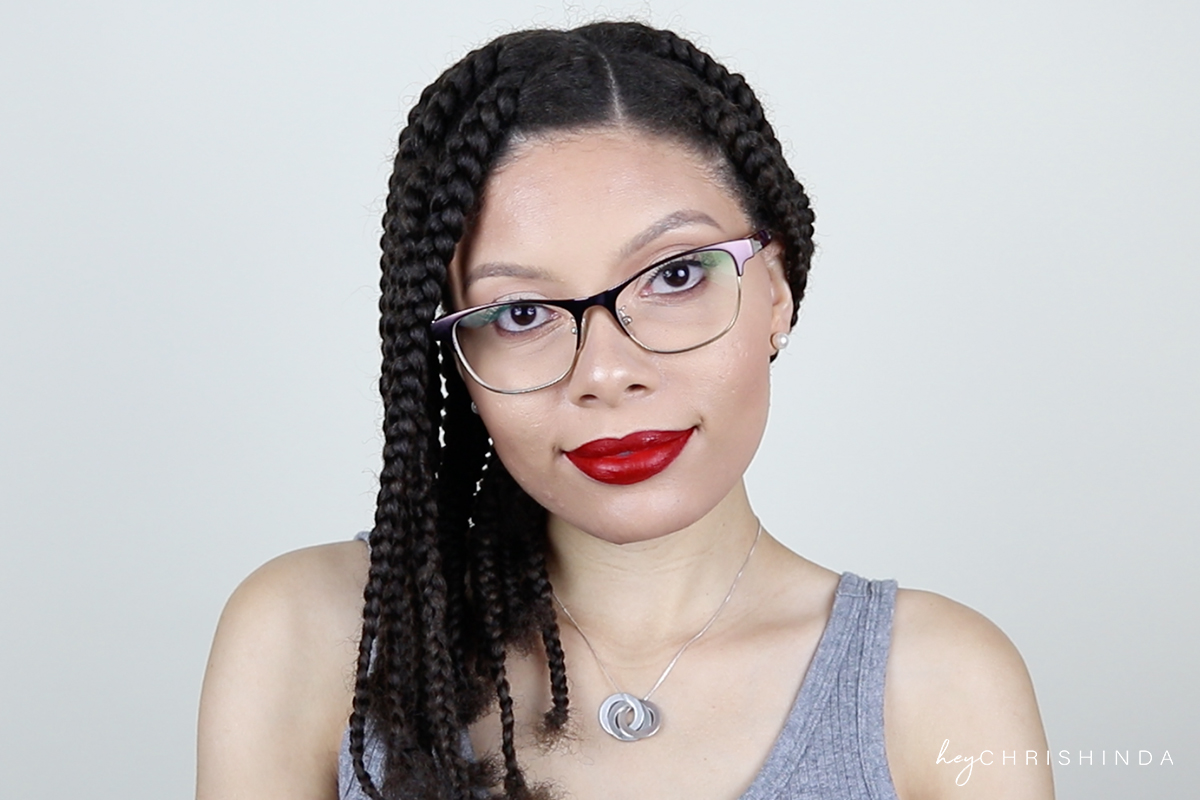
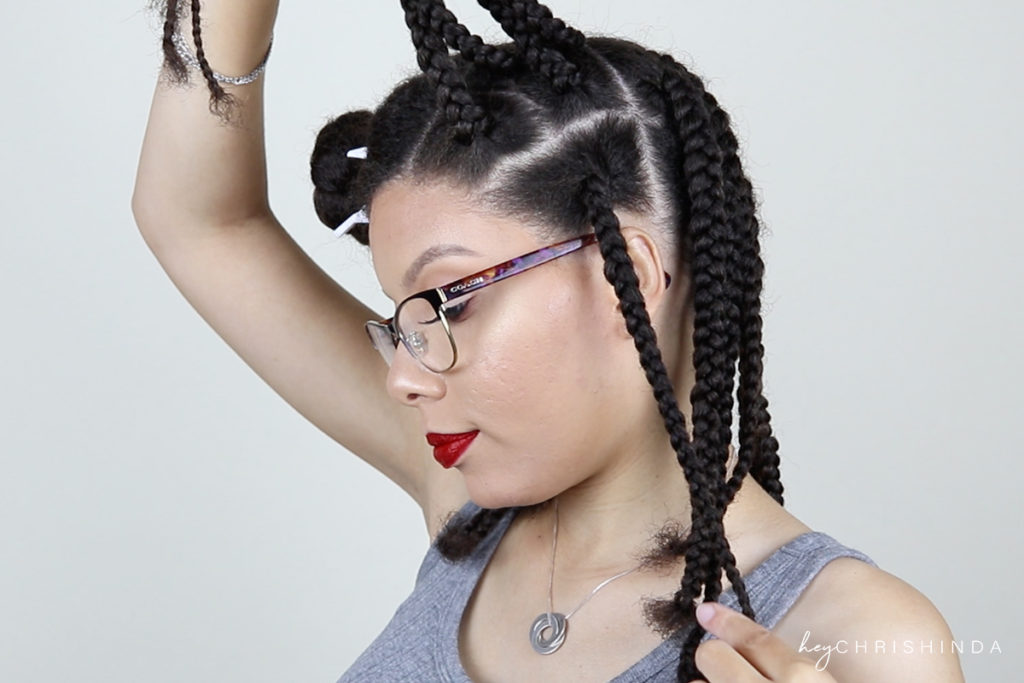
• But since you came here for the pin curl style, let me walk you through it.
• You can wrap the braids from the roots or the ends. You want it to look like a cinnamon roll when you’re done. I started at the base, holding the braid as I wrap it, being sure to keep it flat. You don’t want the pin curl to protrude like a bantu knot.
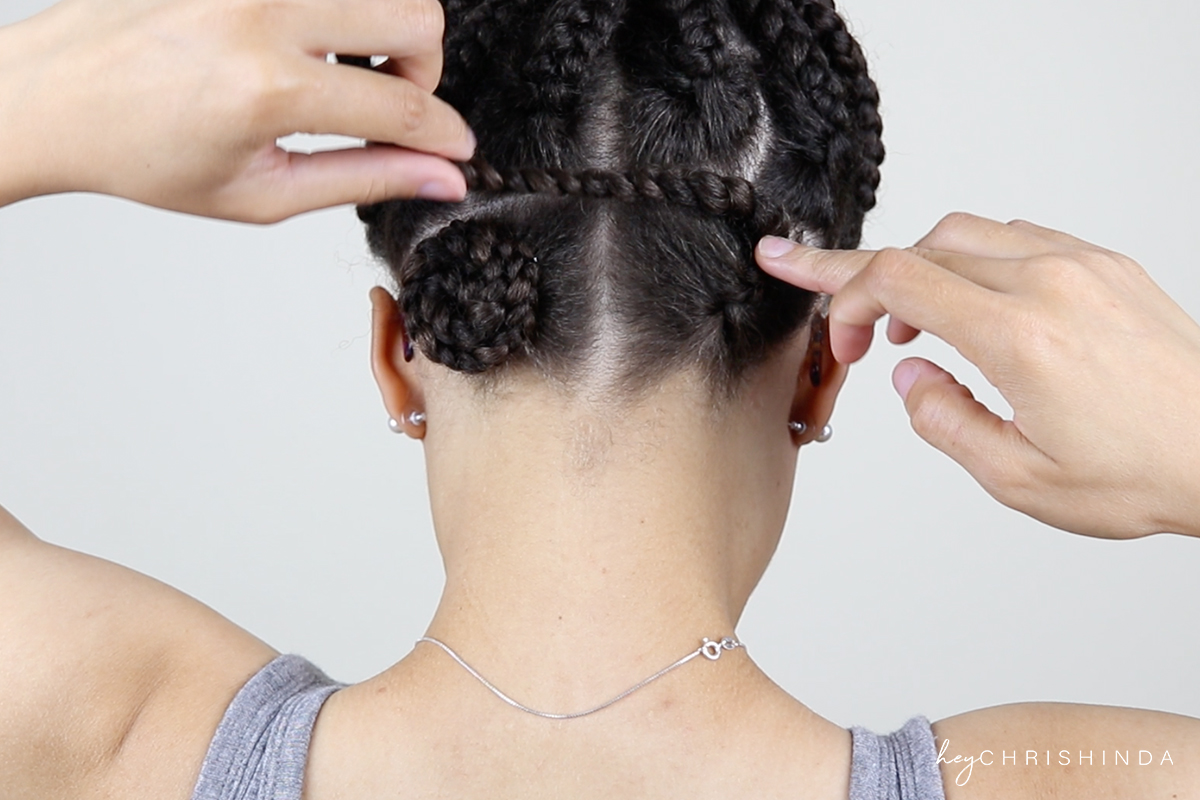
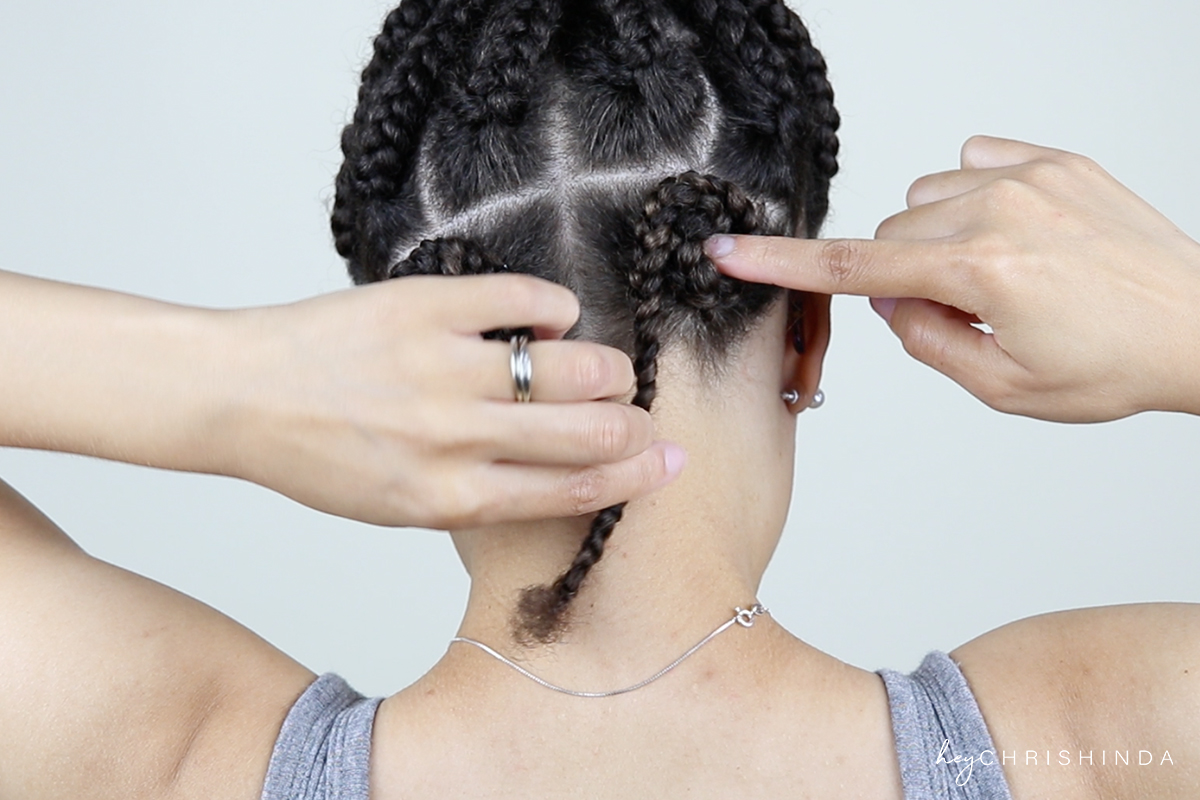
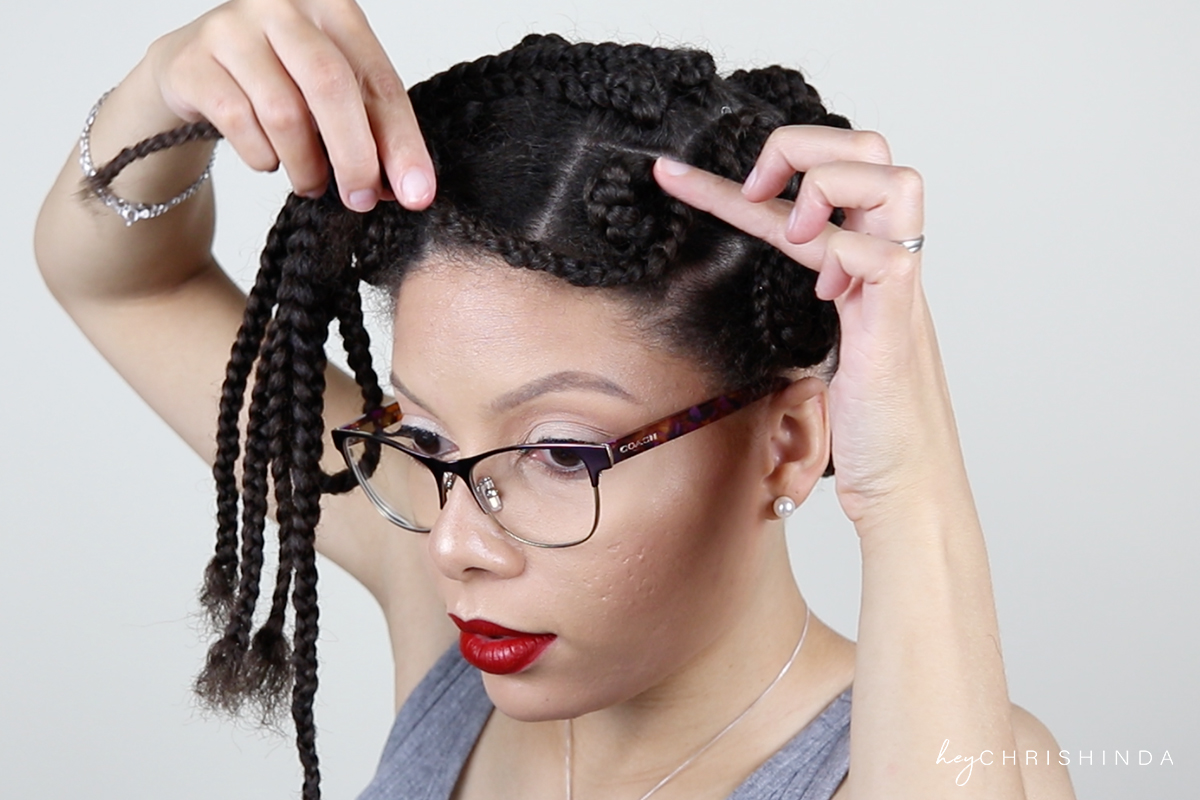
• To secure each of the pin curled braids, you want to use bobby pins. Insert them into the sides of the pin curls by barely opening them. You DON’T want to open the bobby pins wide because you want them to be concealed as much as possible. Don’t put the bobby pins on top of the pin curls.
• We all know, the shorter the hair, the bigger the earrings!
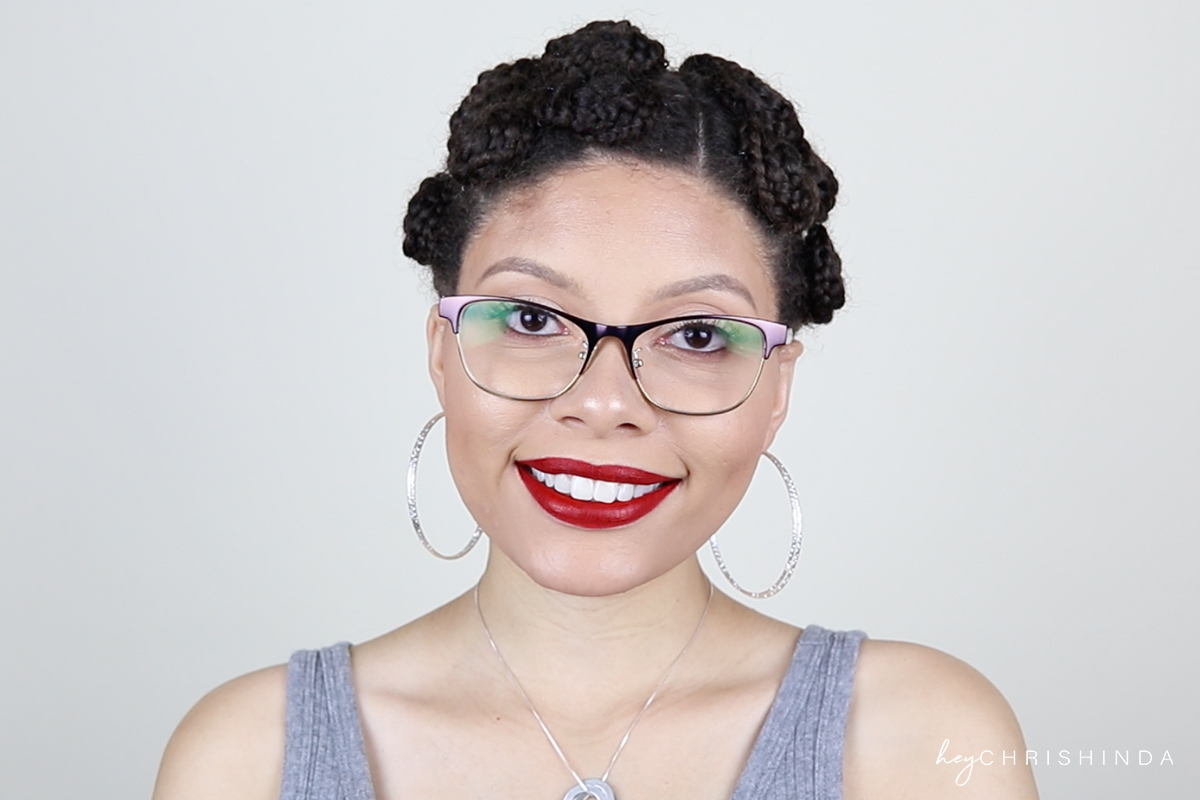
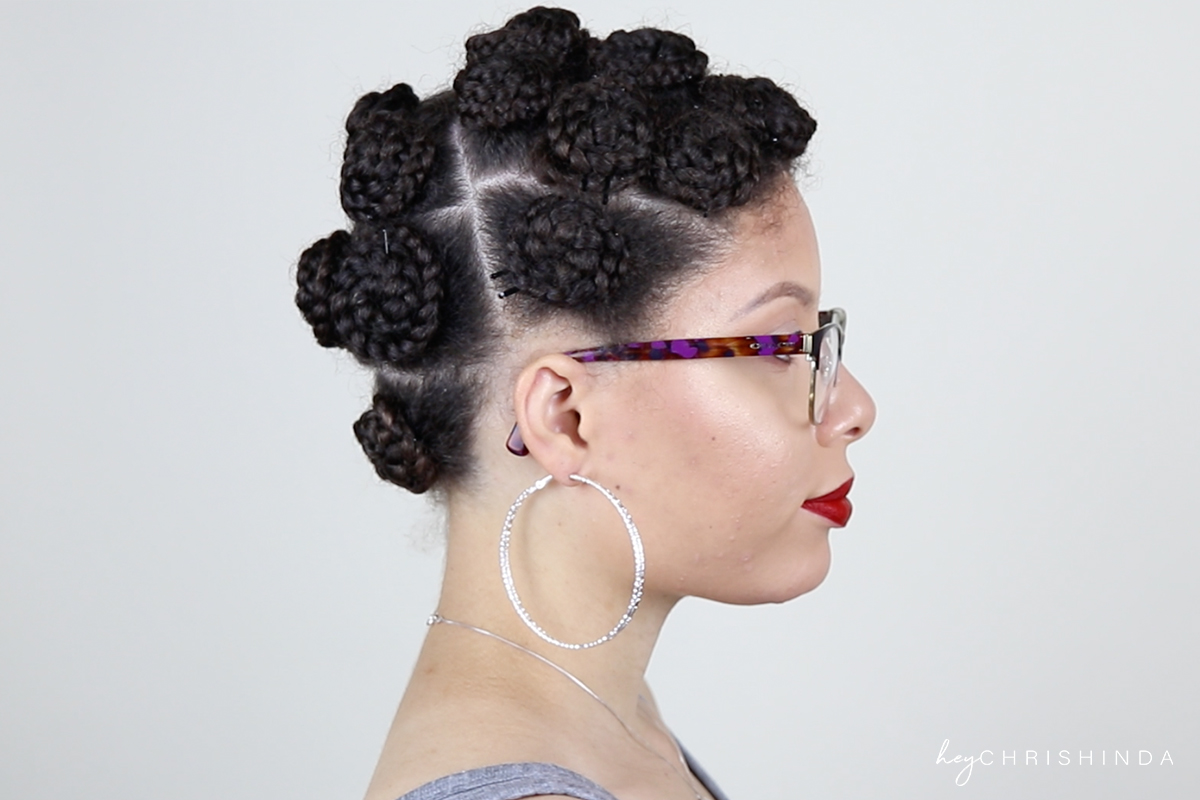
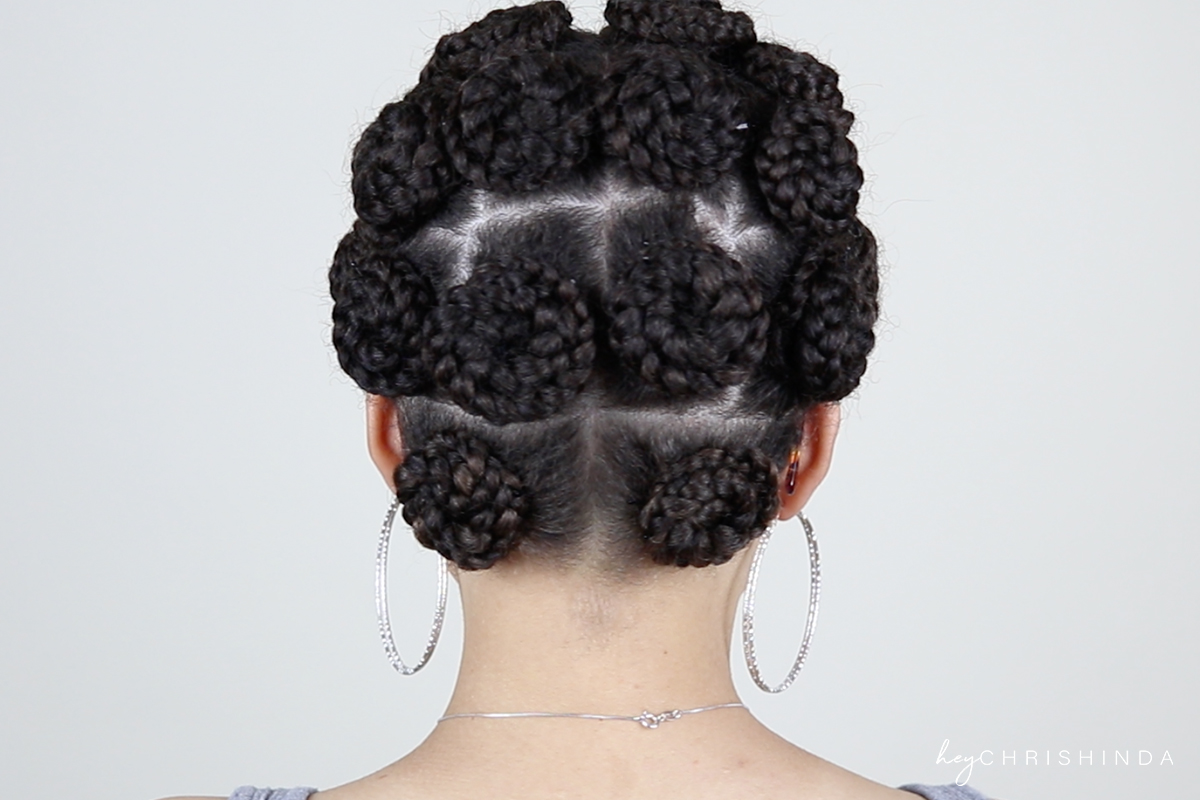
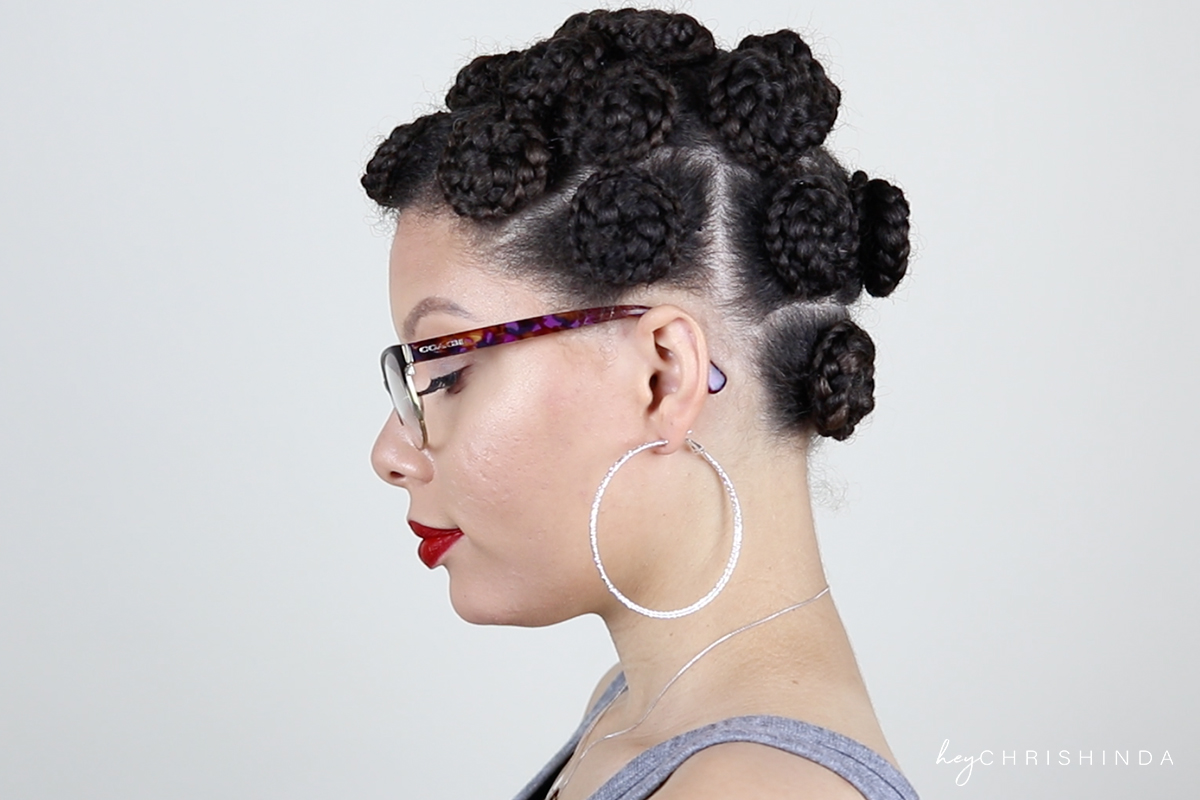
• Boom! Super simple pin curl hair style!
Until my next tutorial…

