Moving into our home, I loved the original bathroom, BUT there was a lot of wear and tear from previous occupants. The bathroom would be clean, but it looked dirty and I’m a clean person. We needed a bathroom remodel.
Here is our ORIGINAL bathroom.
Here are the tiles we used for the floors and shower walls. Cascade Gray – Floor and Decor
We did tile over tile for the floors and you can find that post here.
Since I wasn’t the one doing the work, the order of these pictures may be out of order, but you’ll get the gist.
I also don’t know what I’m doing with this remodel or what things are called…this is behind the scenes and I wanted to share.
My husband and one of our neighbors we hired did the bathroom together.
FIRST!!! Put up Plastic to Cut Down on Dust Getting into Other Areas of Your Home
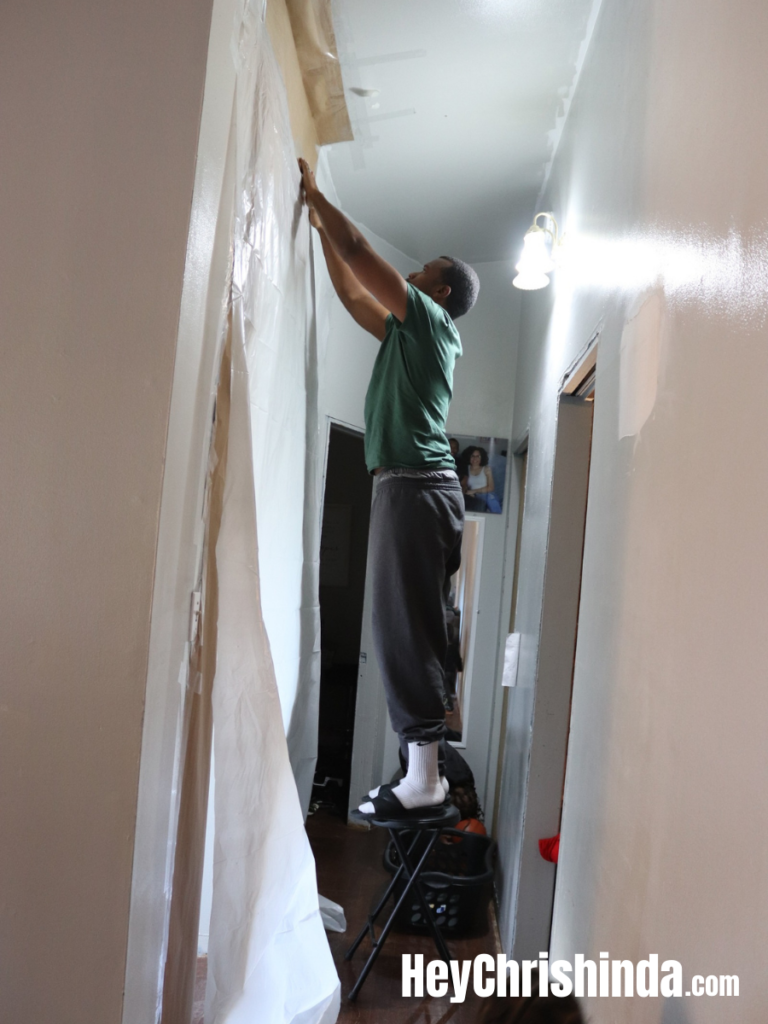
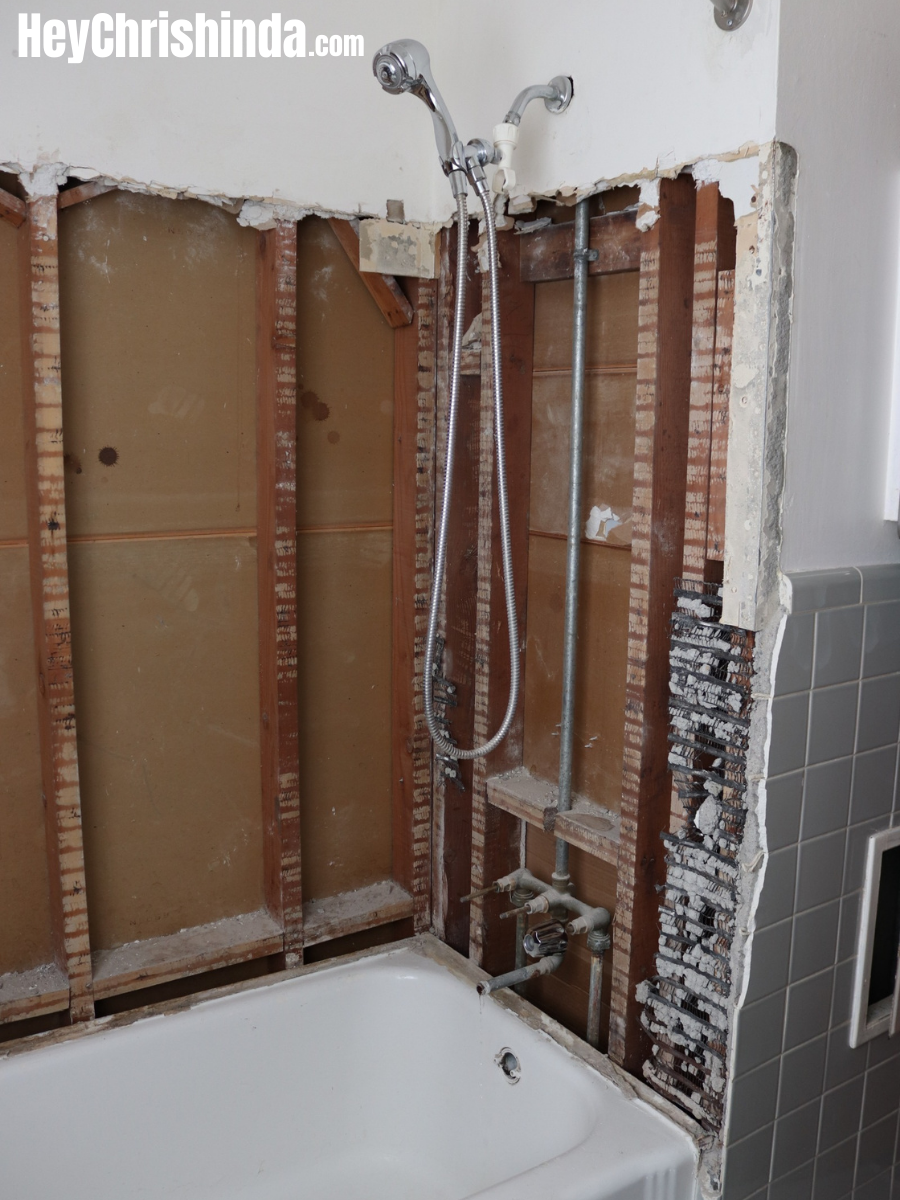
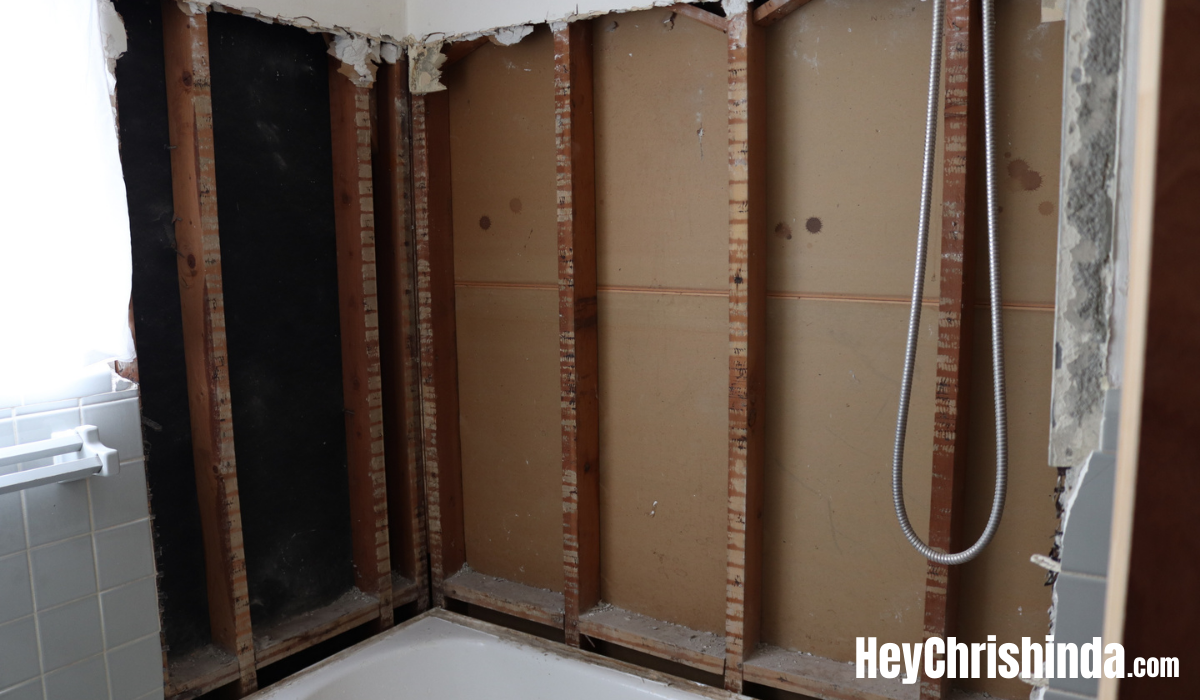
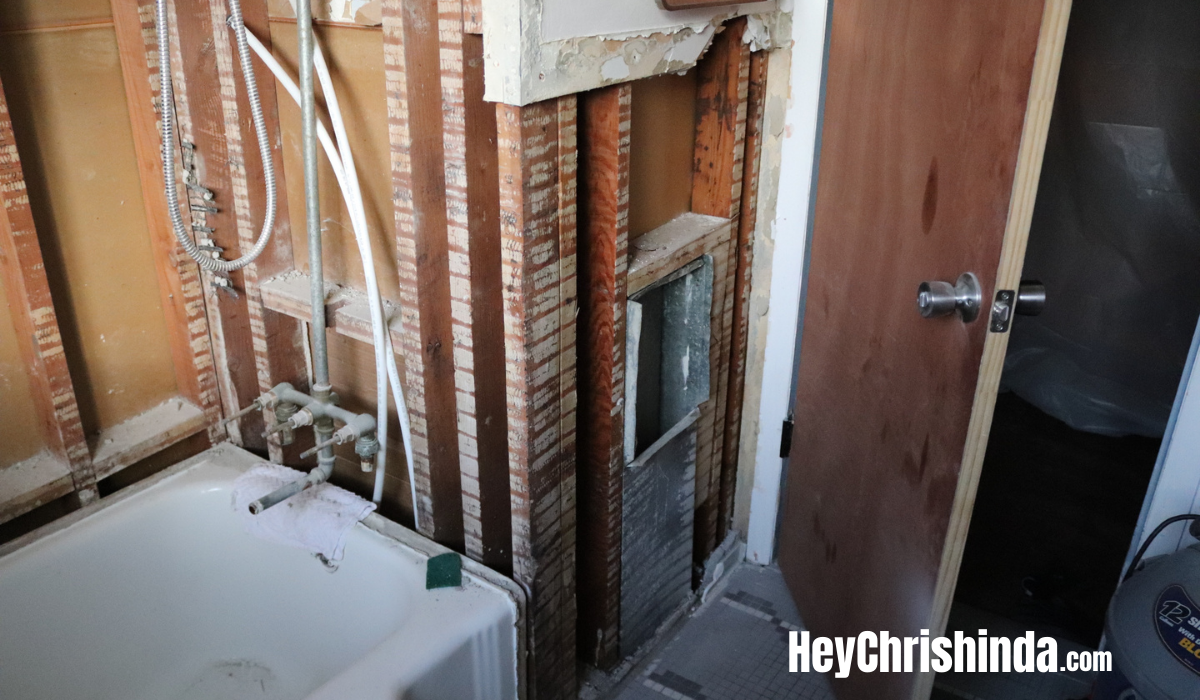
Demo-ing the Shower
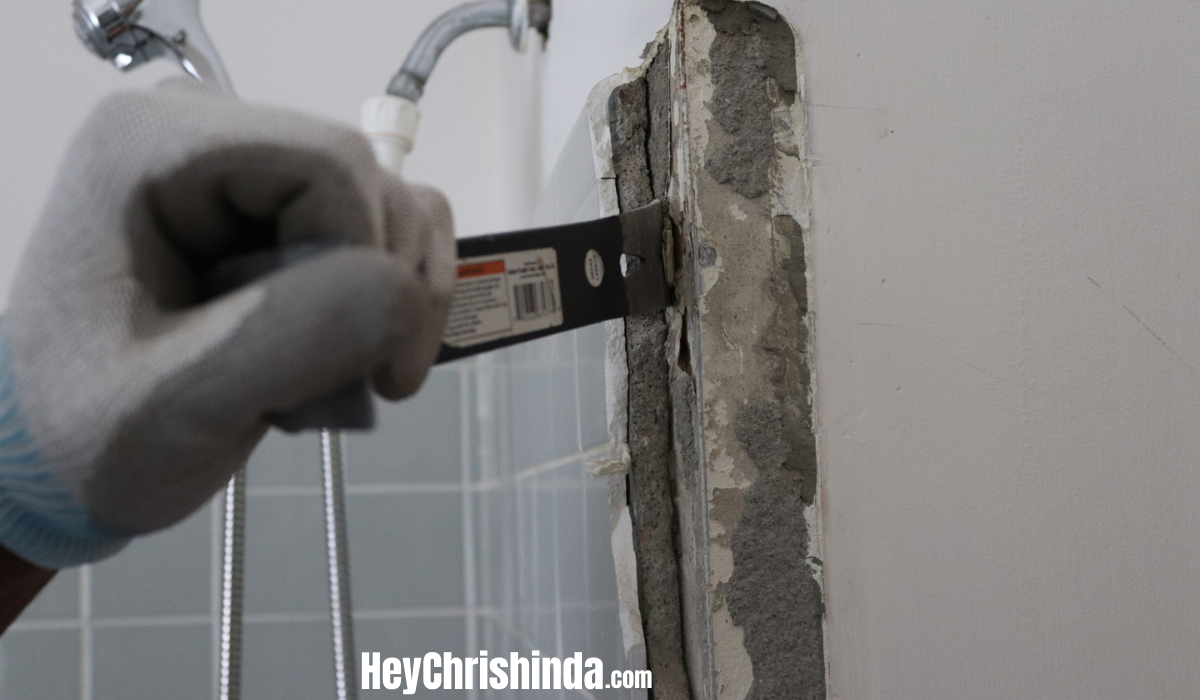
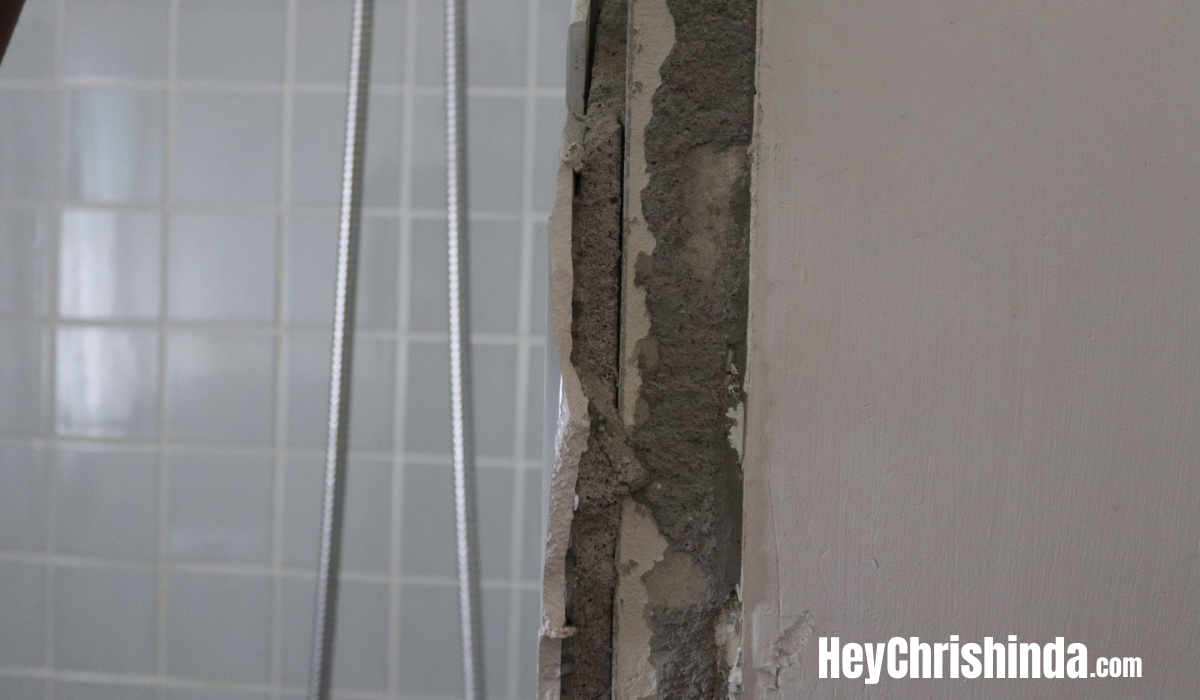
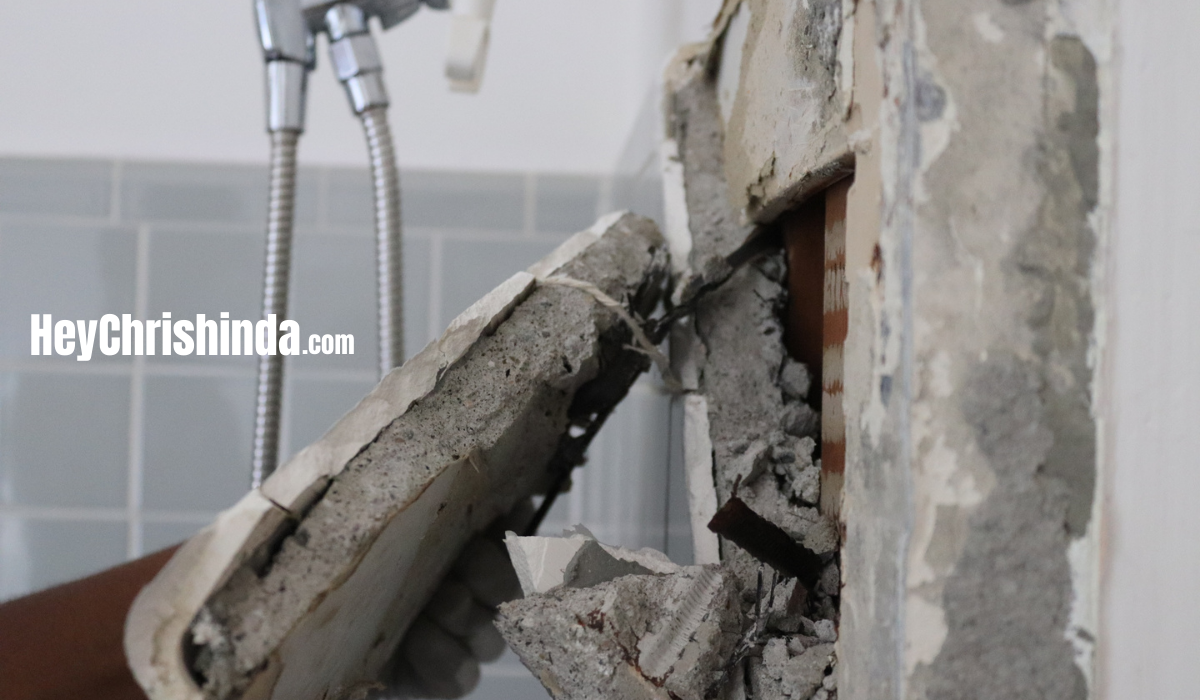
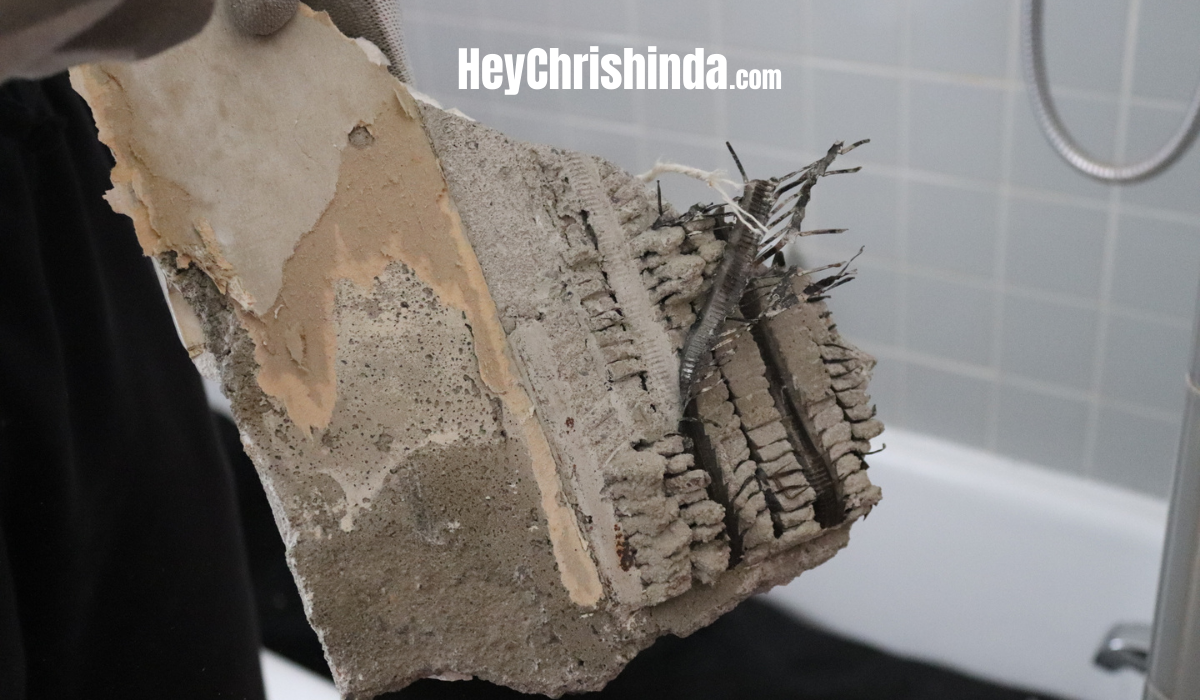
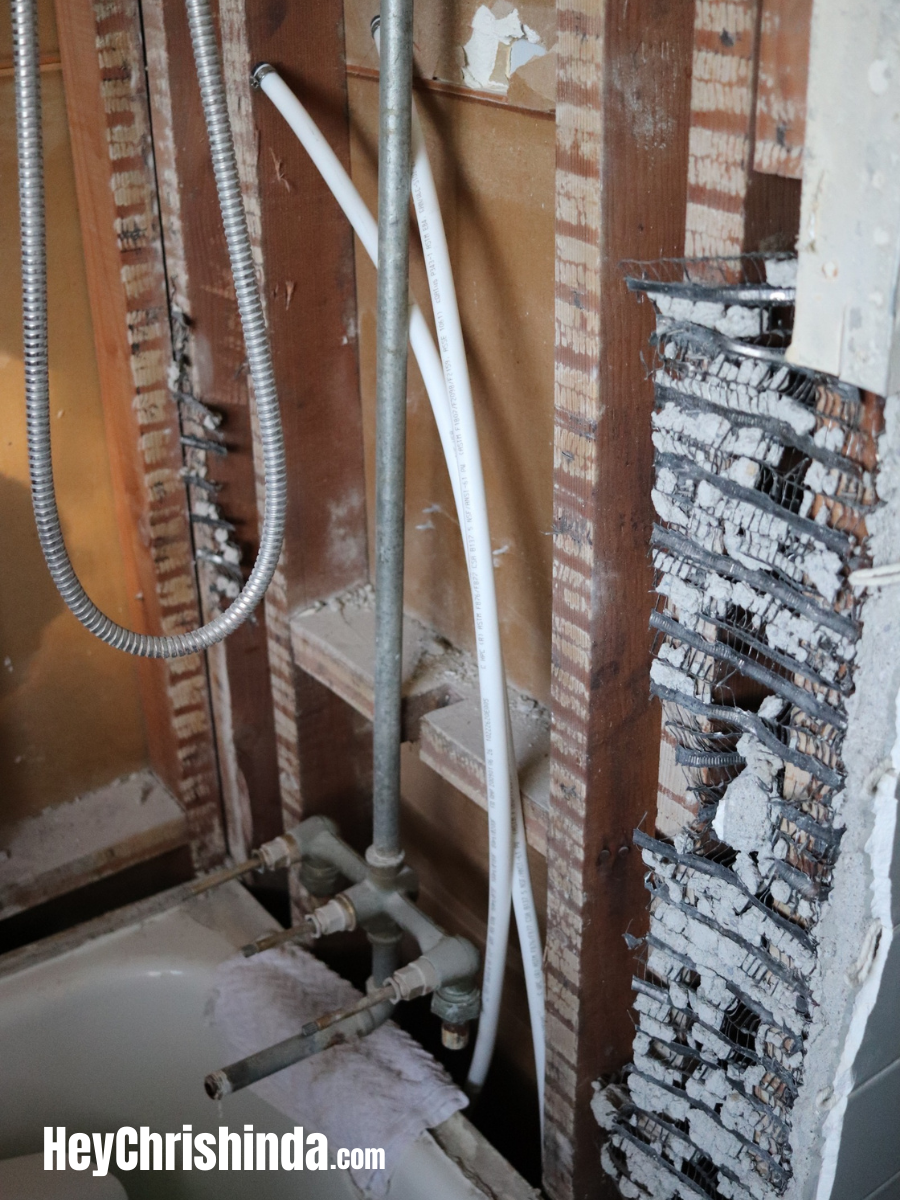
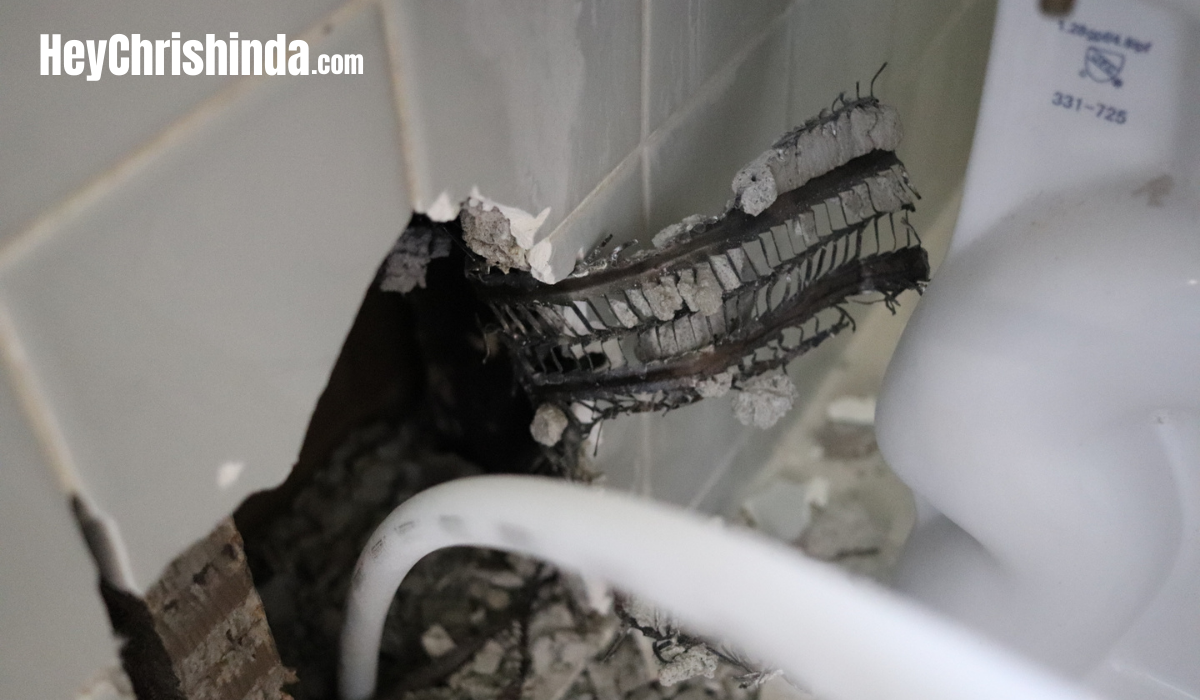
Do you see how thick that concrete is behind the bluish tiles? It’s 1-1/2 inches thick. My husband initially was tried using a hammer to break the tiles so they’d just fall but those tiles were NOT budging. The hammer did help with pulling the remaining wire mesh off so he wasn’t cutting his hands up. The first few pics are from the very beginning of the process… we didn’t know there was concrete behind the tiles and once we got started…we had to finish or we’d just have a messed up shower for a while.
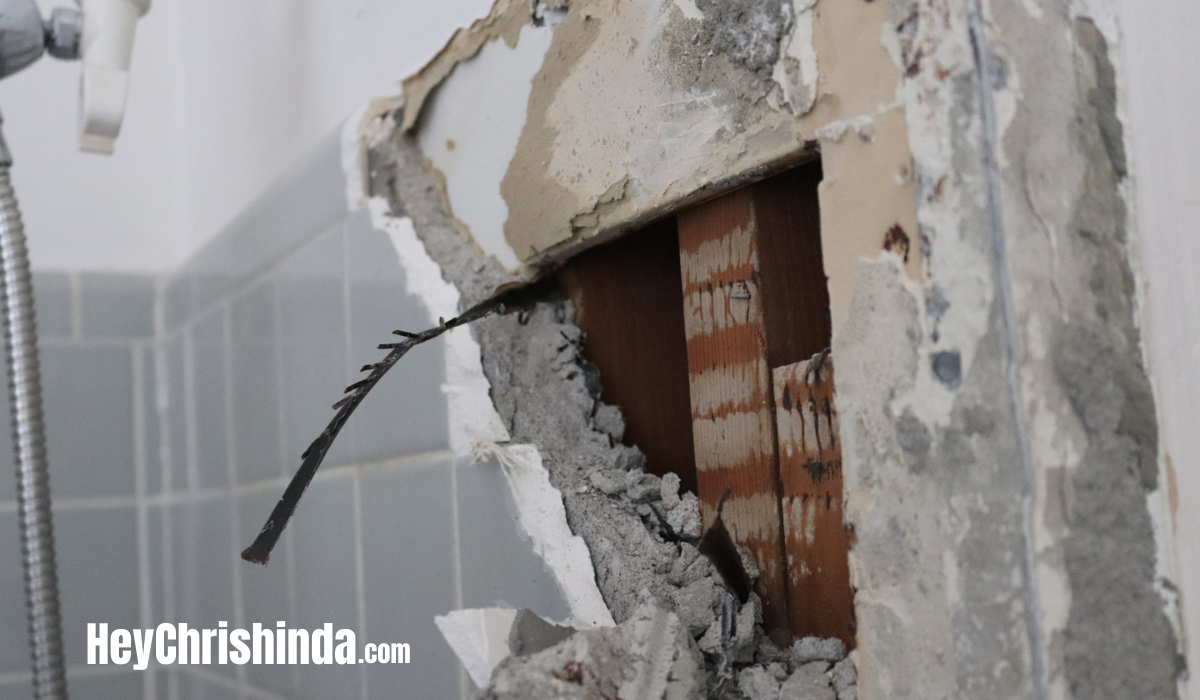
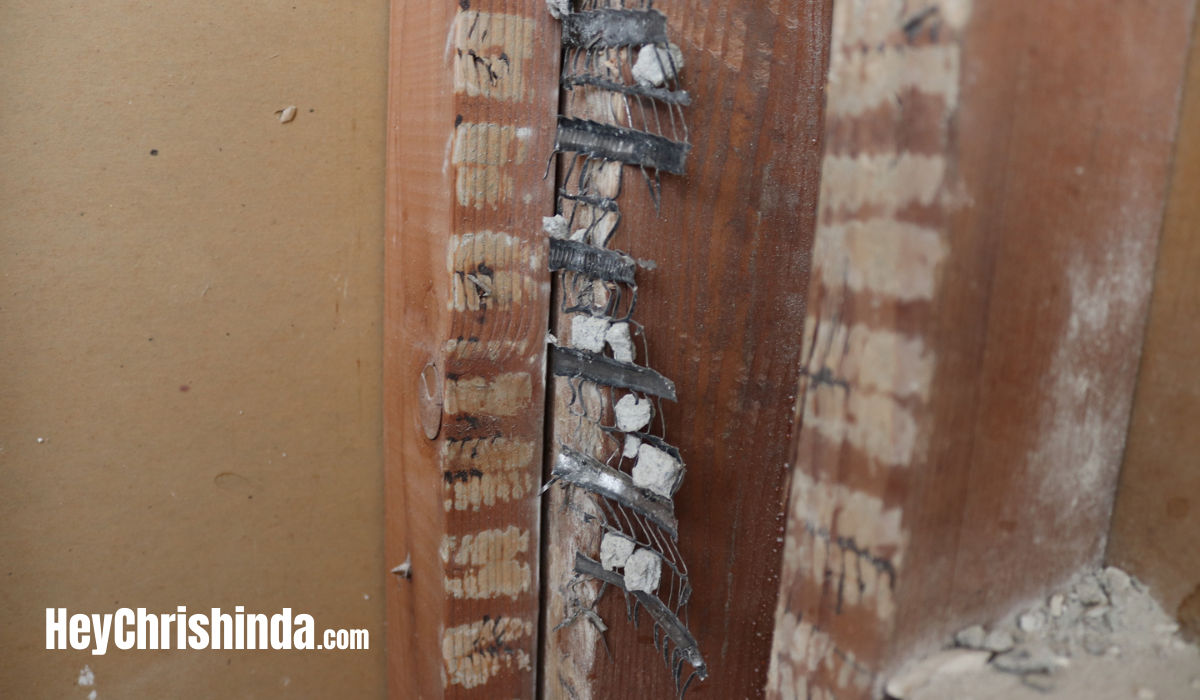
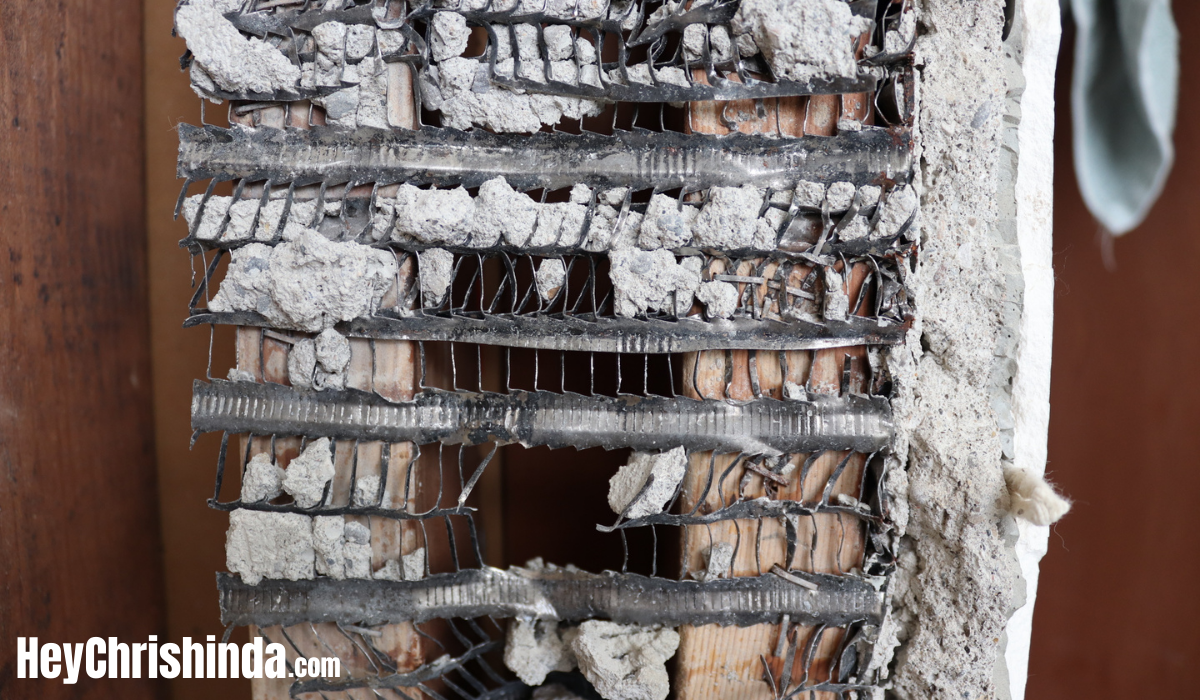
To get the tiles and concrete down he used a crowbar and put it in between the stud and the tiles behind the wire mesh and then pulled and it came off in chunks. He also tried a grinder with a diamond blade, which helped but it was not cutting the wire mesh.
The wire is VERY SHARP if you encounter this during your demo, so please be careful. Concrete is also heavy, so make sure you careful when lifting as well.
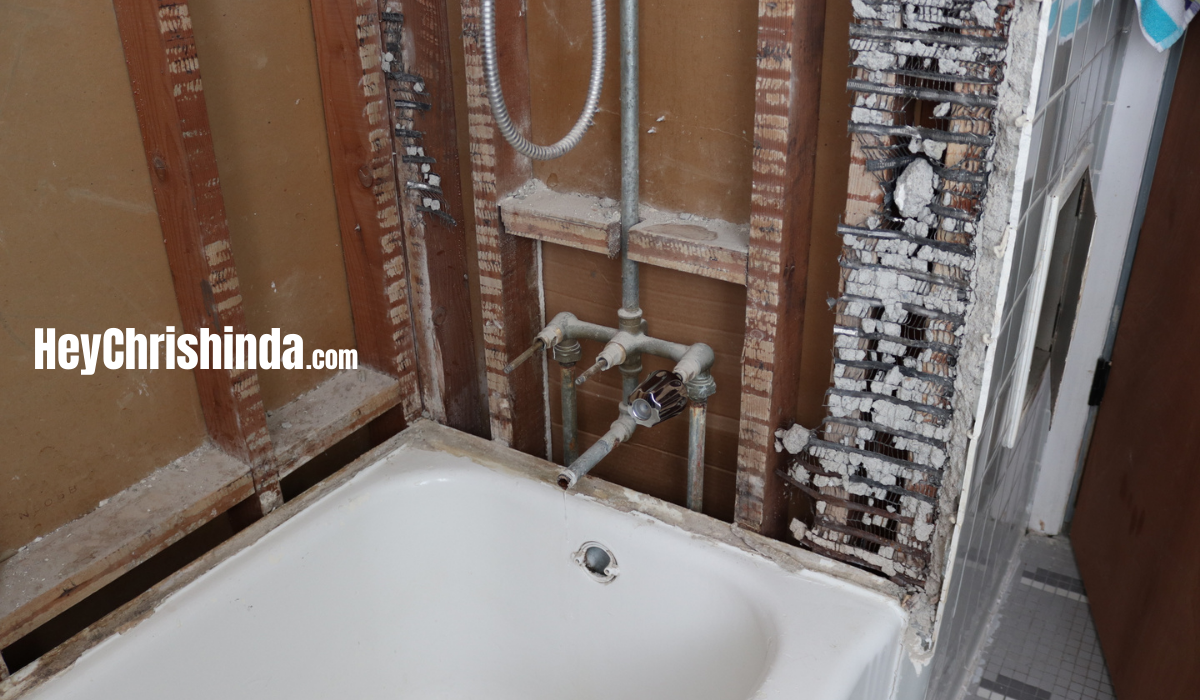
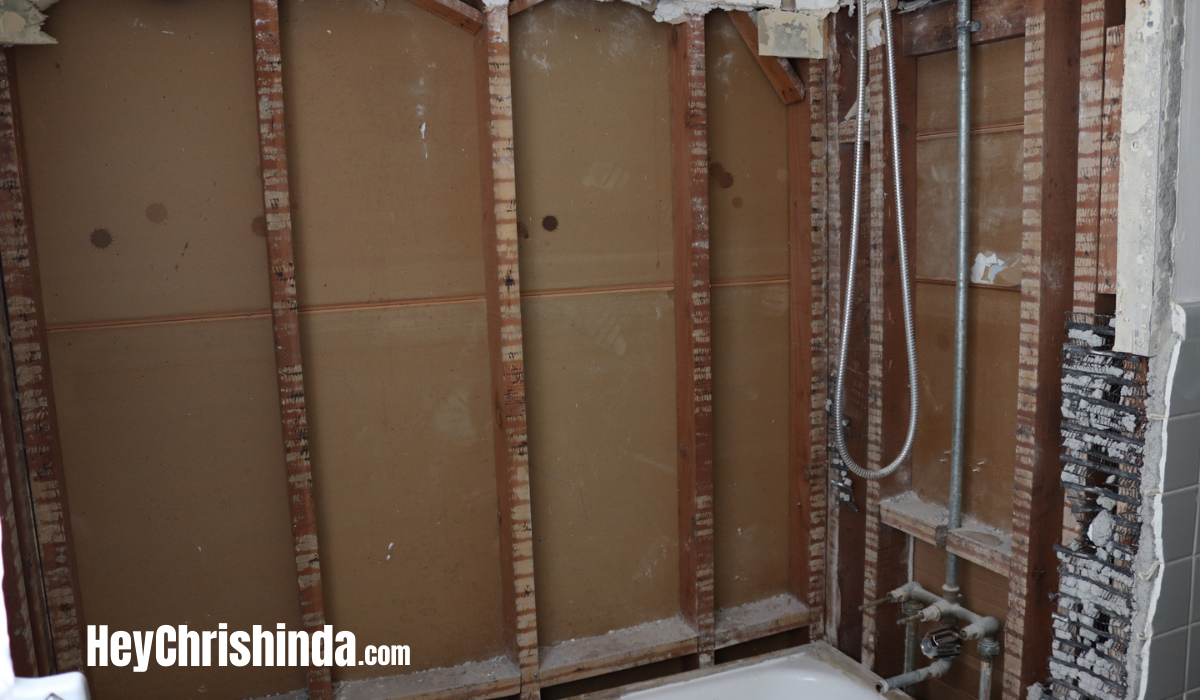
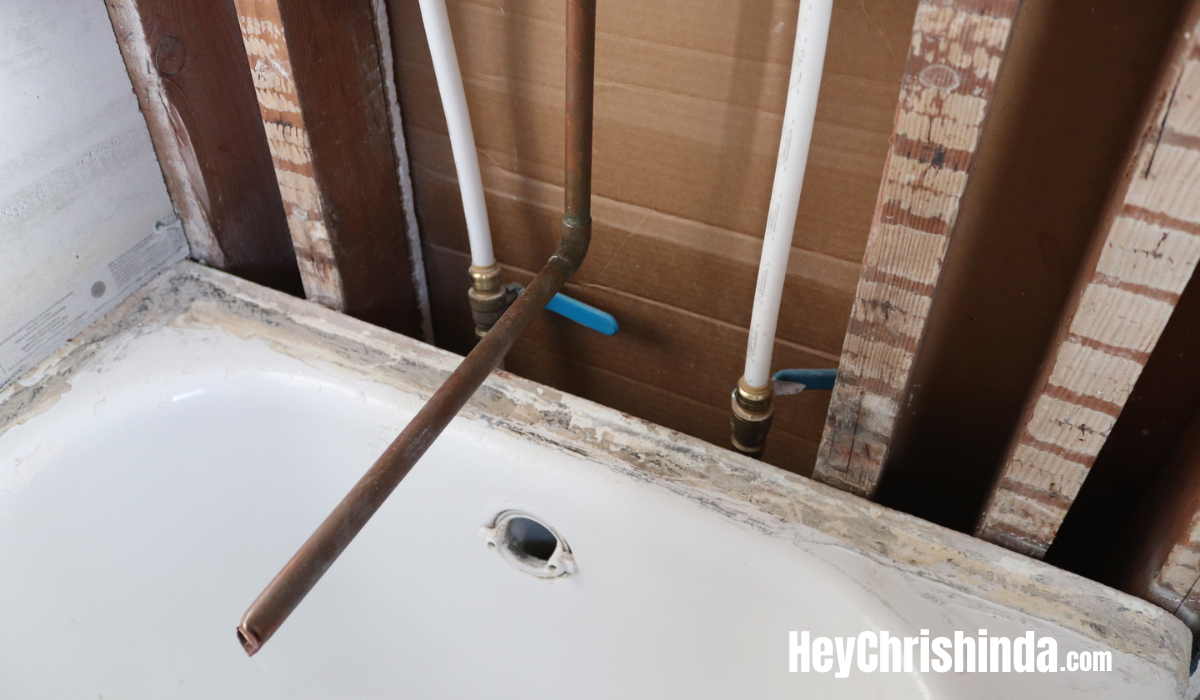
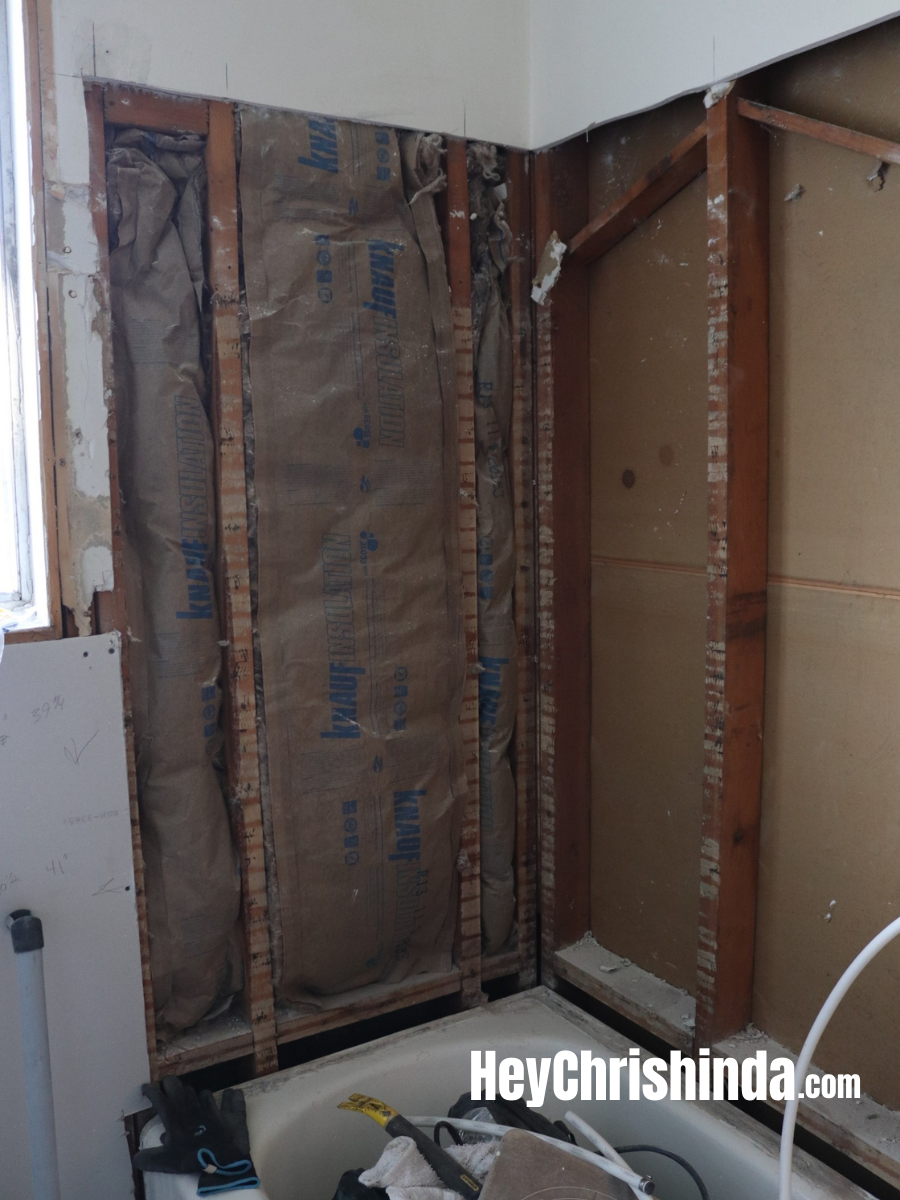
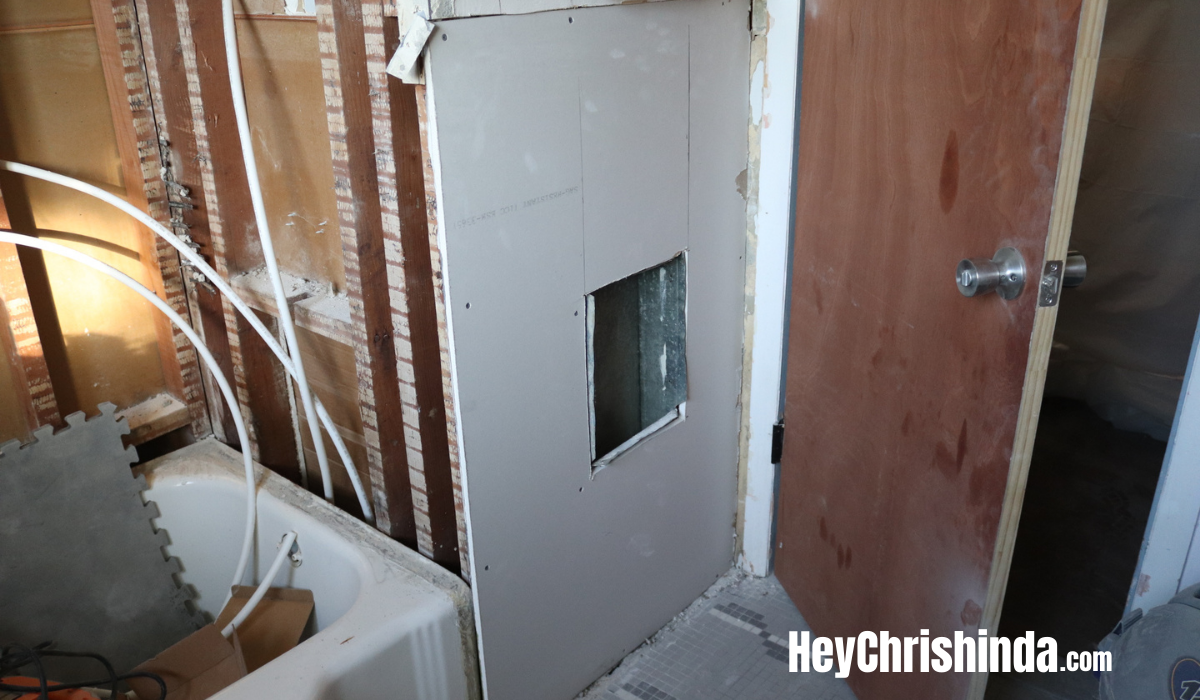
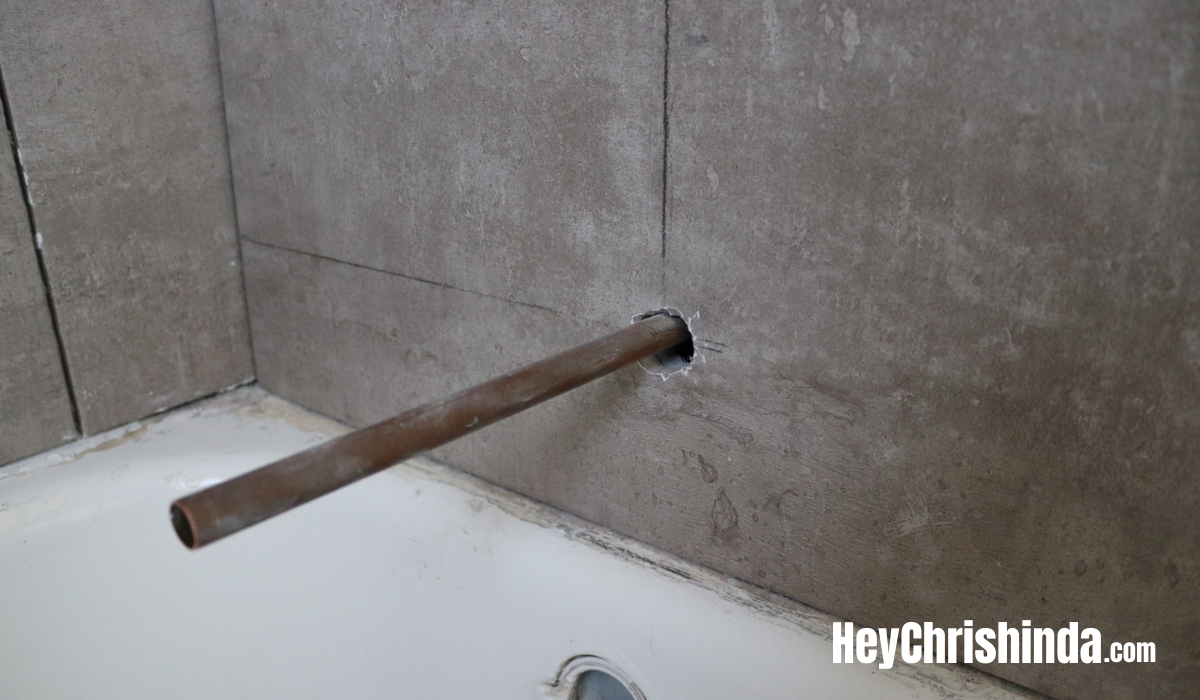
The picture below is the showers back wall. There was a nice sized gap in between the bathtub and the wood/studs. The gap probably wasn’t an issue with the original tiles and bathroom because that concrete was so thick. My husband ended up putting a thin piece of plywood to fill the gap.
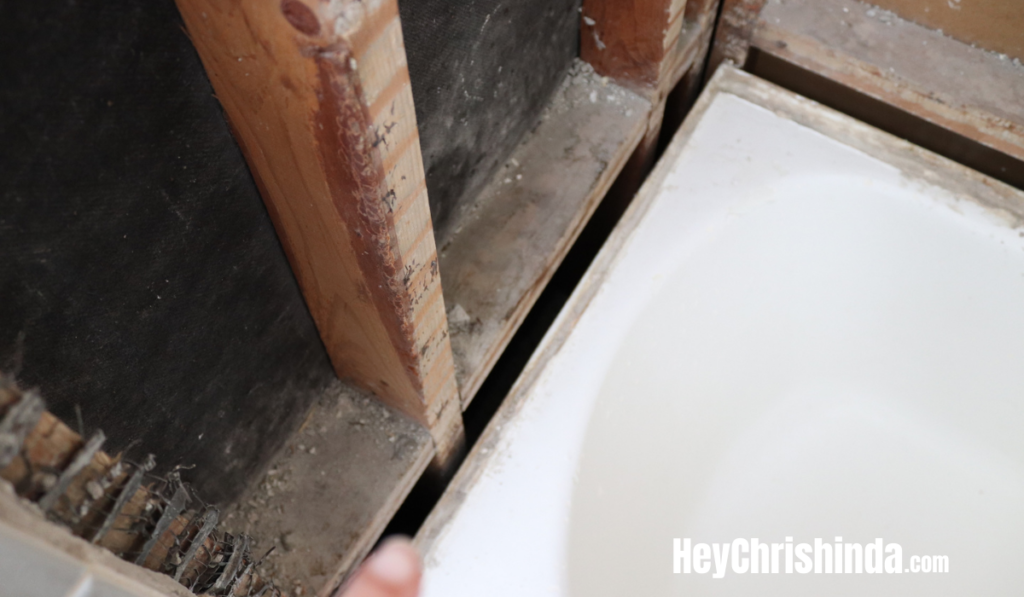
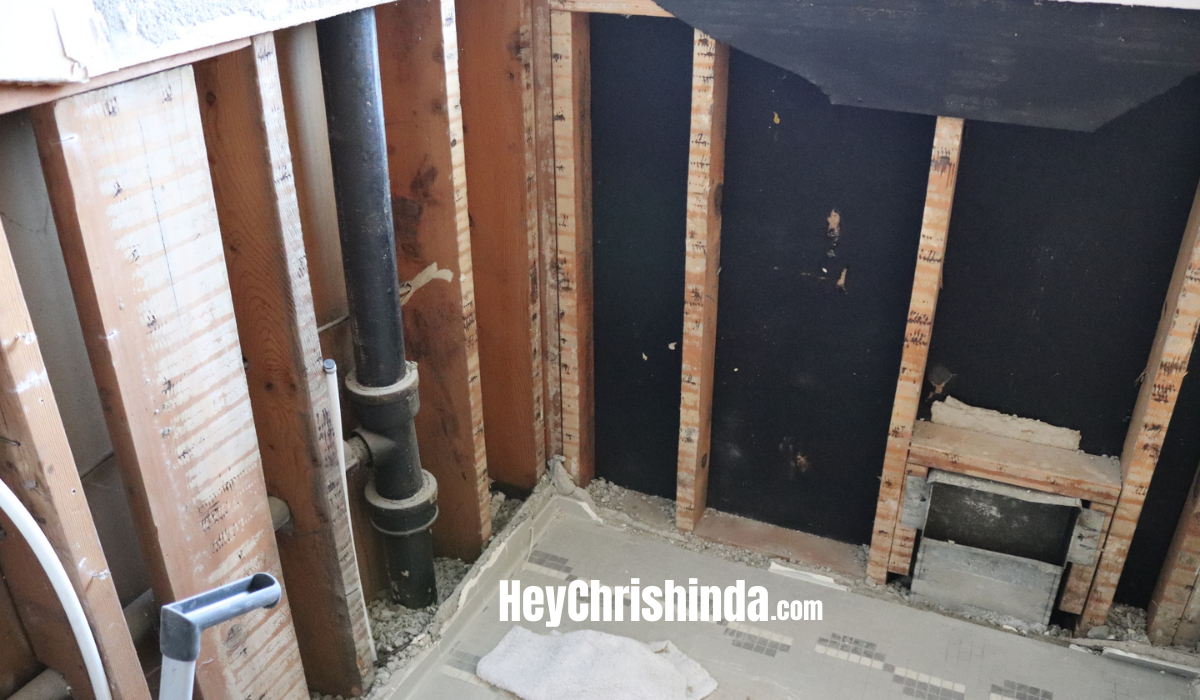
Behind the Tiles
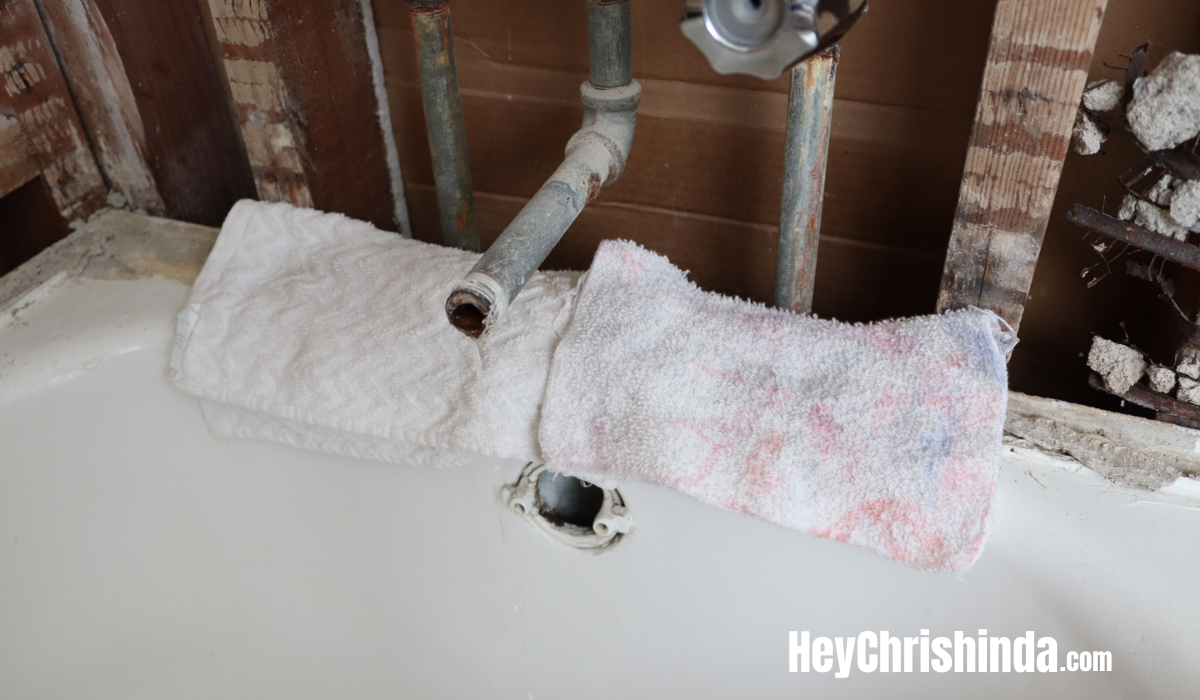
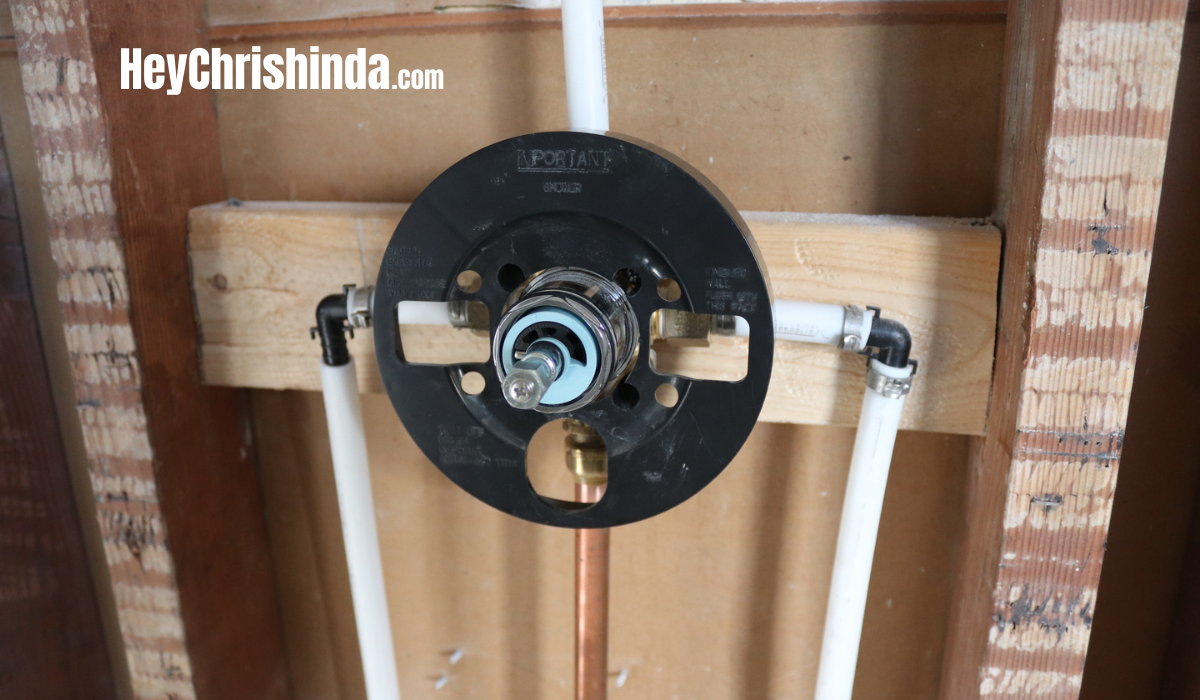
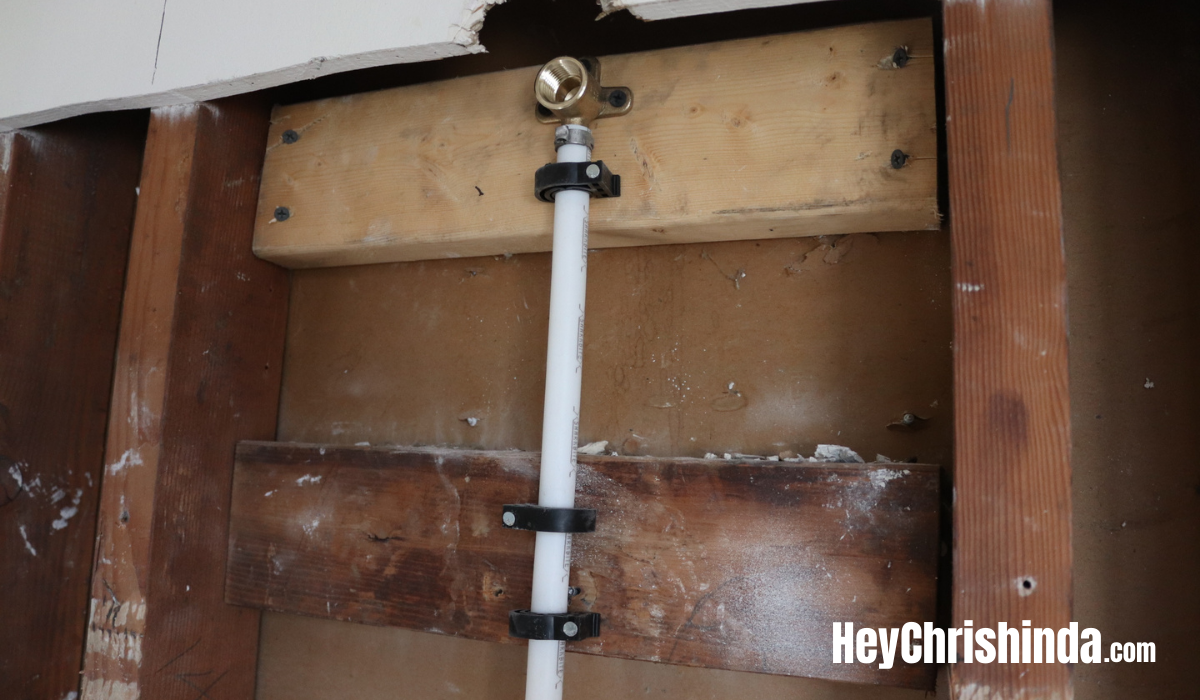
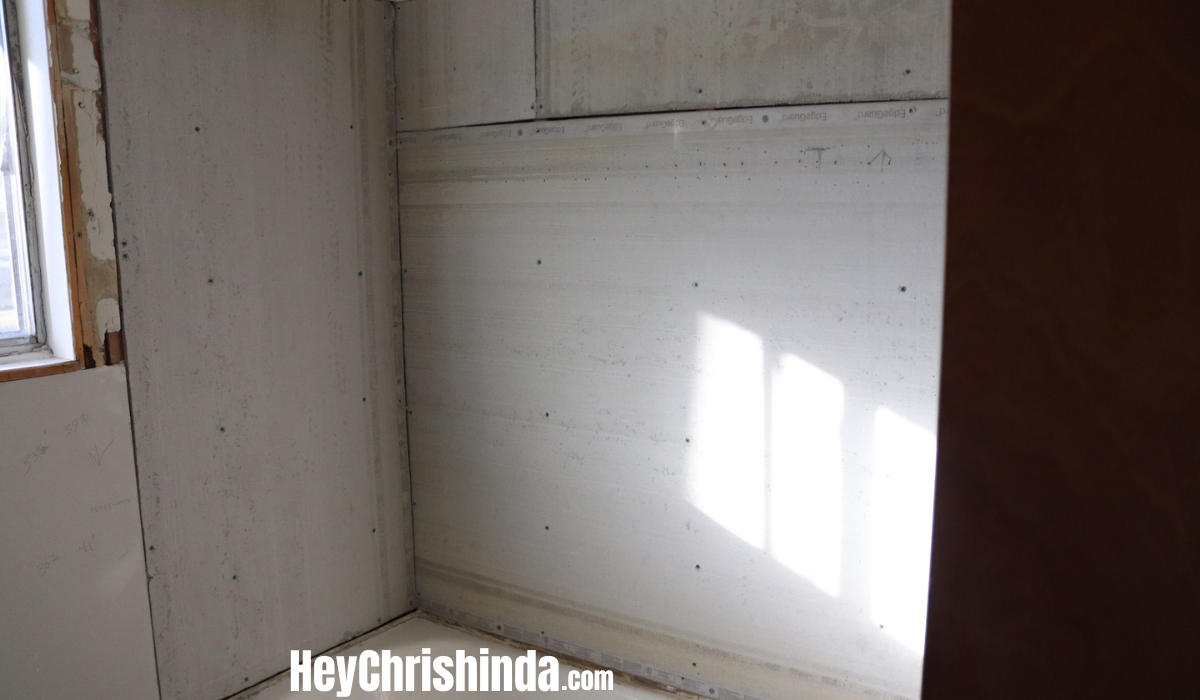
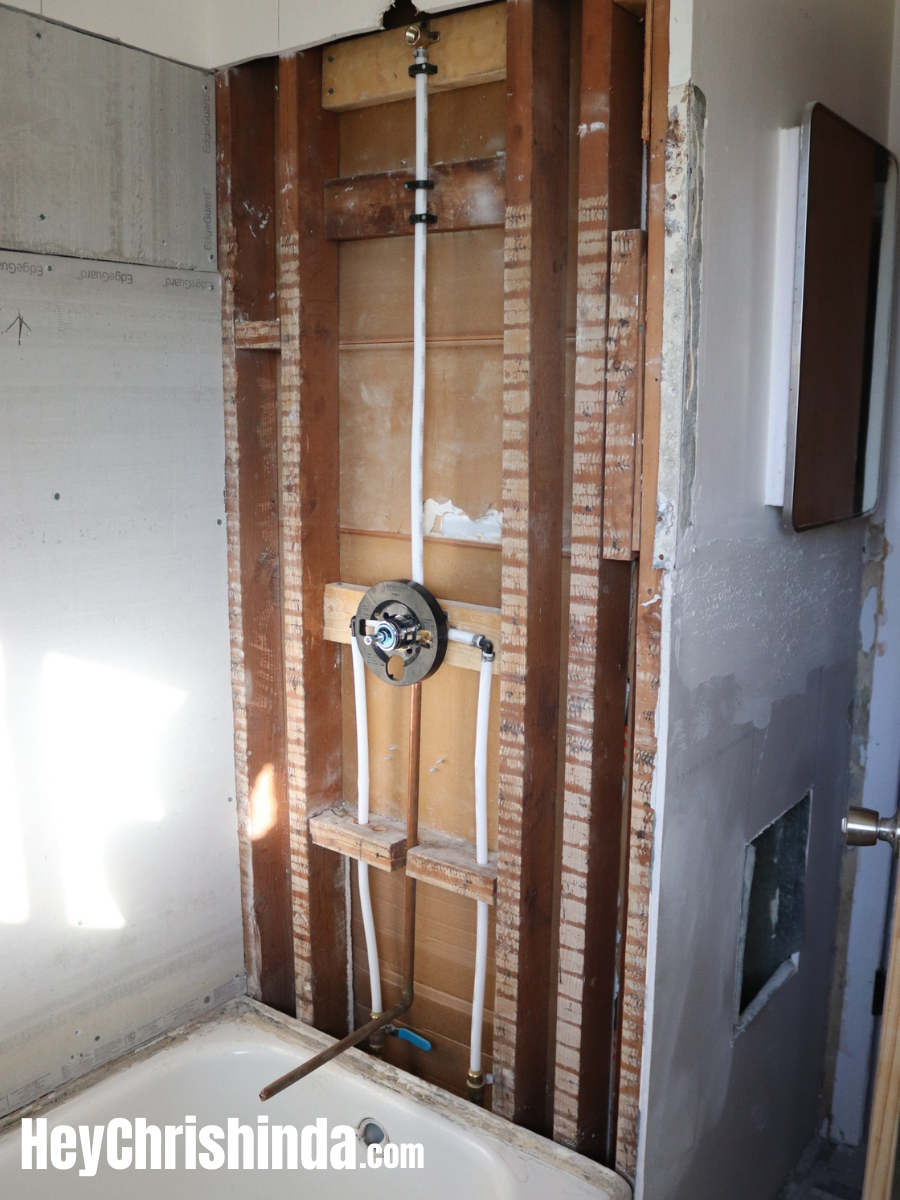
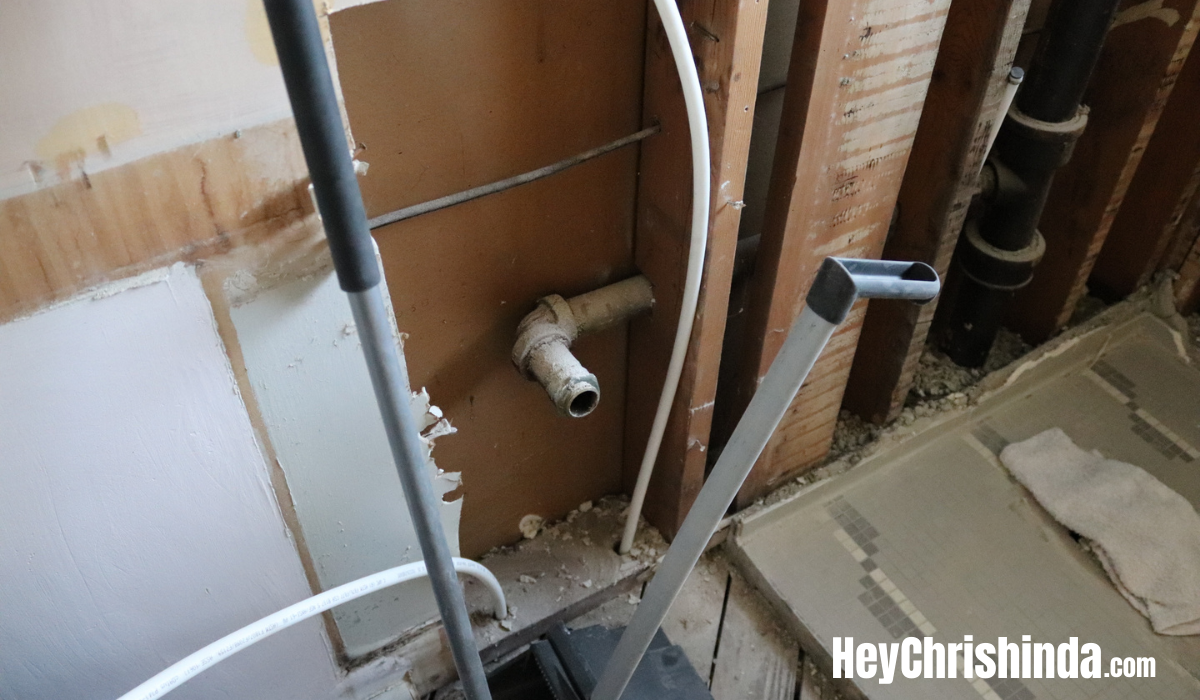
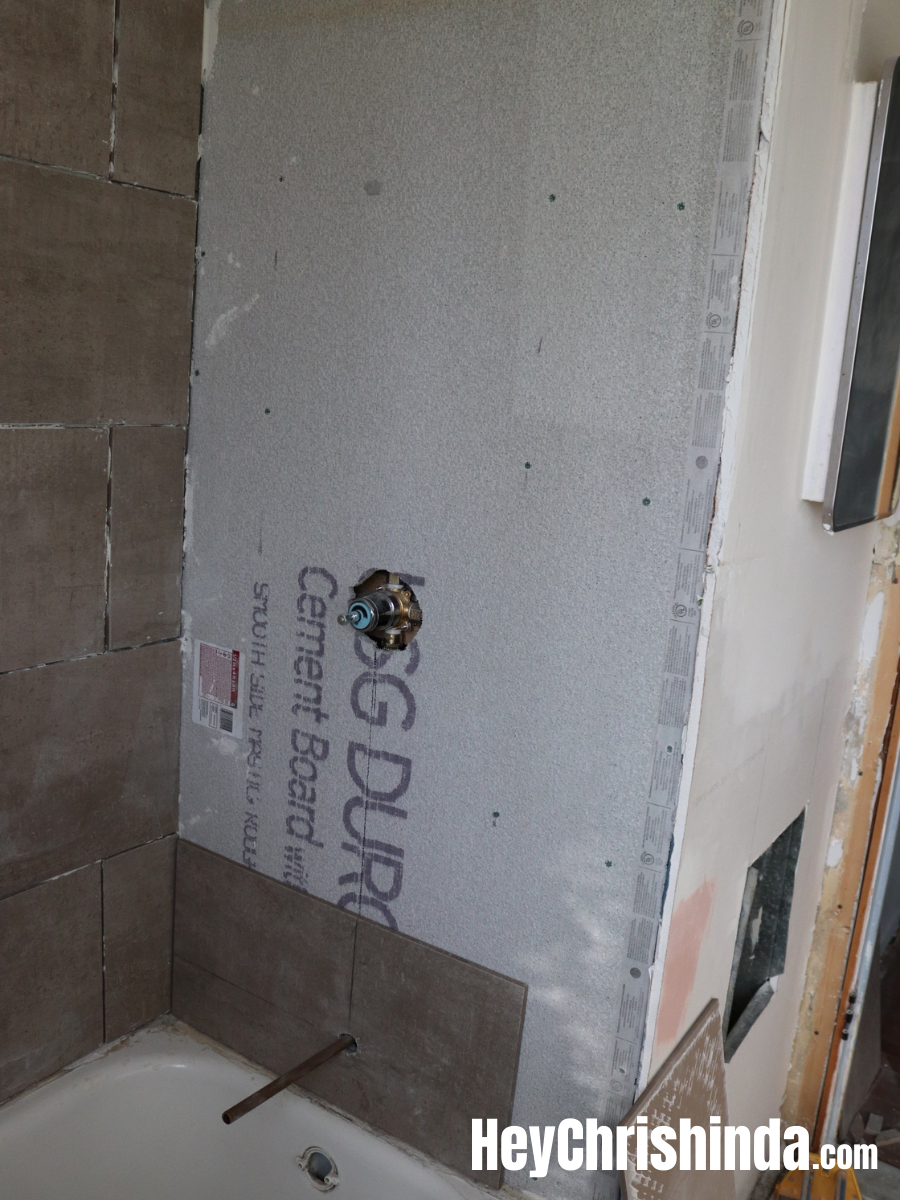
New plumbing/hardware, cement board or an equivalent moisture-resistant backing material – that’s the grayish boards covering the wood/studs, insulation – important because the back wall is the outside of the house so you aren’t freezing. Idk if all showers get or need insulation.
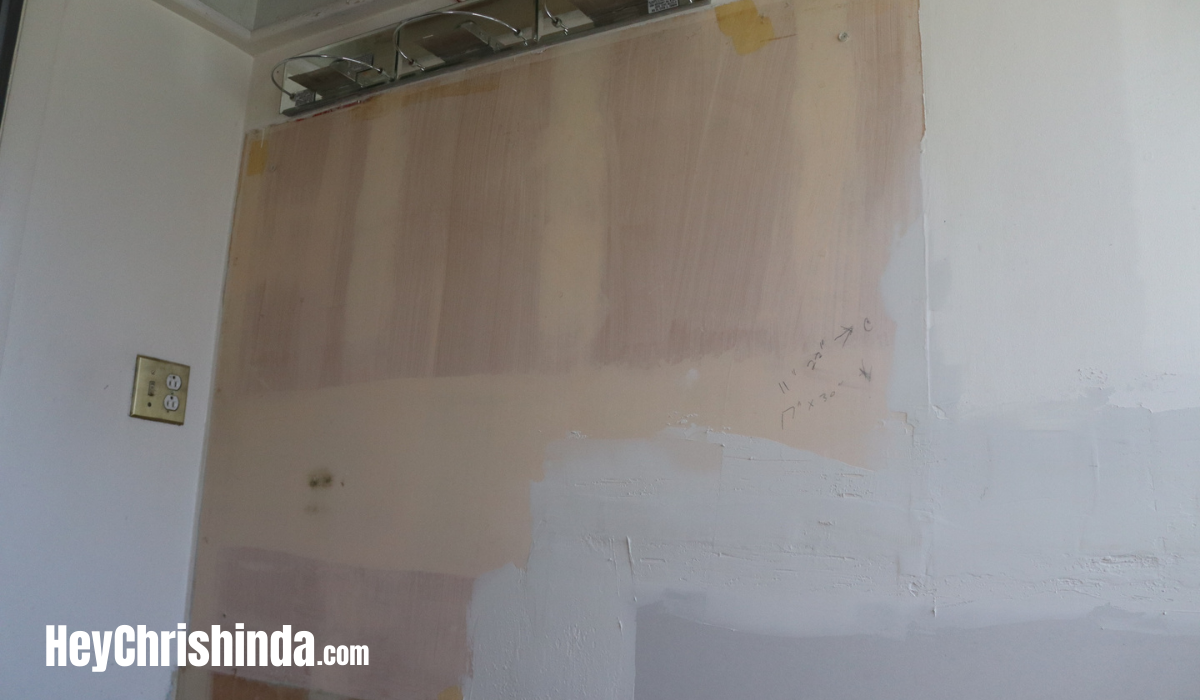
Old Mirror Space – Above the Sink
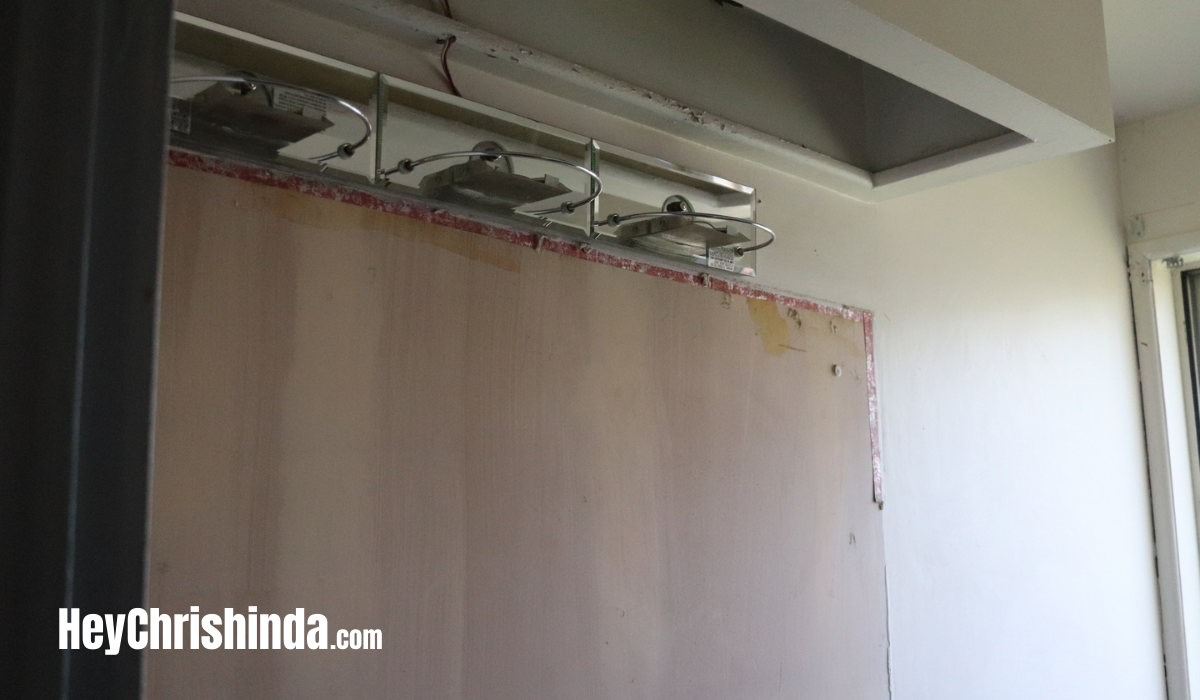
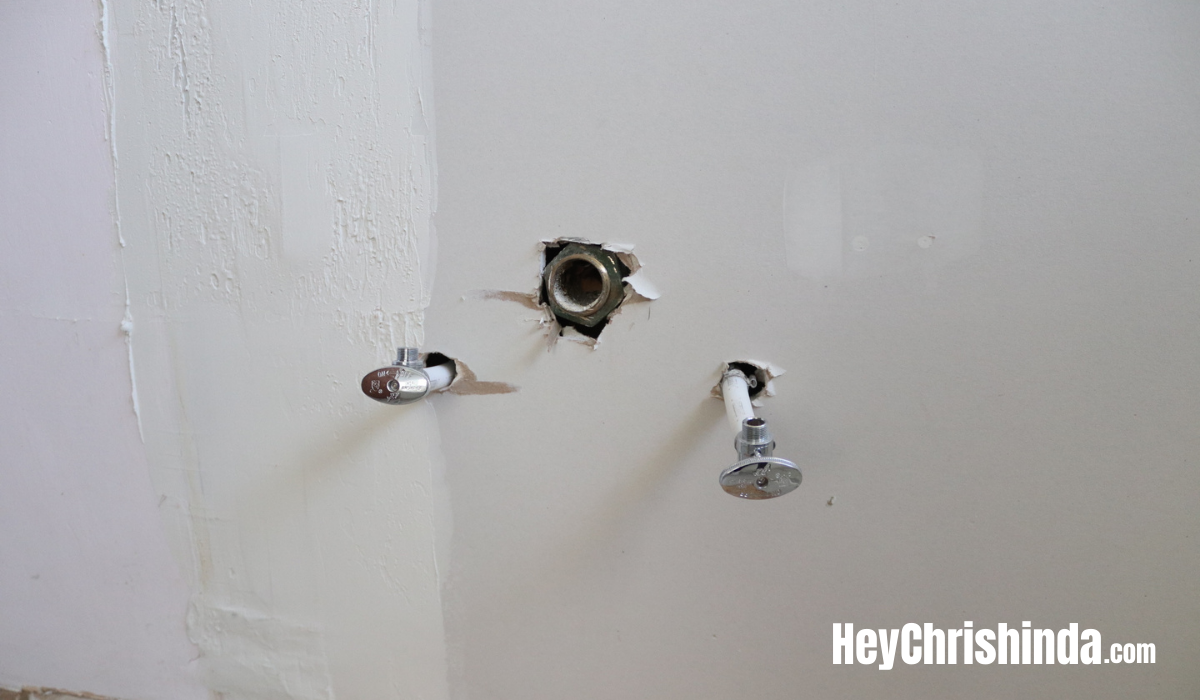
The old mirror was HUGE! I loved it, but our new vanity was wayyyyyy smaller, so we needed a smaller mirror. The original mirror left a dip on the wall, so we had to mud over it and sand. That’s what these two pictures are showing.
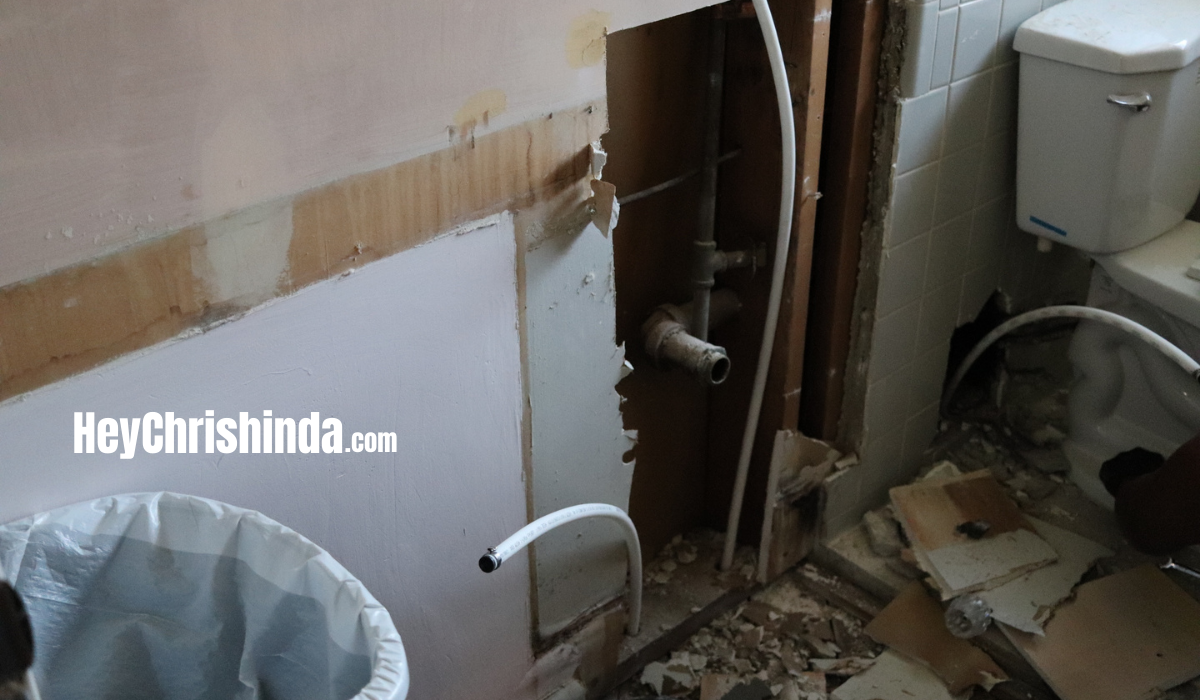
Laundry Chute
When we first moved in I liked the idea of the laundry chute, but I taped it up because my kids were younger and I didn’t want them playing near it or throwing a bunch of toys down there. Now that they’re older and know what does and does not go down the chute, we use daily.
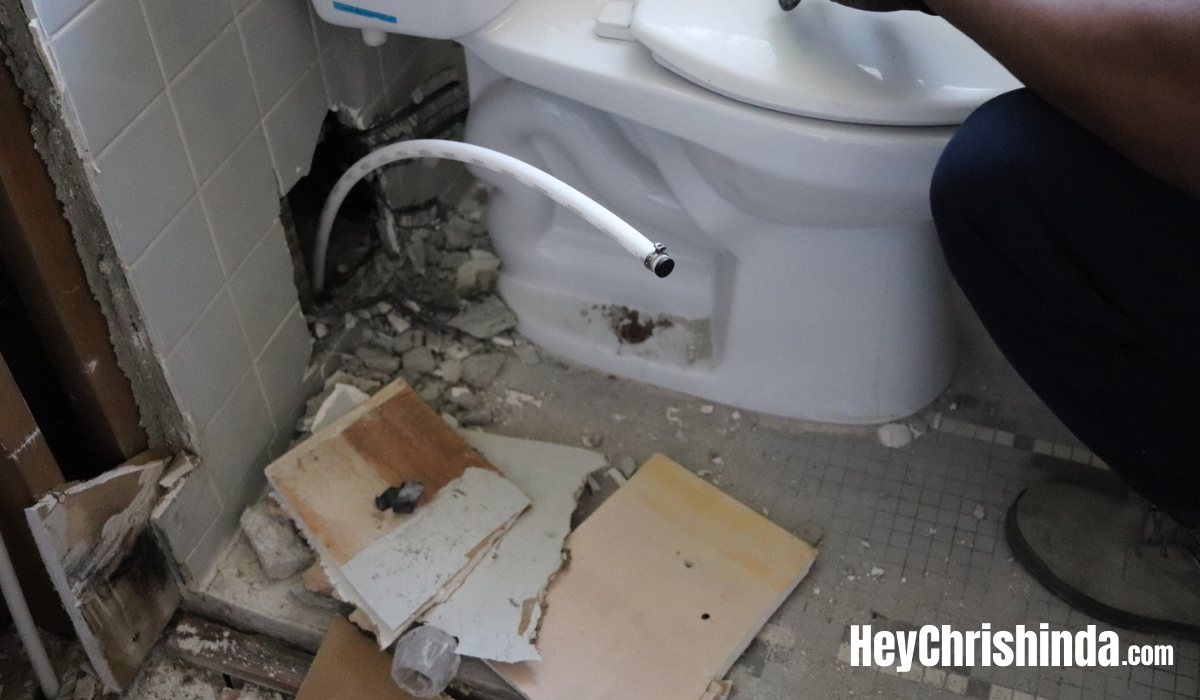
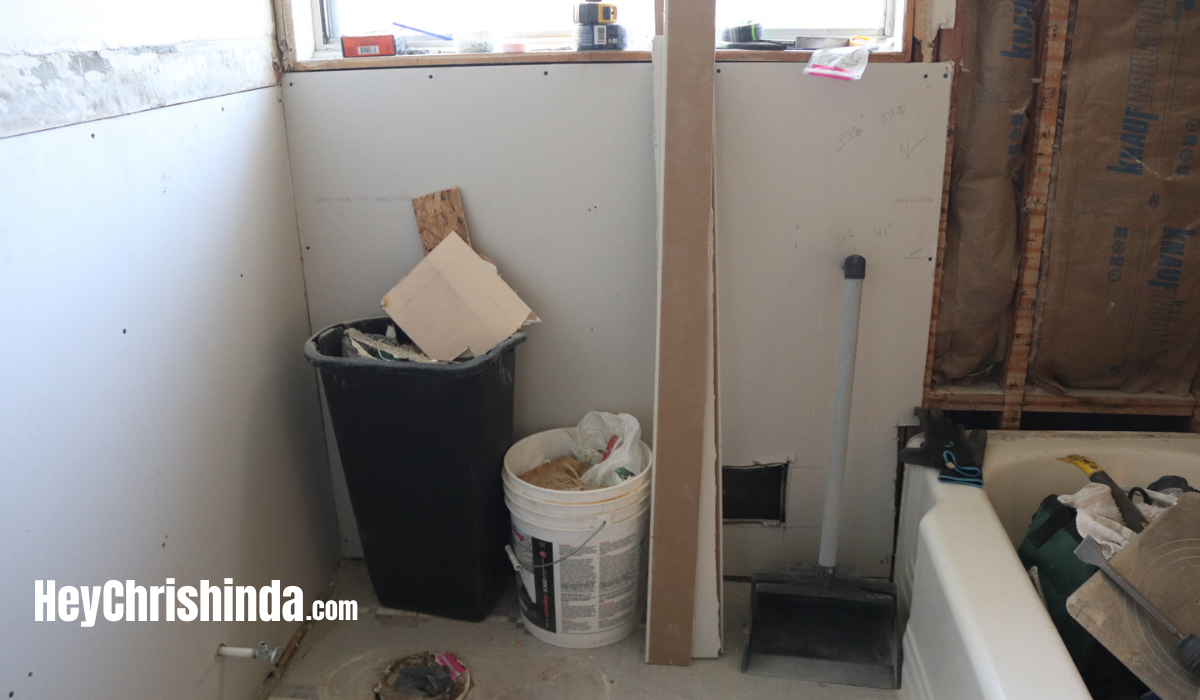
Toilet Area, Sink Area, and Window Wall
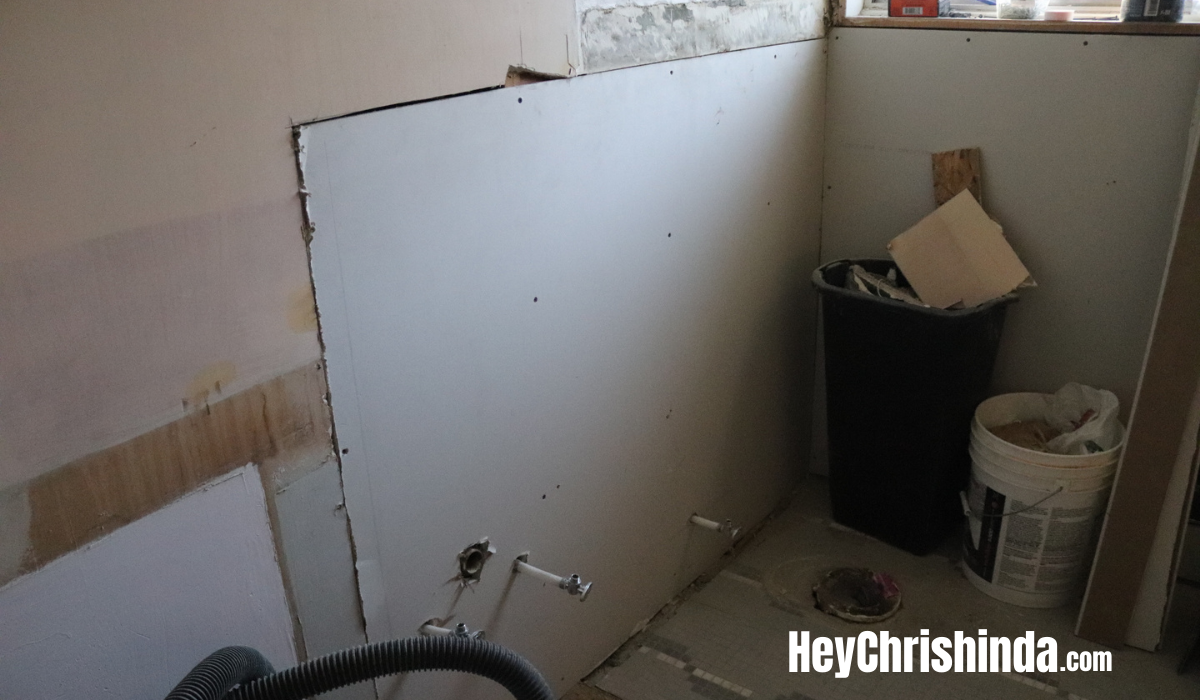
The entire shower area and surrounding walls had the 4×4 tiles and the concrete with wire mesh. It was a process for this bathroom remodel.
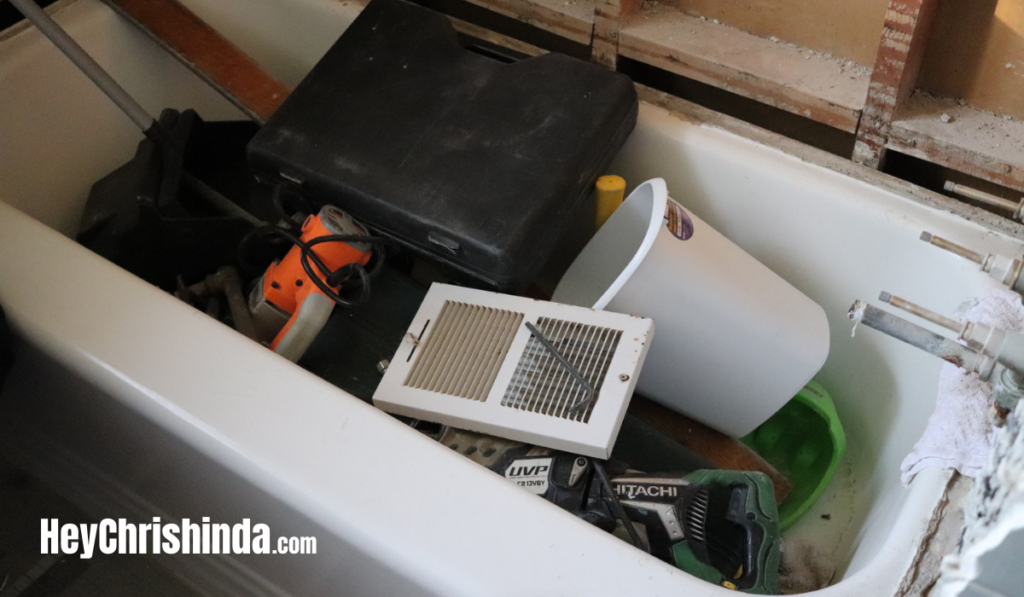
Cover Your Tub With Soft Tarps Unless You’re Replacing it…
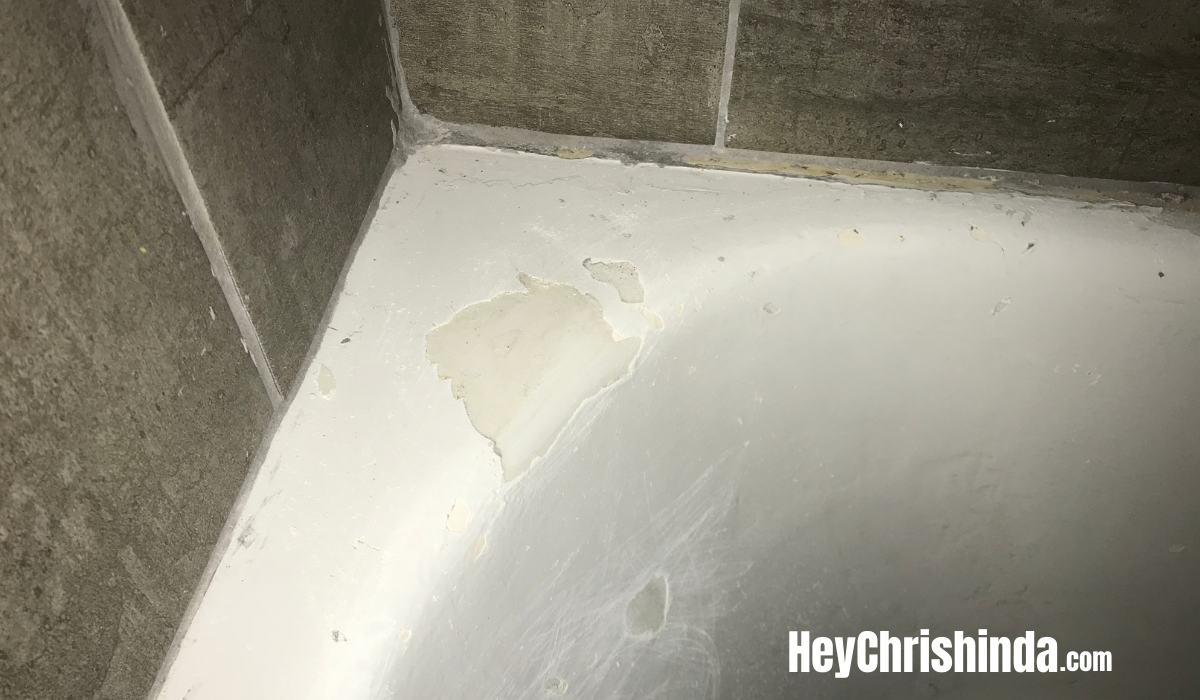
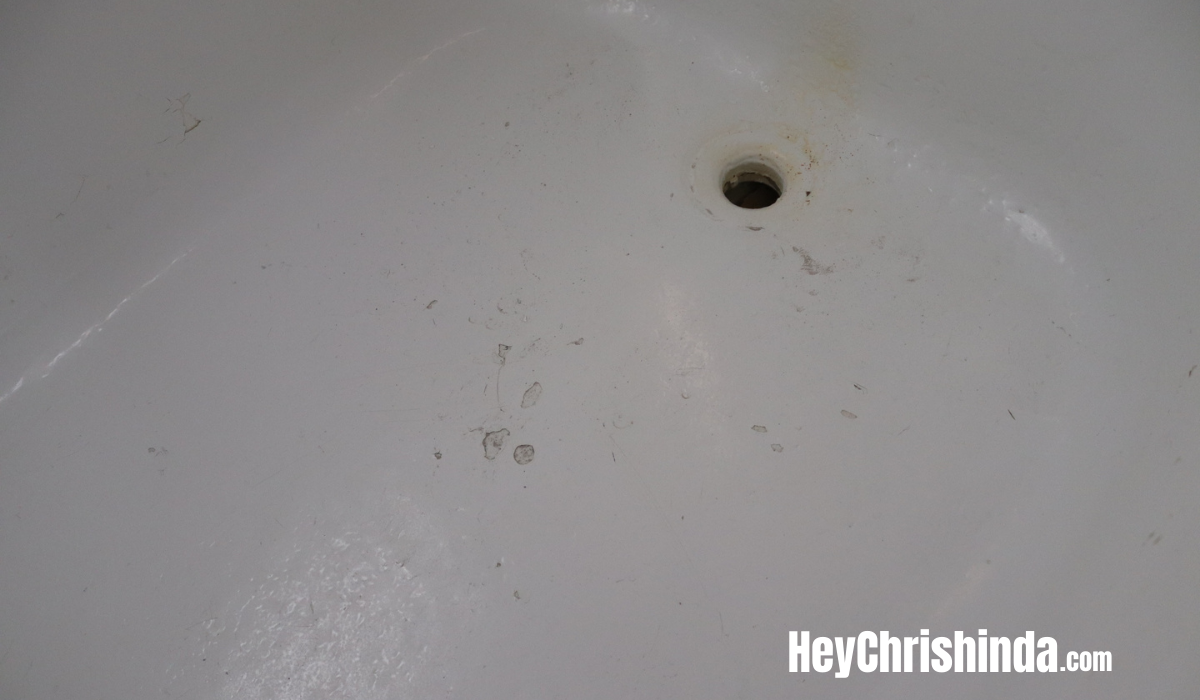
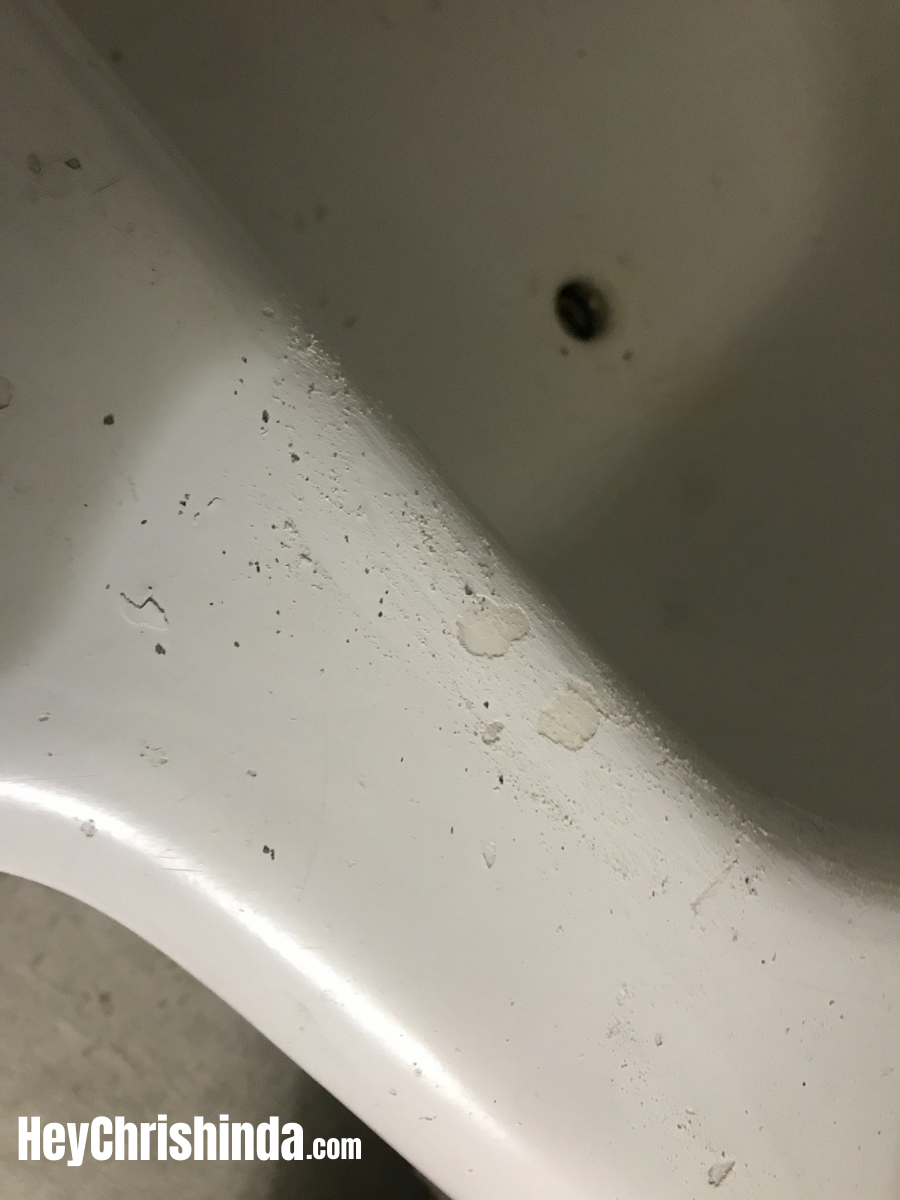
We didn’t cover our tub – and we were NOT replacing ours (I wish we did though)… so all the concrete and tiles that fell chipped up our tub like crazy. You know something else…I hadn’t even thought about replacing the tub because I thought they were like $500+ but one trip to Home Depot or Lowe’s I seen a brand new tub right after we were done for $15 because there was the smallest dent…I don’t care about a dent. I would’ve taken that tub so fast. Other tubs there were like $150/$200 and I was so upset I hadn’t looked more into it. My husband said that would’ve been too much work though and the original tub would’ve been hard to move.
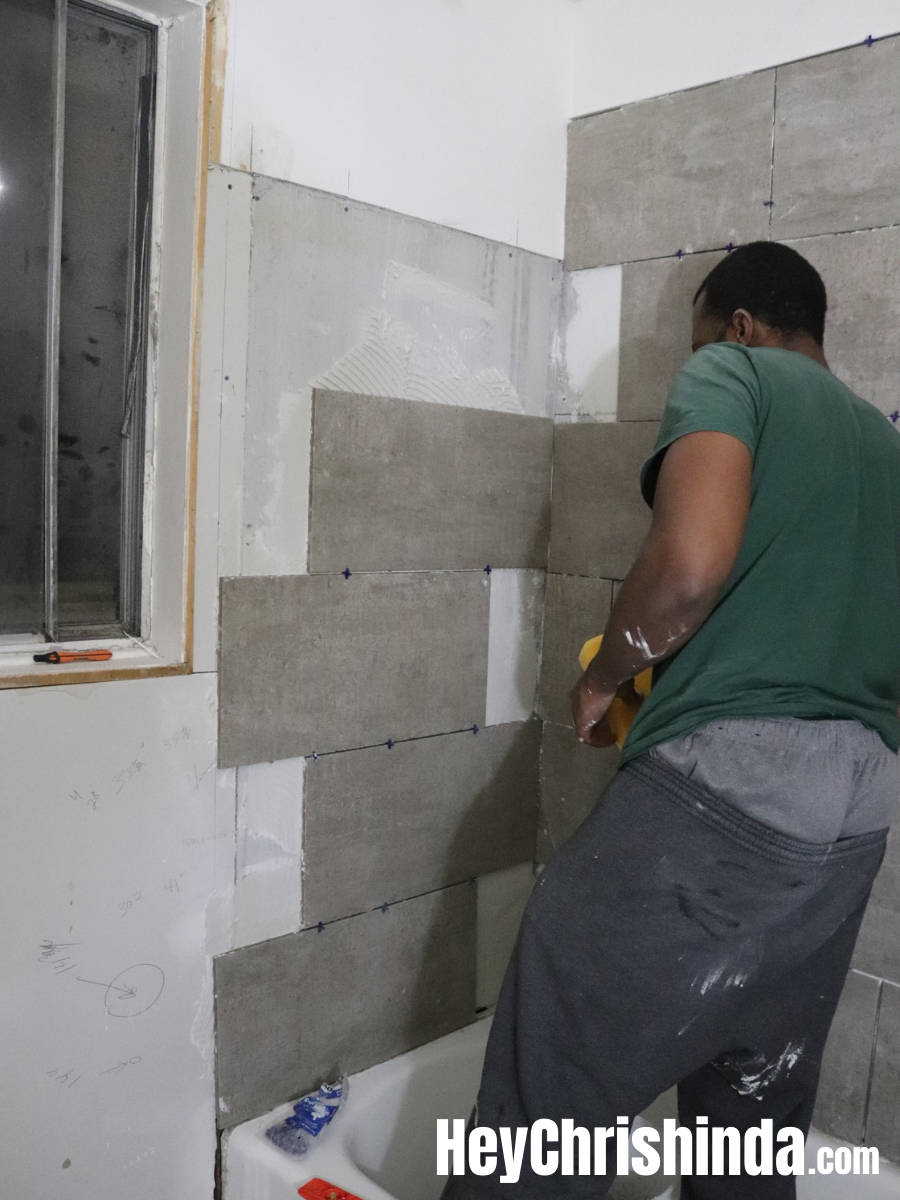
Finishing up the Shower – Putting in the Tiles
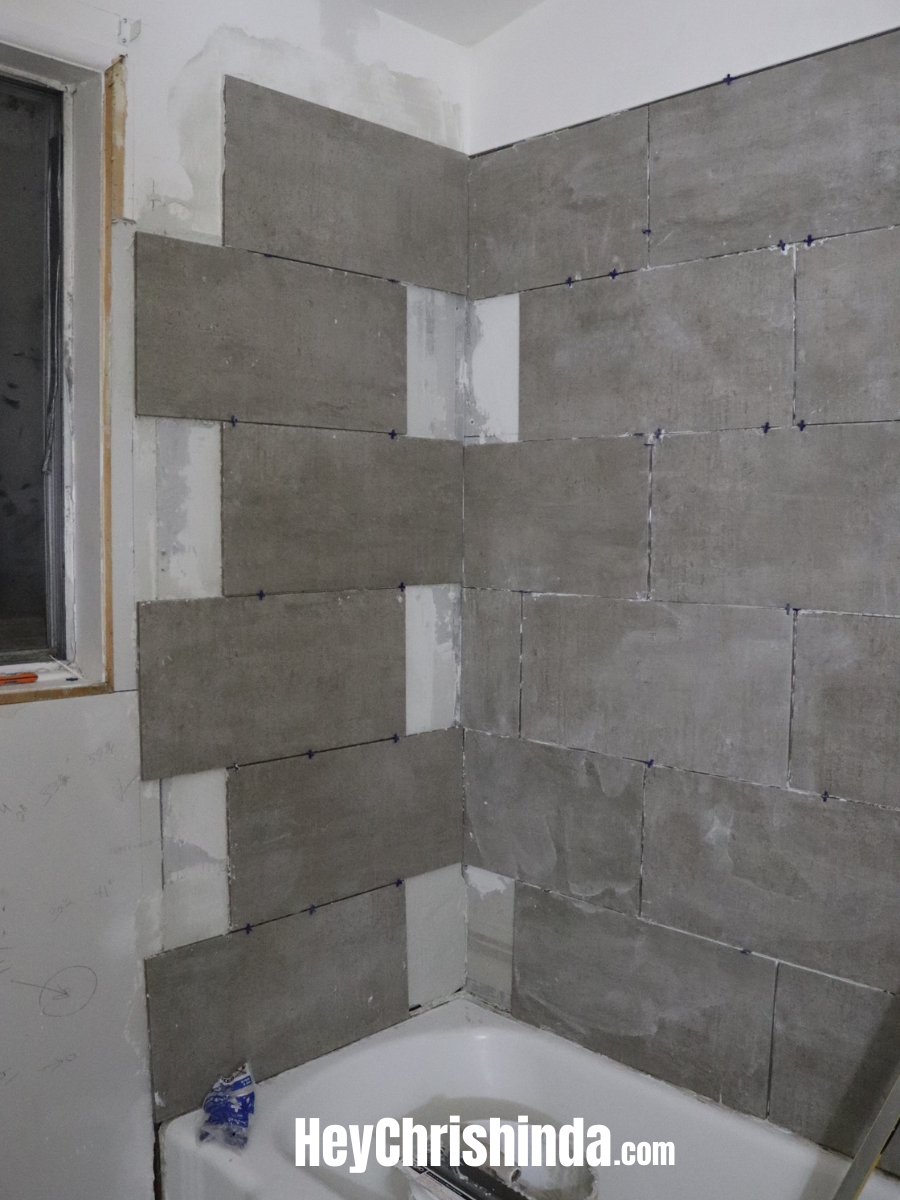
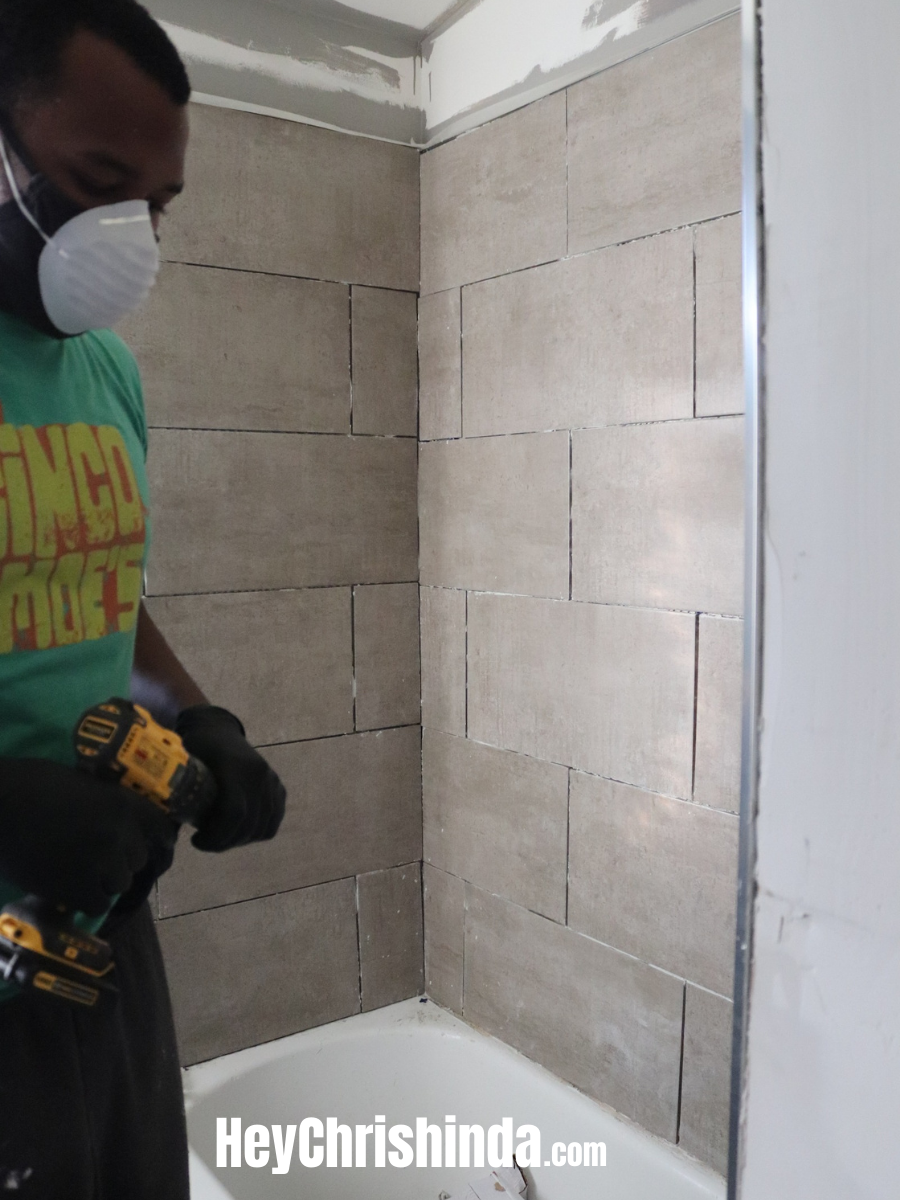
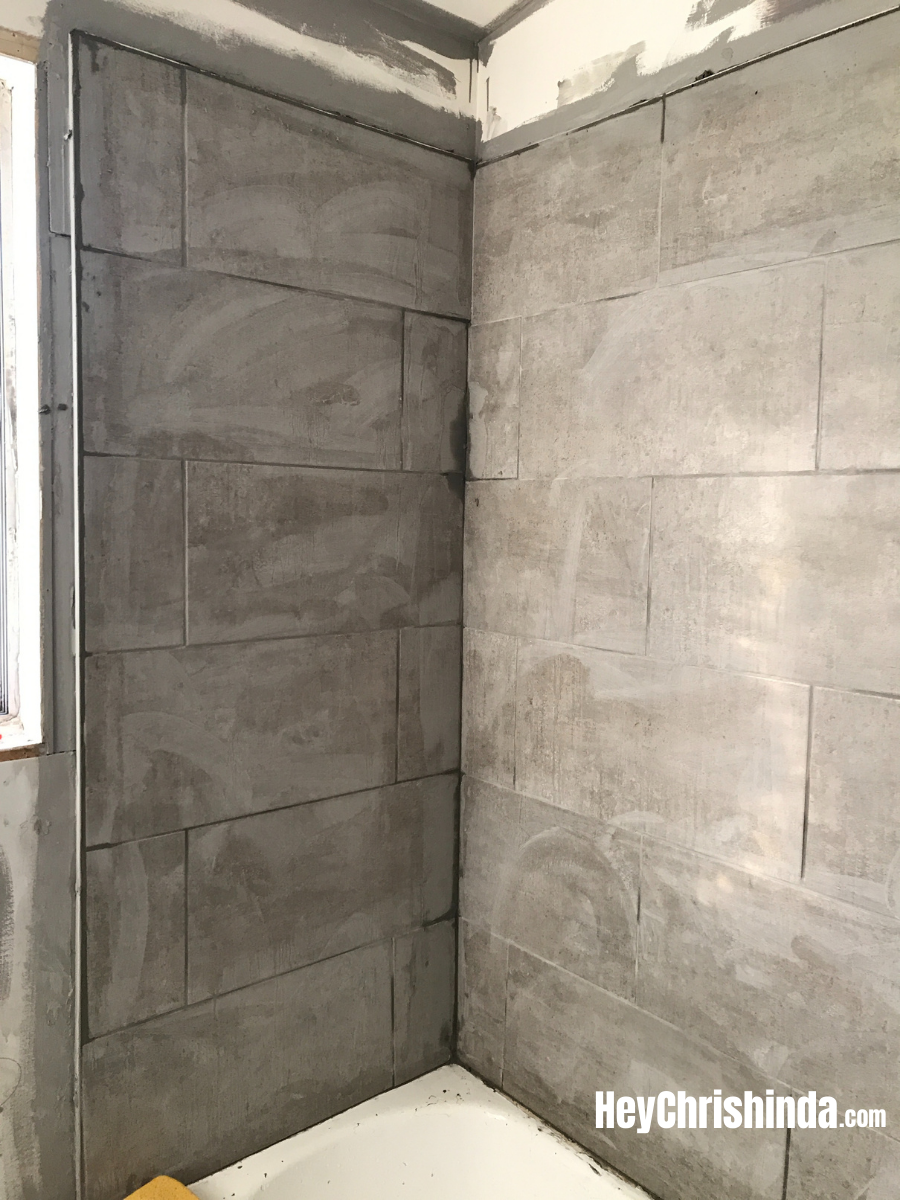
The tiles we used were Cascade Grey from Floor and Decor – You can see more pictures from my post here.
The Floor
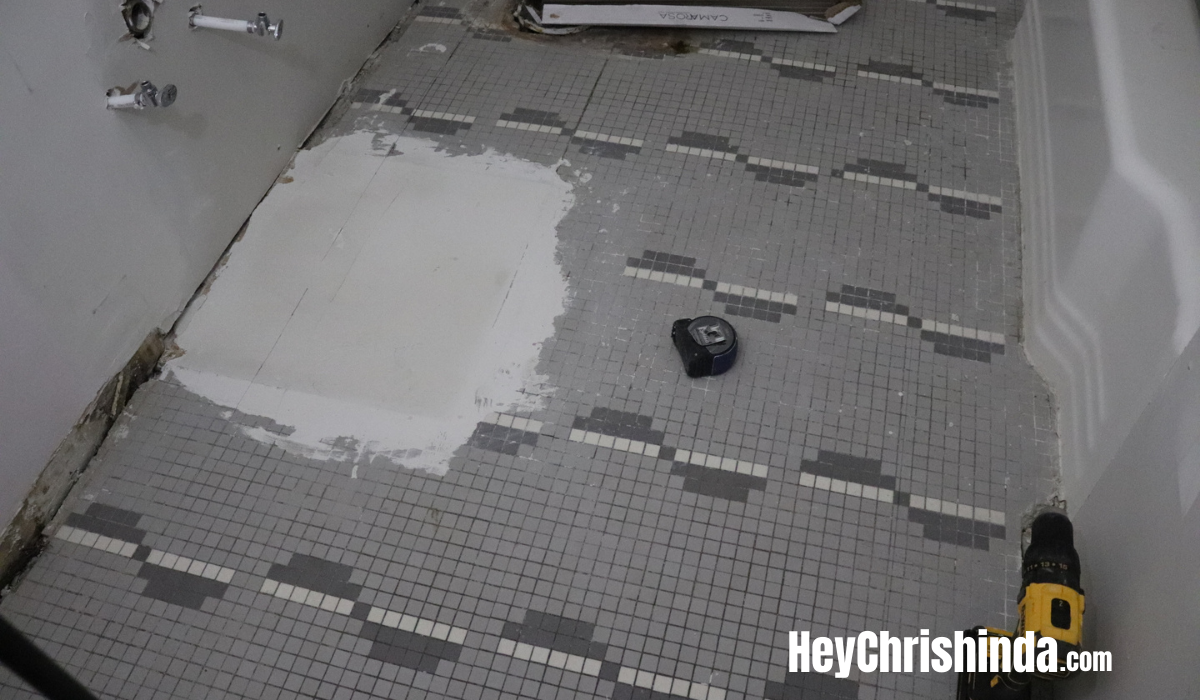
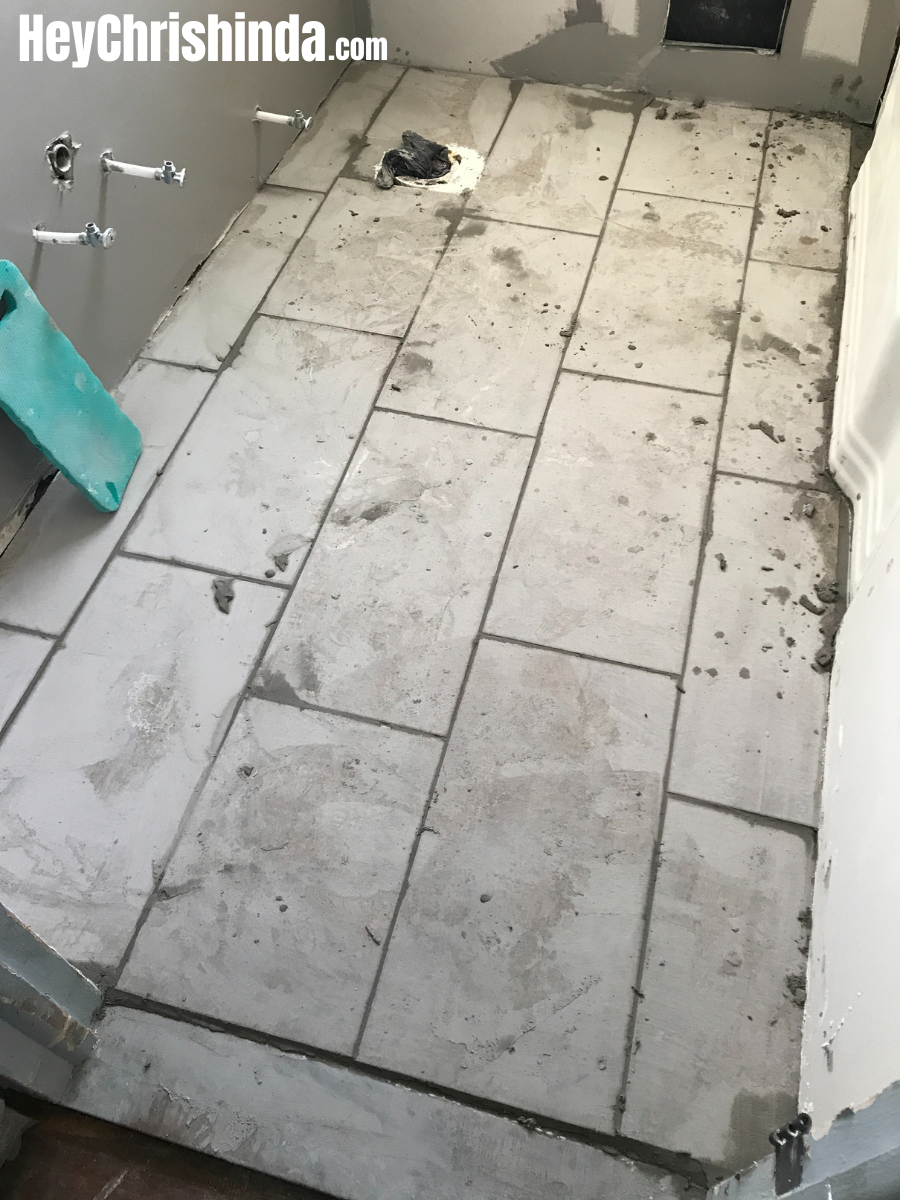
Since we were absolutely positive that the same wire mesh and concrete that was behind the shower tiles would be under the floor tiles….we were more than sure that we didn’t want that headache. Instead of demo-ing the floors, we decided to do tile over tile… I shared that process here. Tile over tile is exactly as it sounds. We laid the new tile right on top of the old tiles without demoing.
The fist picture was leveling off where the original “built-in” sink was. Once that was level and dry, they did the tile over tile.
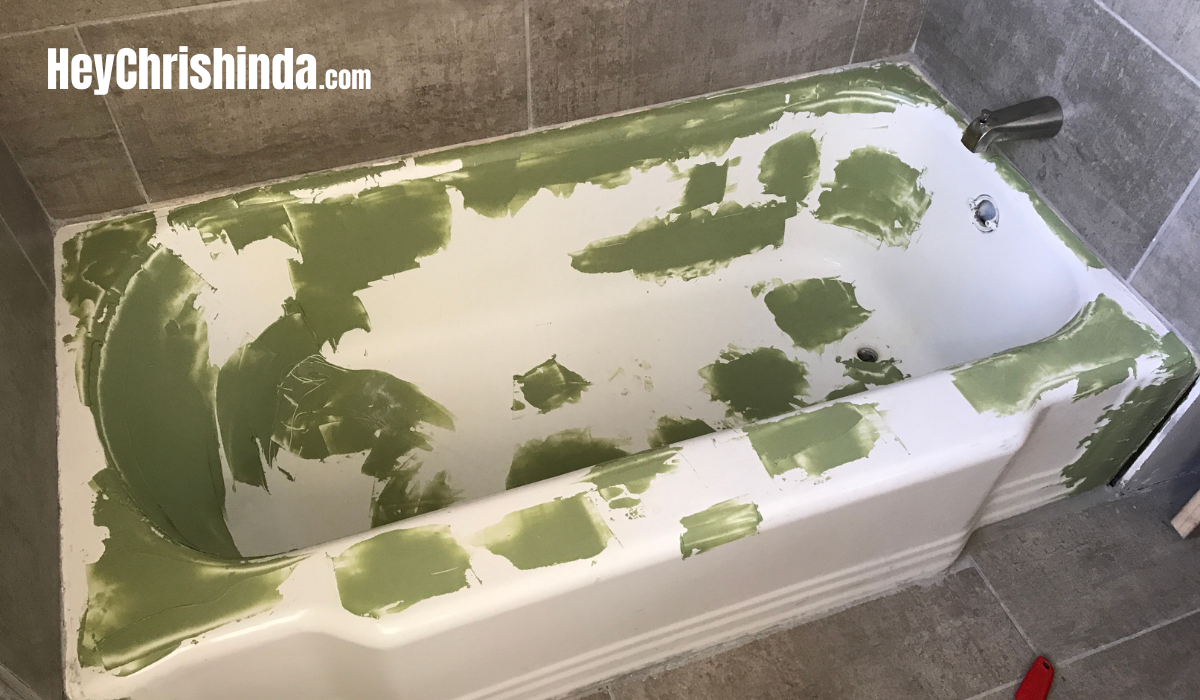
Chips in the Tub and What We Did About it
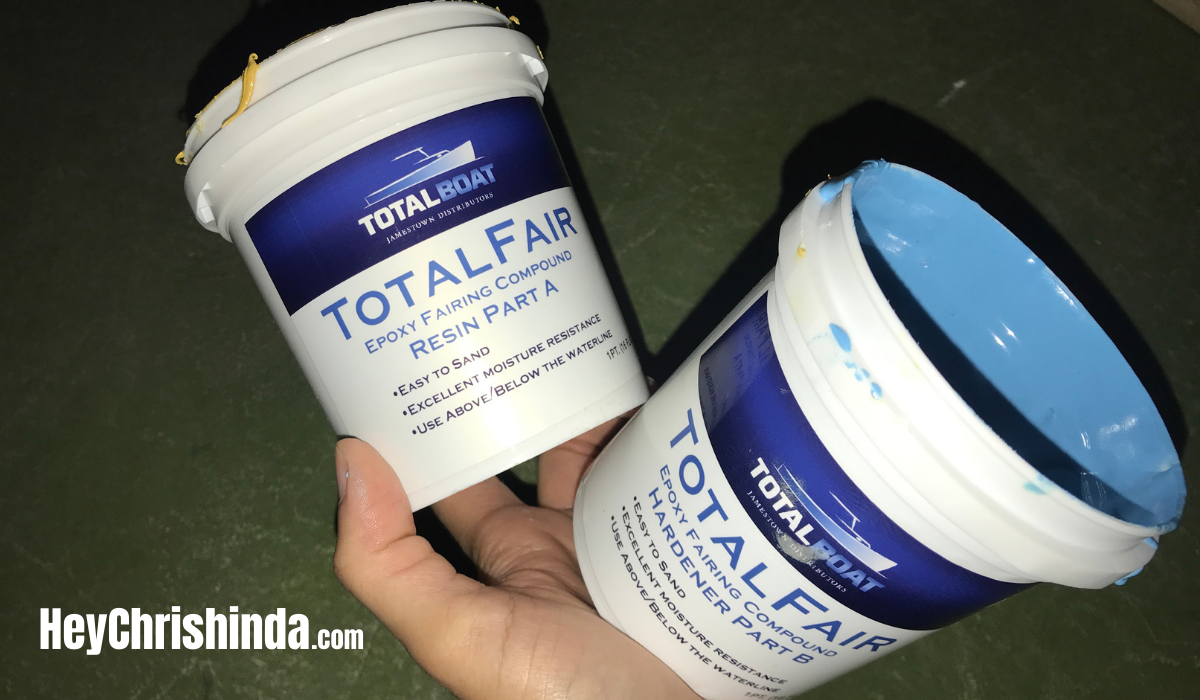
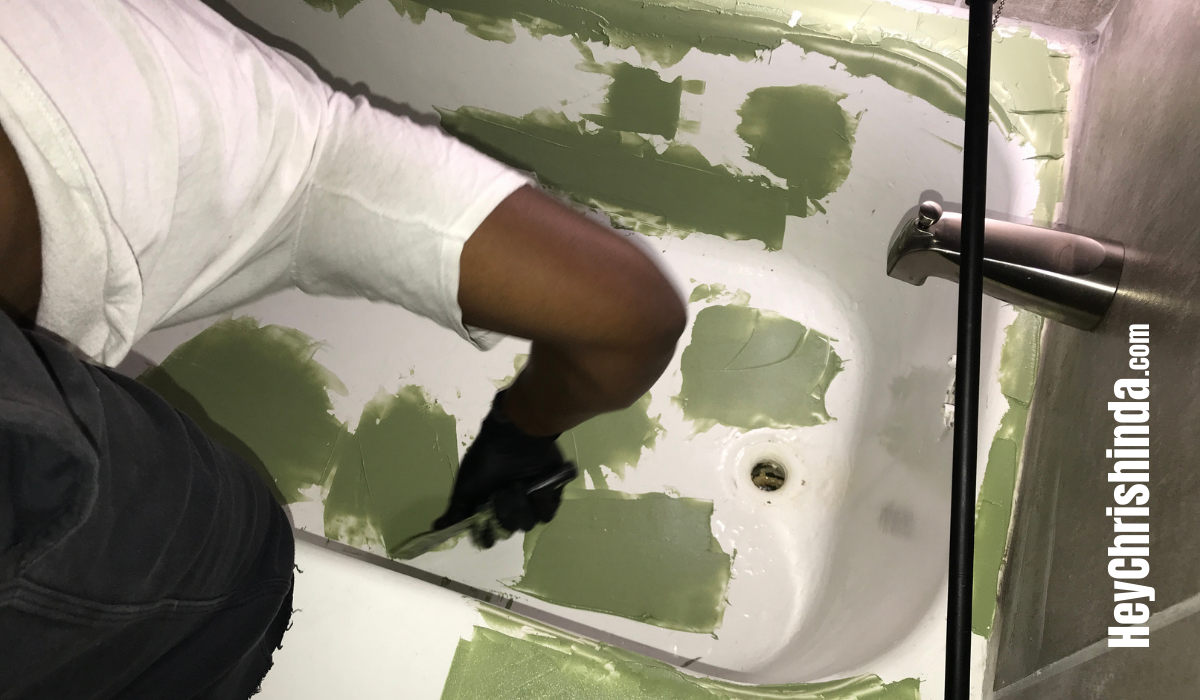
My husband found a product they use for boats called Total Boat- Total fair – Epoxy Fairing Compound
If you can use this product on a boat – which is always in water, you can use it in a tub.
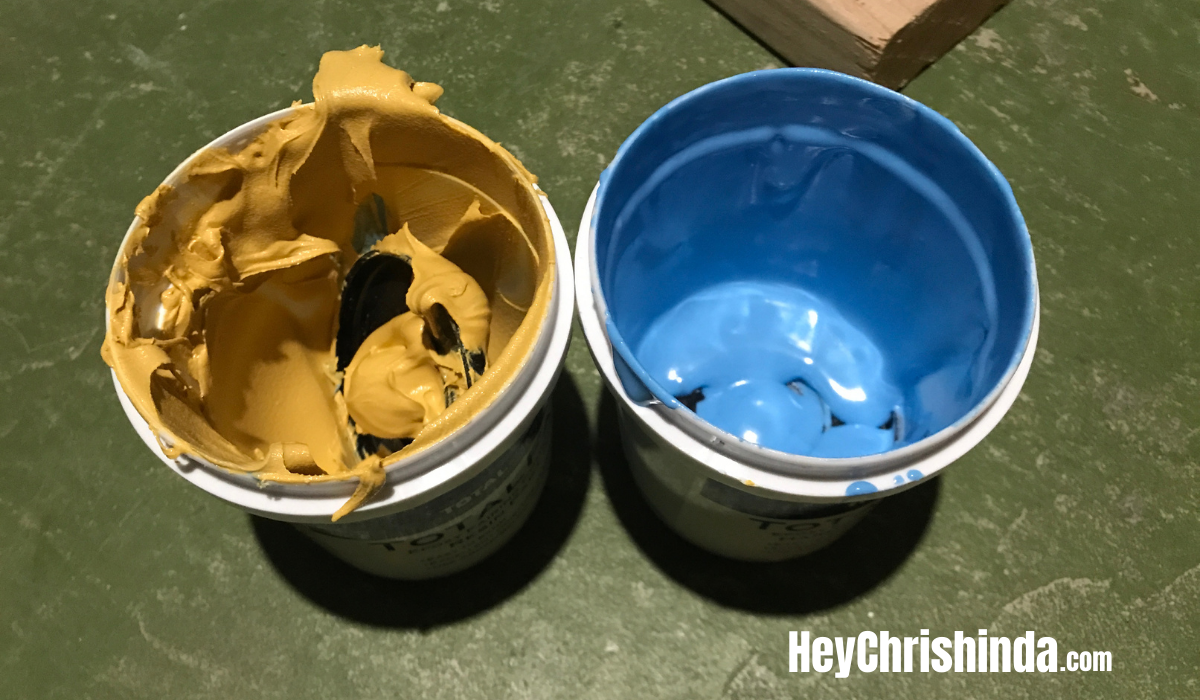
You have to use something SUPER STURDY in order to mix the Total Fair and spread it on what you need. Use something you’re willing to throw away. We mixed the two colors – which is how you get green- on a piece of wood… it was very thick and it gets thicker as you mix it well. It hardens and then you have to sand it. It you can get the epoxy smooth enough with your tool of choice…I wouldn’t even sand it. It was a complete mess. My husband used white shower spray paint cover the green. Try to spread it thin…just enough to fill the chips/cracks/dips.
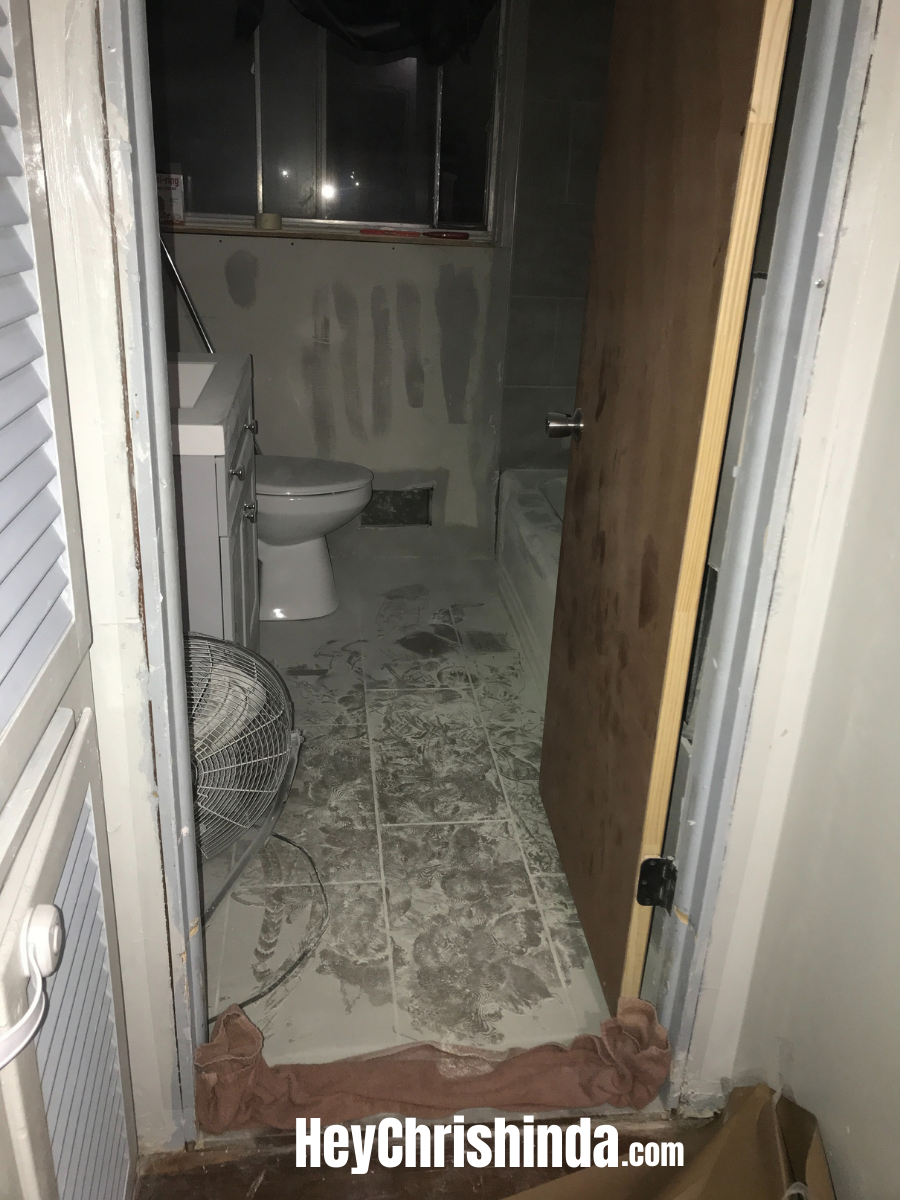
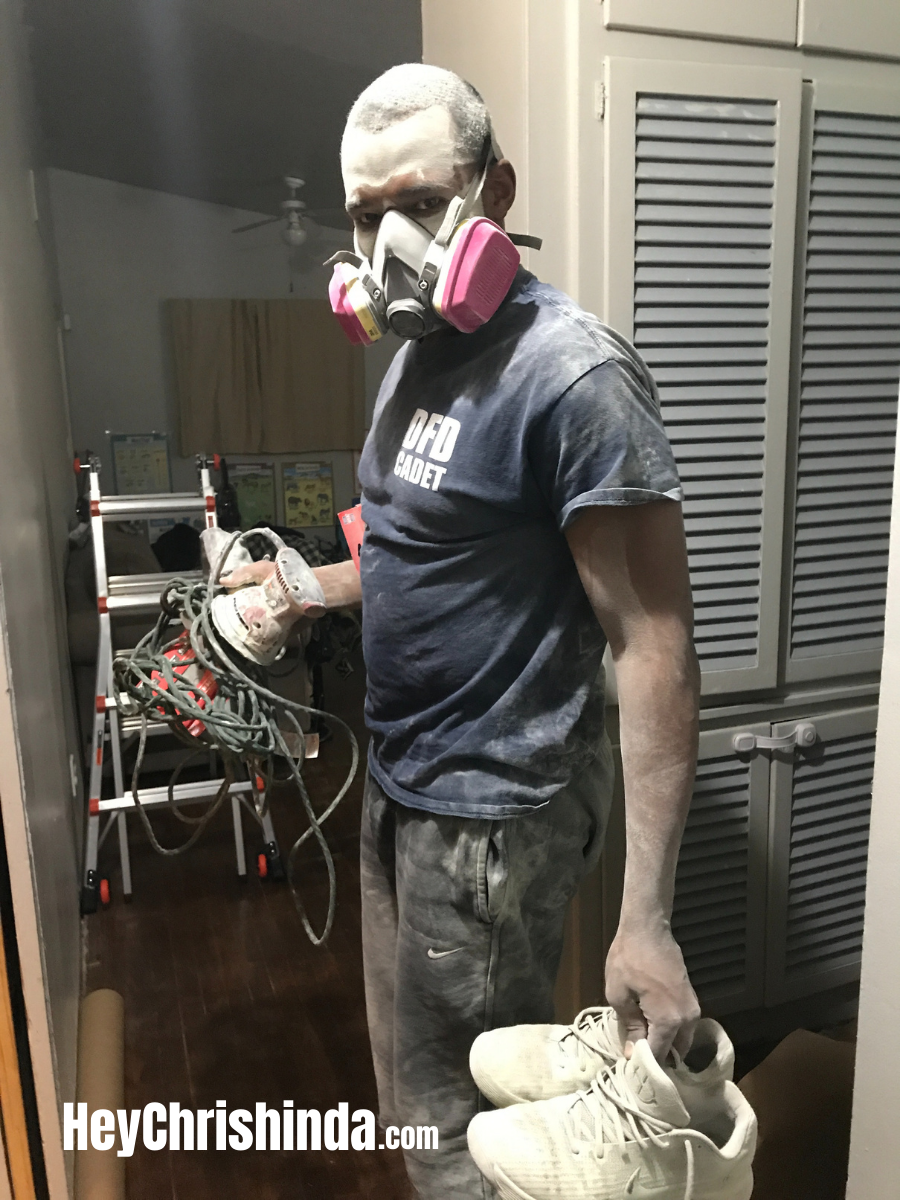
Since we had to sand the Total Boat…here are the pictures. A huge mess.
Well…that’s all. To take a look at the finished product. You can see it in this blog post.
Thank you so much for checking out this post and until my next one ✌🏽.


