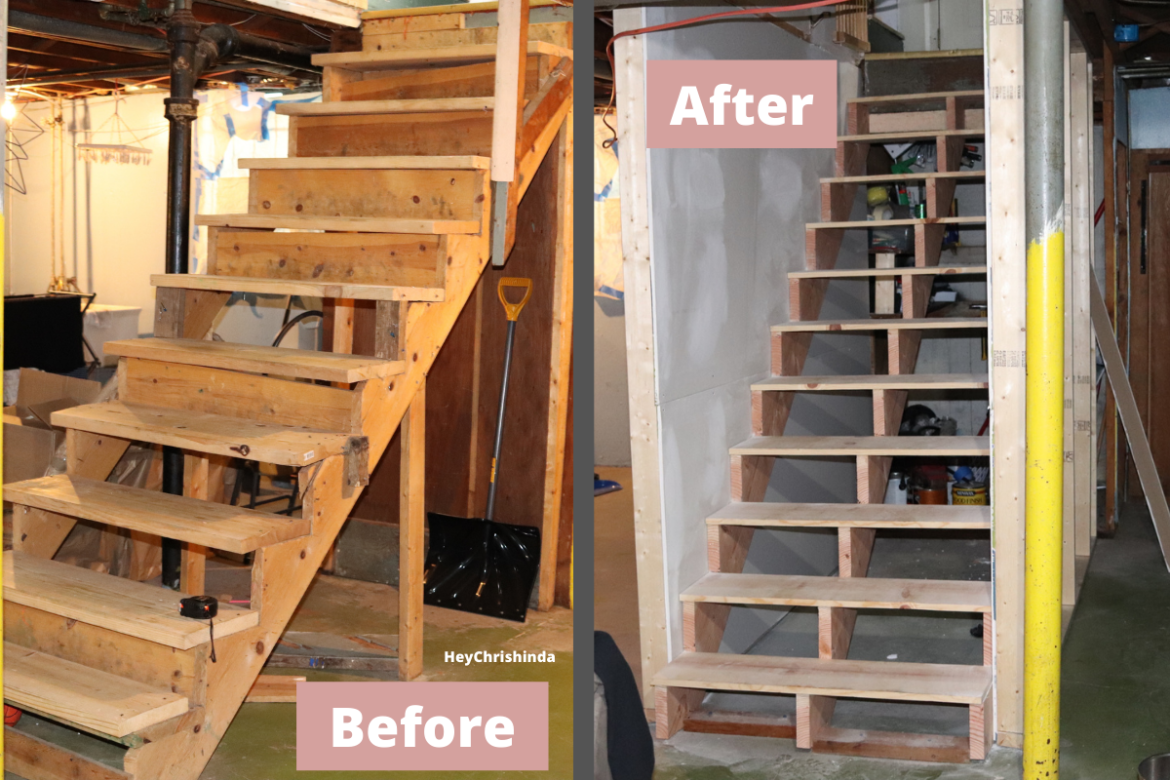
We bought our house June 25th, 2019 and while it was, and still is, livable… there are few things on our list to renovate so we decided on a DIY basement stair remodel.
One of our main things was getting our basement stairs redone…they were literally falling apart, very unstable and had super dirty pink carpet. And while my husband knew how to do the stairs himself, he initially didn’t want to, so we called around and were quoted over $1,300 and that just wasn’t happenin. The project didn’t start until a little over a year after we moved in, but y’all, now that they are done, I’m like wow, my husband really did that. They are so sturdy and way safer for our kids.
Now, this is post is gonna RIDICULOUSLY LONG with PLENTY of pictures. It’s not a tutorial, but I’m sharing the process.
🚨 I saved the process on my Instagram Highlights for you to watch the video clips.

Click here to watch part 1.

Click here to watch part 2.
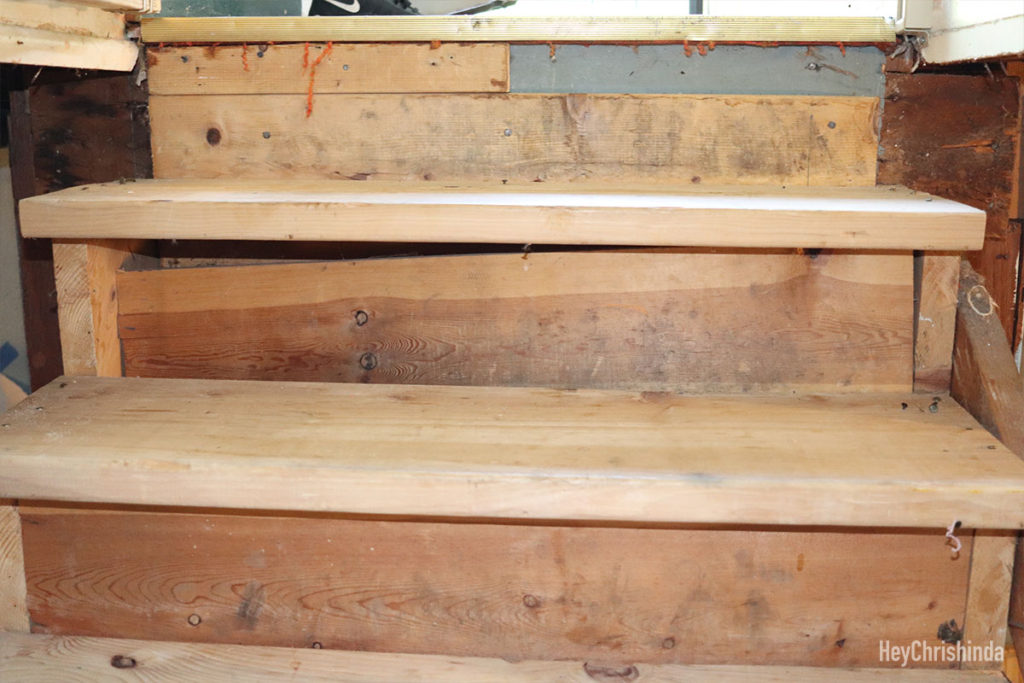
What our stairs looked like when we first bought our house
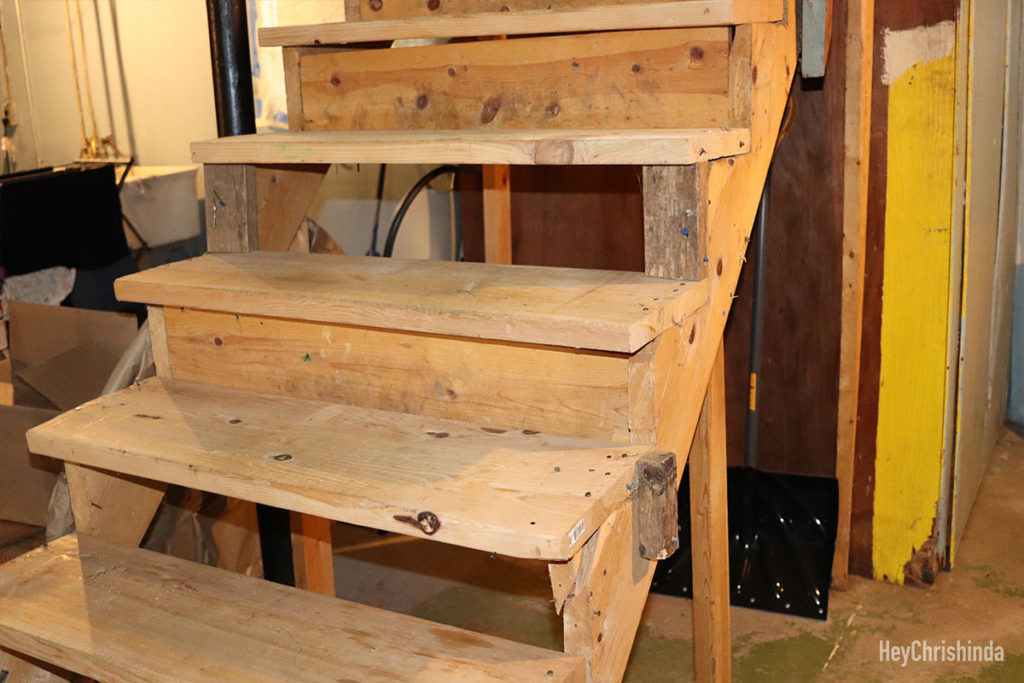
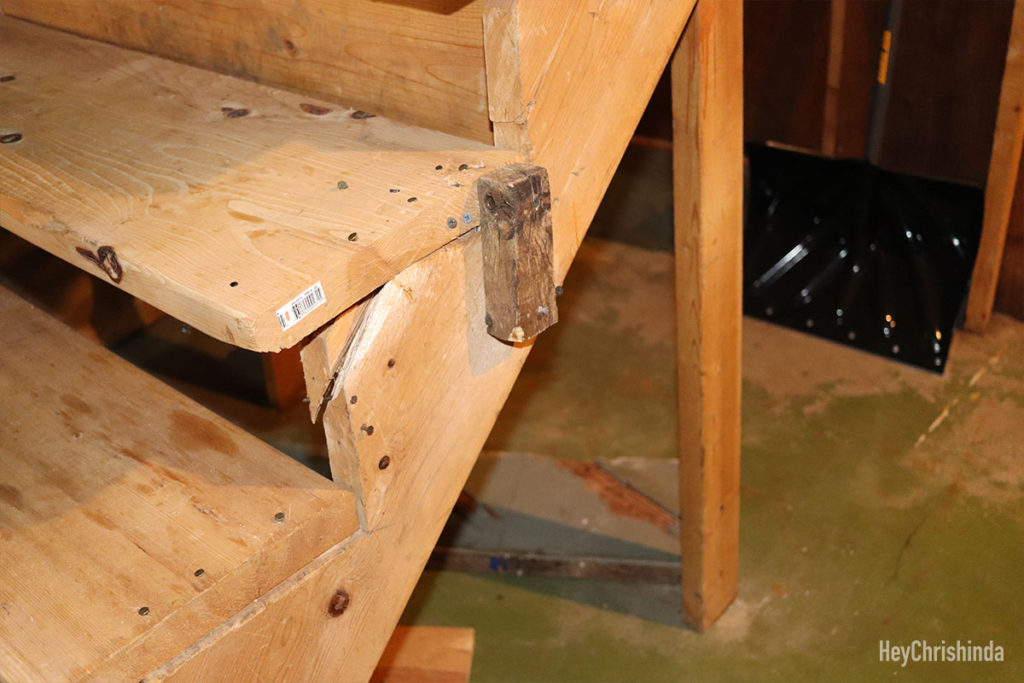
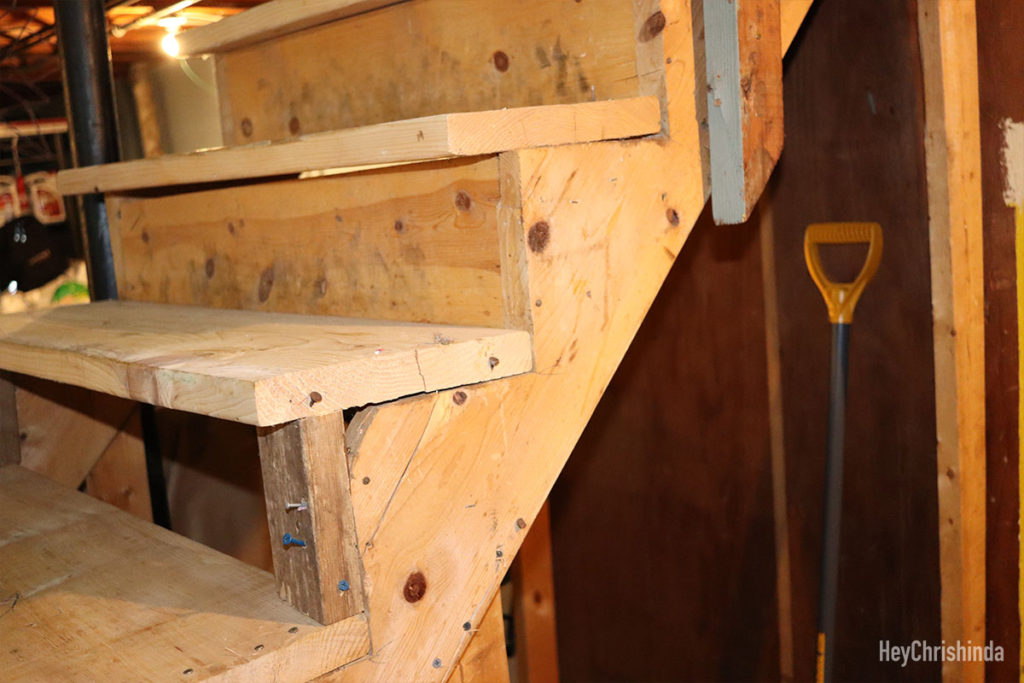
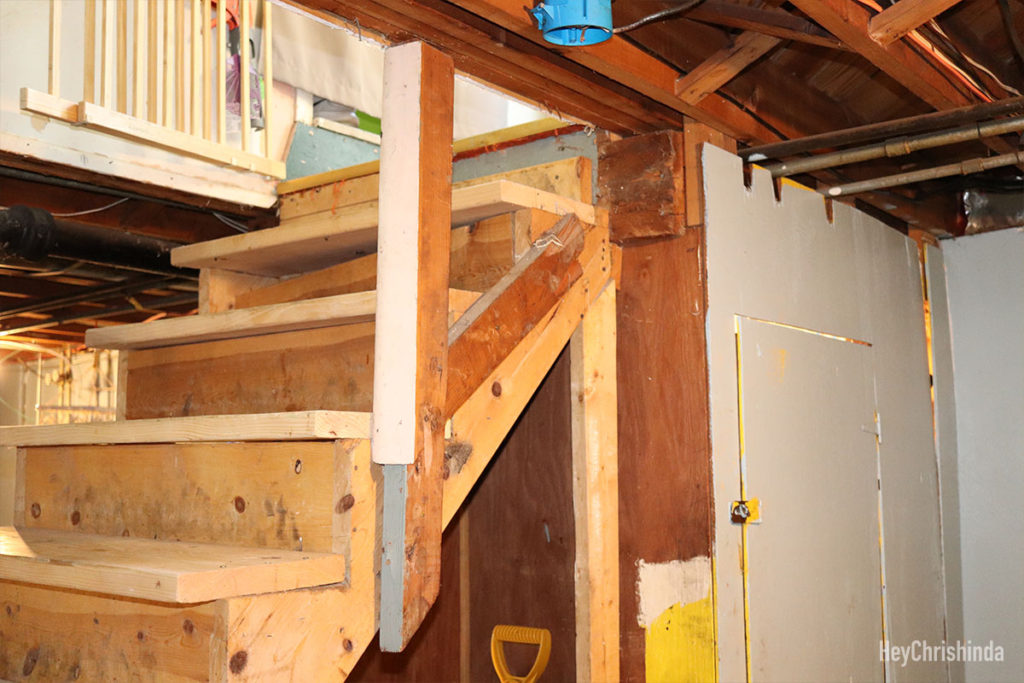
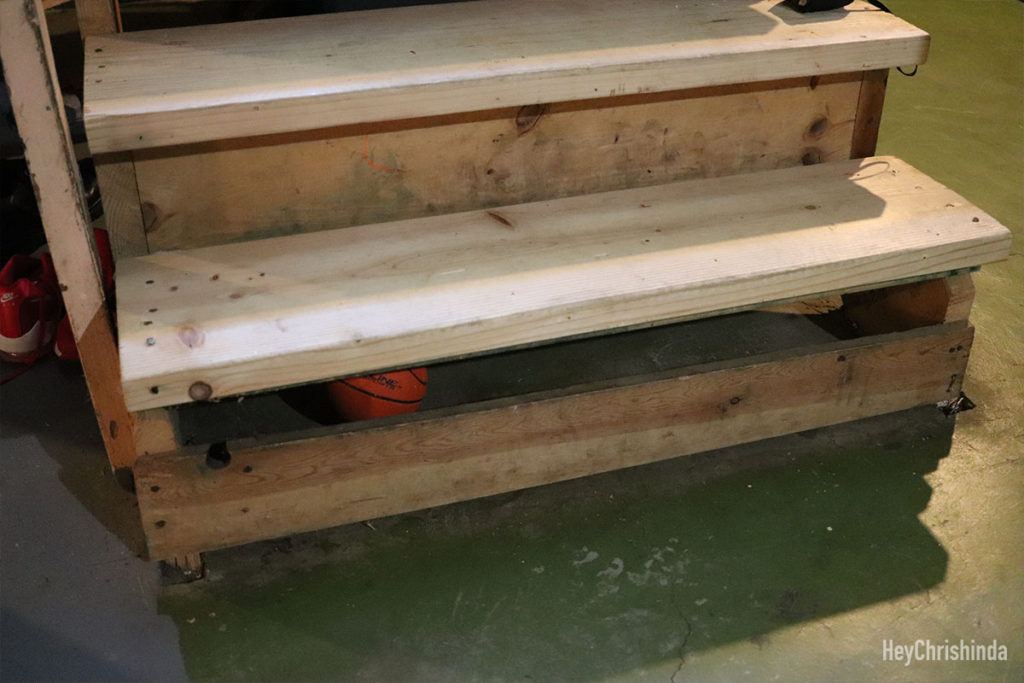
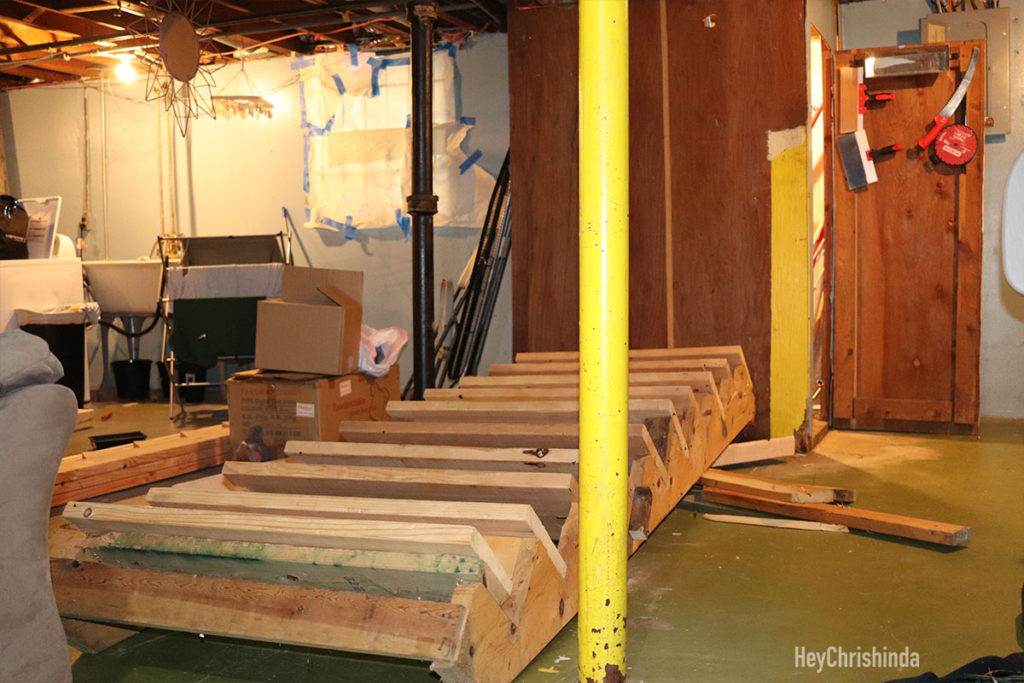
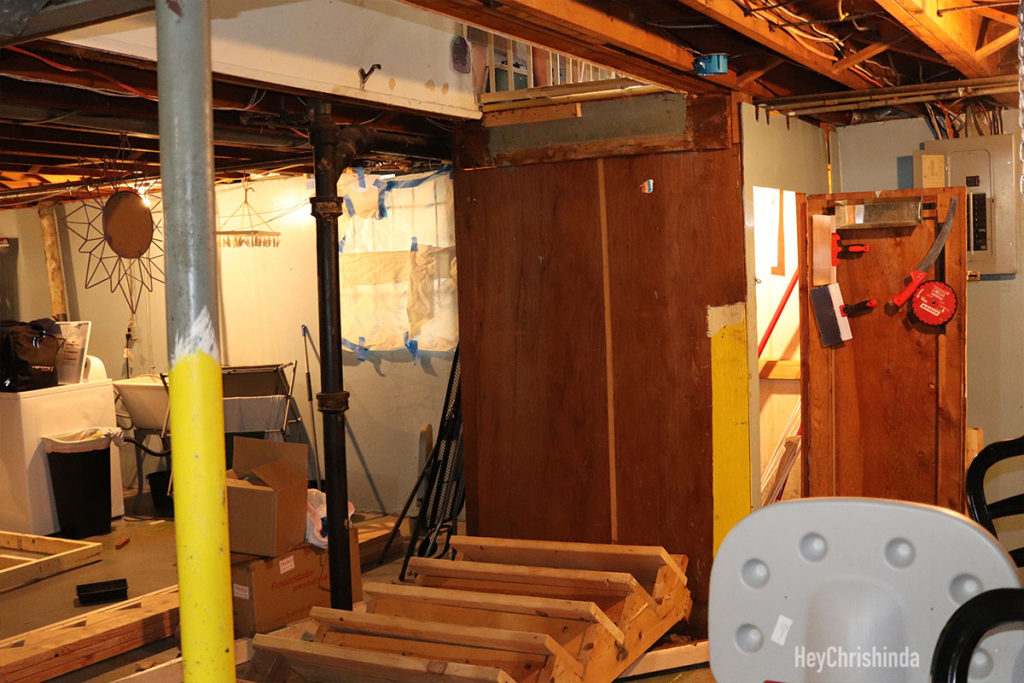
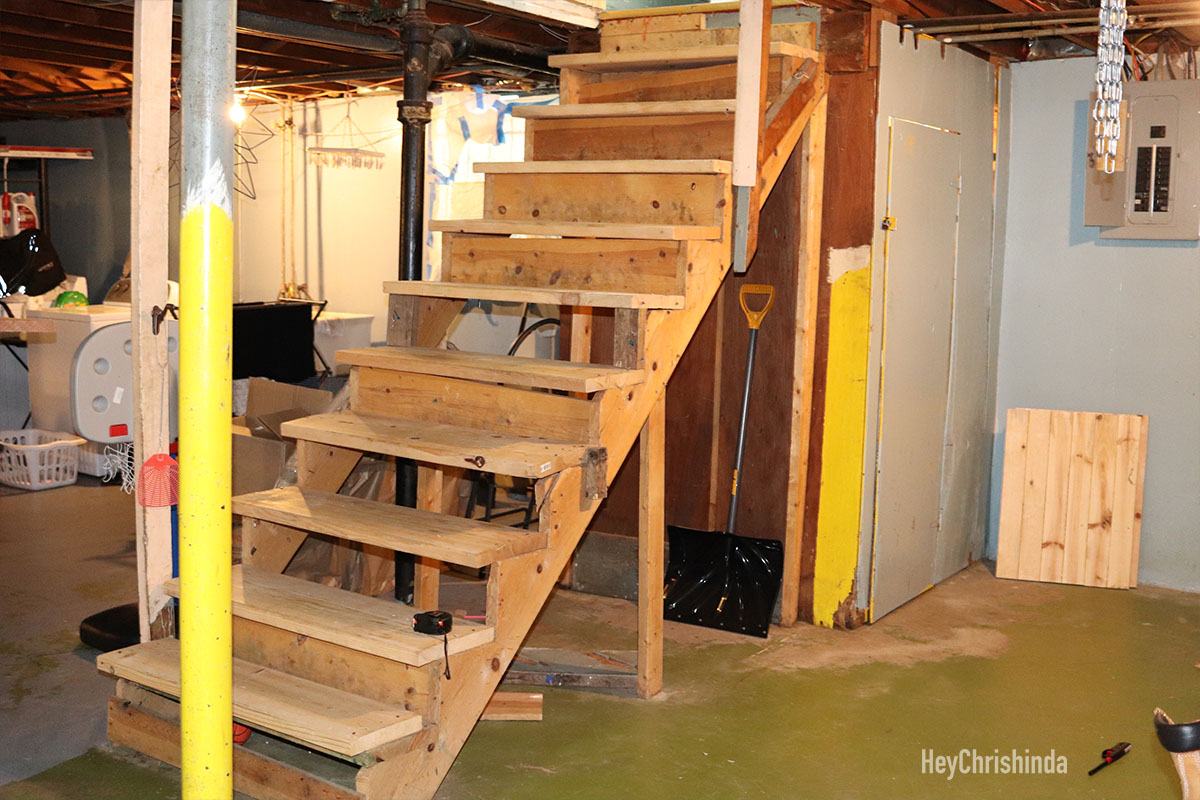
What the stairs looked like since we’ve moved in after taking up the carpet.
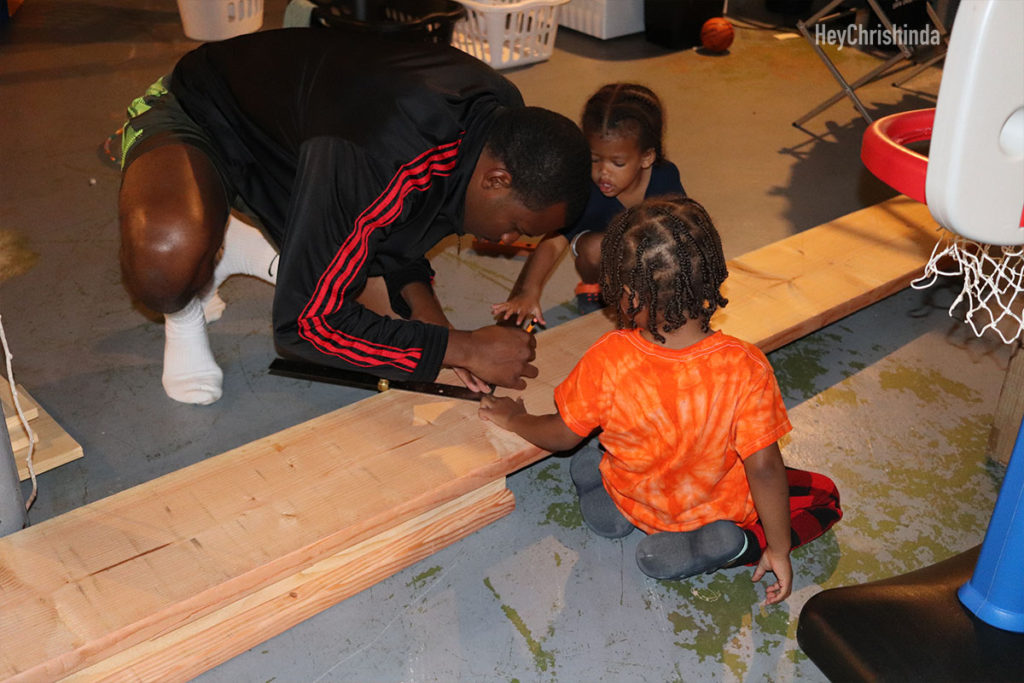
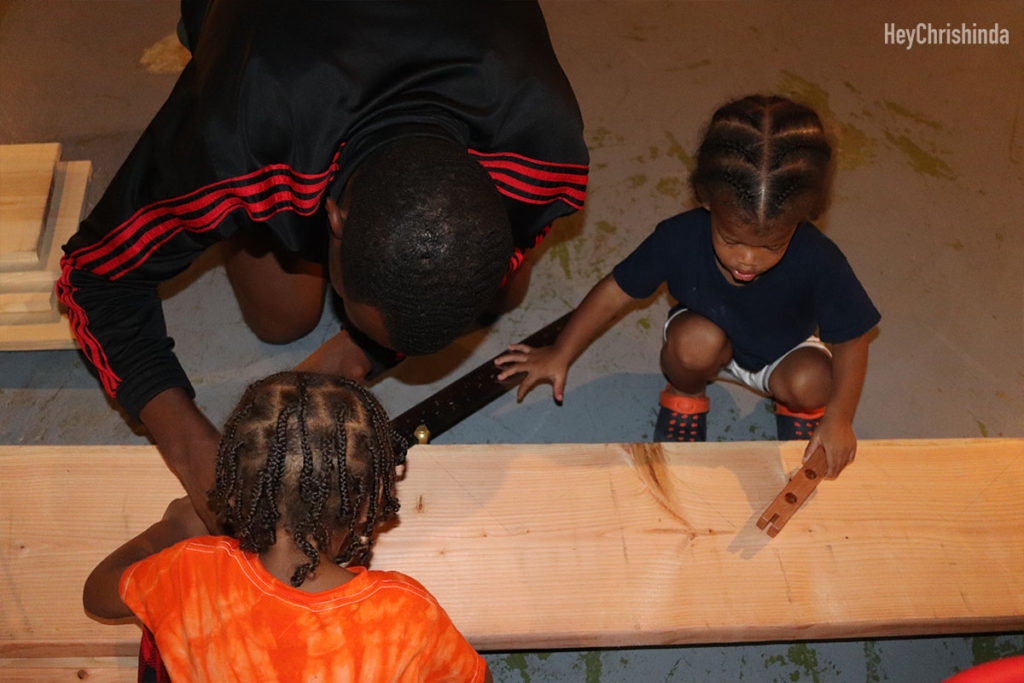
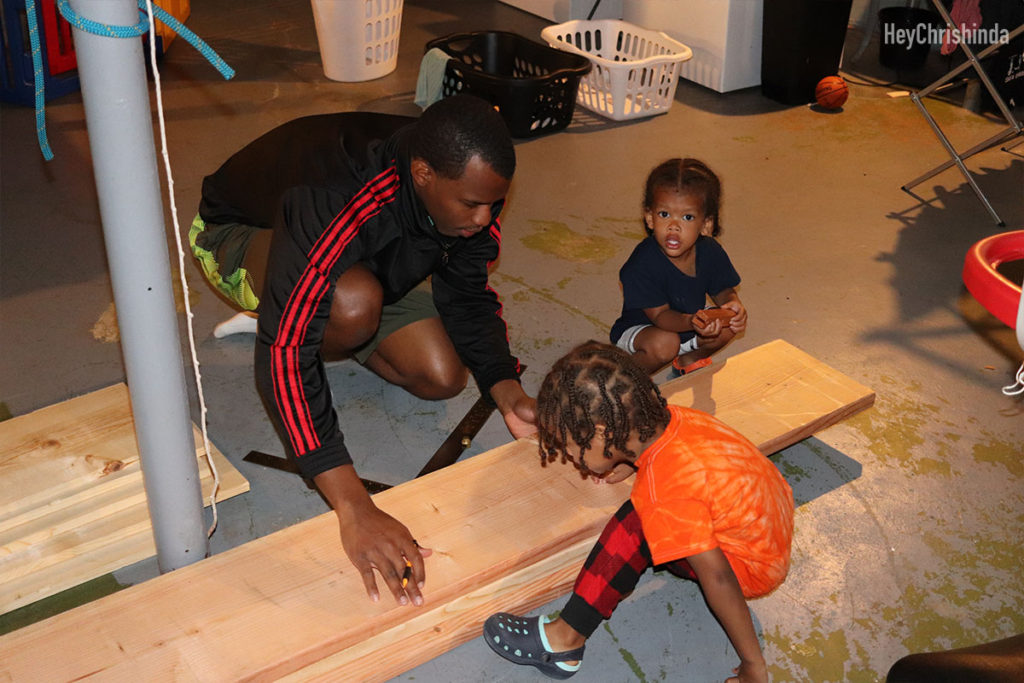
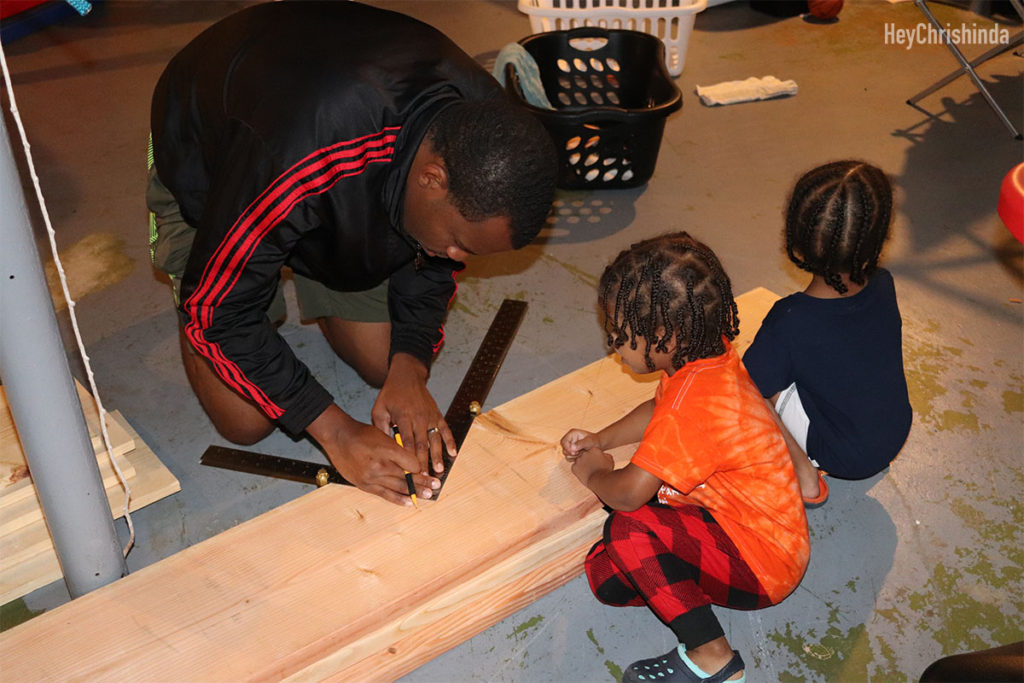
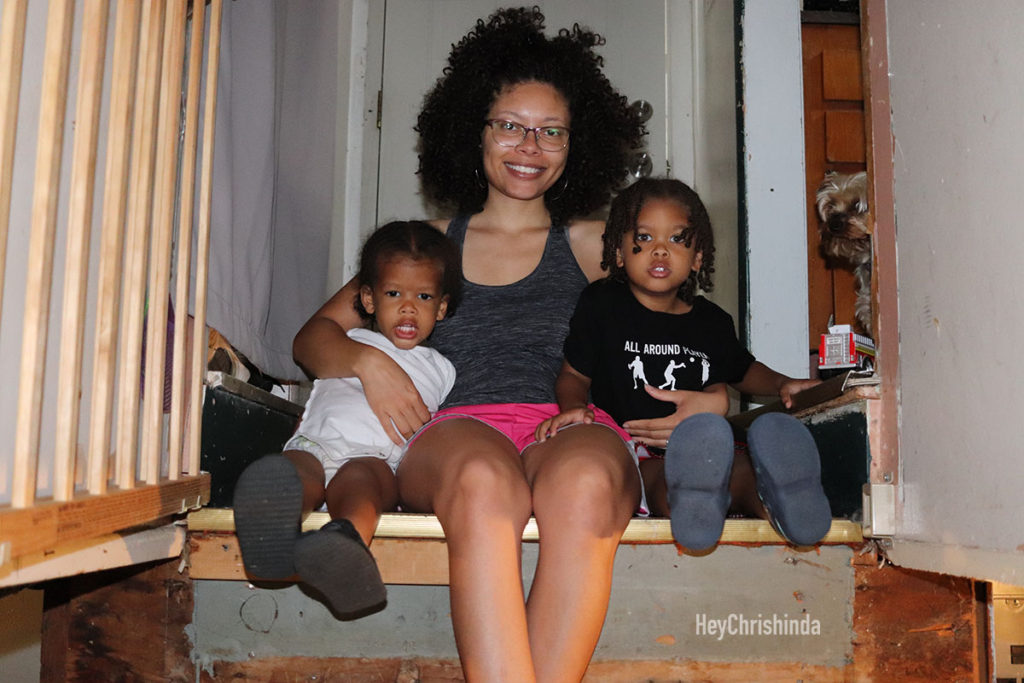
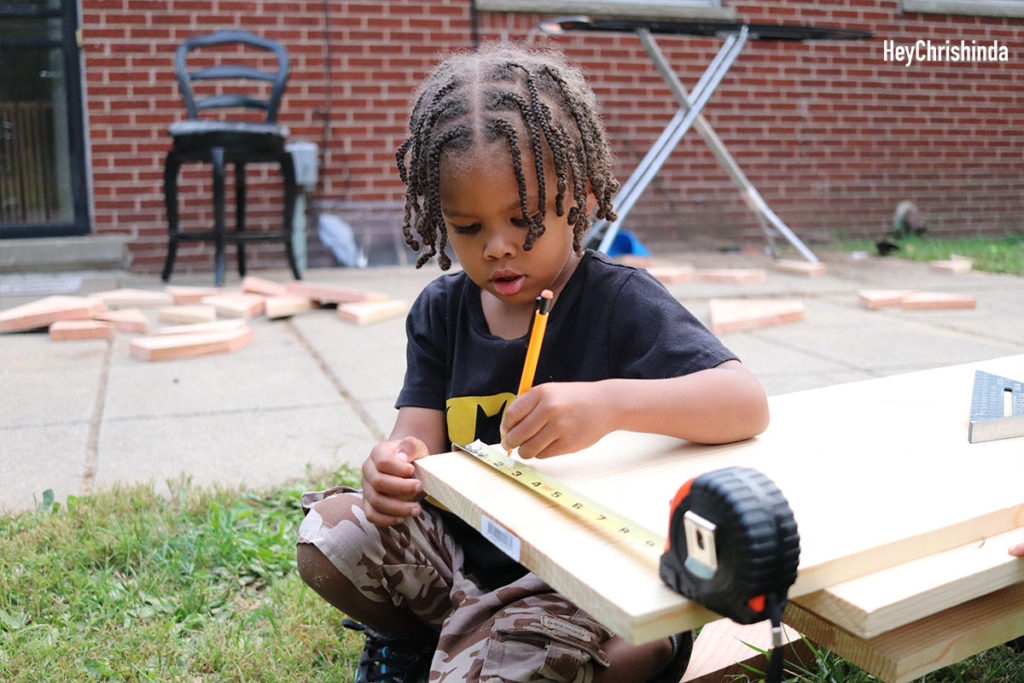
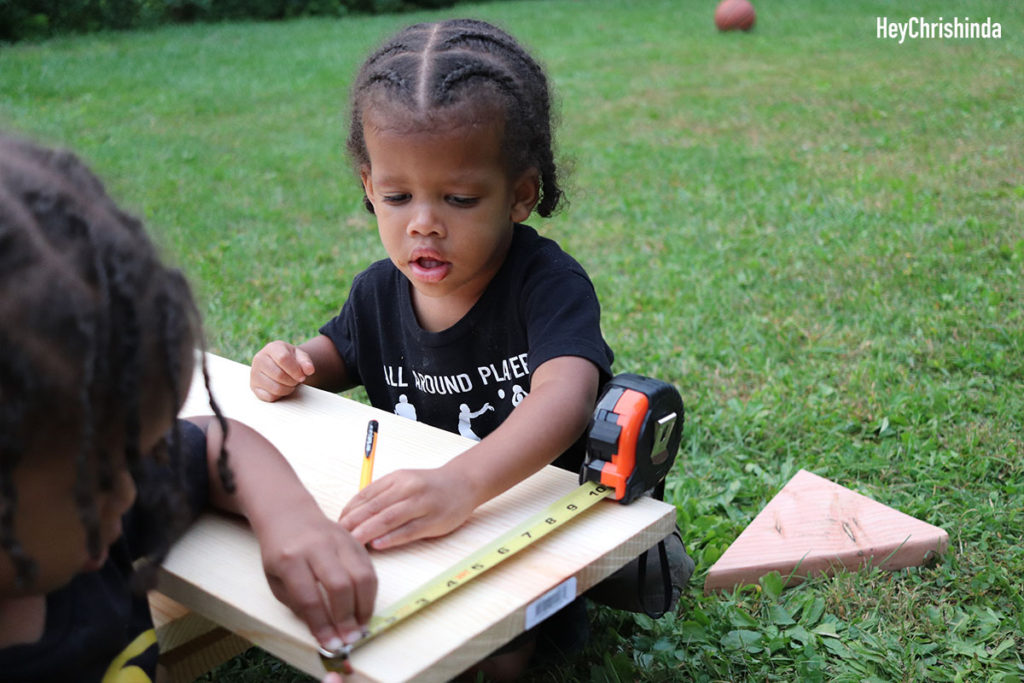
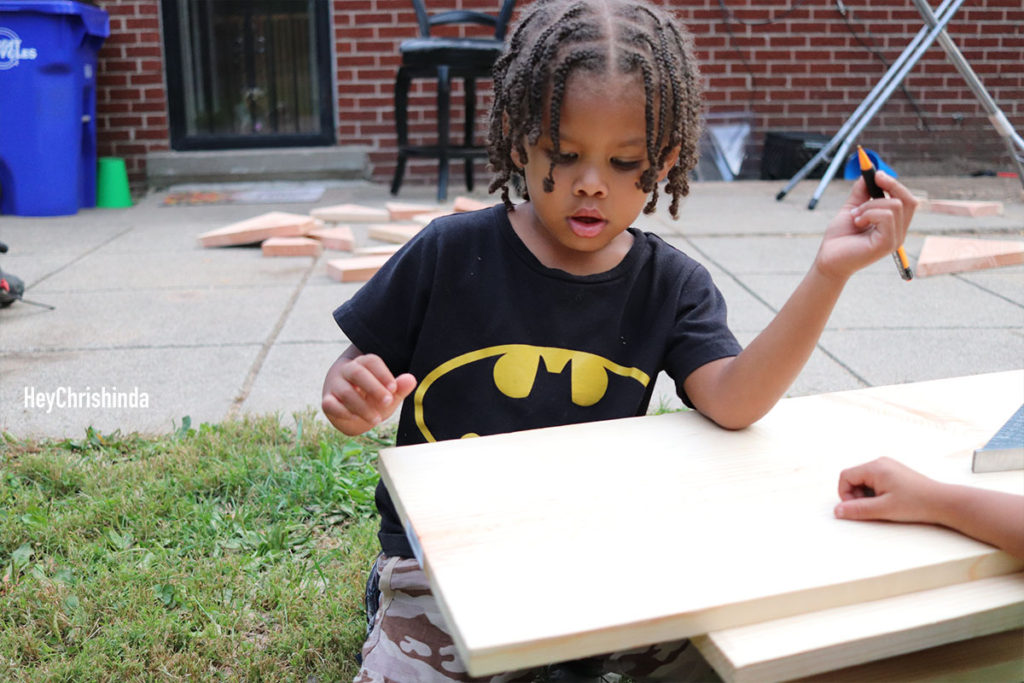
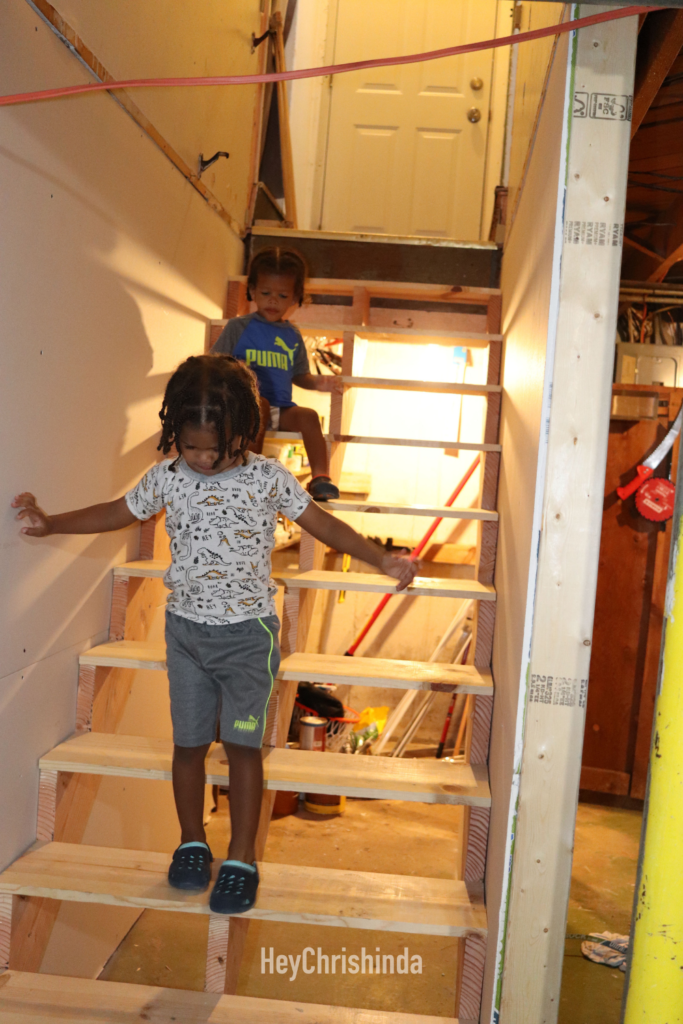
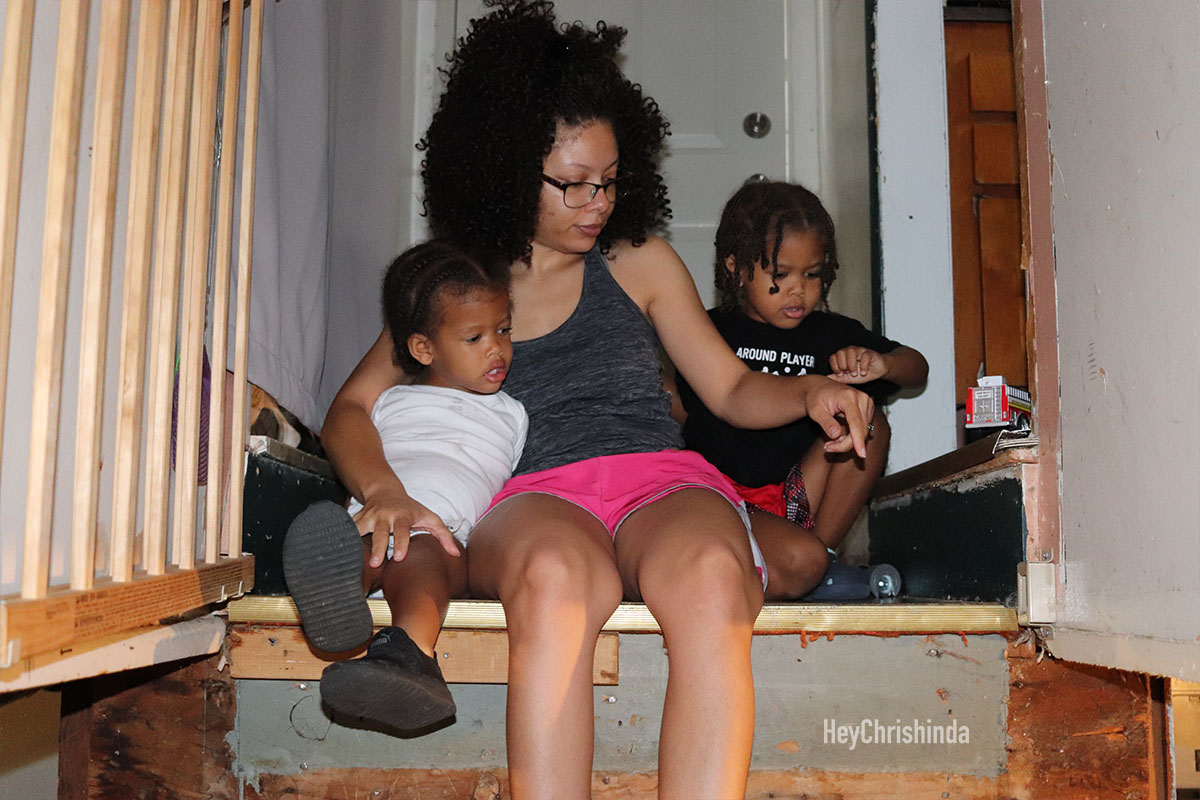
Our favorite helpers
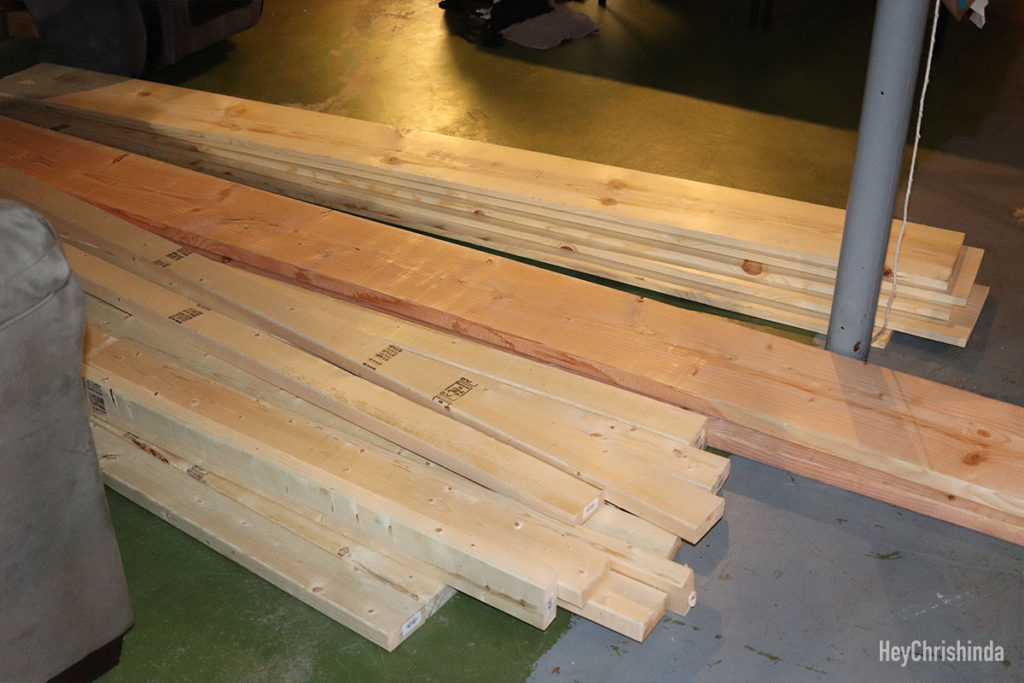
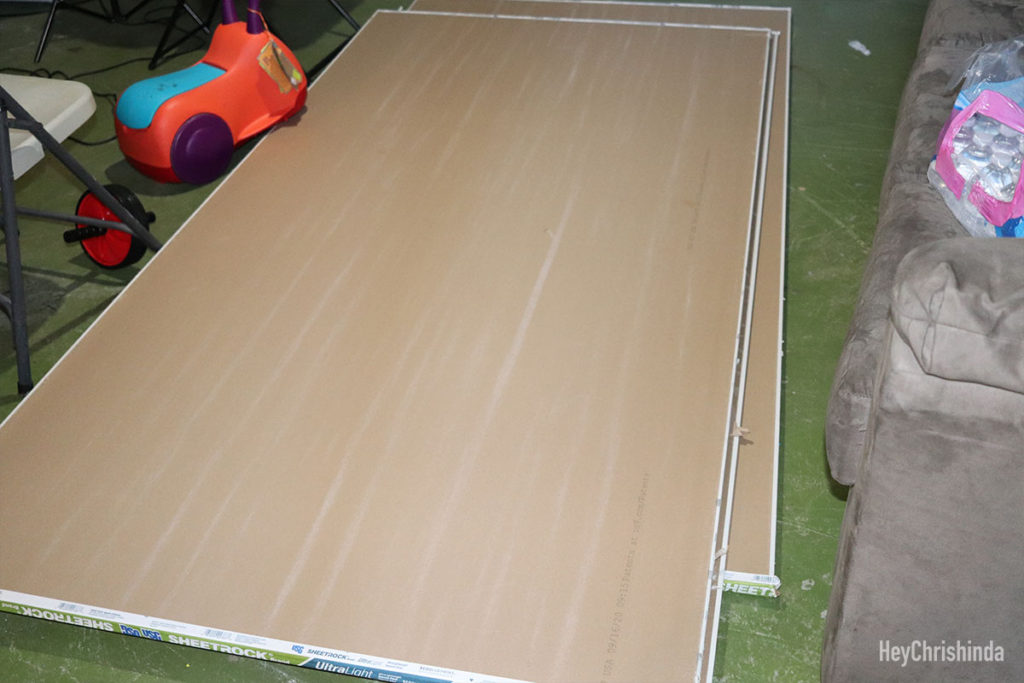
Wood and drywall
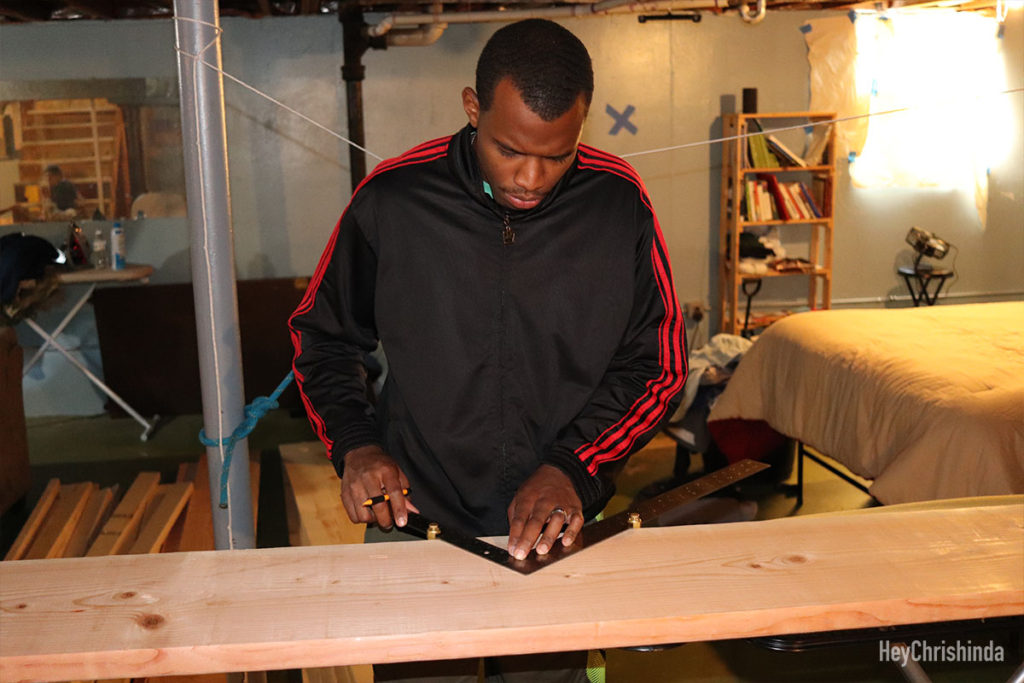
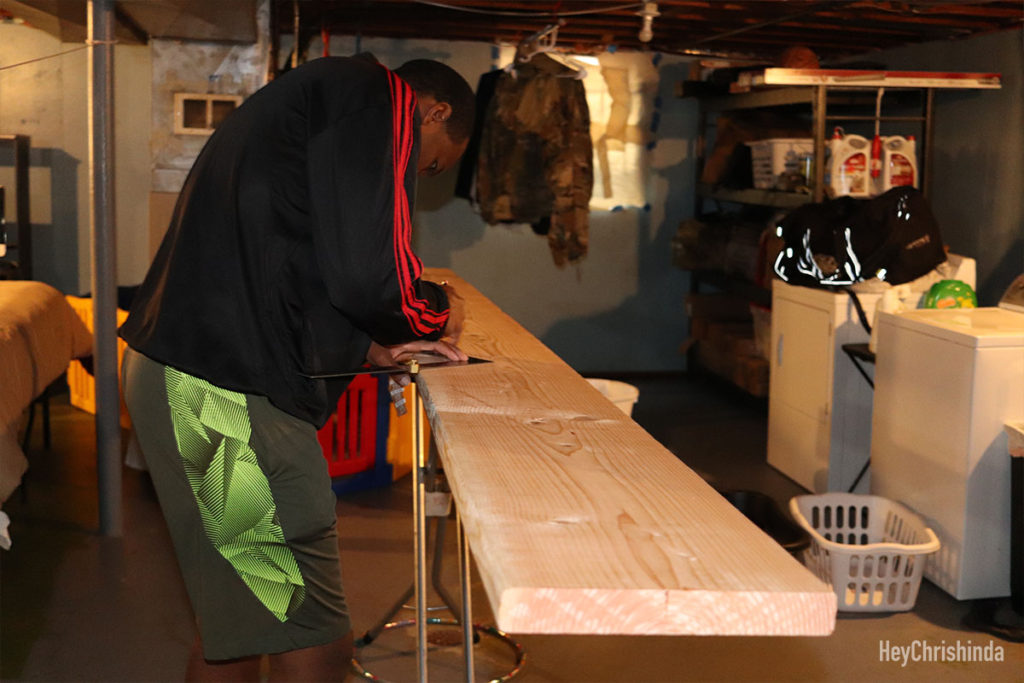
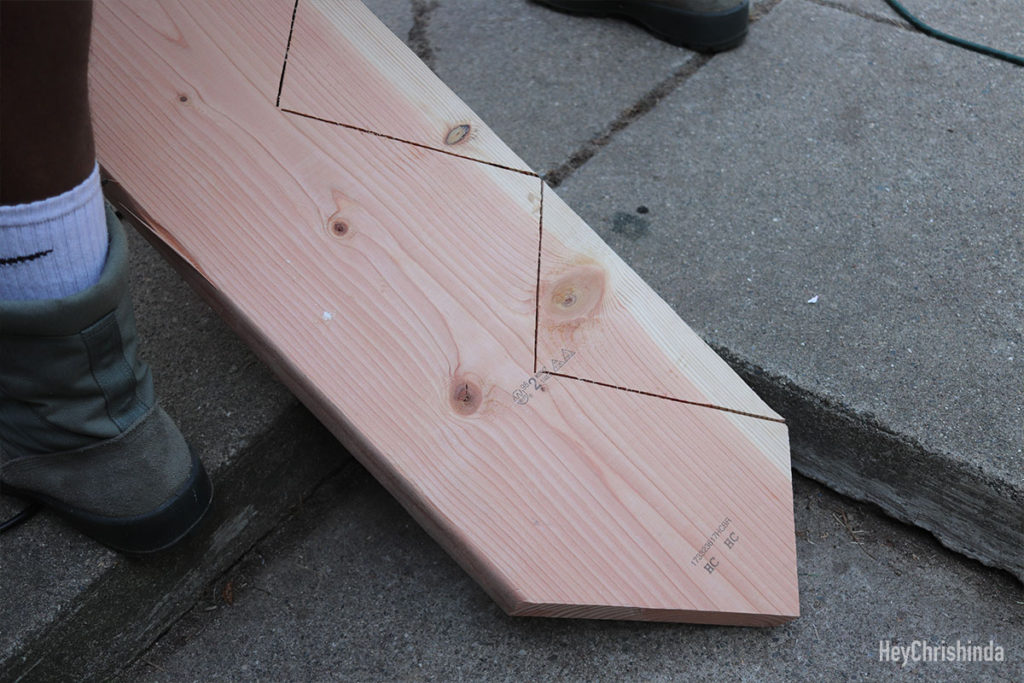
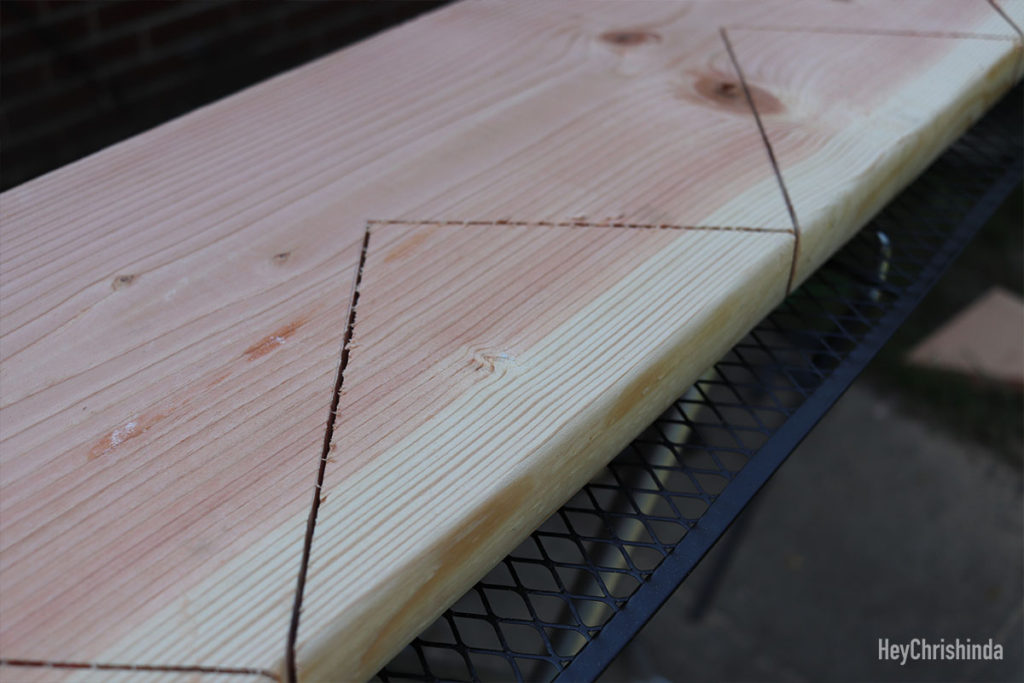
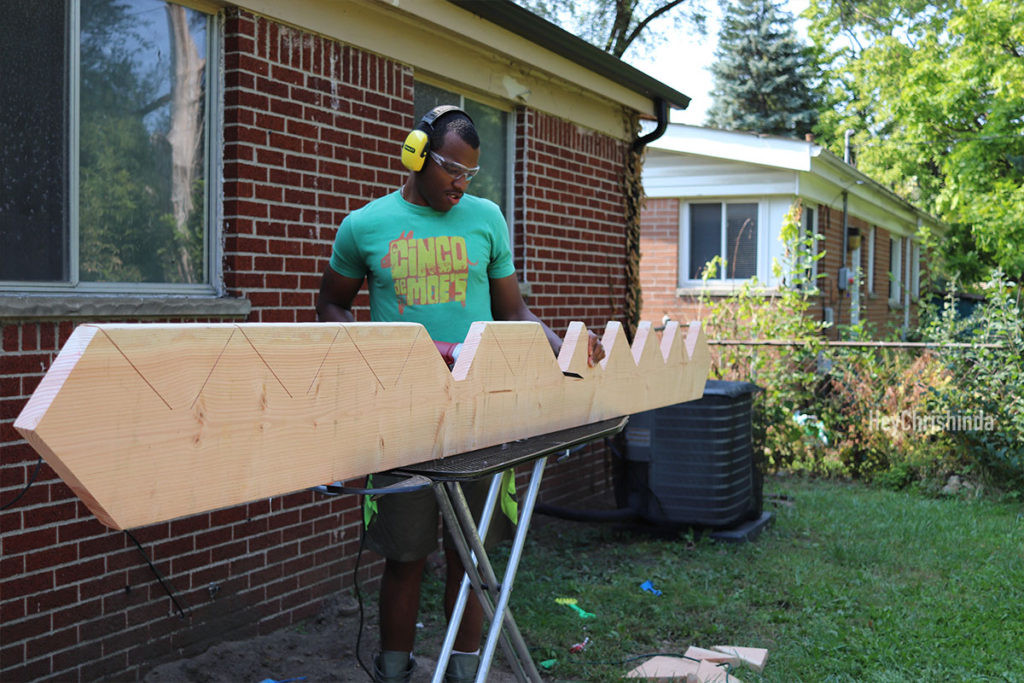
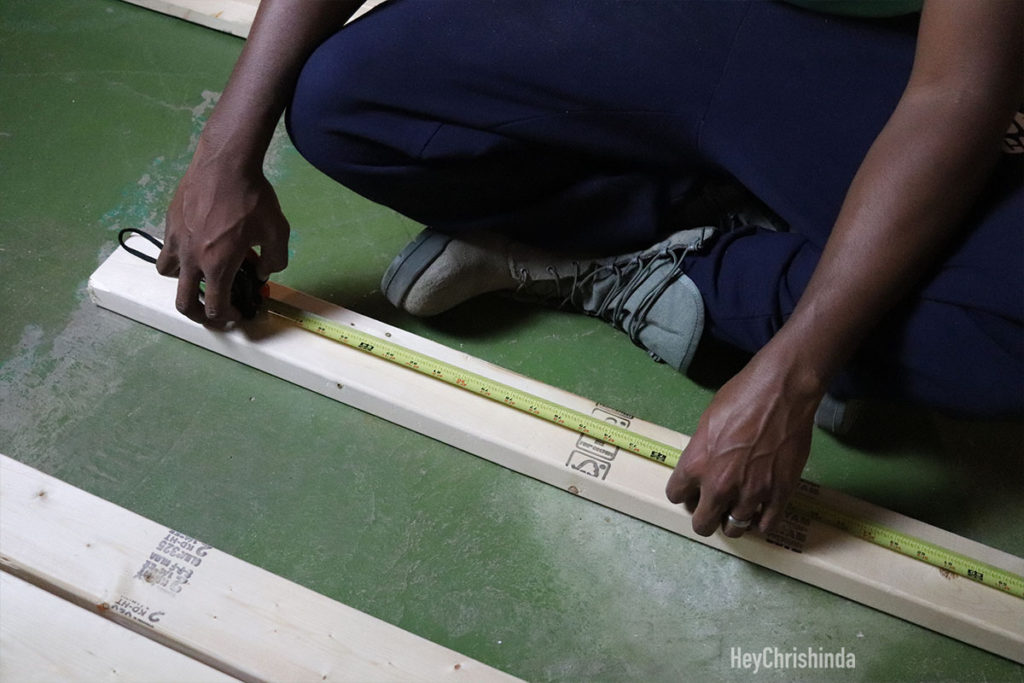
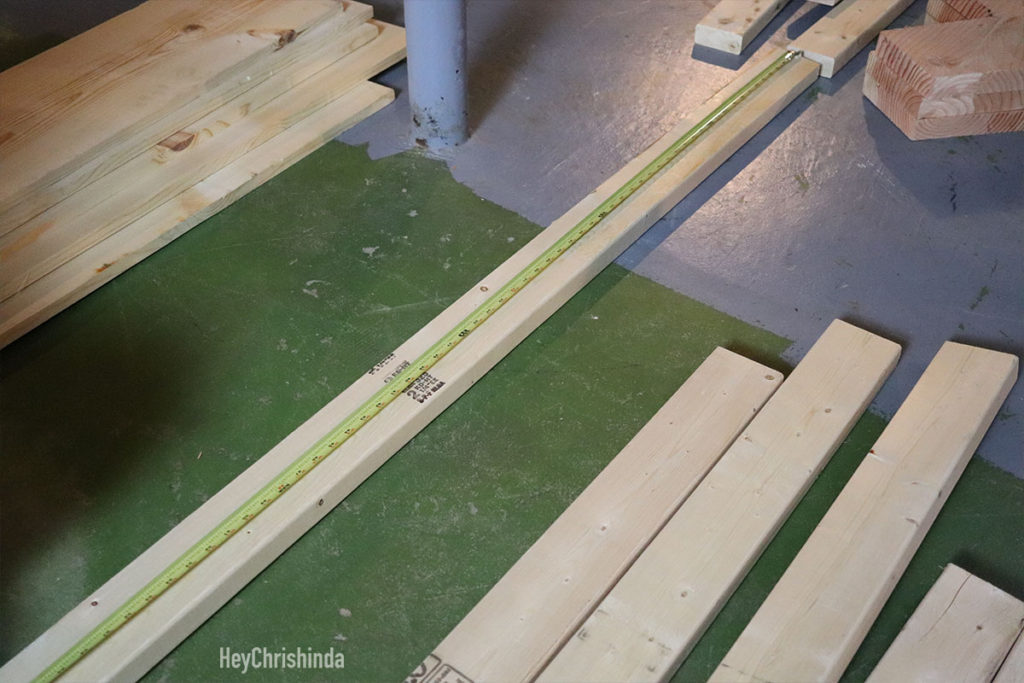
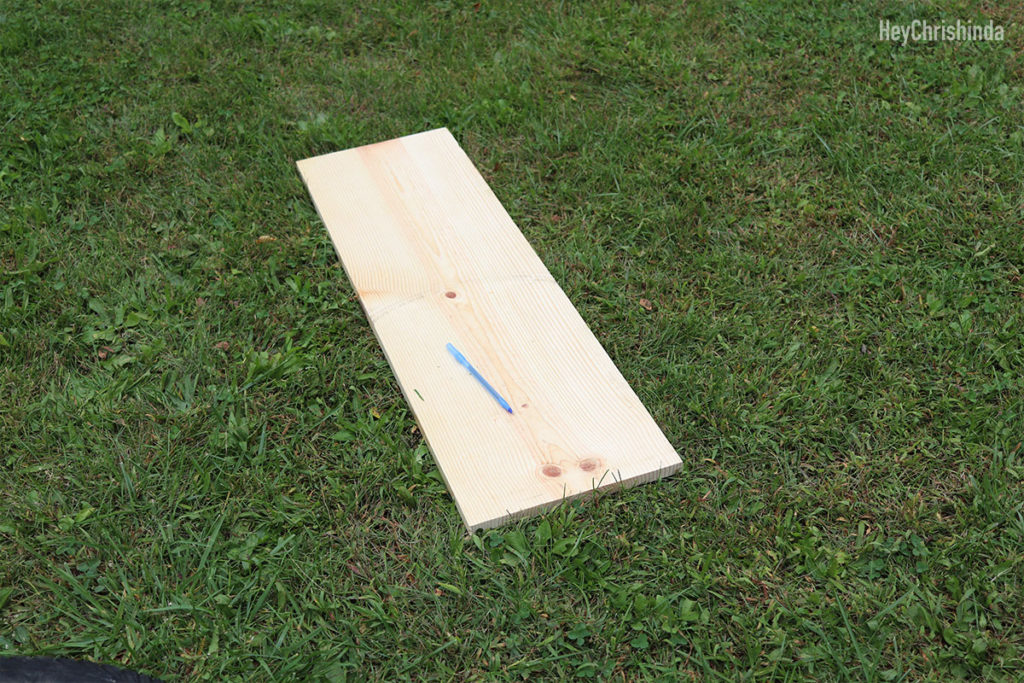
Outlining where to cut the stringers
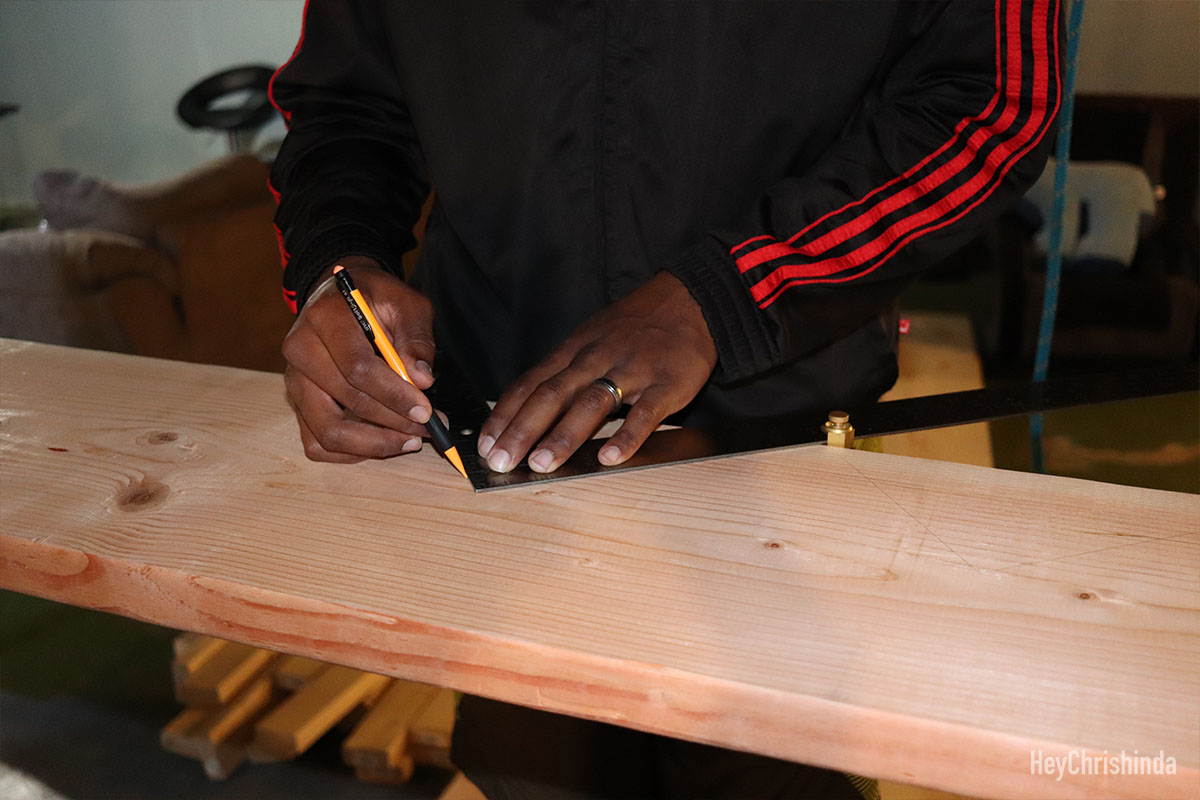
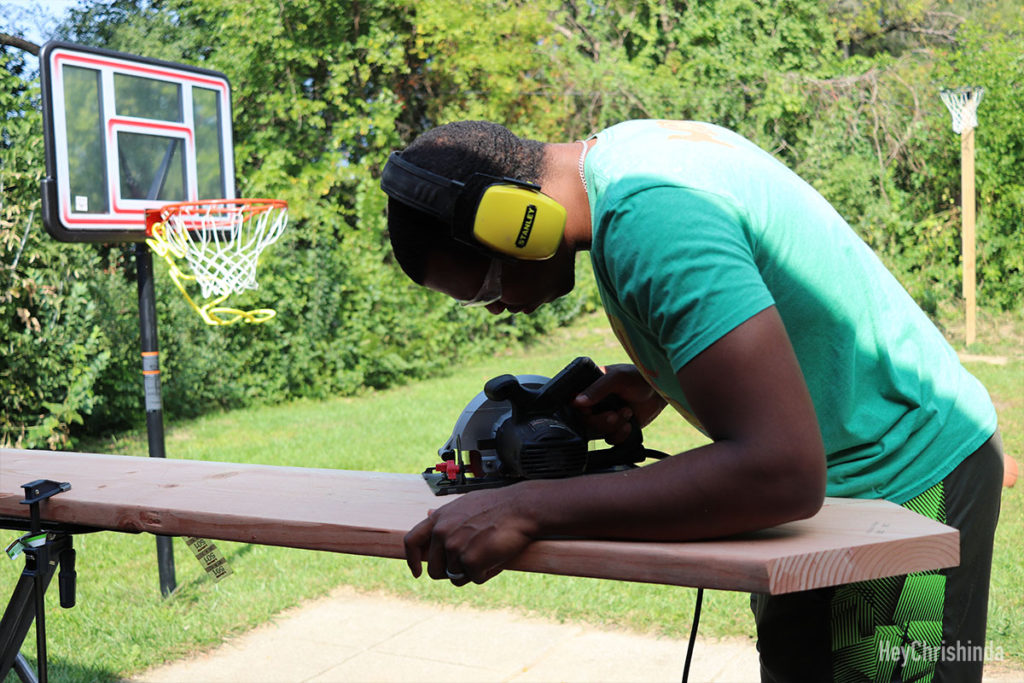
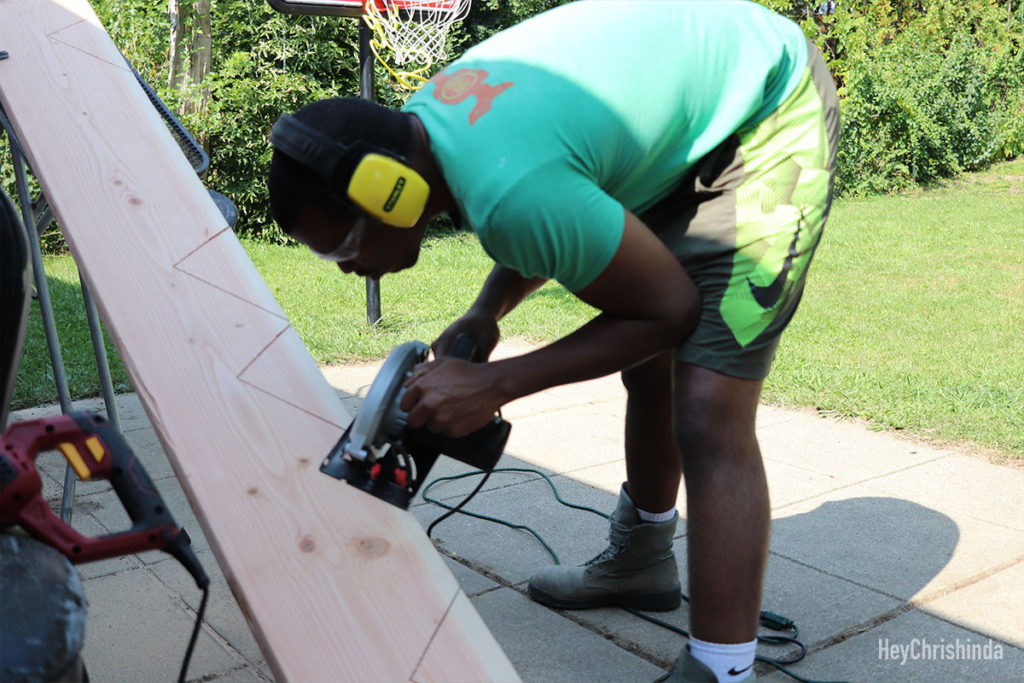
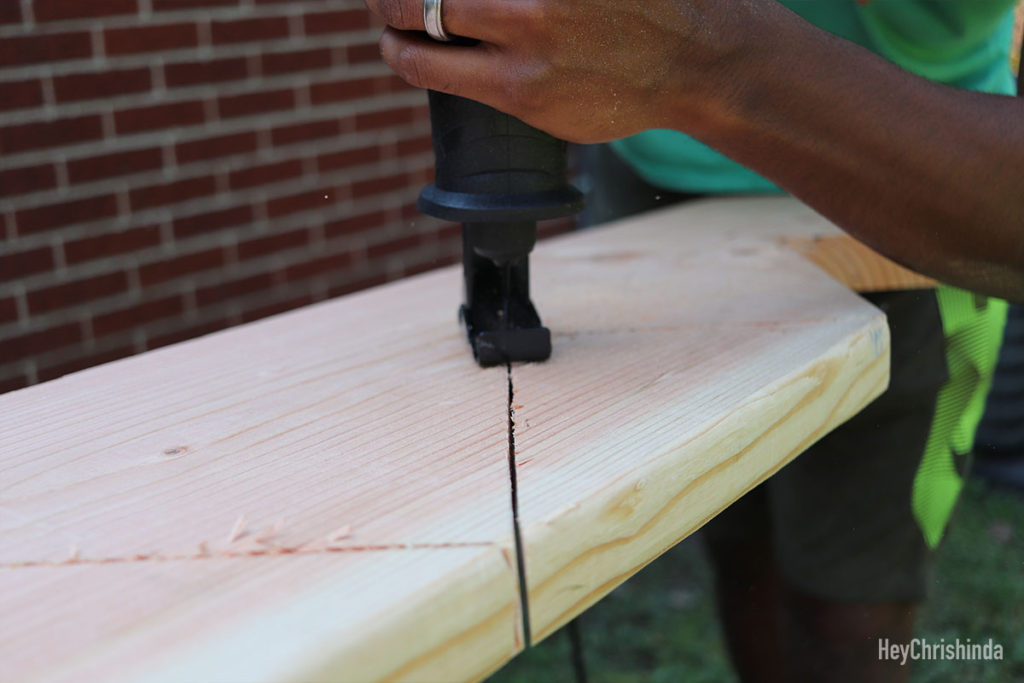
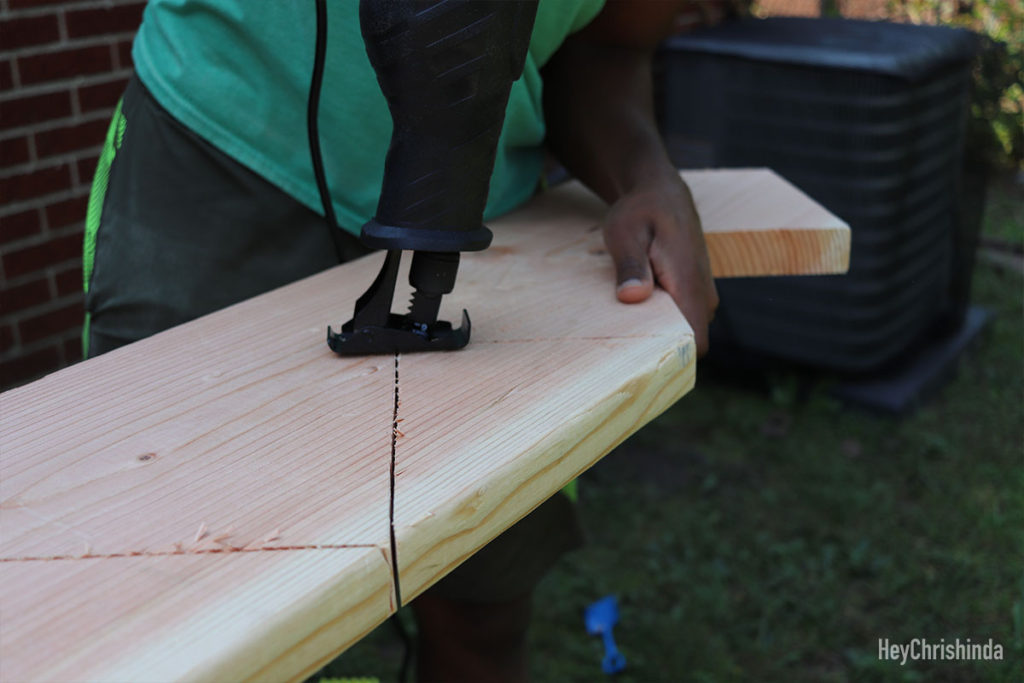
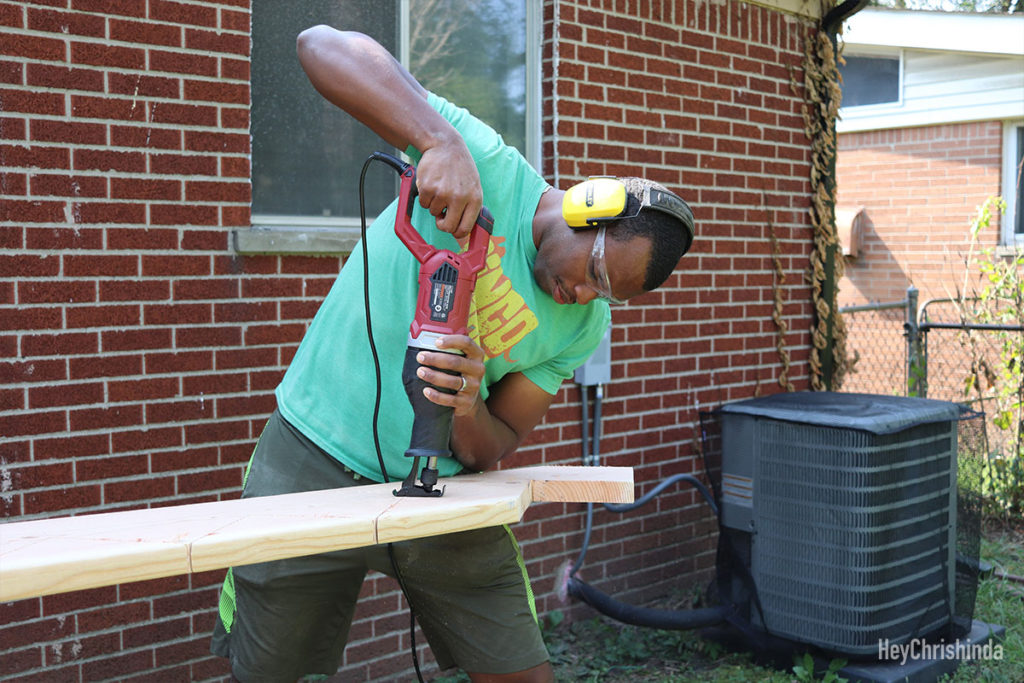
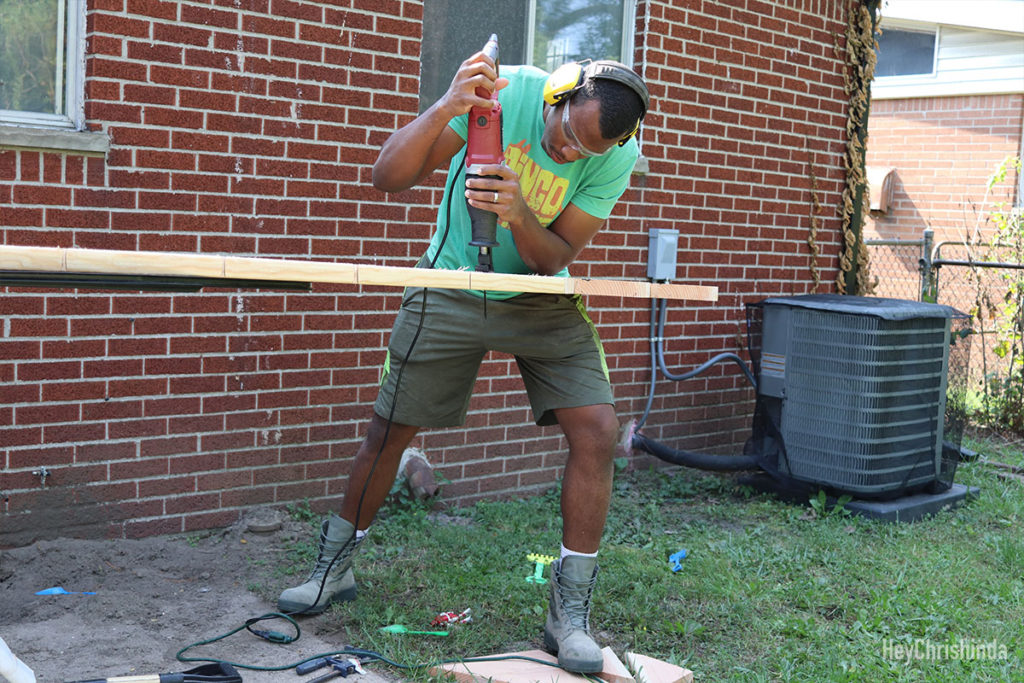
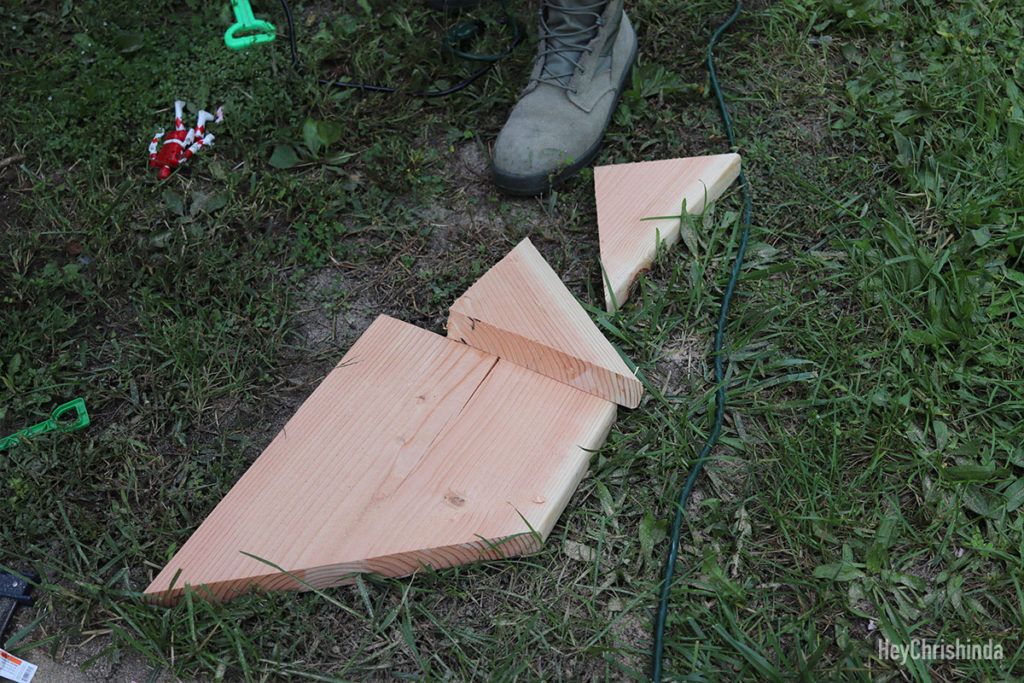
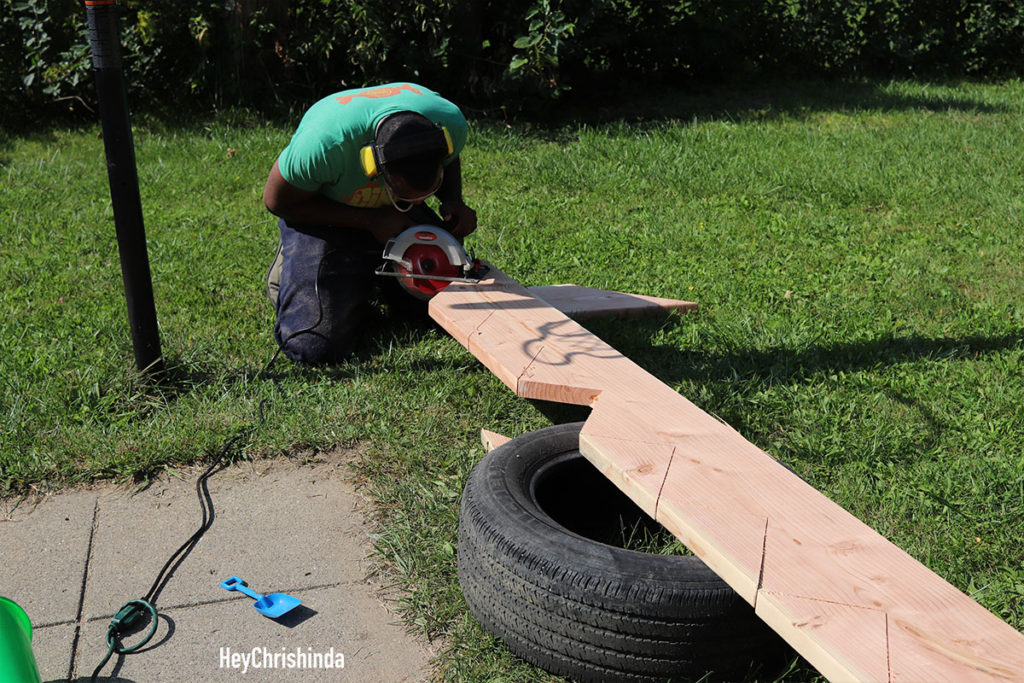
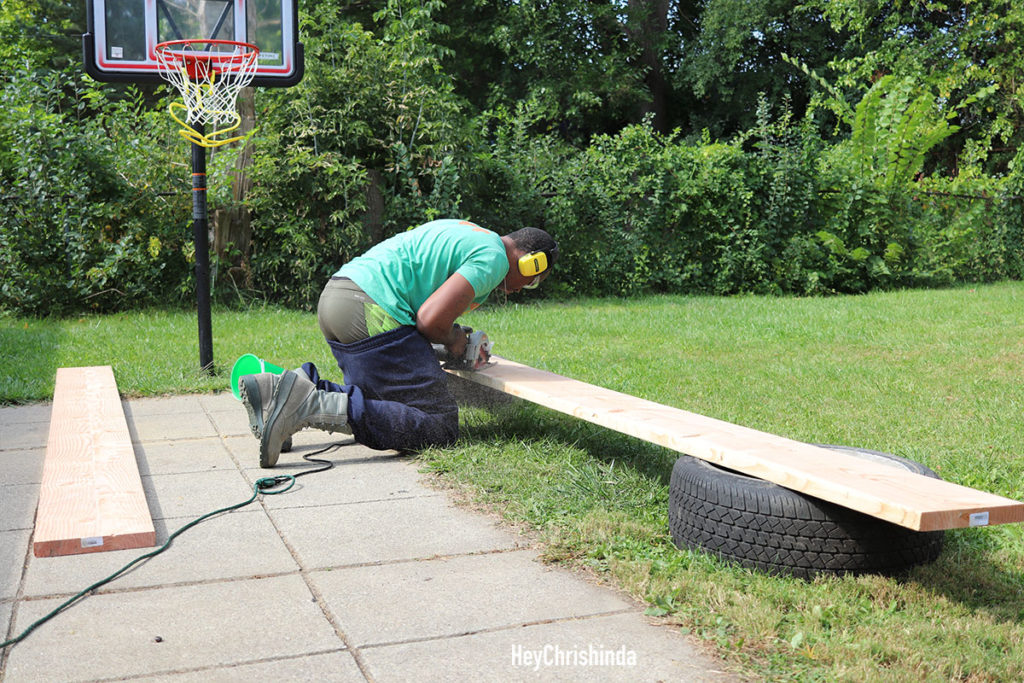
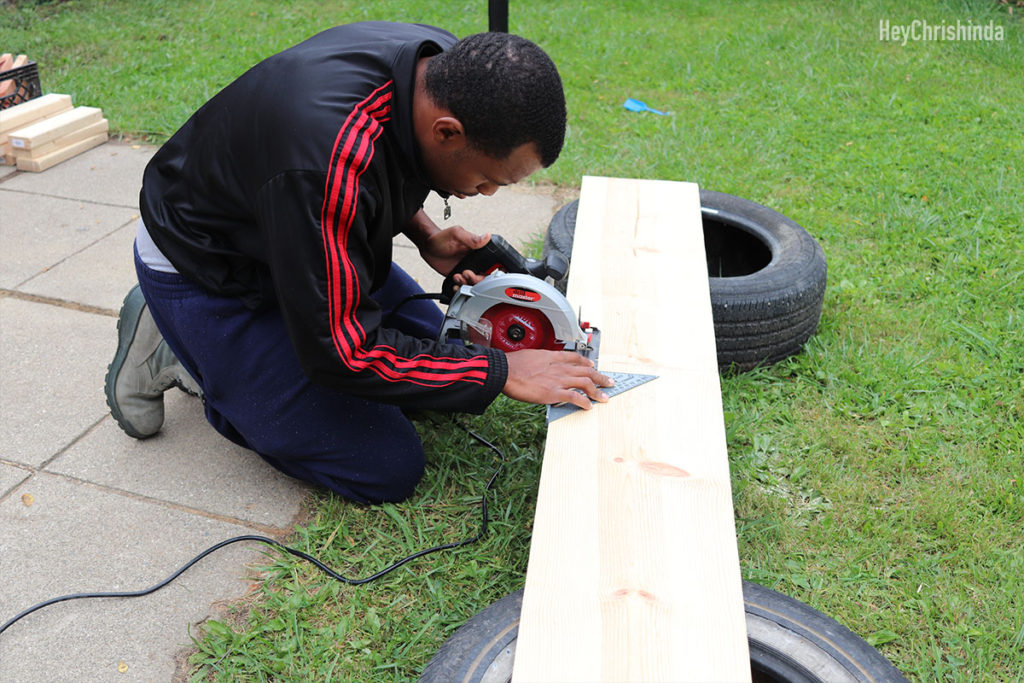
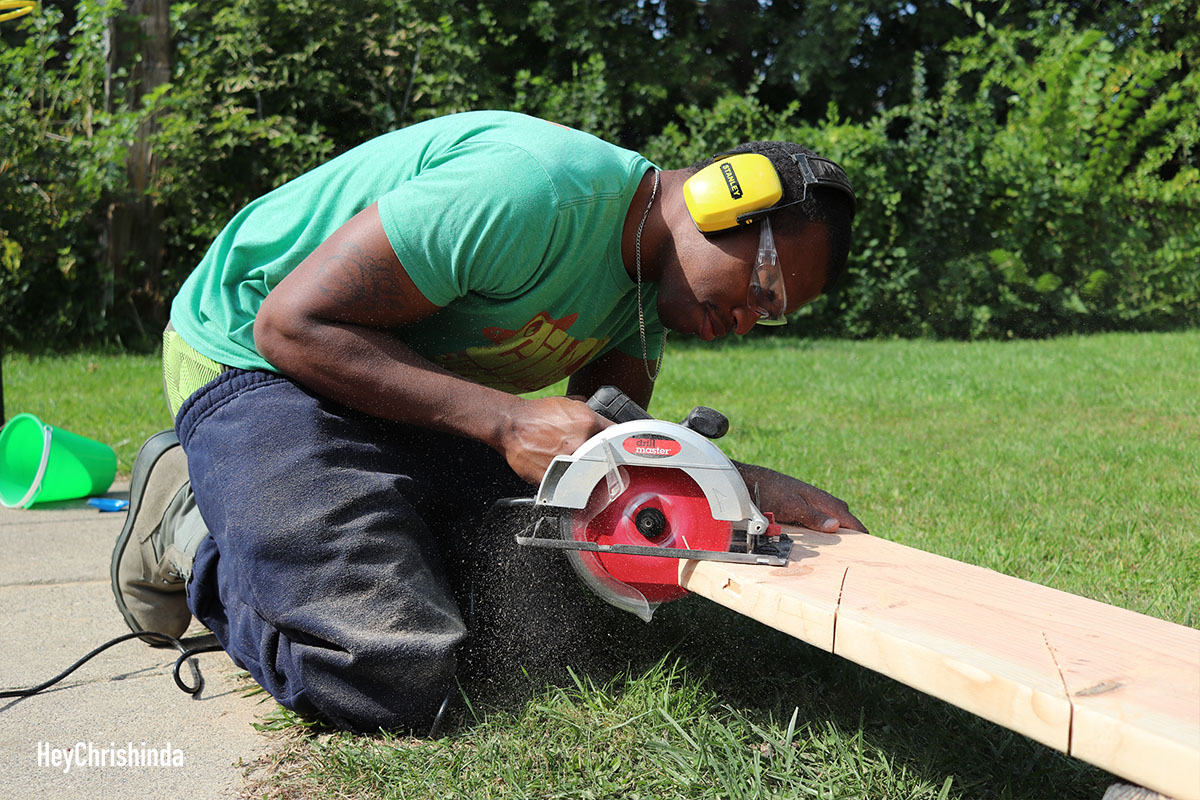
Cutting the stringers
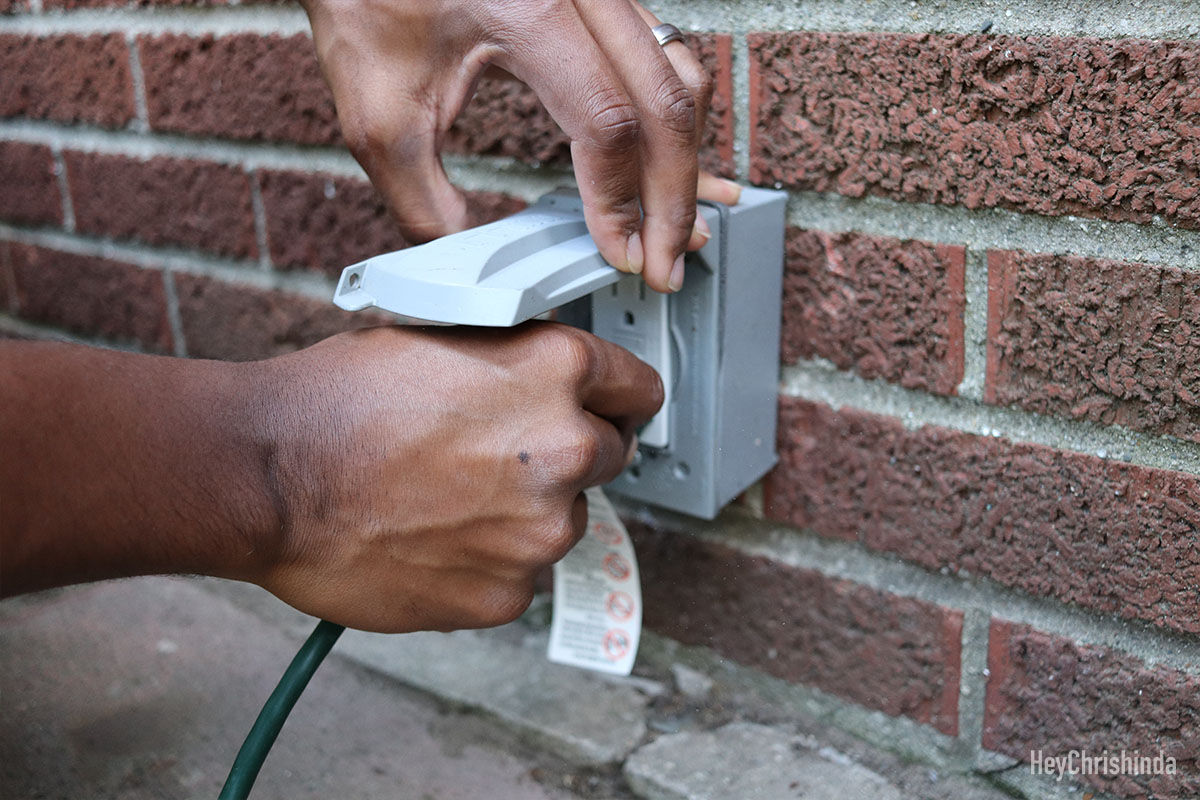
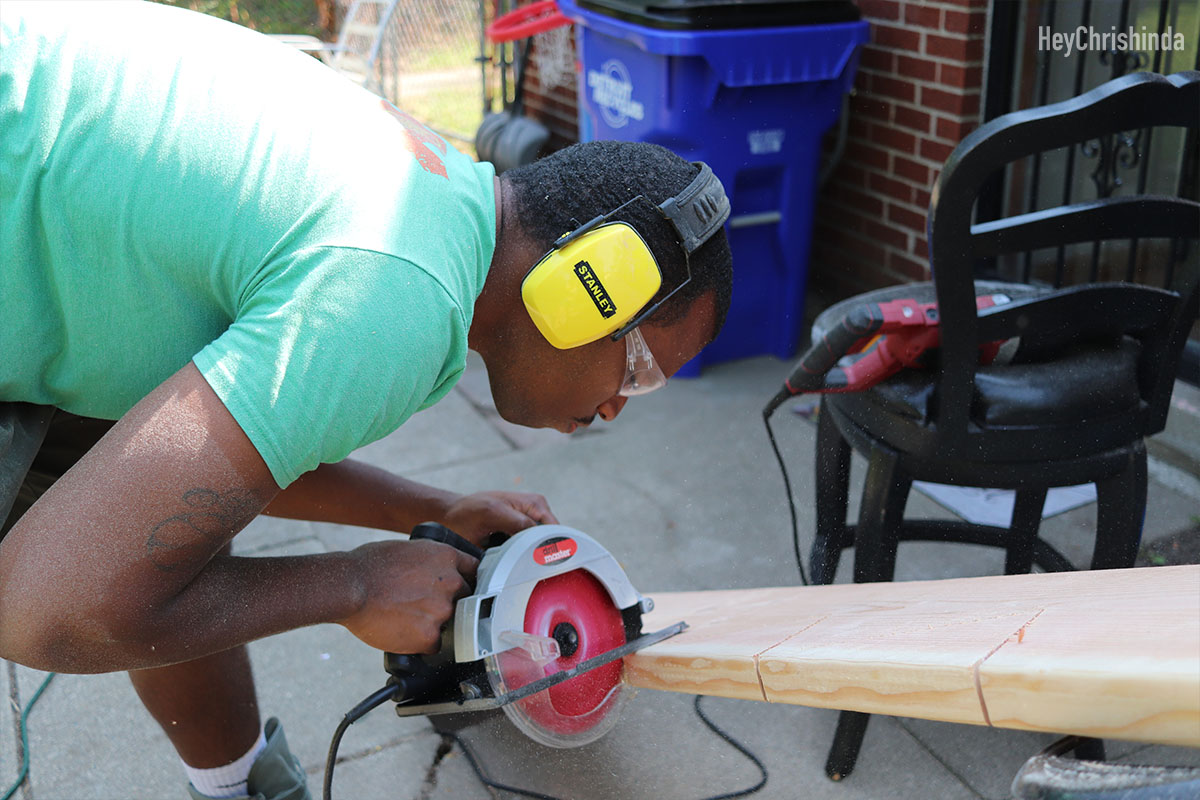
For this first stringer… we had an ironing board that the previous tenants left, so he used that, but it wasn’t that sturdy. It did help a little, but it wasn’t great.
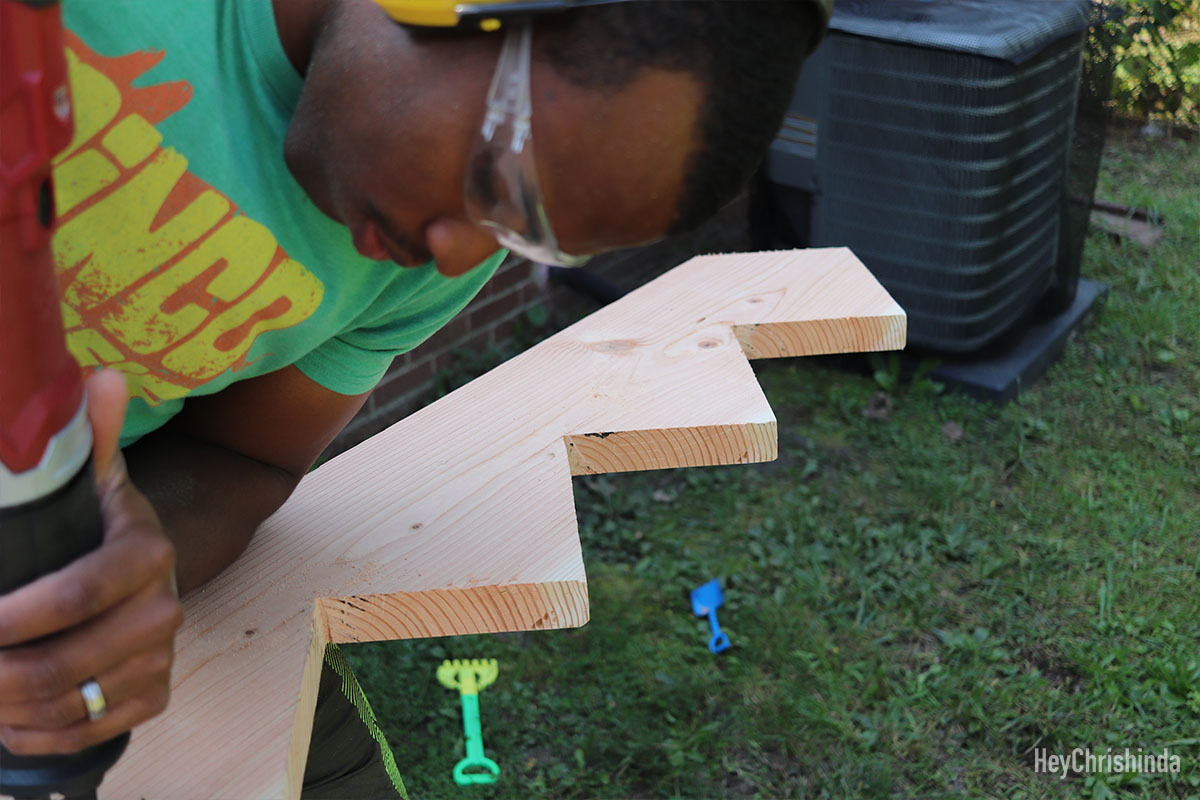
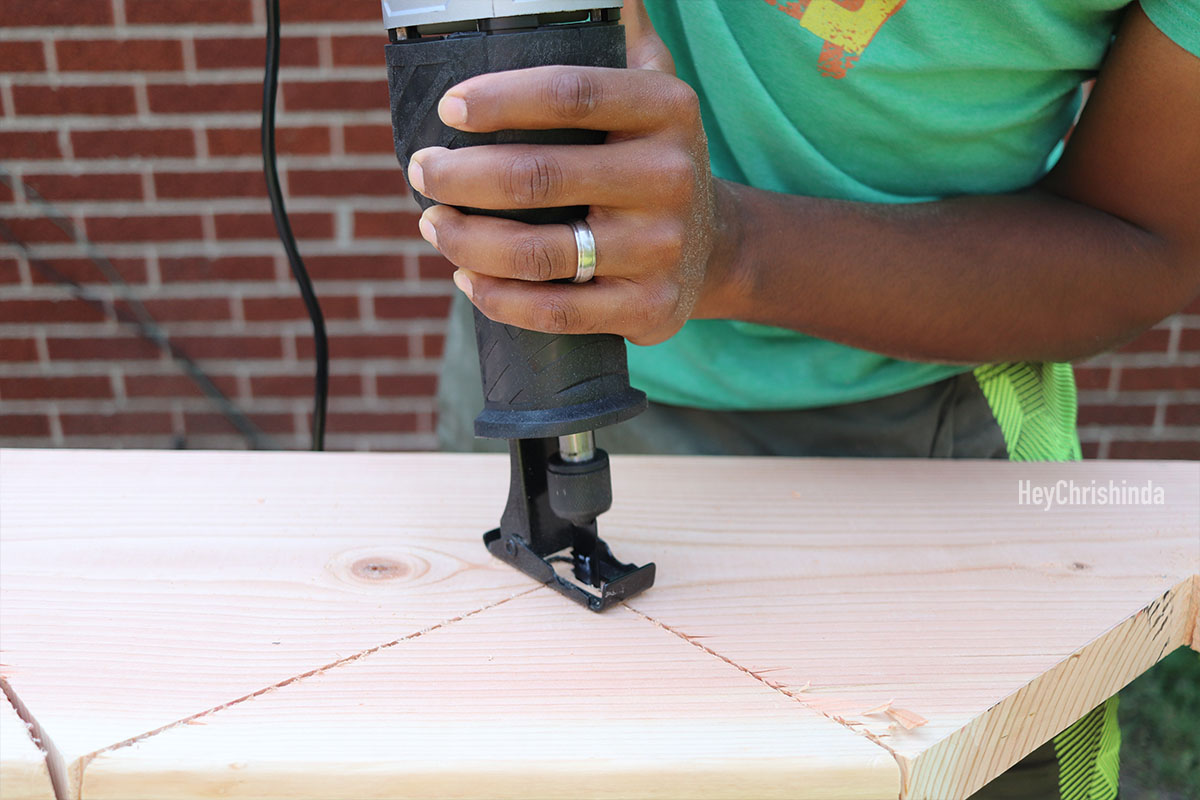

First stringer is complete
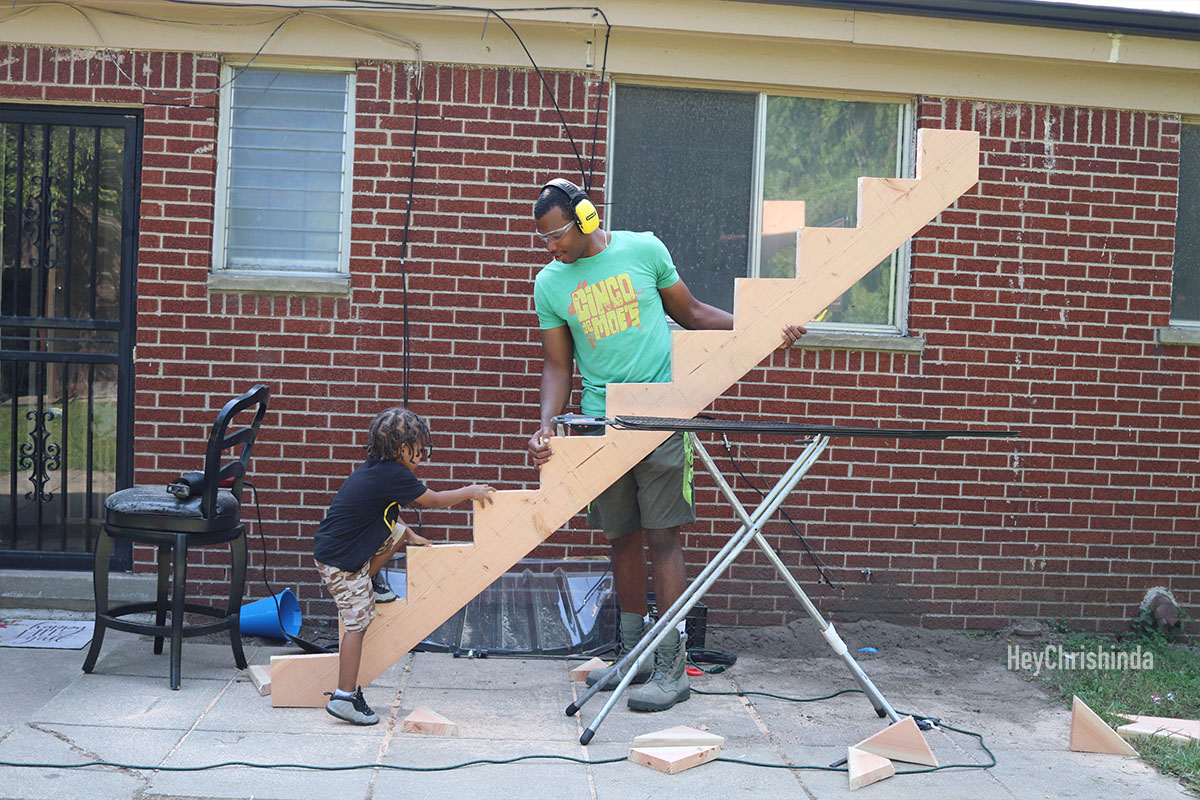
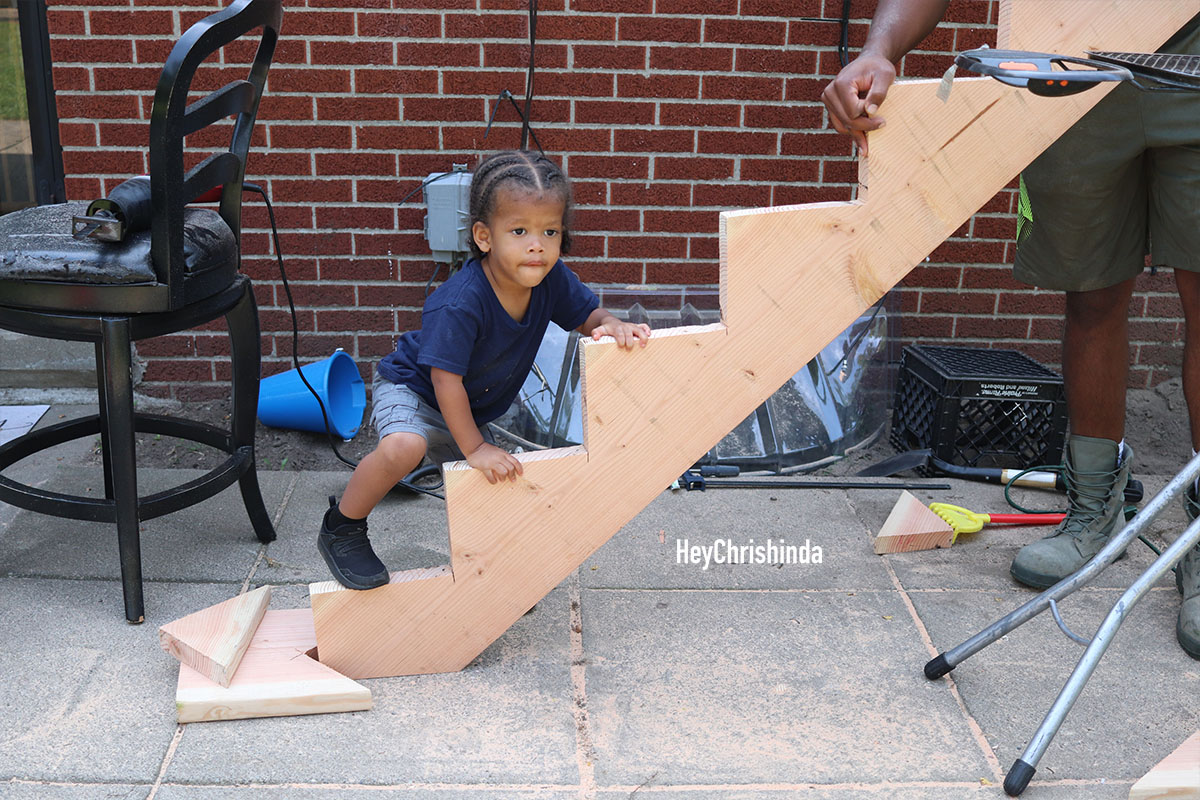
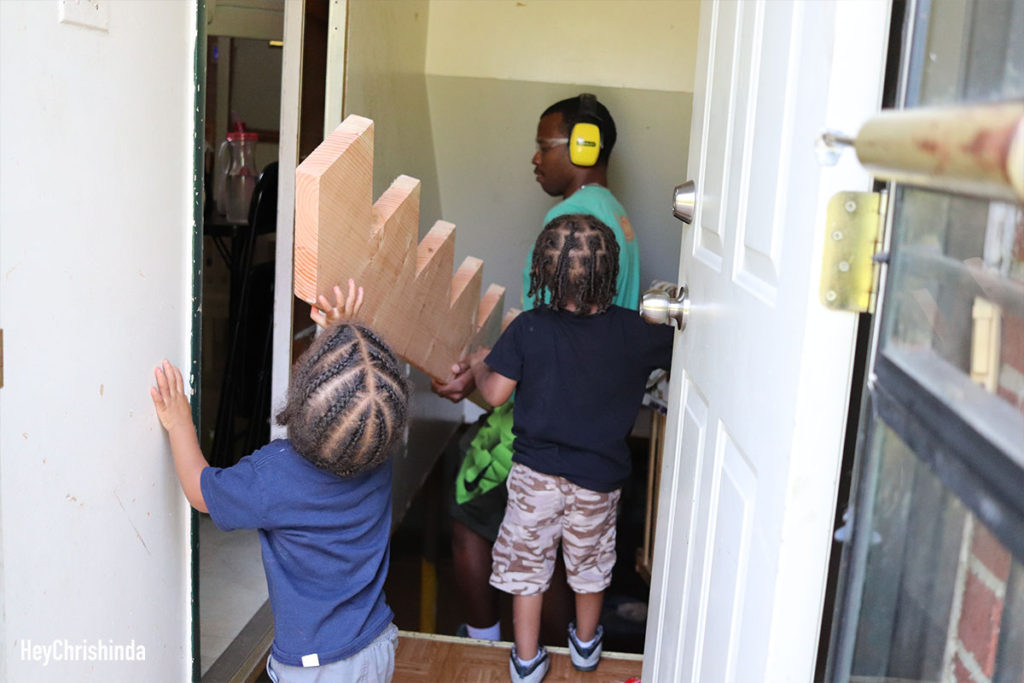
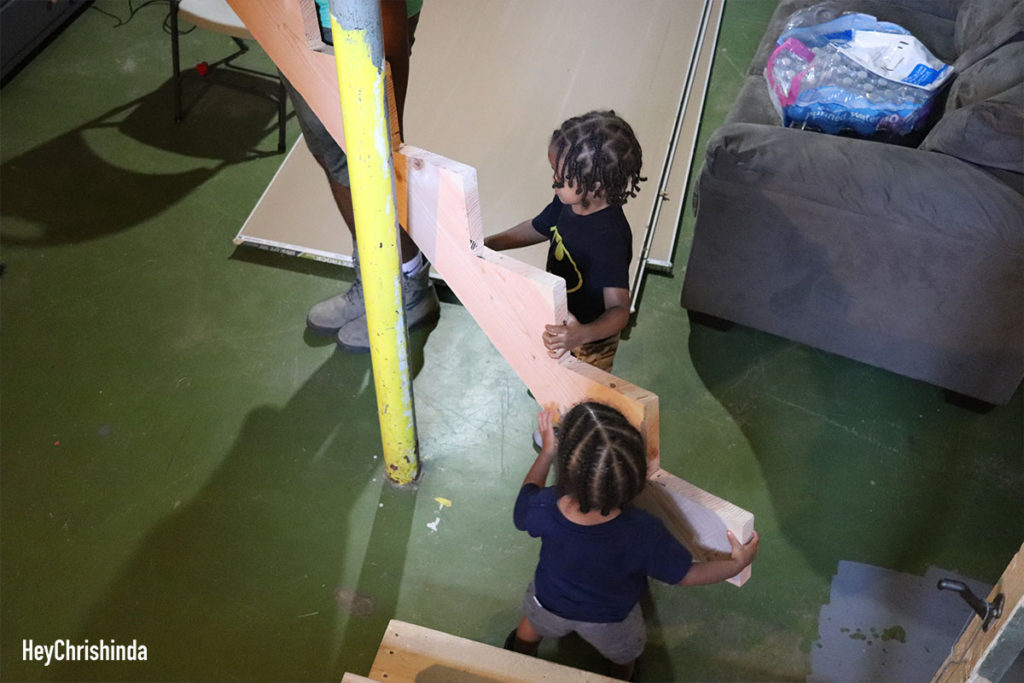
The boys wanted to help take it to the basement
Making sure the stringer was cut properly
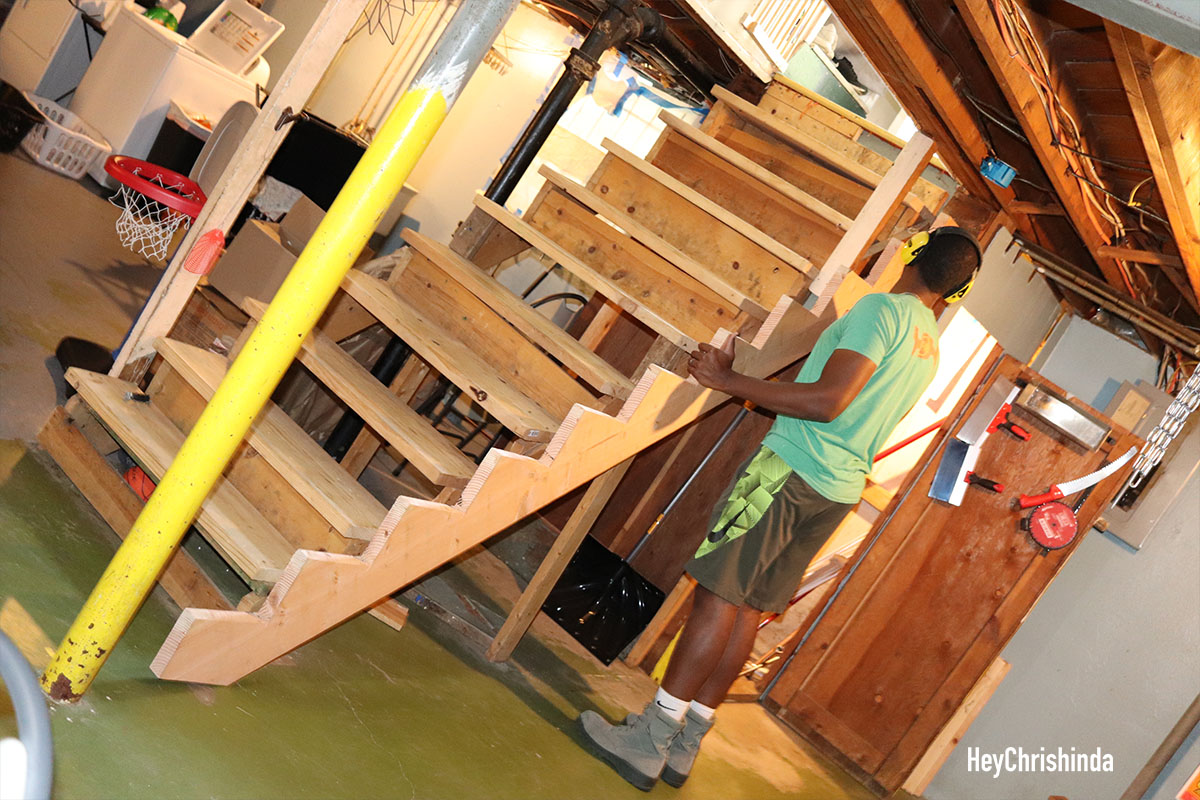
He added an extra step
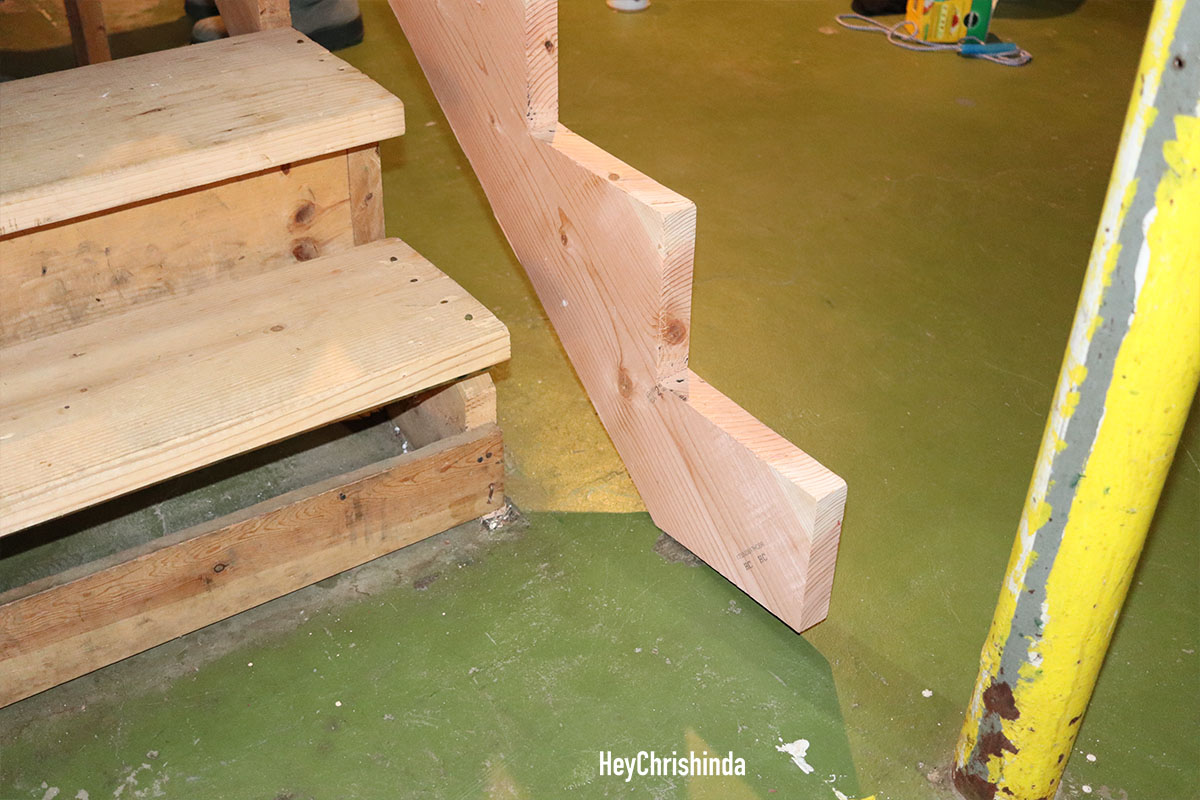
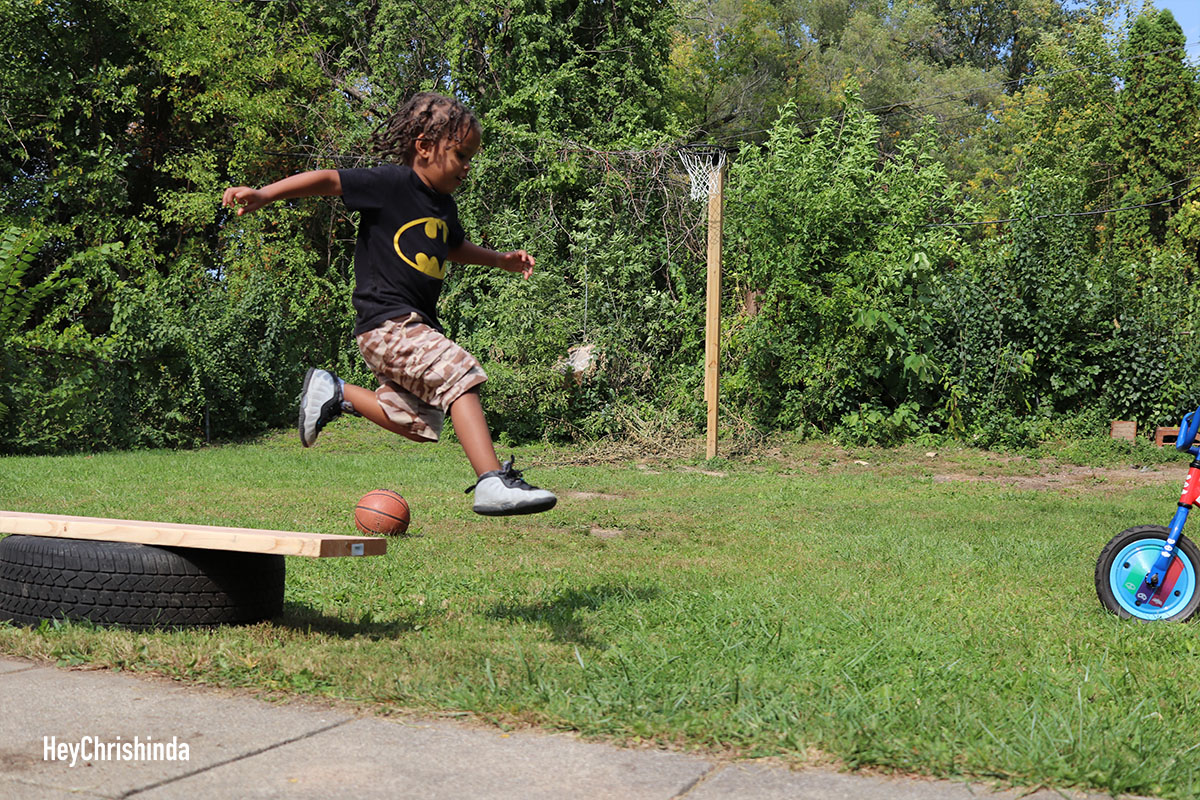
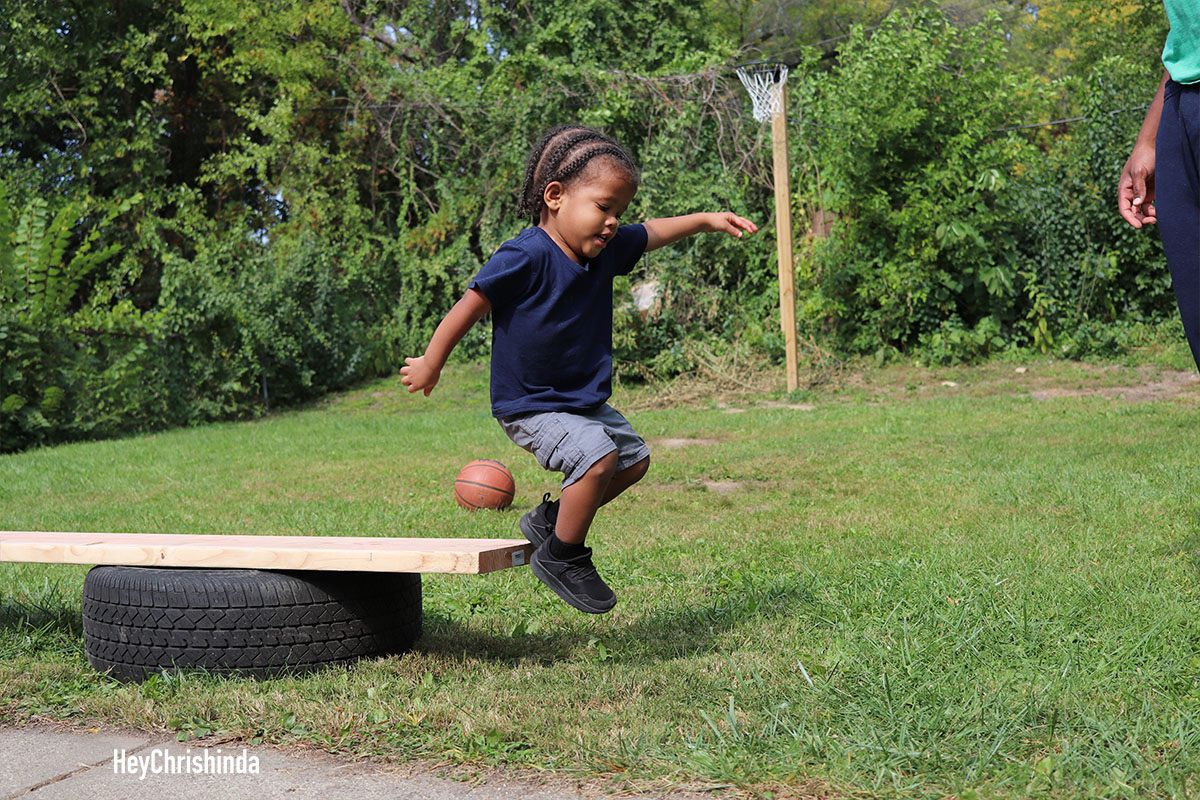
The old tenants also left a few tires in the backyard, so he laid the wood across the tires and that made it way easier to cut.
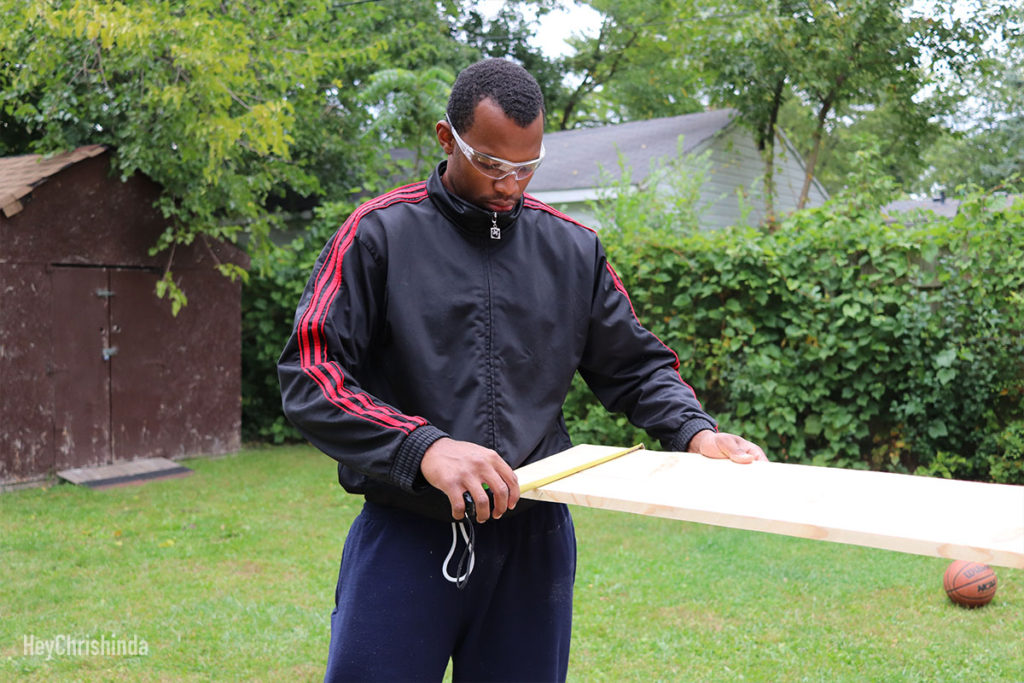
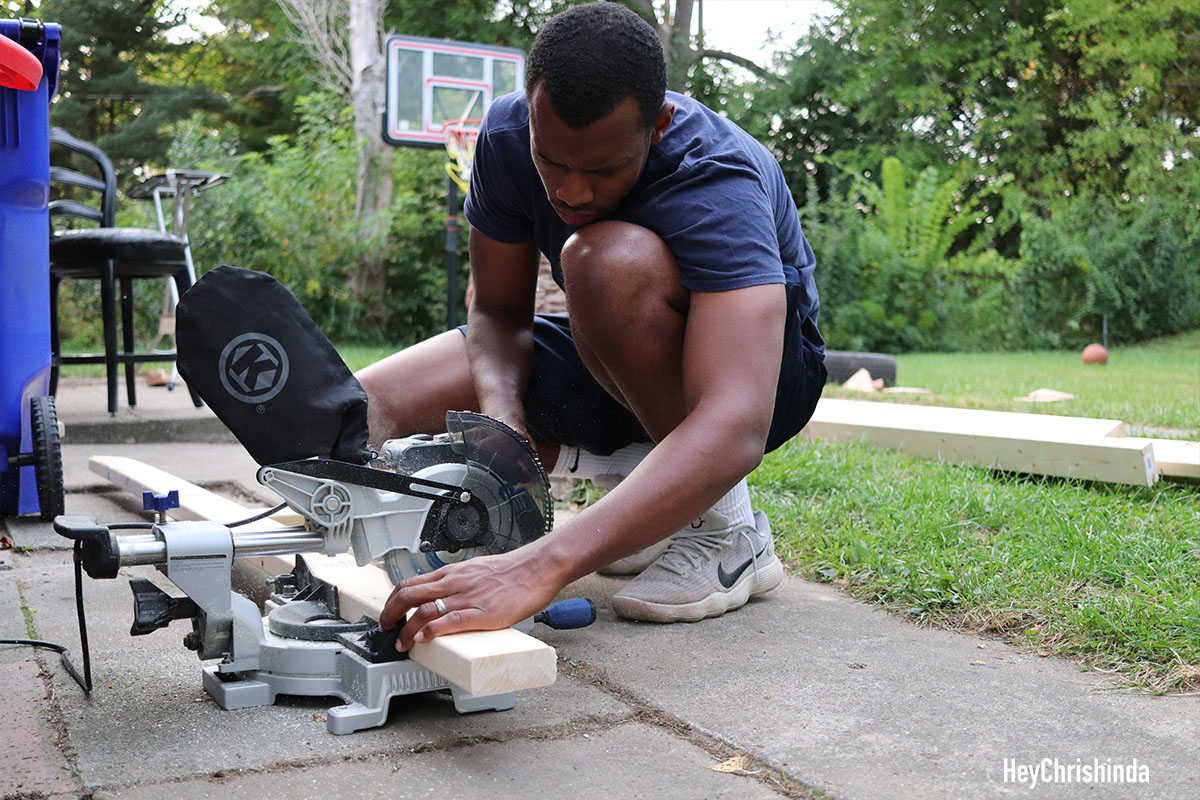
Measuring and cutting the wood for the studs, which is the frame for the walls to go up.
3 finished stringers
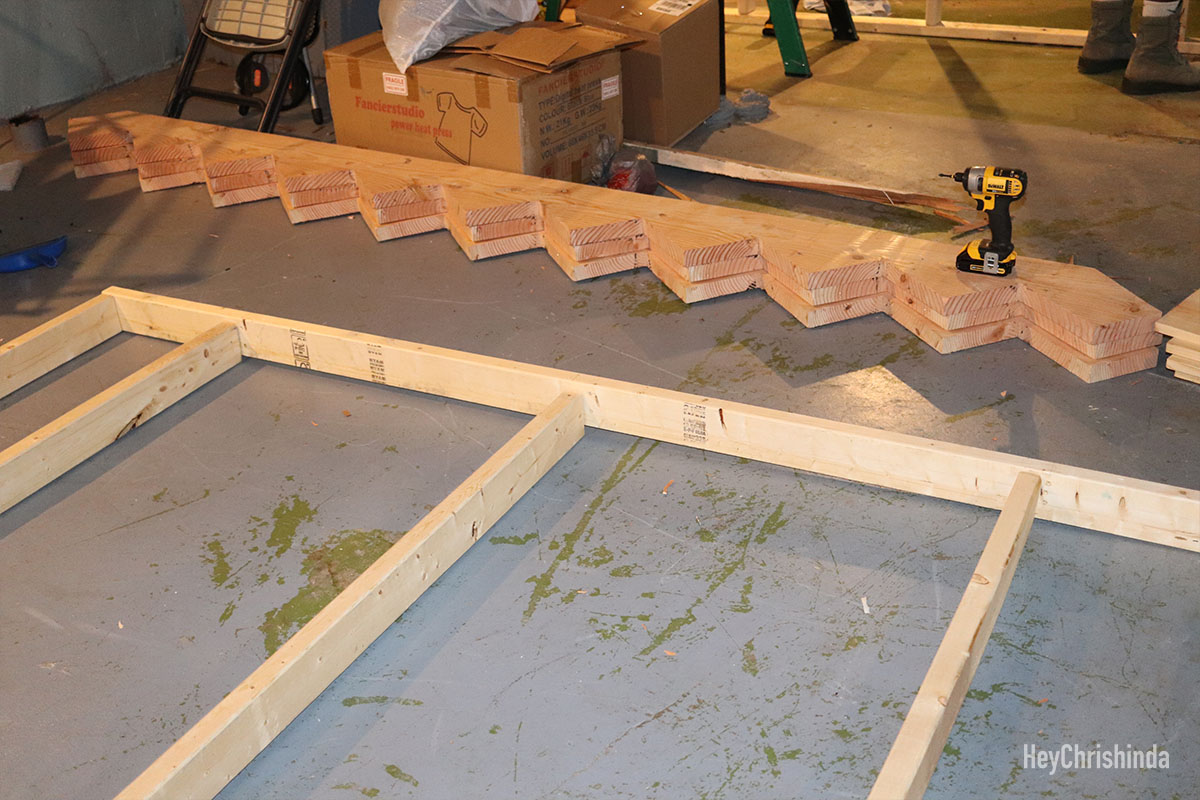
Explaining something about the frame.

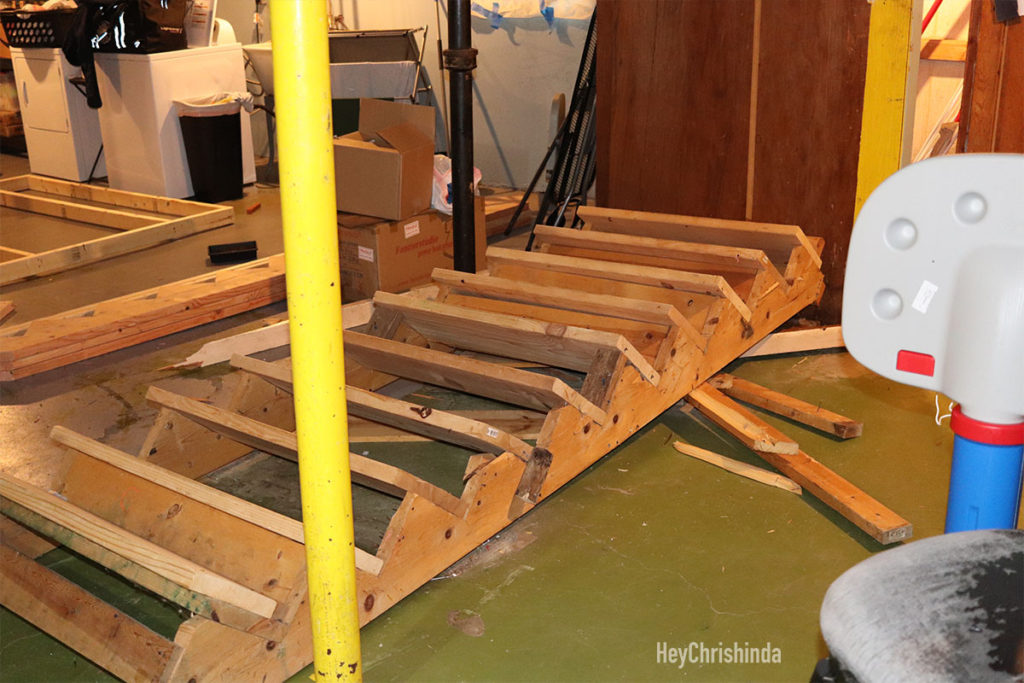
Taking down the old stairs
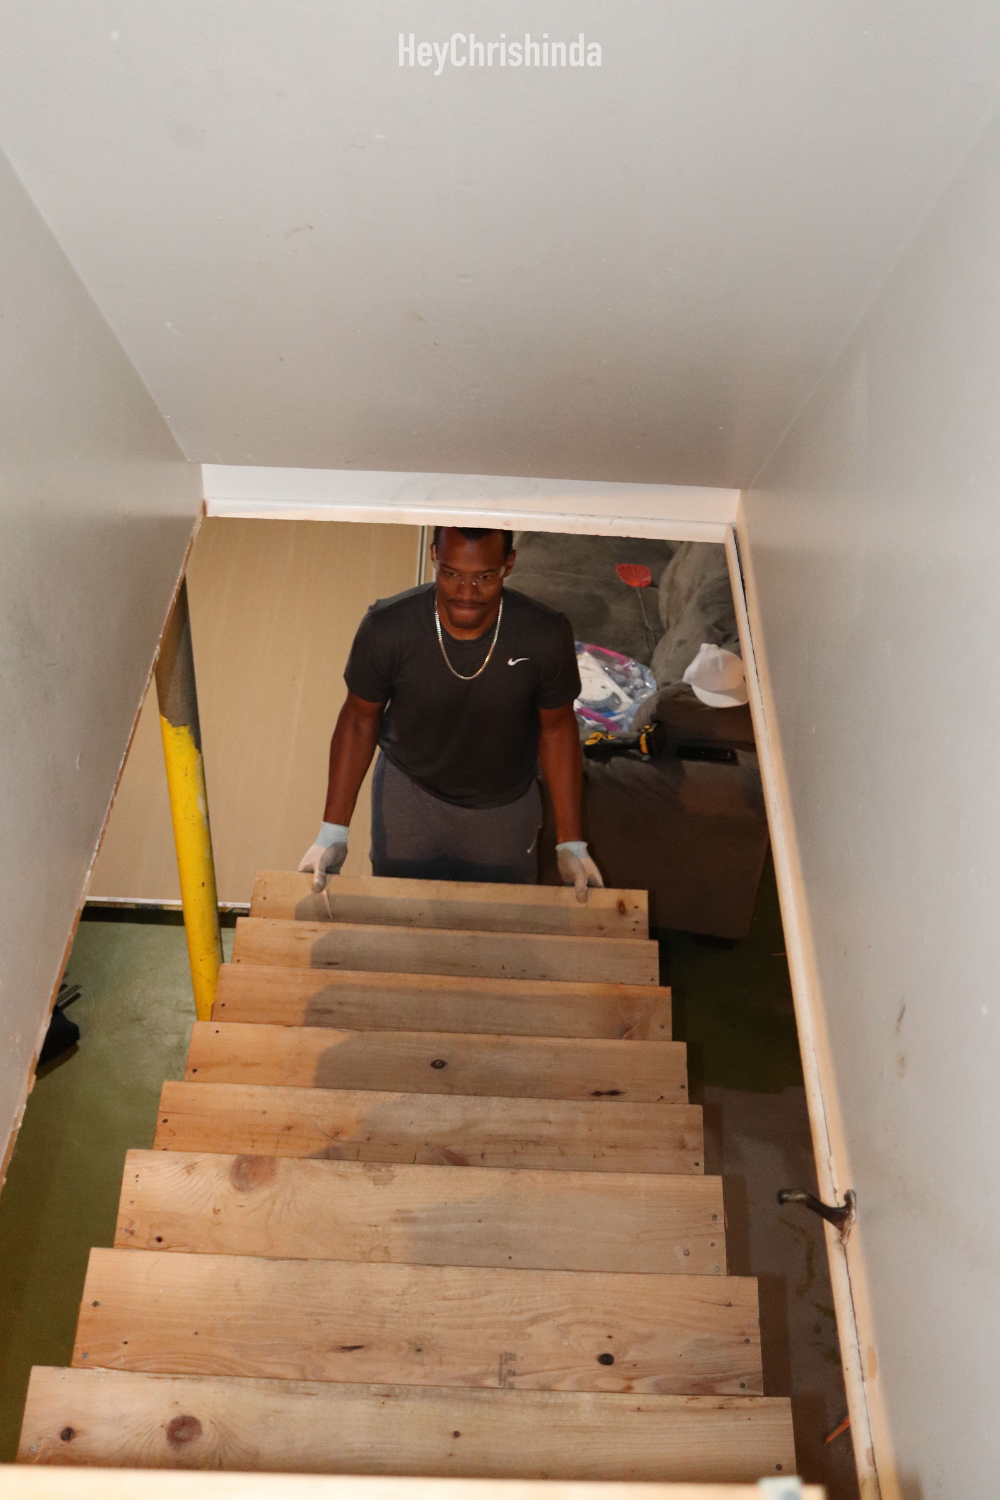
Lifting the stairs from the bottom
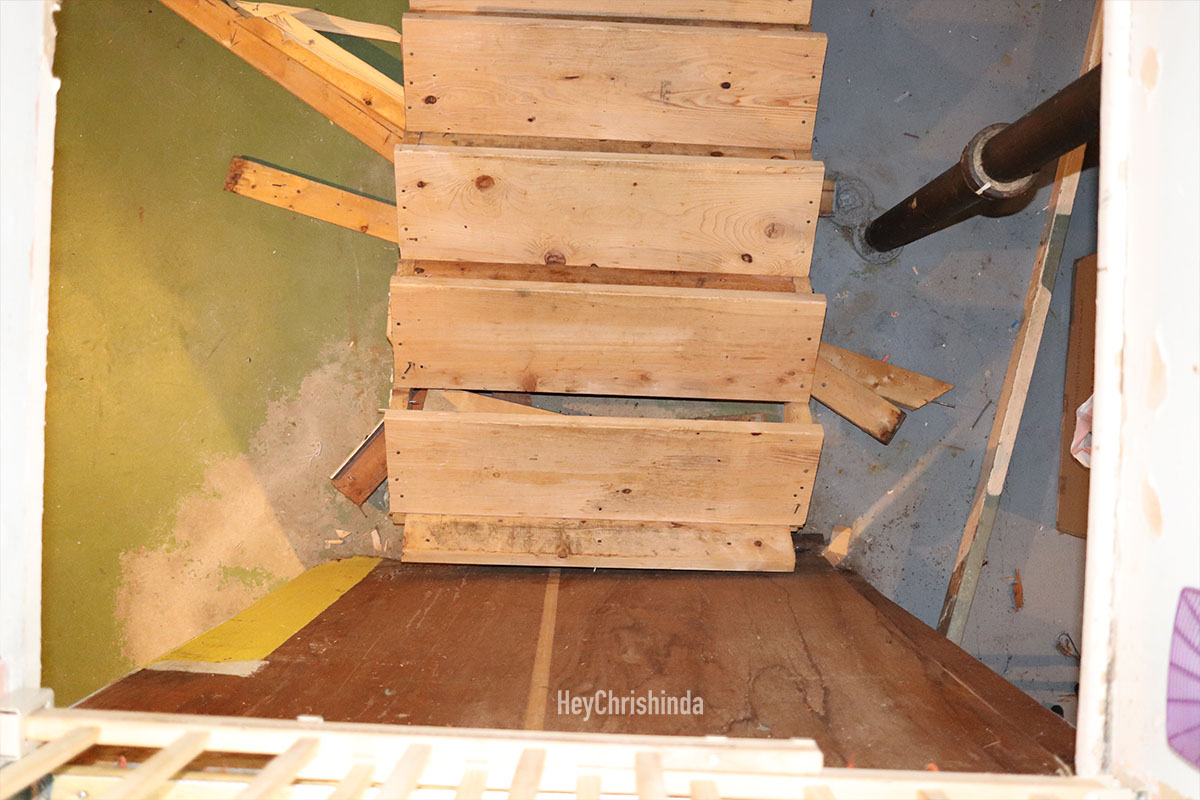
He pulled them out and they fell straight down
The old stairs… off to the side.
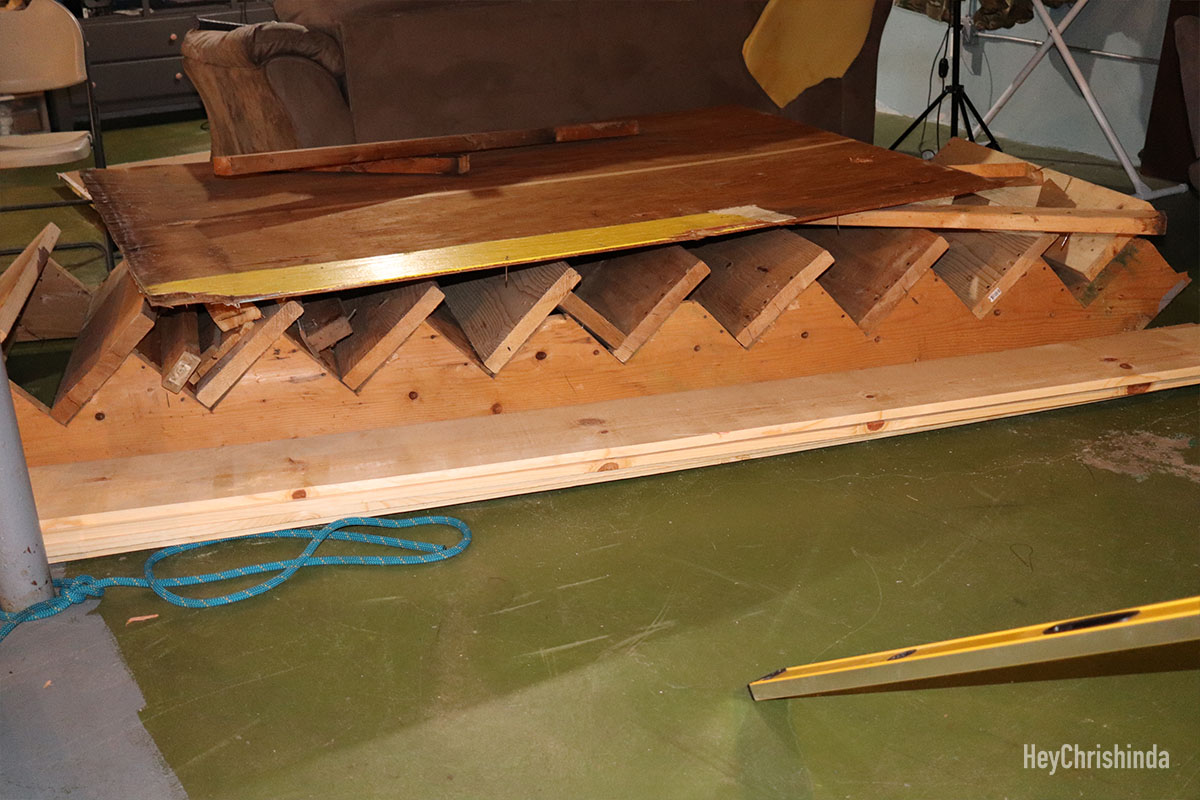
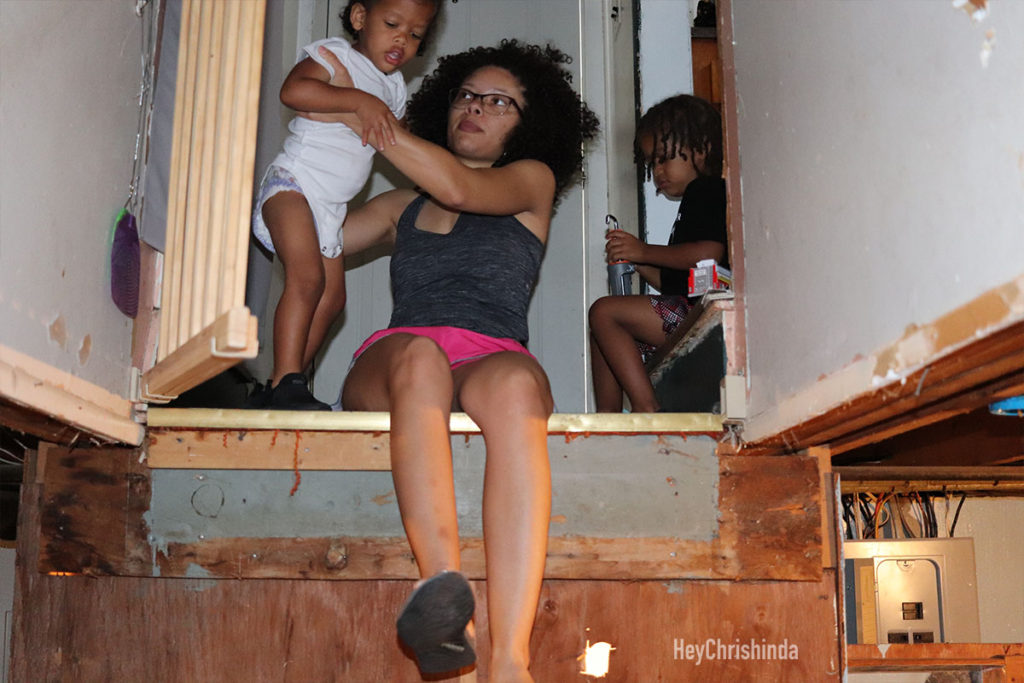
After he took the stairs down… I wanted a picture but they were so skeptical. I had to let them know I had them.
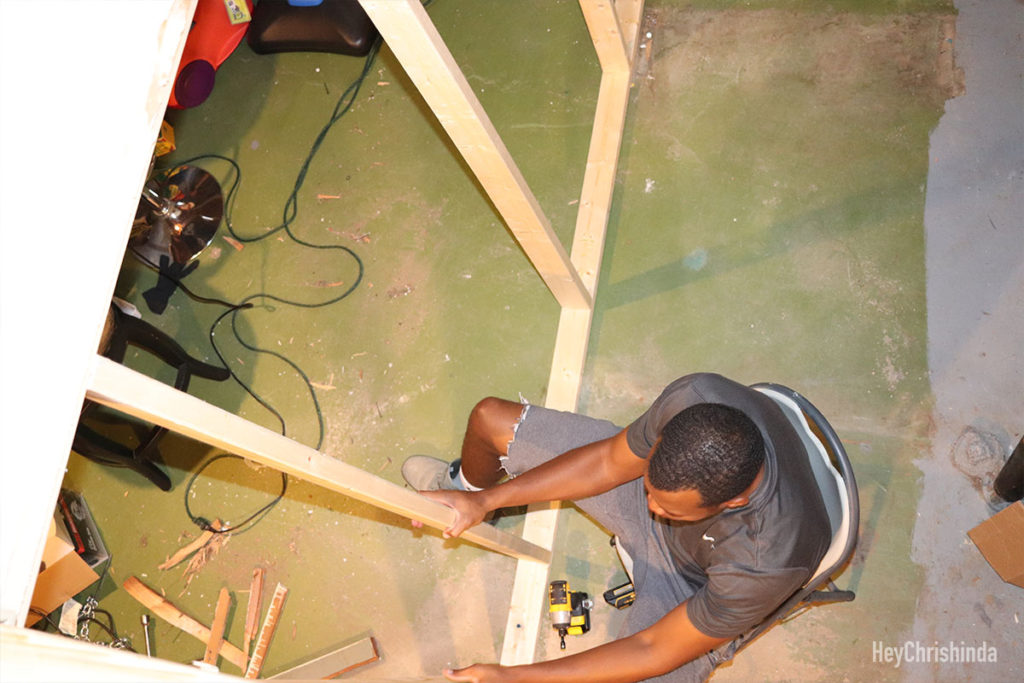
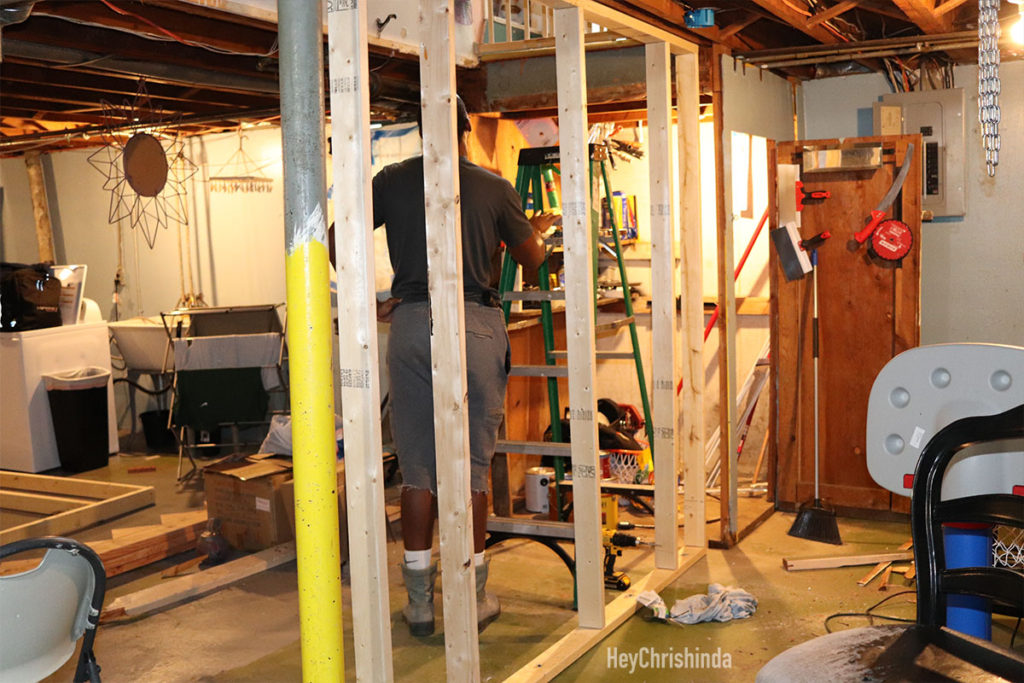
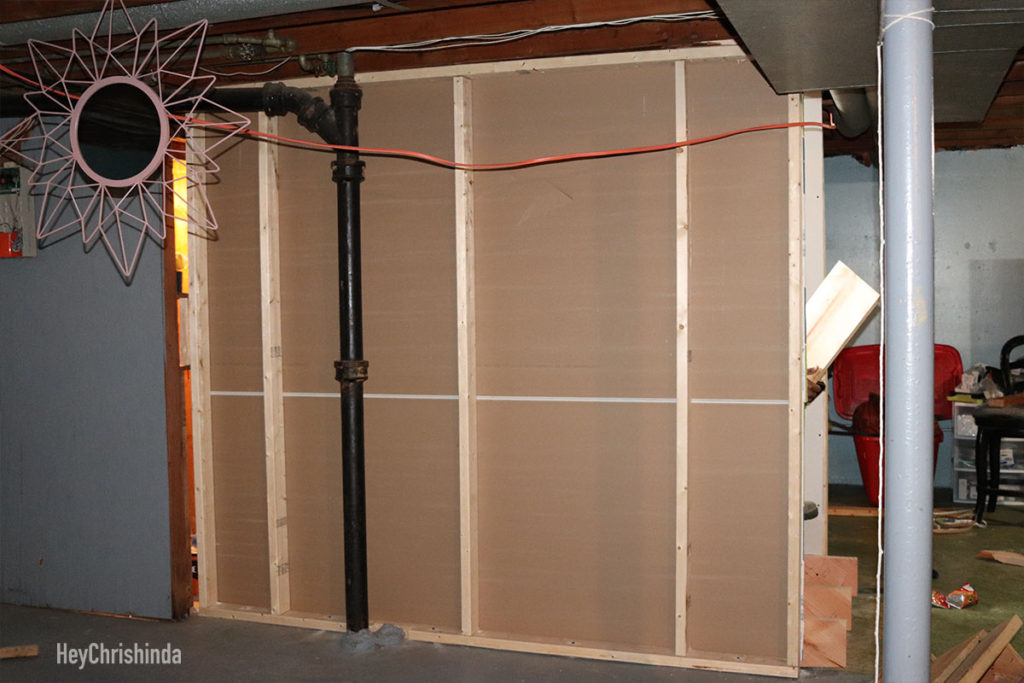
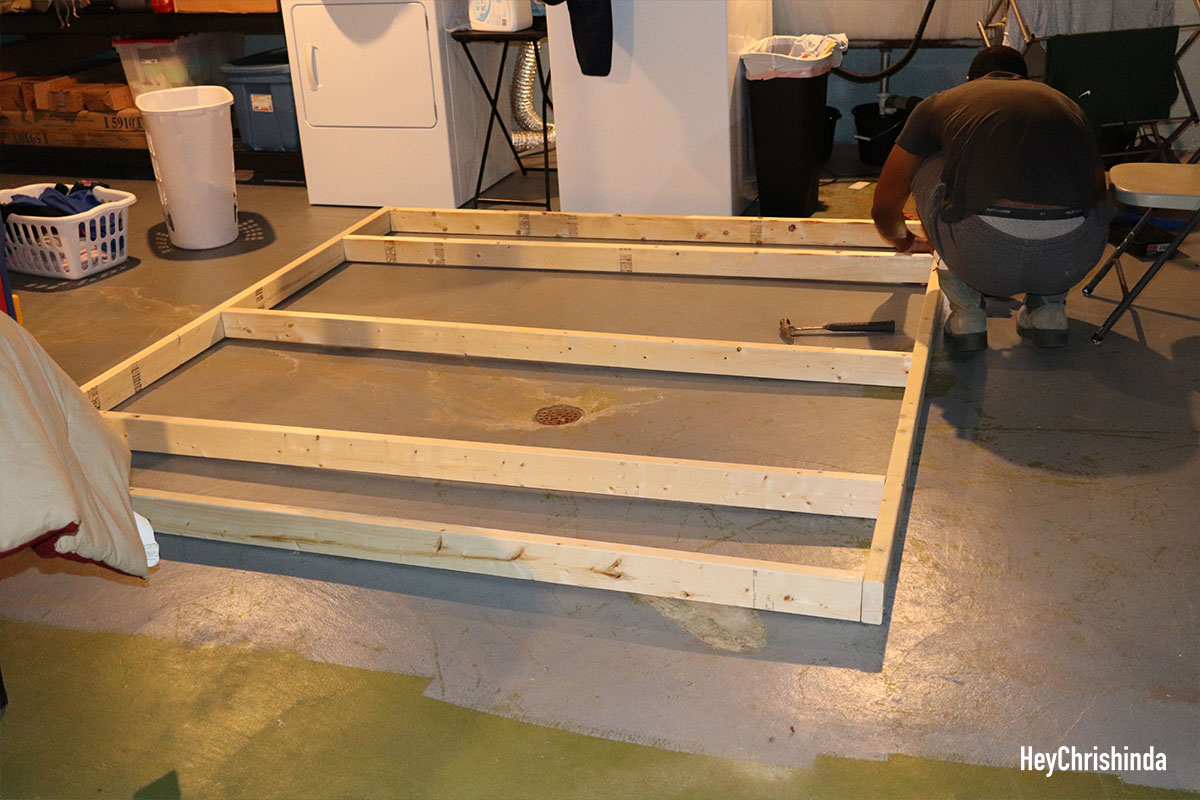
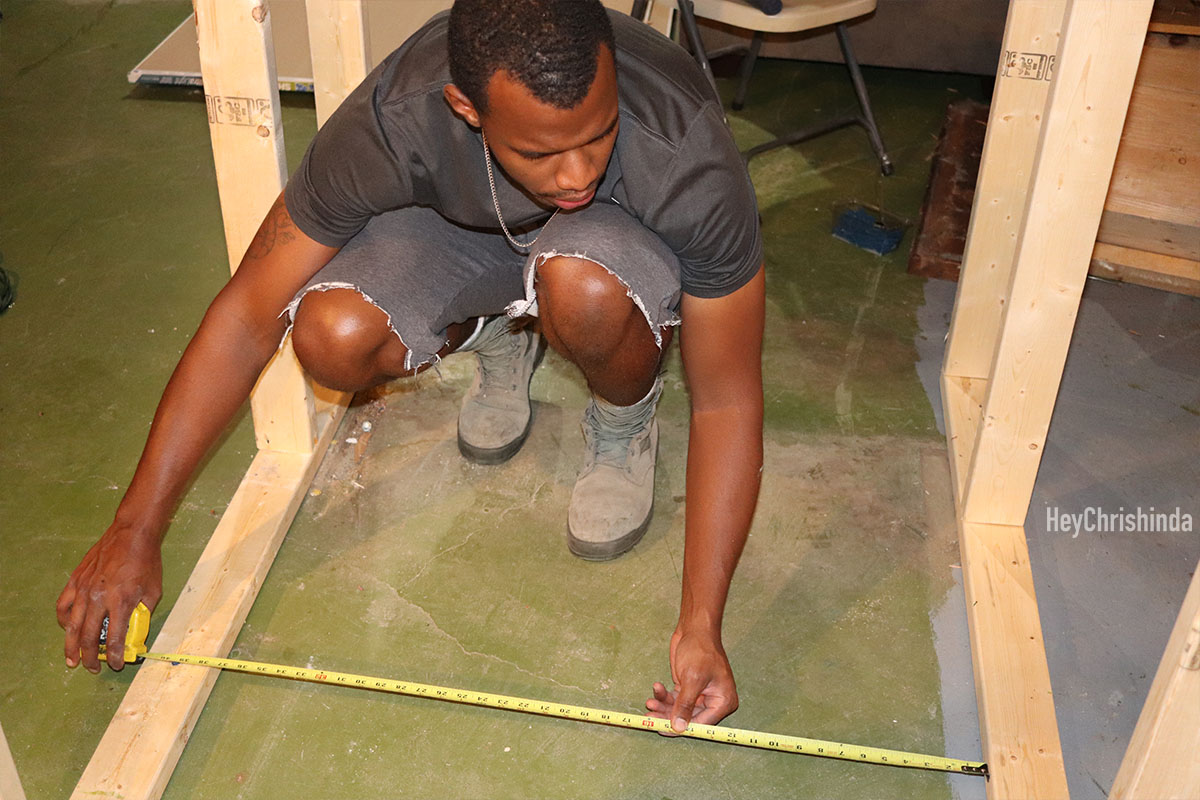
Putting the frame up (studs).
Measuring to make sure the placement of the second frame/stud would go in the spot.
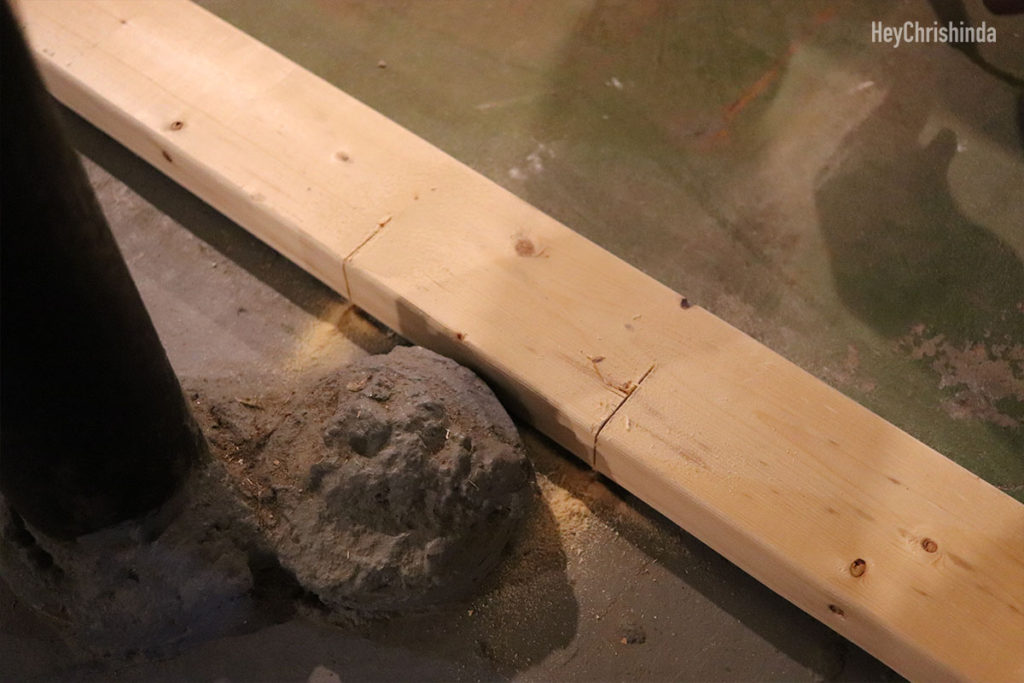
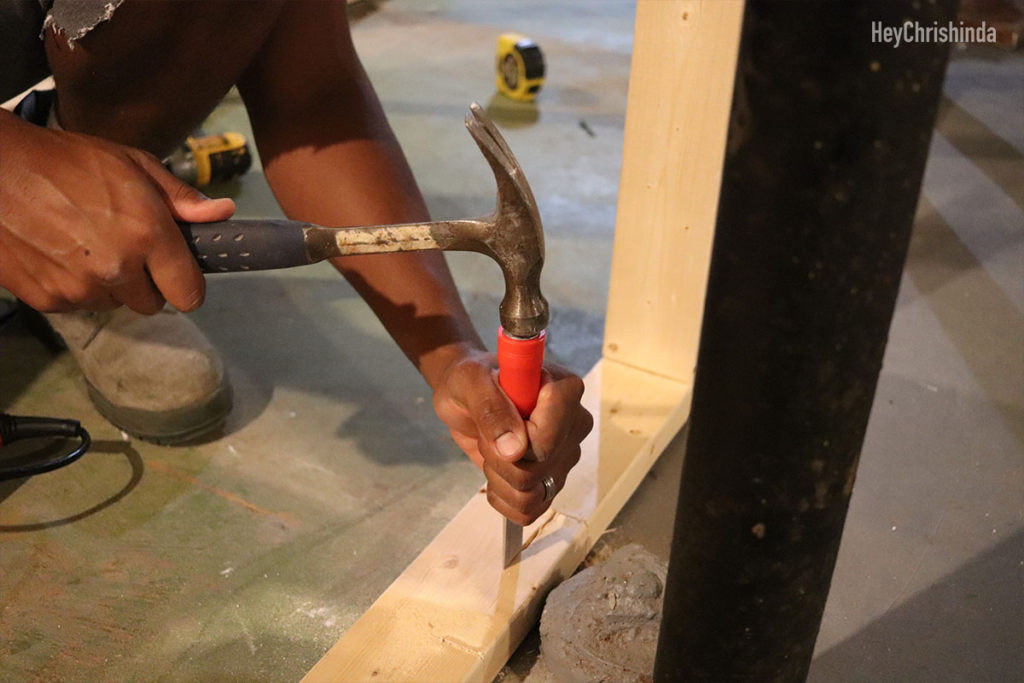
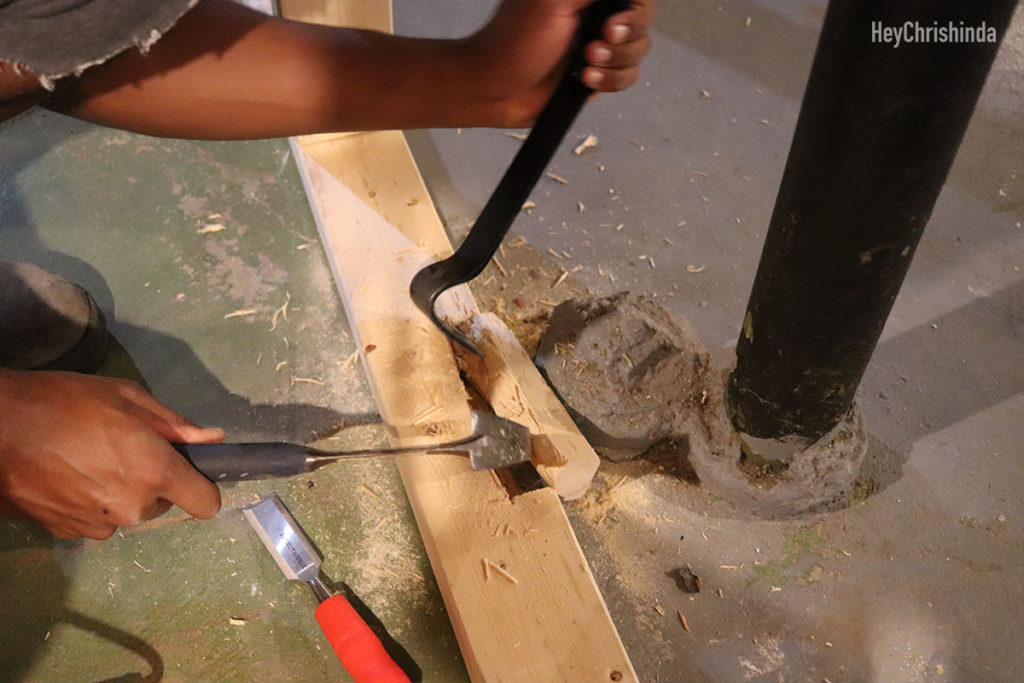
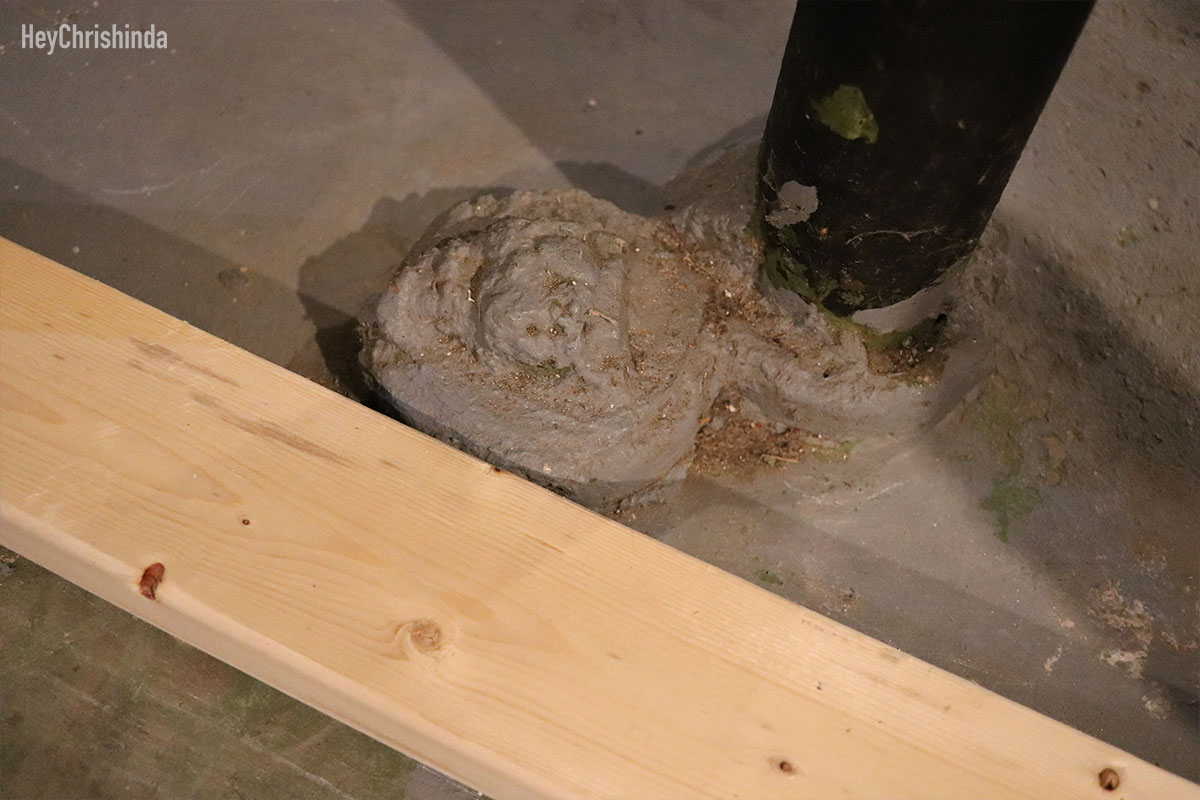
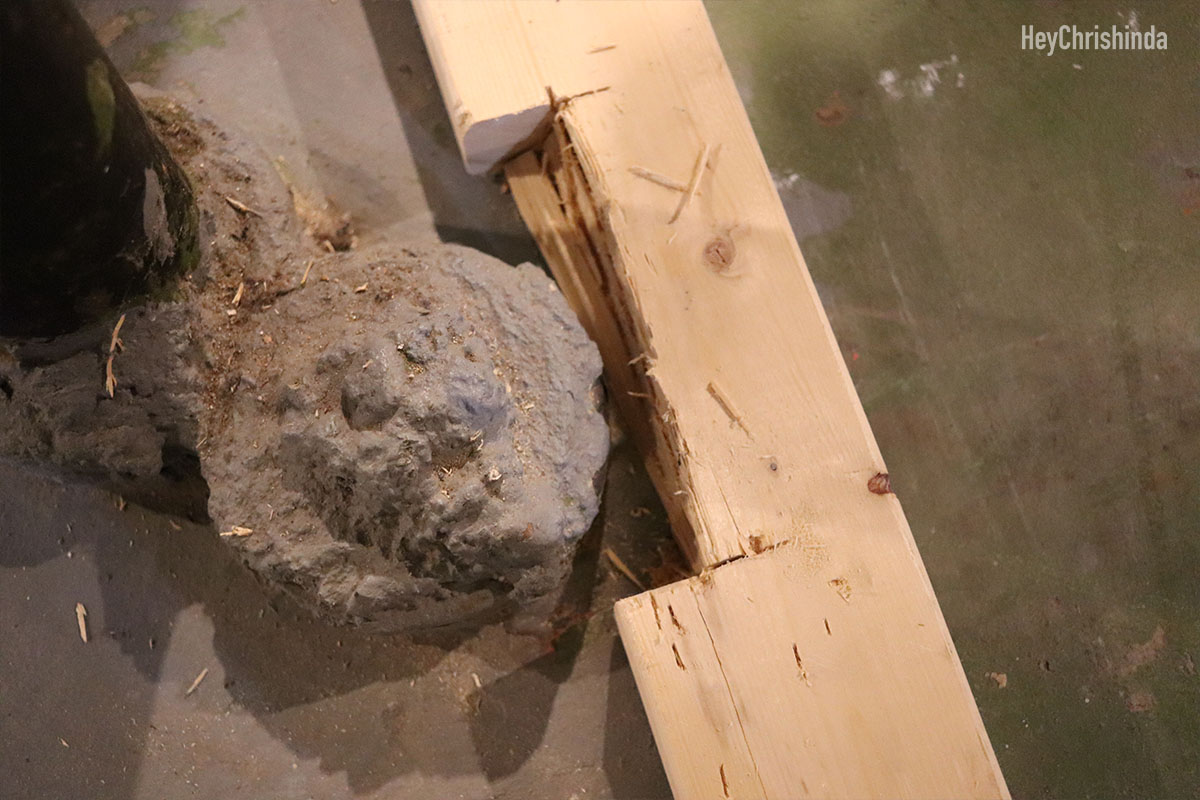
On the second frame, he ran into a problem. In order to get the frame where we needed it on the ground, he needed to cut out around this.
As he was trying to get the second frame up, he realized that the orange electrical cord was in the way. There was really no give to the cord and it was stapled to the ceiling in multiple spots. He ended up pulling the staples out of a few spots and we had to struggle to get the orange cord underneath the air ducts to make the cord looser.
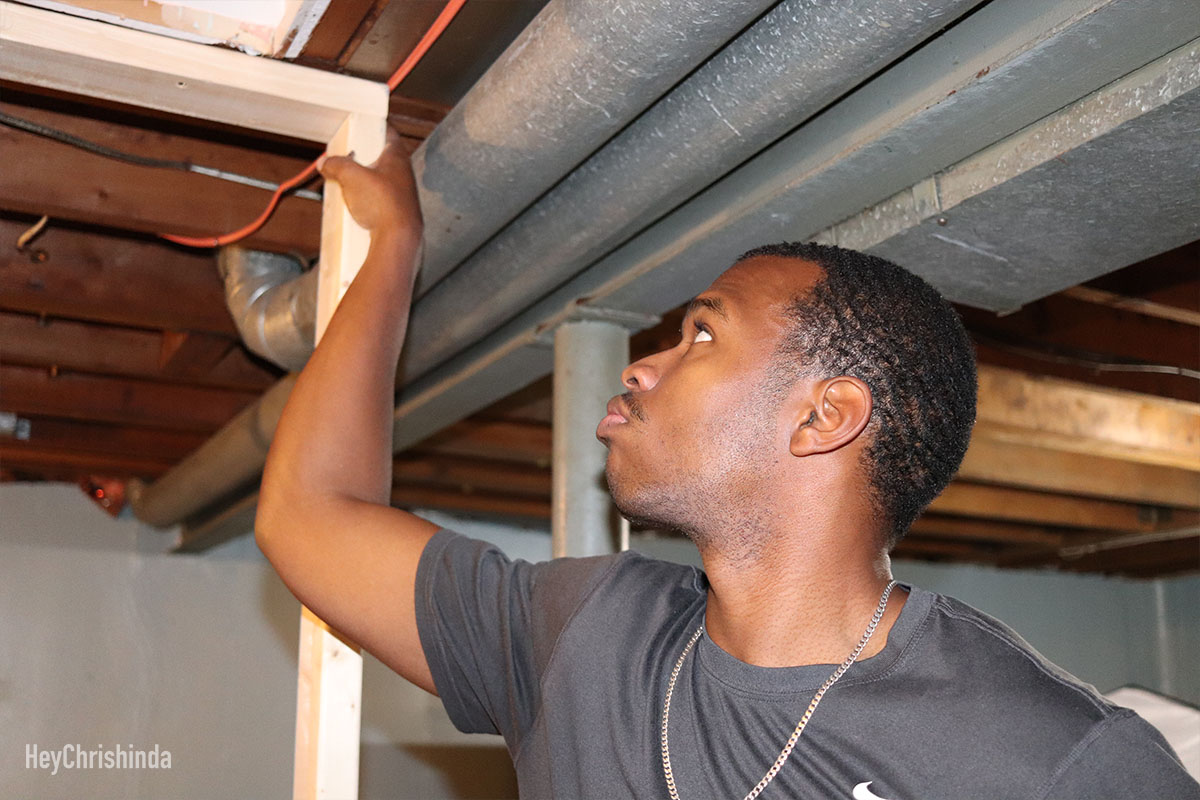
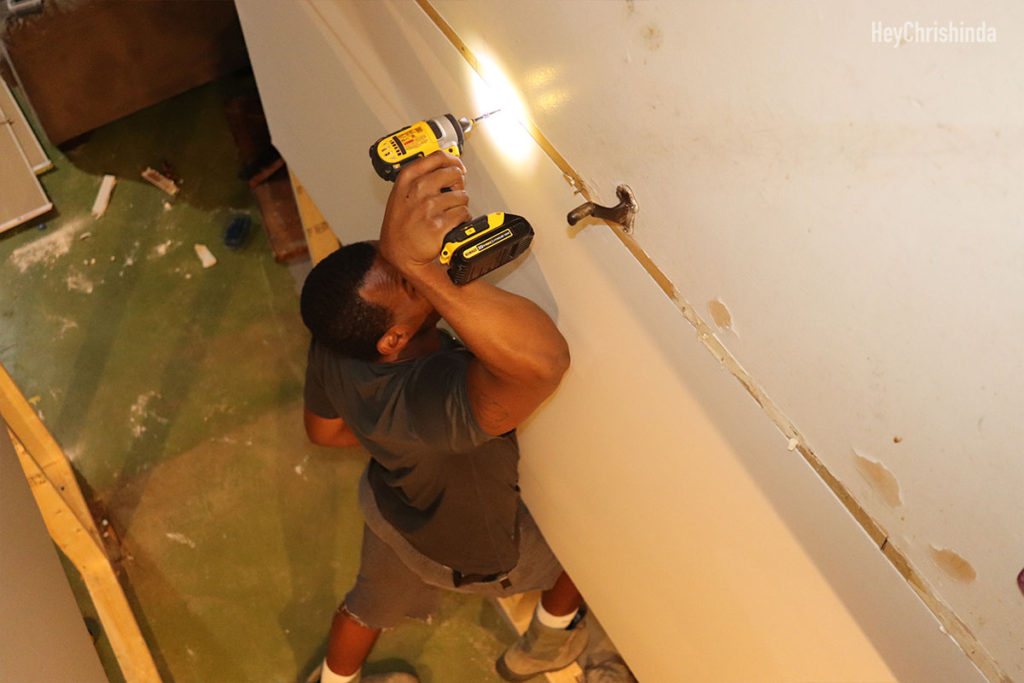
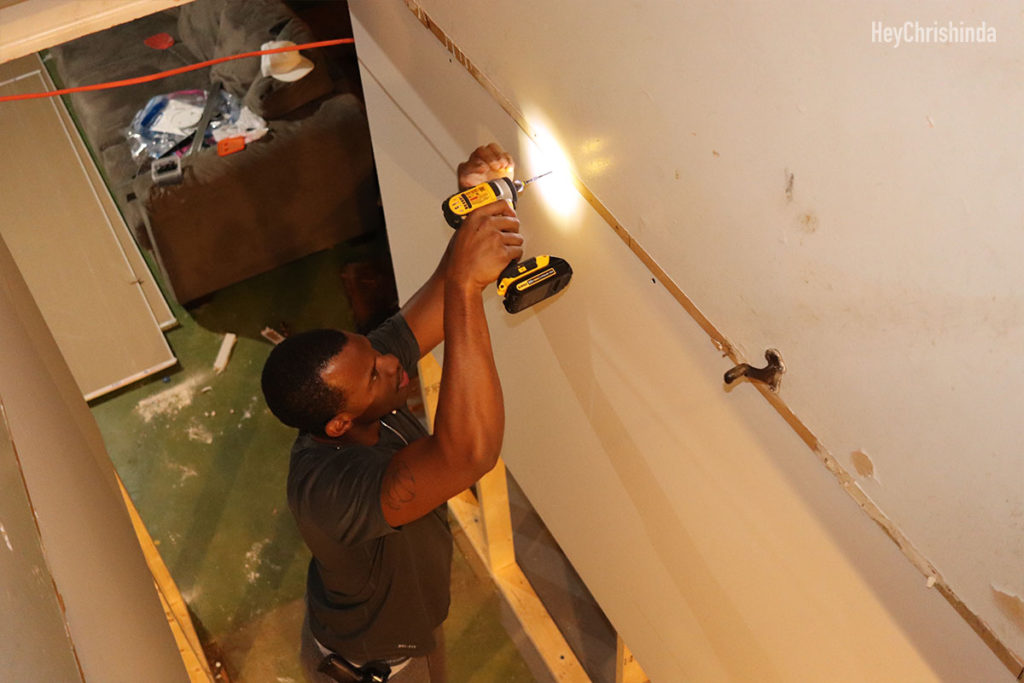
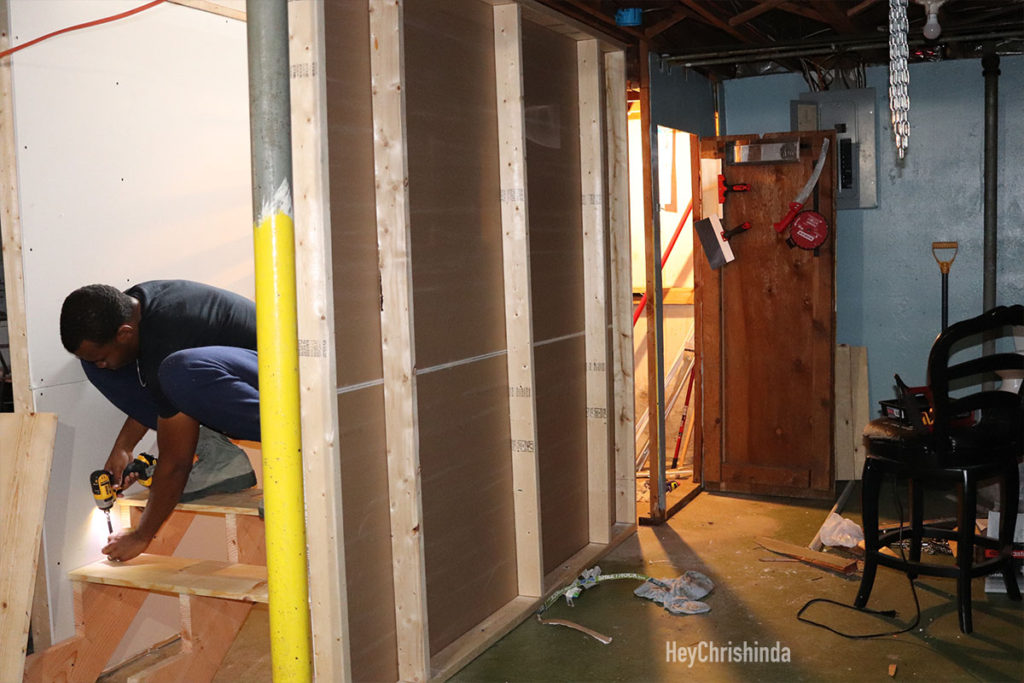
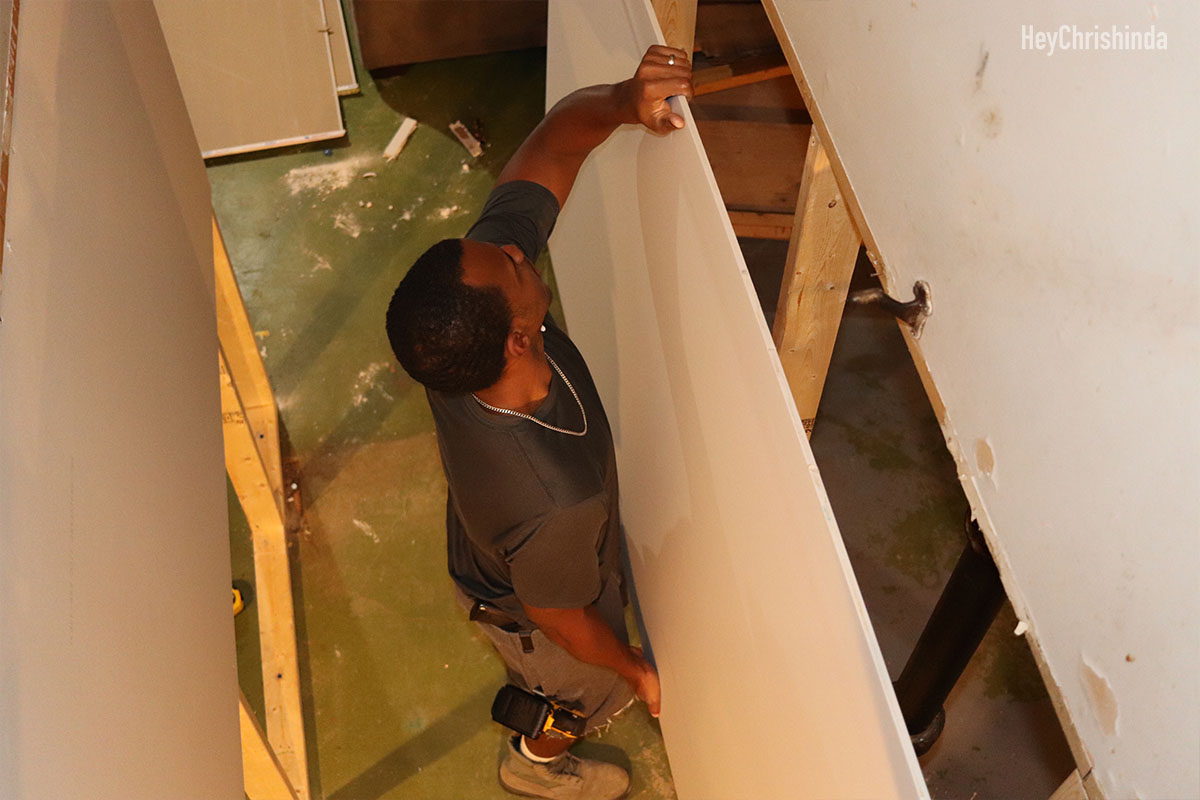
Placing and screwing in the drywall
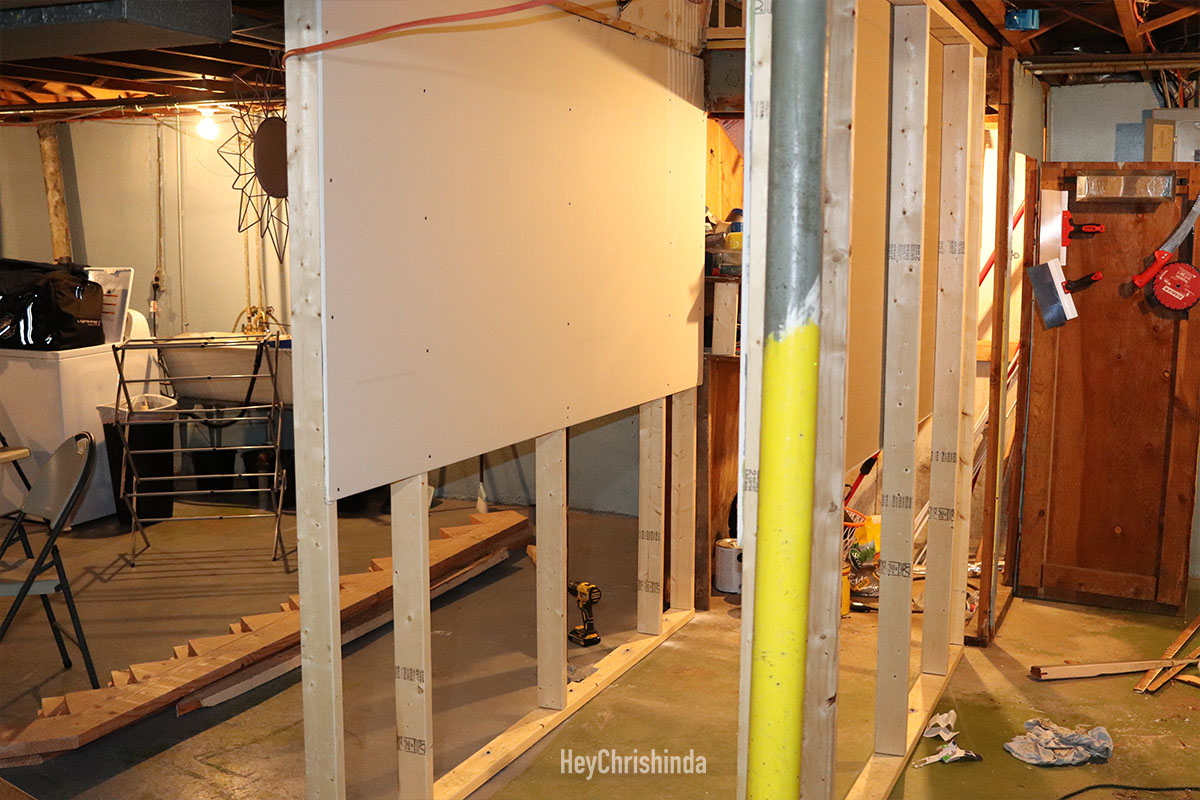
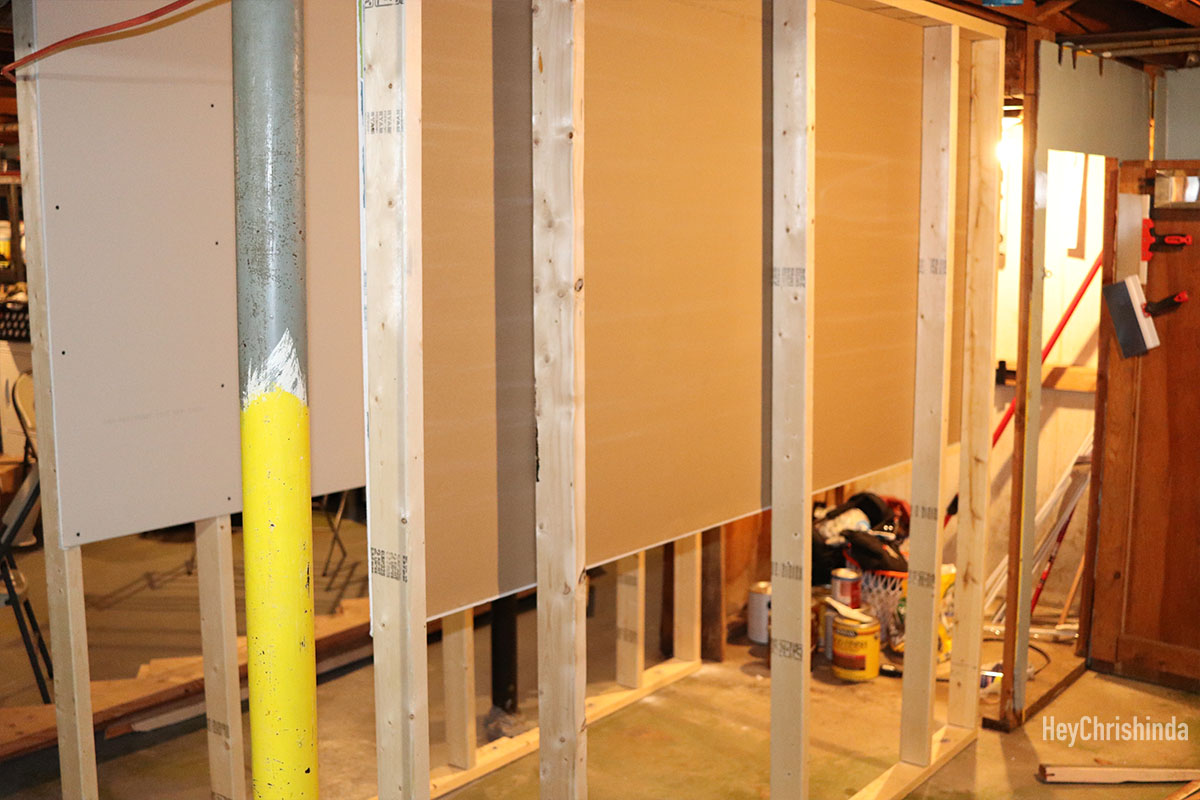
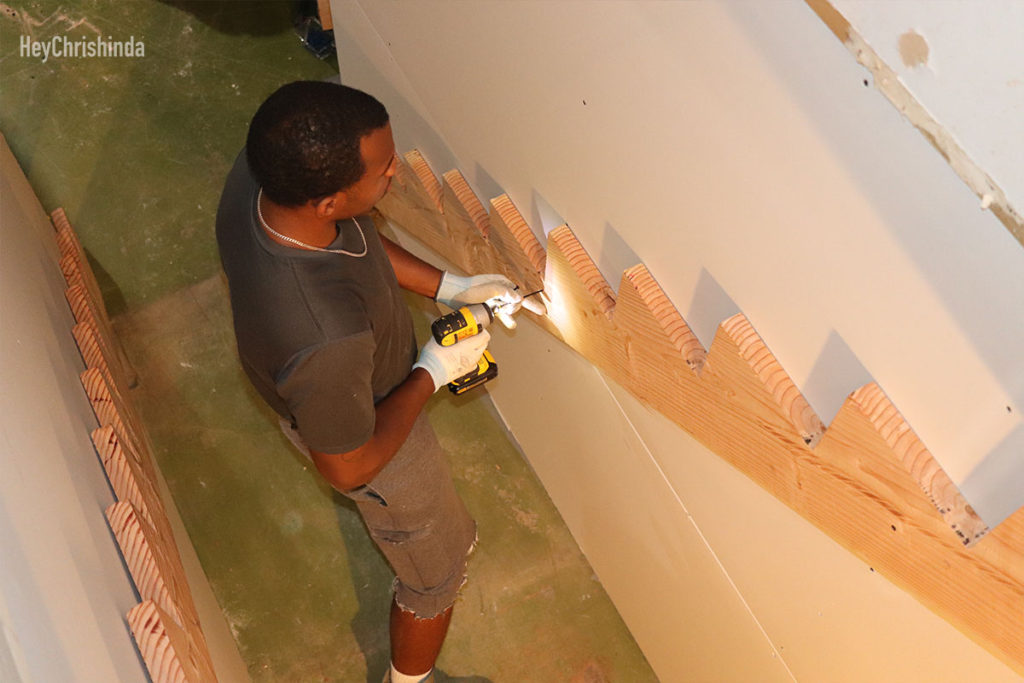
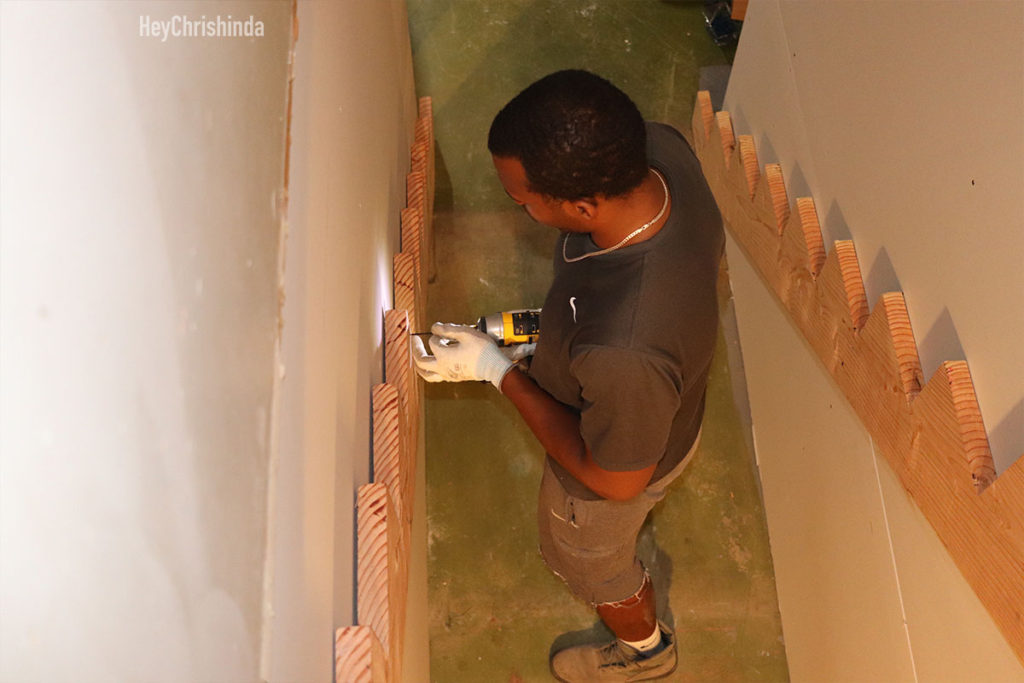
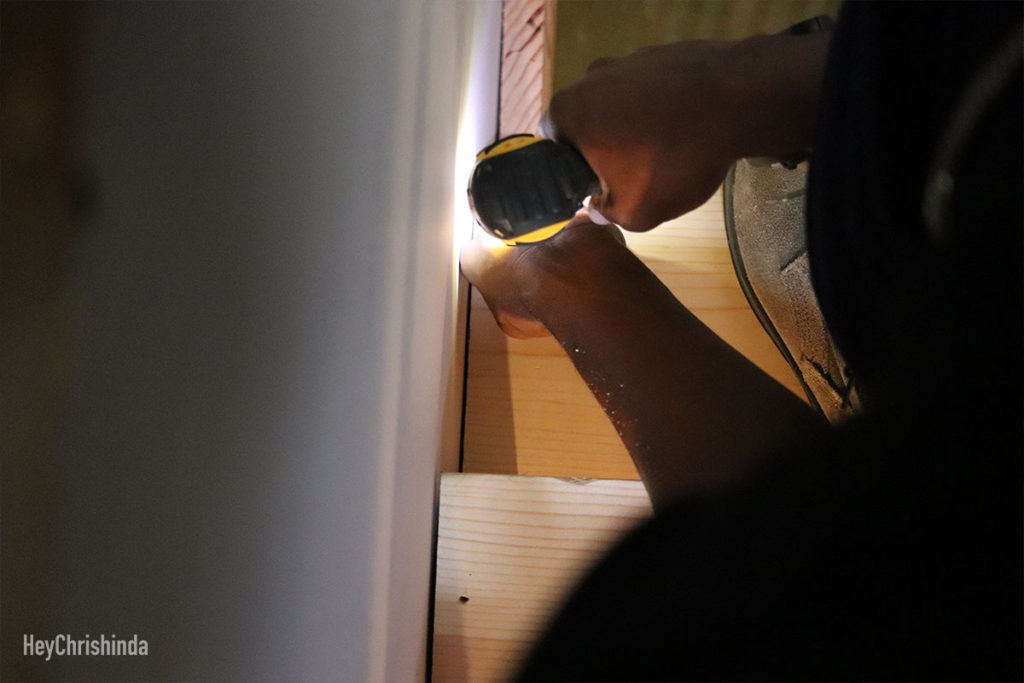
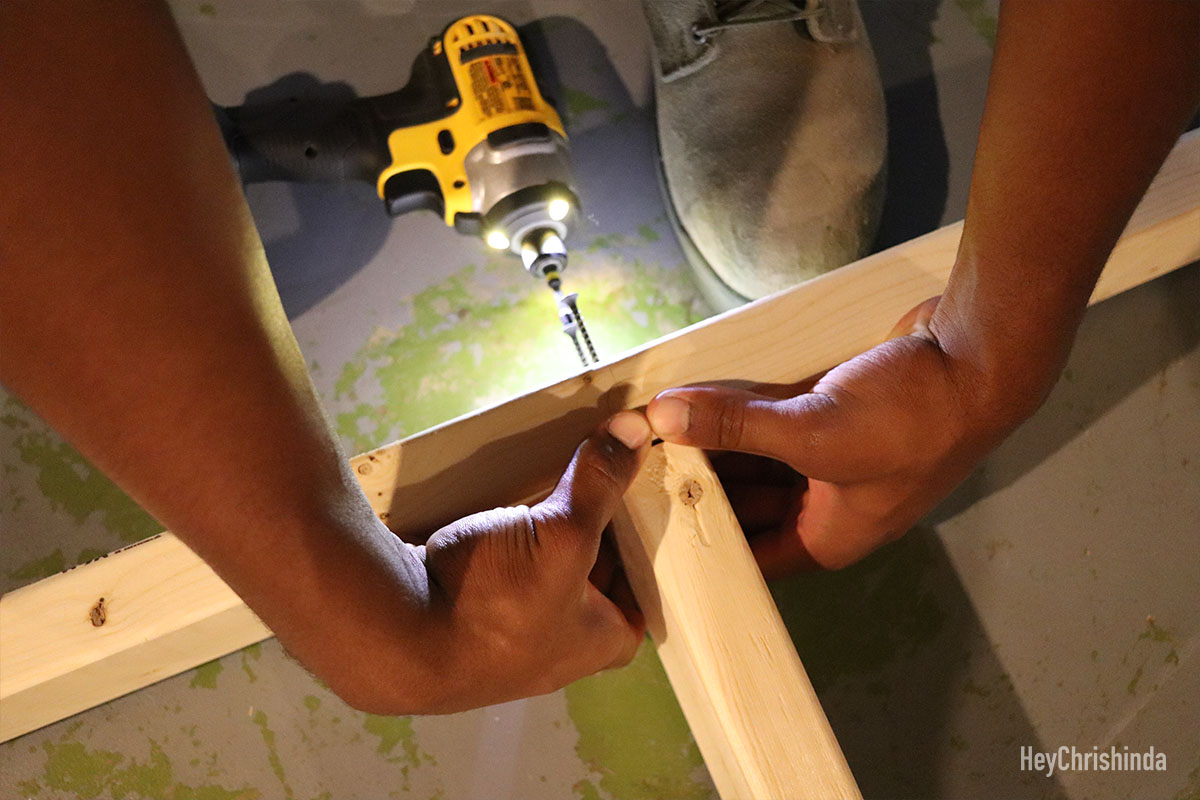
Screwing the stringers through the drywall and studs/frame on our DIY Basement Stair Remodel
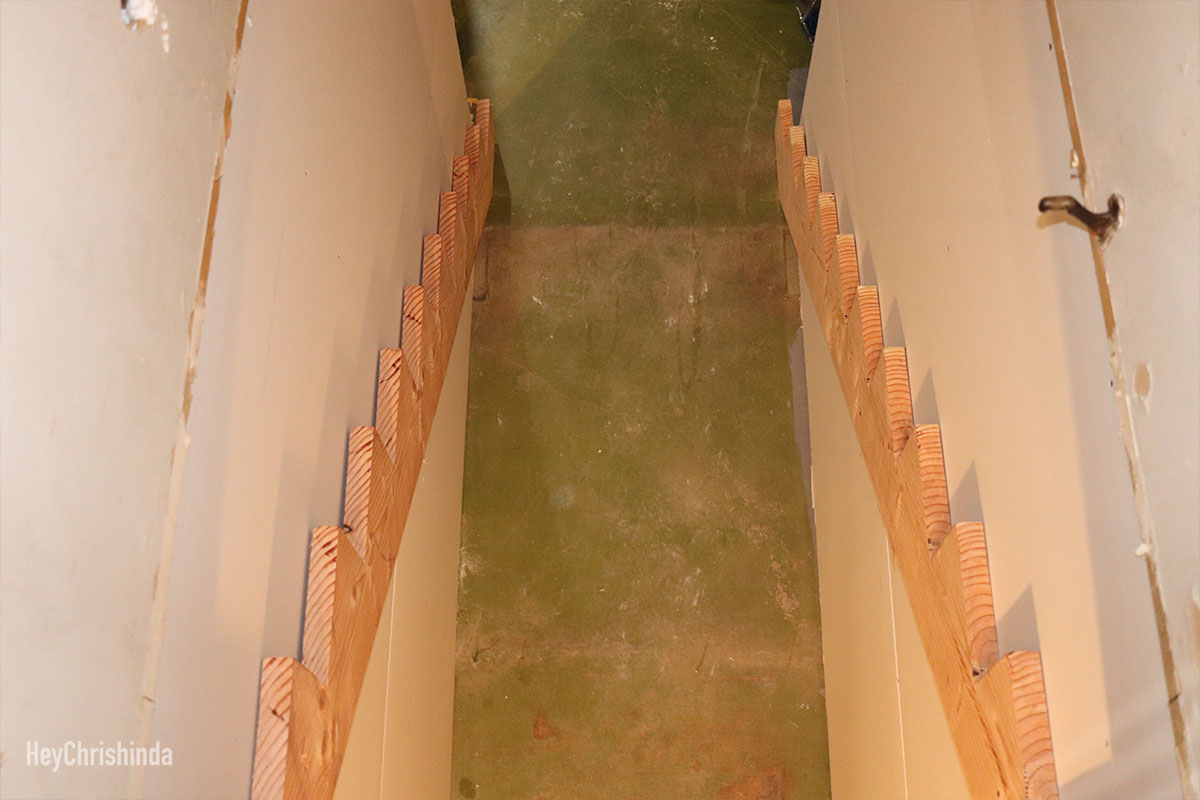
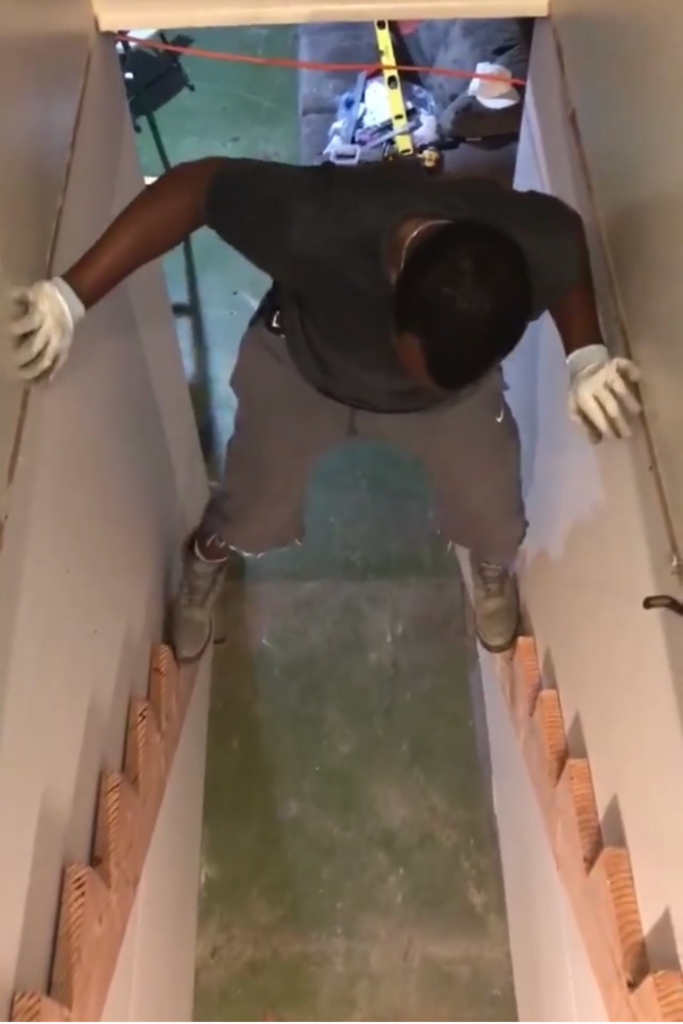
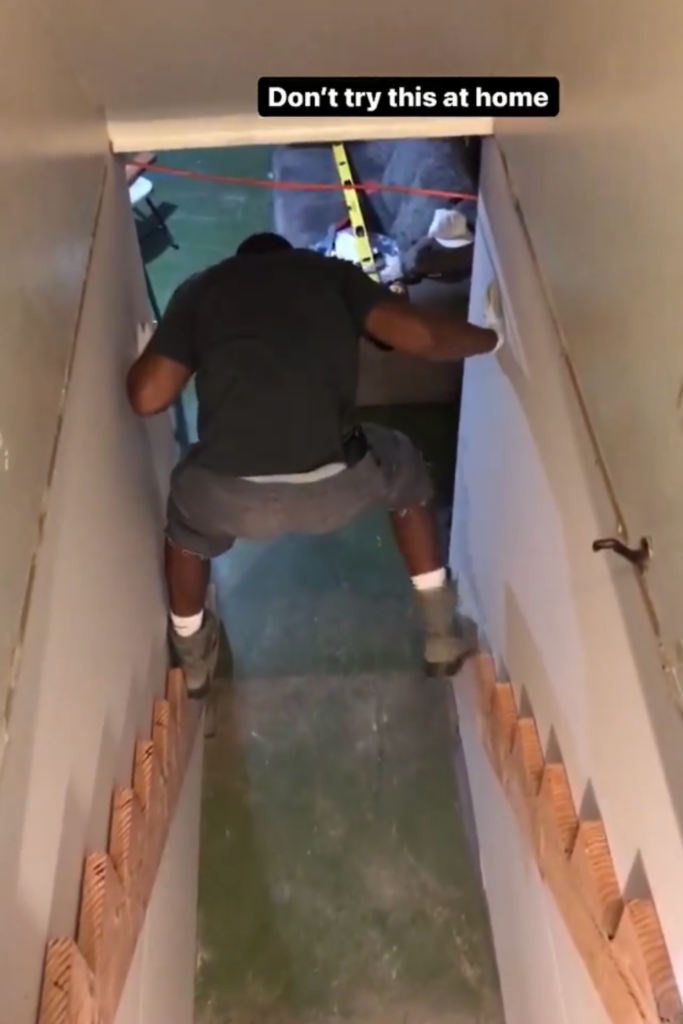
Ya know, just testing the sturdiness …
Measuring where to cut the treads, which is the part you step on.
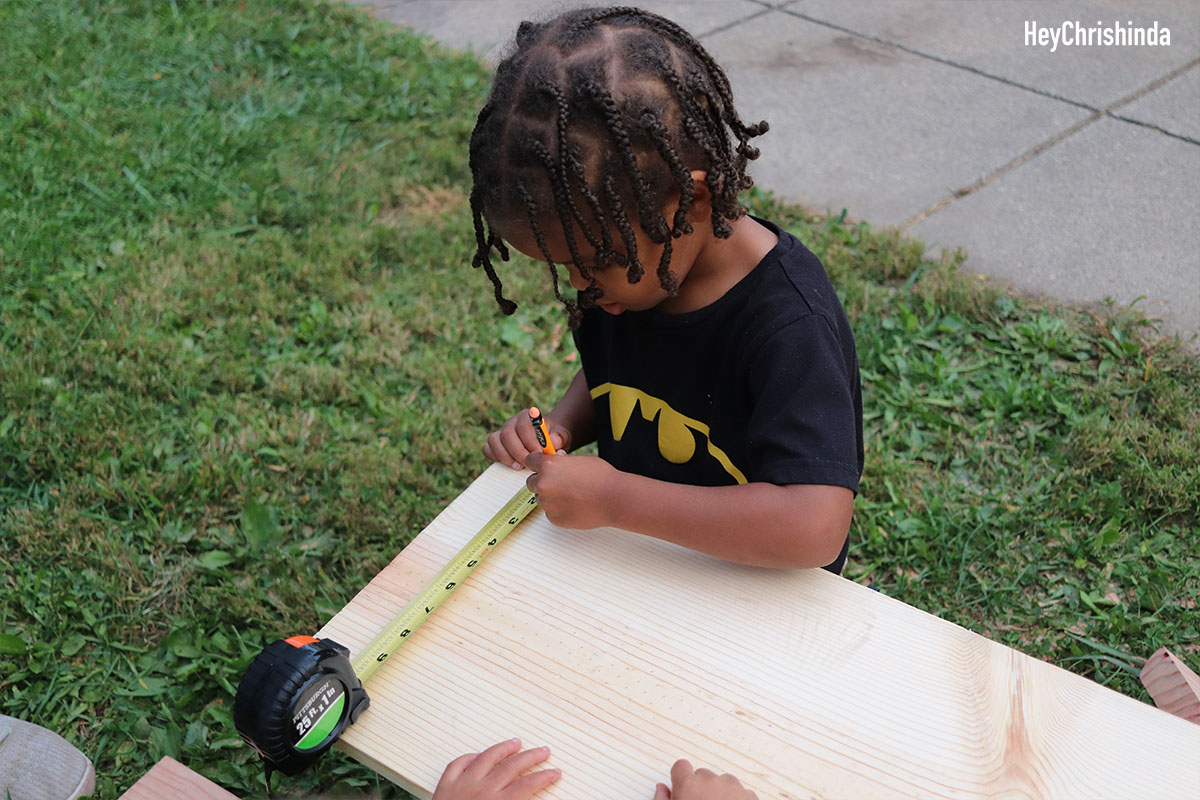
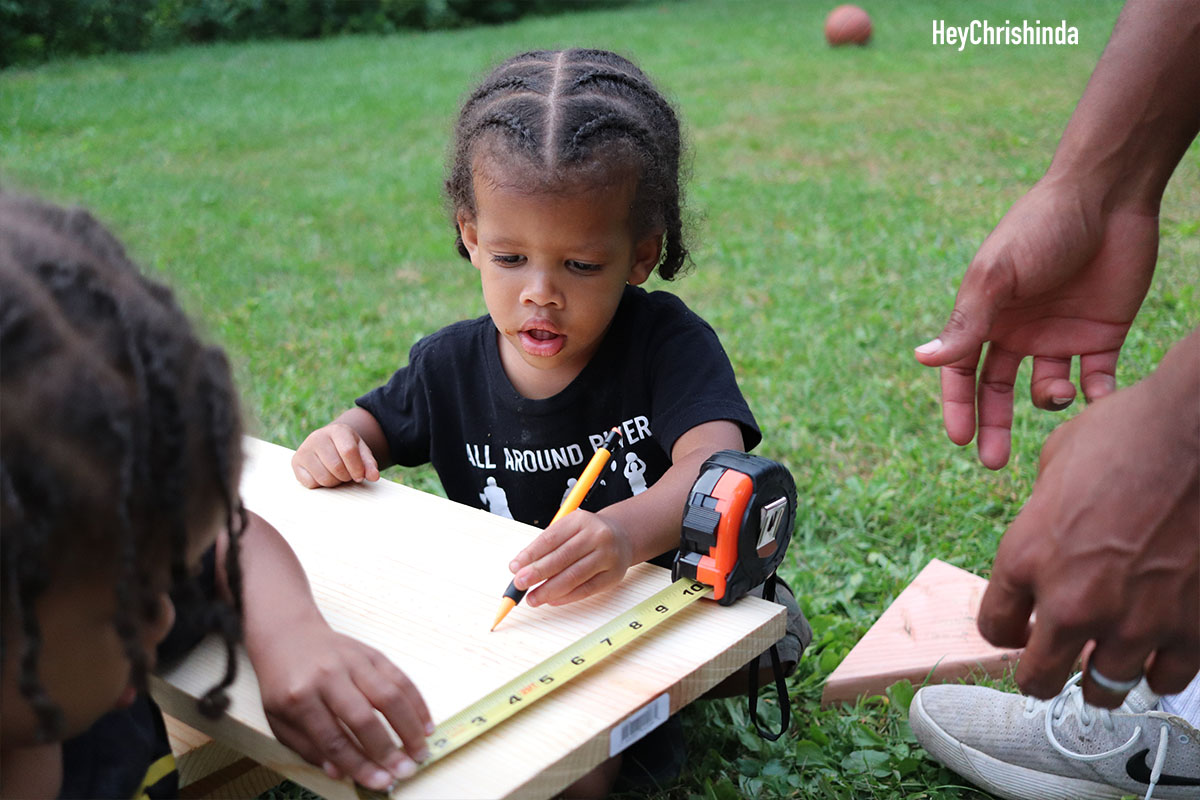

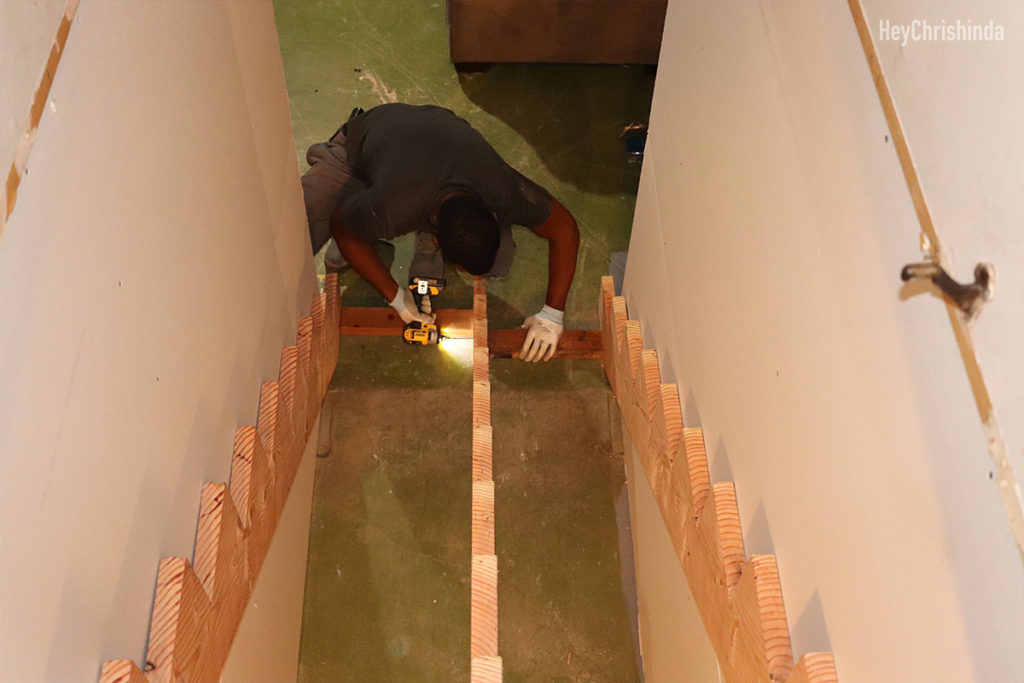
Securing the risers to 2 anchor pieces of wood and then screwing down through the concrete.
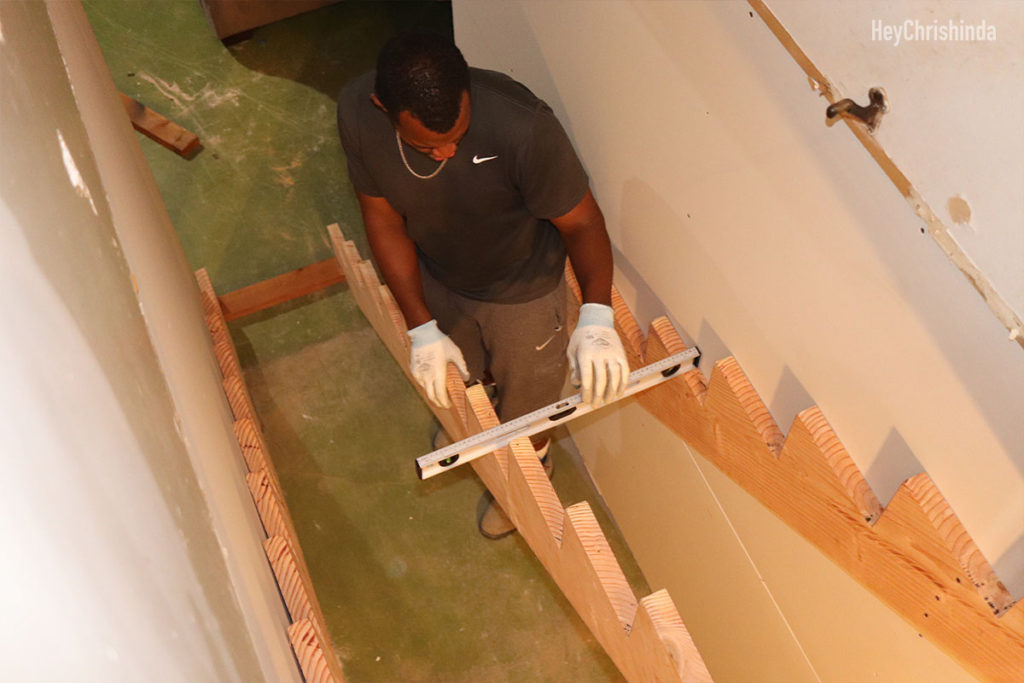
Using a level to make sure that the stringers were even.
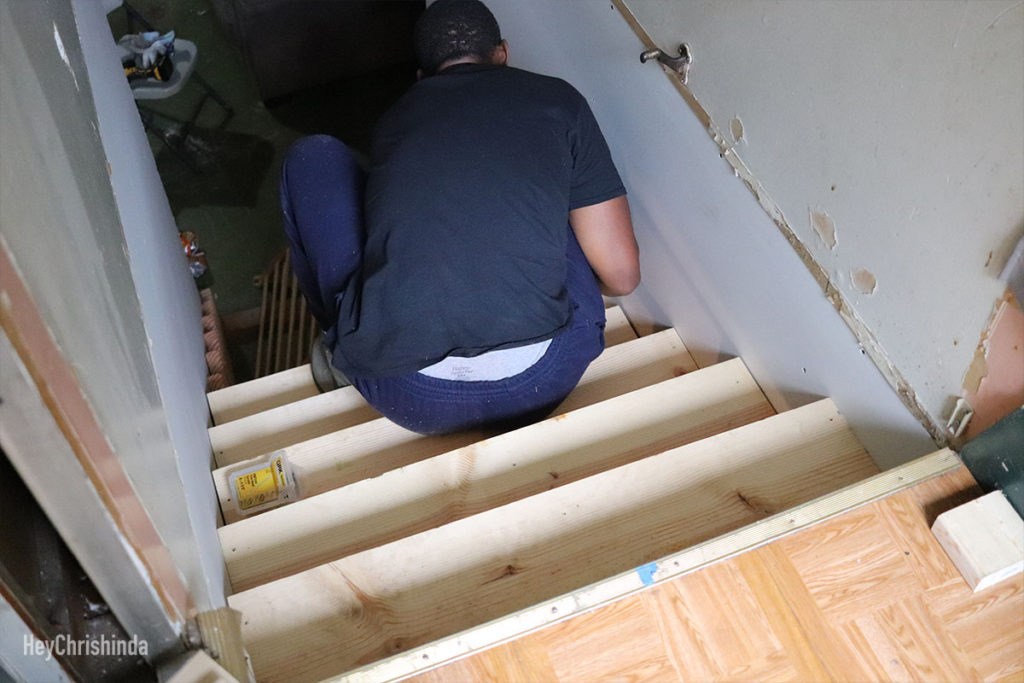
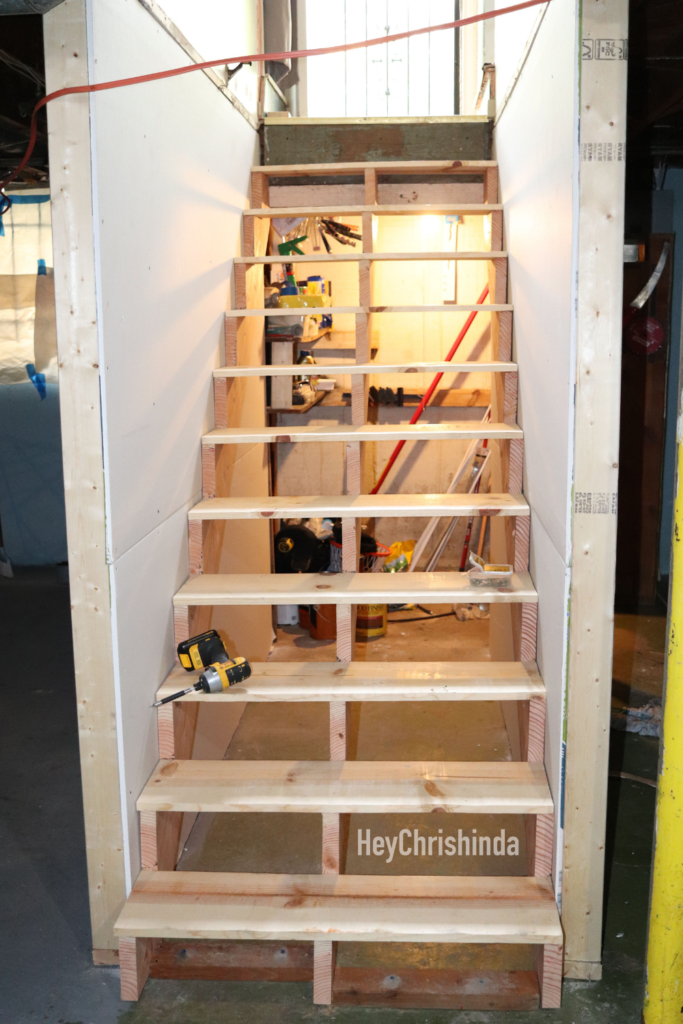
Screwing the treads down on our DIY Basement Stair Remodel
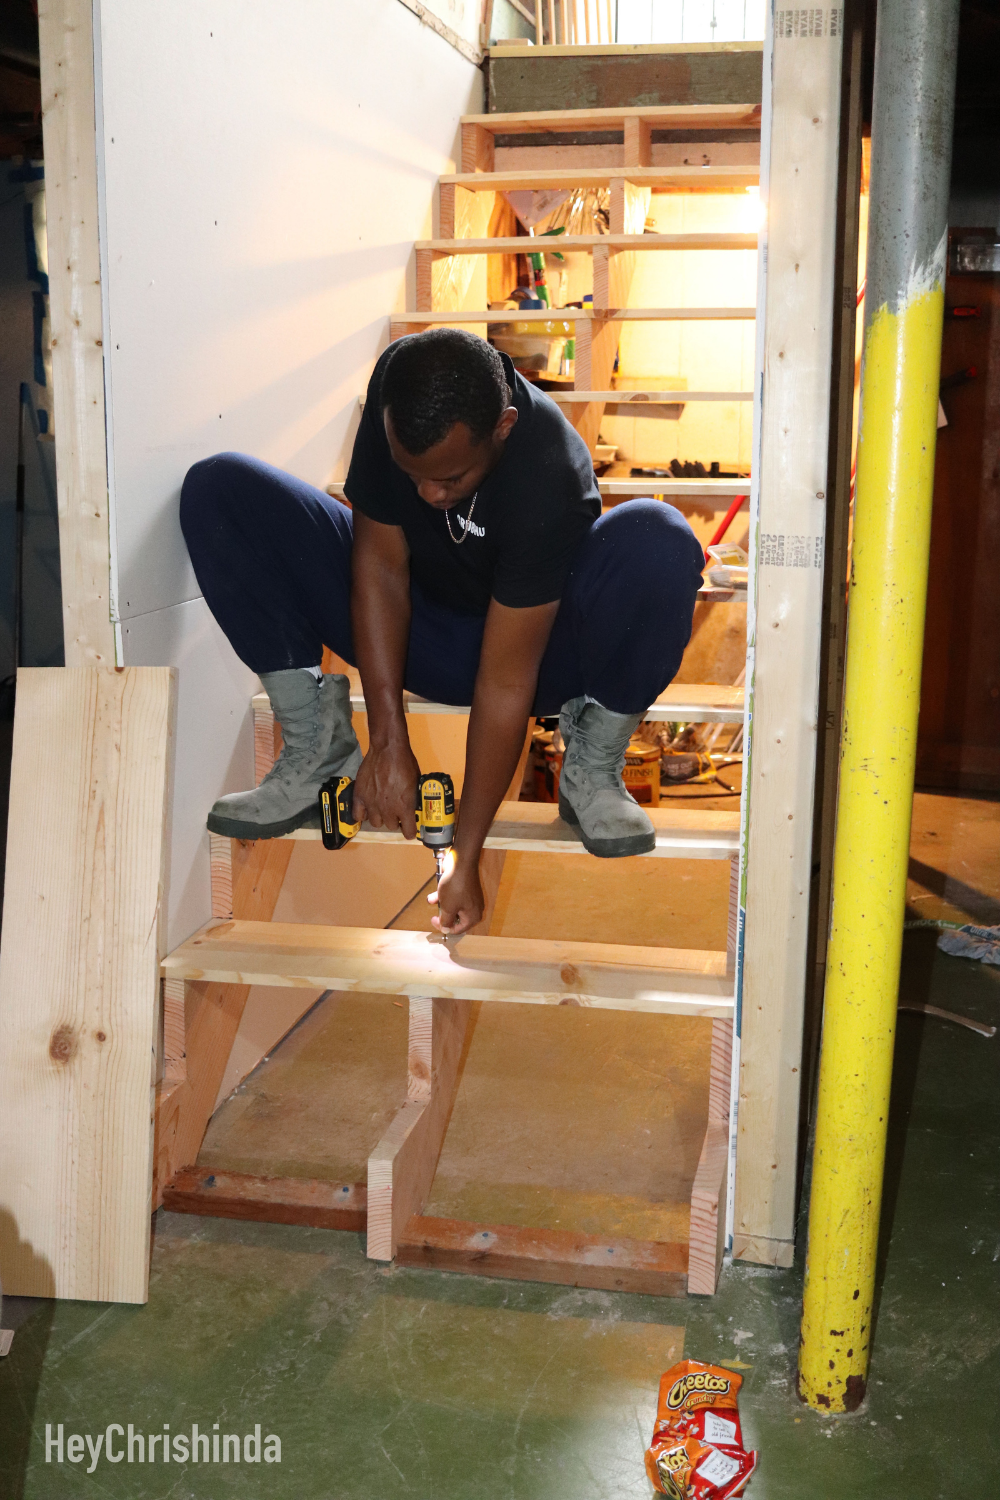
Frames on the outside will probably remain unfinished. We don’t have plans on finishing the basement, but we will be fixing it up a little.
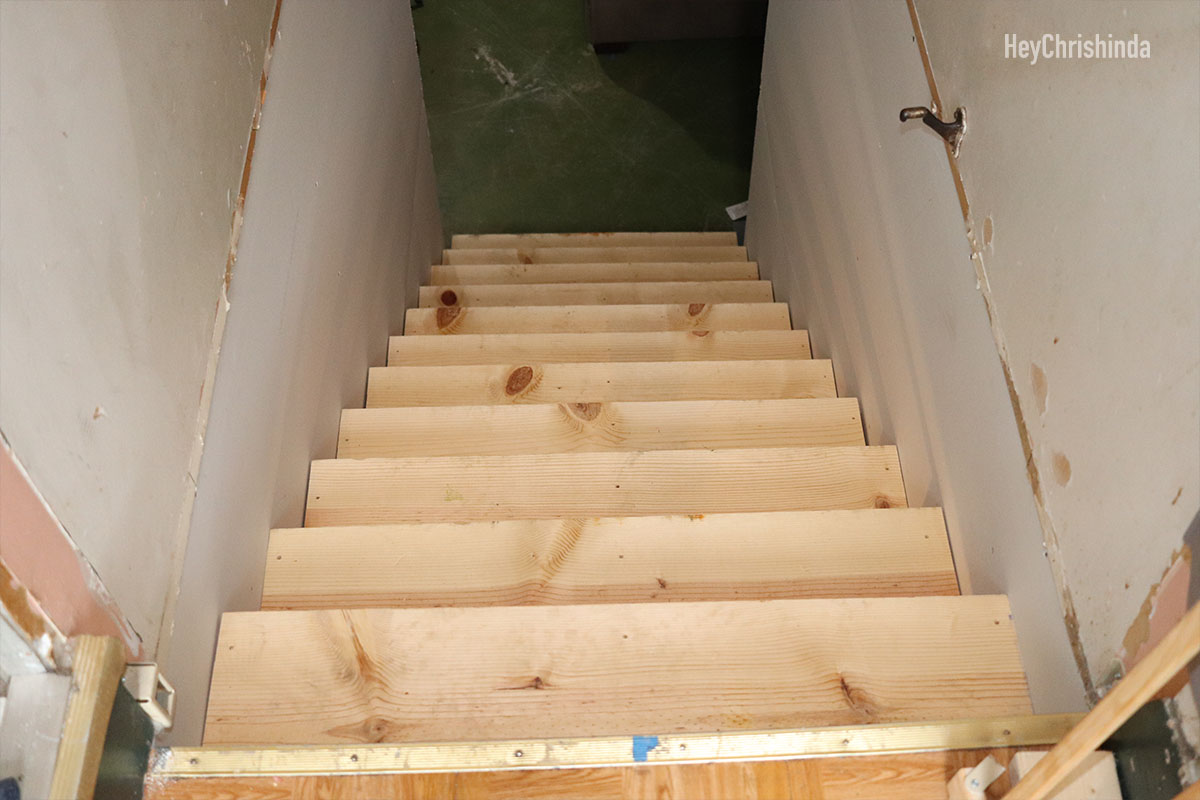
Thank you so much for checking out part one of my blog post on our DIY basement stair remodel.
When we decide on paint color, wood stain color, the rail, and put on the front piece of wood so you can’t see through them, I’ll be back with part two and it will be linked here.
If you want to see this process in action, be sure to check out my Instagram highlights.

