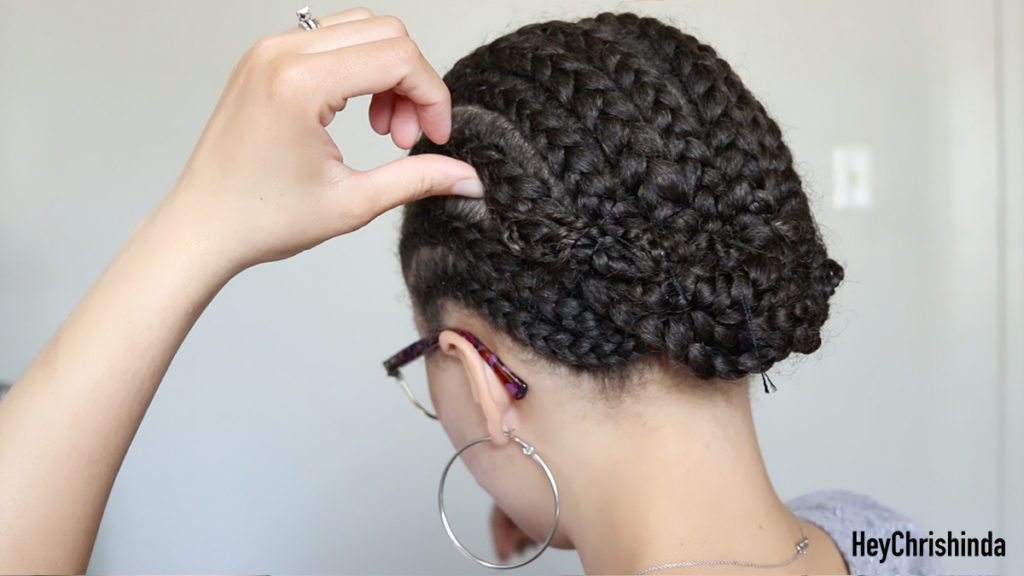
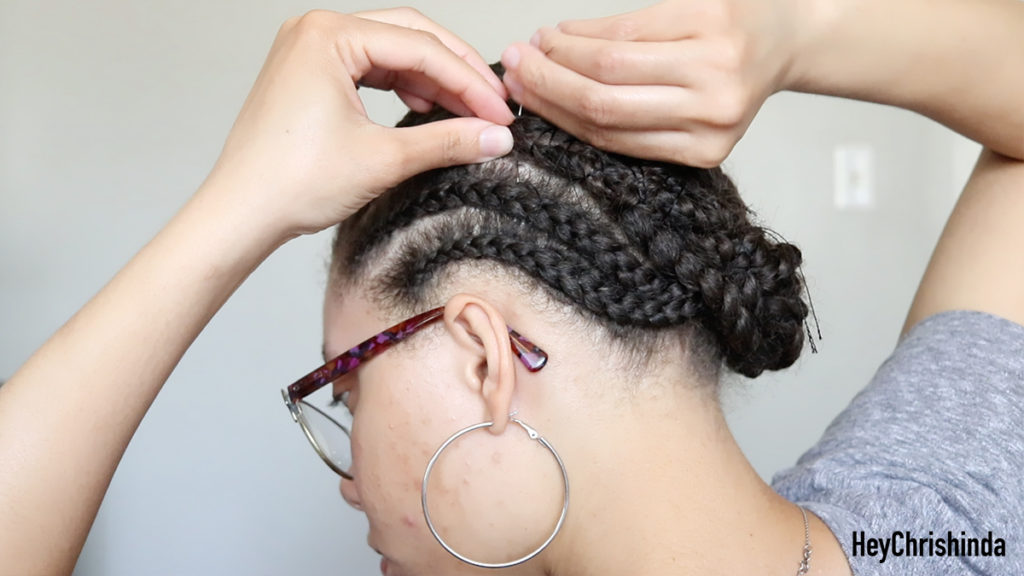
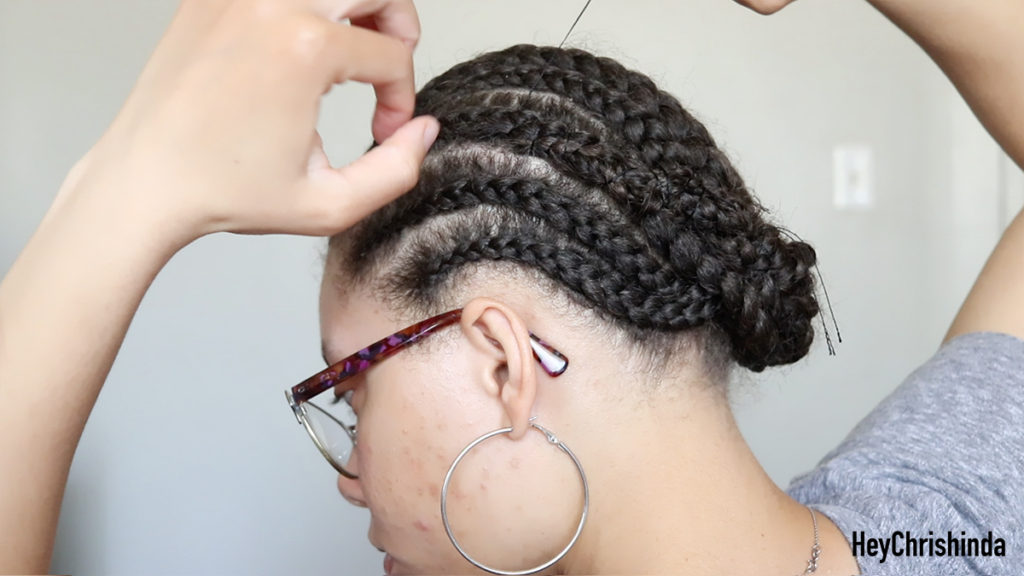
If you’re like me and have long, thick hair and still want to rock crochet braids…you may have been wondering how to sew up, or down, your hair so you can install the crochet hair.
I’m new to crochet braids (2020)…. I know, I know, I’m mad late, but I am OBSESSED!! I cannot stand doing my own hair, and it doesn’t last. With crochet styles I can literally keep a style in for a month. I’m not one of those people who as soon as they put their hair into a protective style they’re ready to take it out, no way.
The straight back braids in my video are actually the first time I’ve ever did my own cornrows. I’ve practiced maybe one braid on myself before this, but never my whole head and I was so proud of myself. Now, it took me like 6 hours to do 11 braids, but I did it. Never again though, lol. I can pay someone $25-$30 for my foundation braids and cut that time drastically. Paying someone else is definitely worth not wasting my time.
This is just one braid pattern you can use to do your crochet styles.
If you need a crochet braid pattern for long hair that is also super thick, be sure to check out my full tutorial.
Step by step on how to secure your long hair in preparation for crochet braids
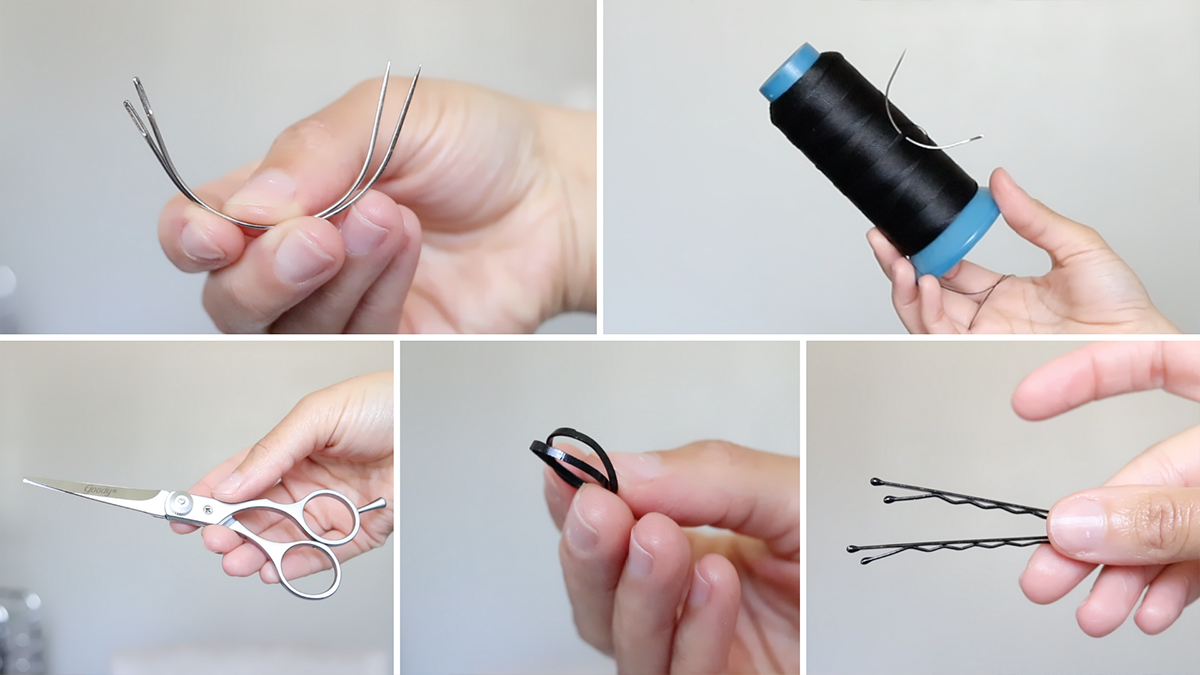
• First, you’ll need to grab a few things. A curved needle, thread, scissors, and both rubber bands and bobby pins to hold your hair in place.
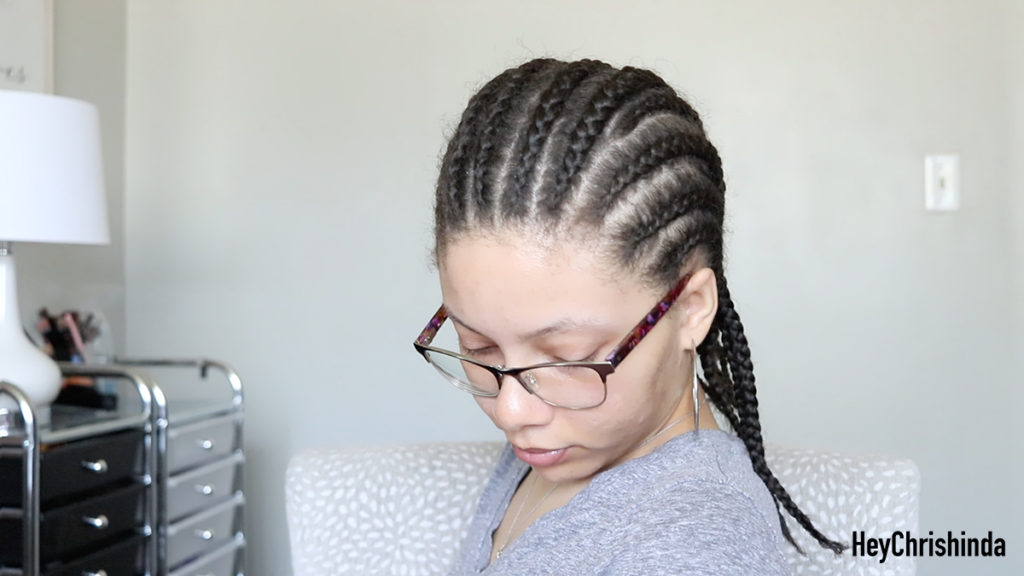
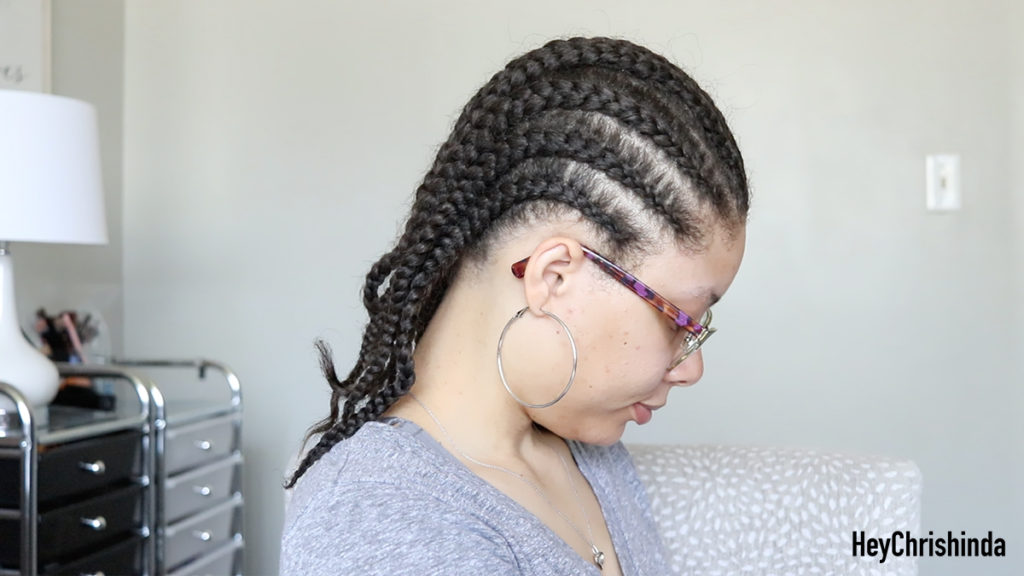
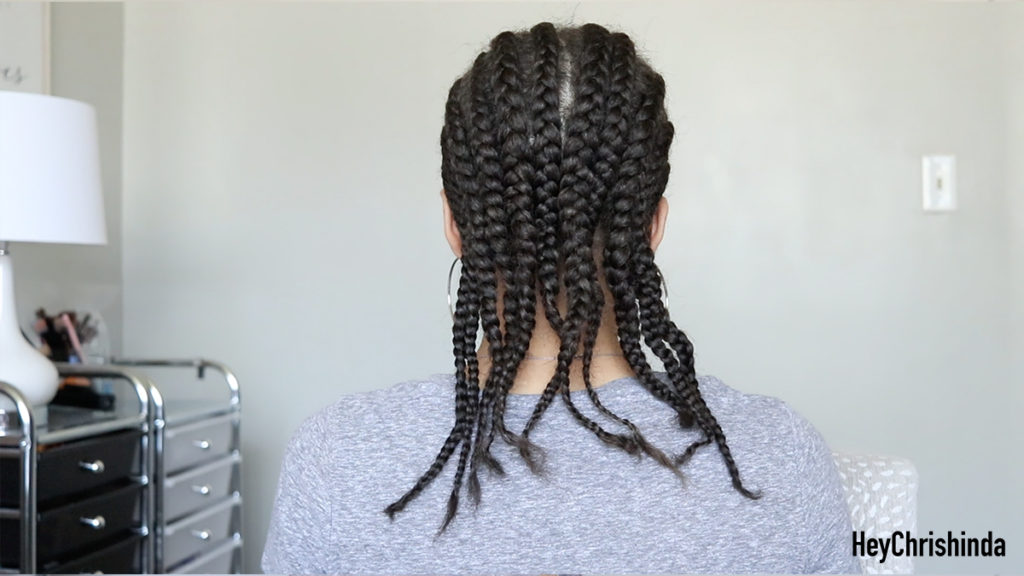
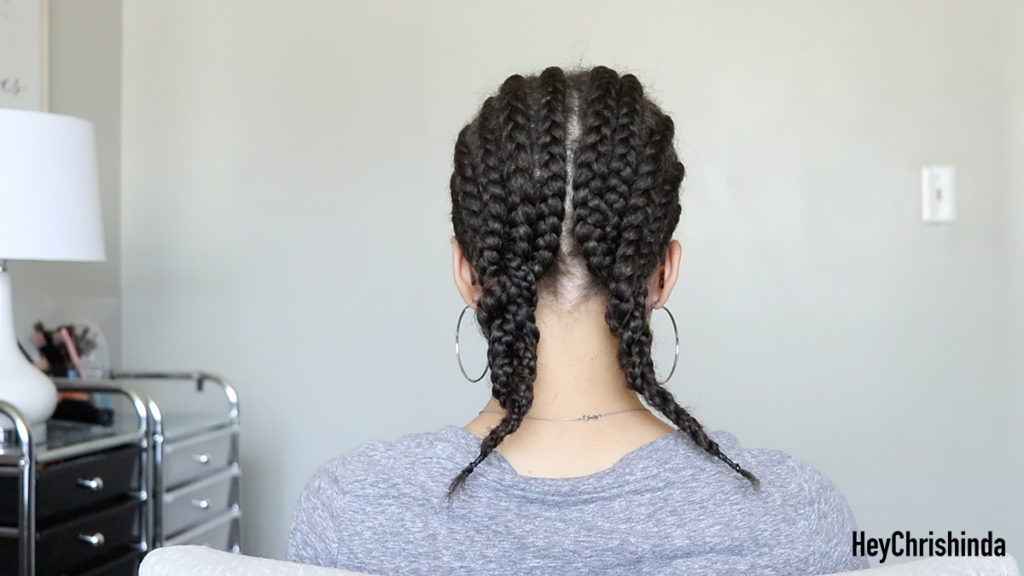
• Here is my braid pattern… just 11 straight back braids. I did not know how to combine 2 braids into one in order to close off the part, so I sewed two braids together.
• I had 11 braids, so I split them in 1/2.
5 braids on 1 side side, and 6 braids on the other.
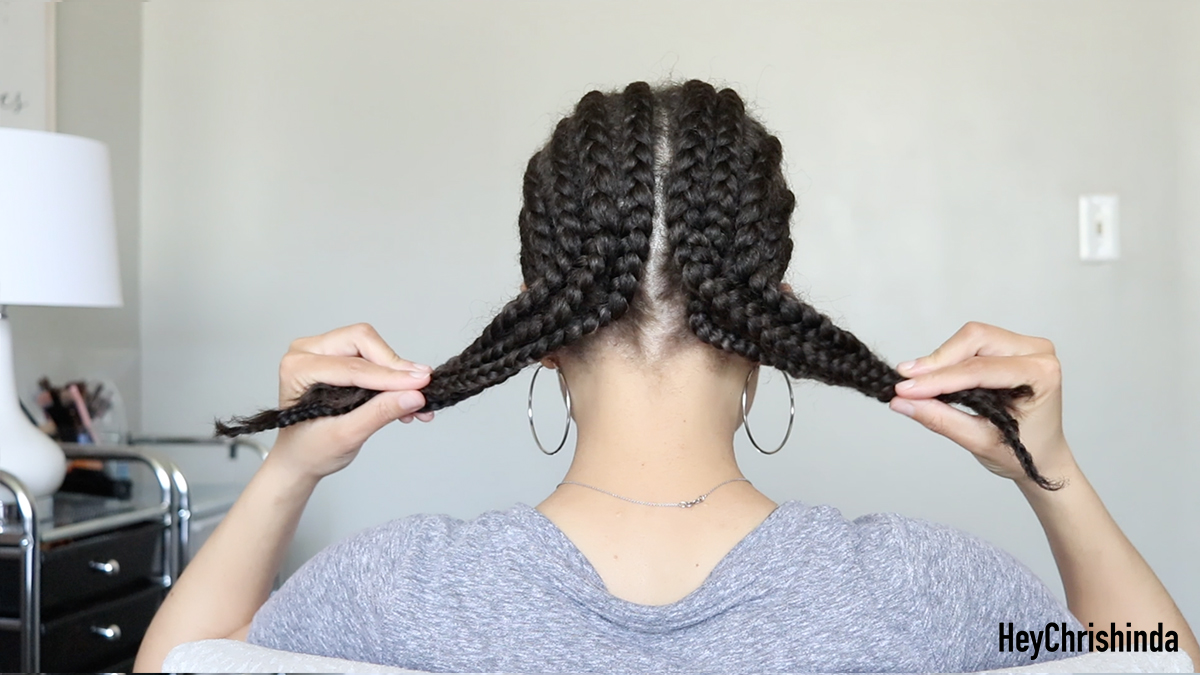
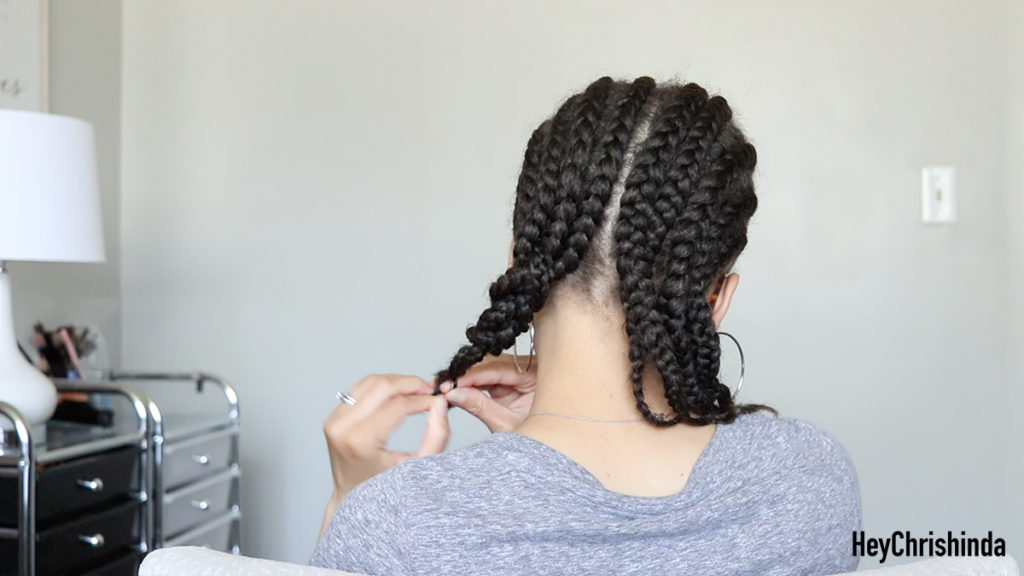
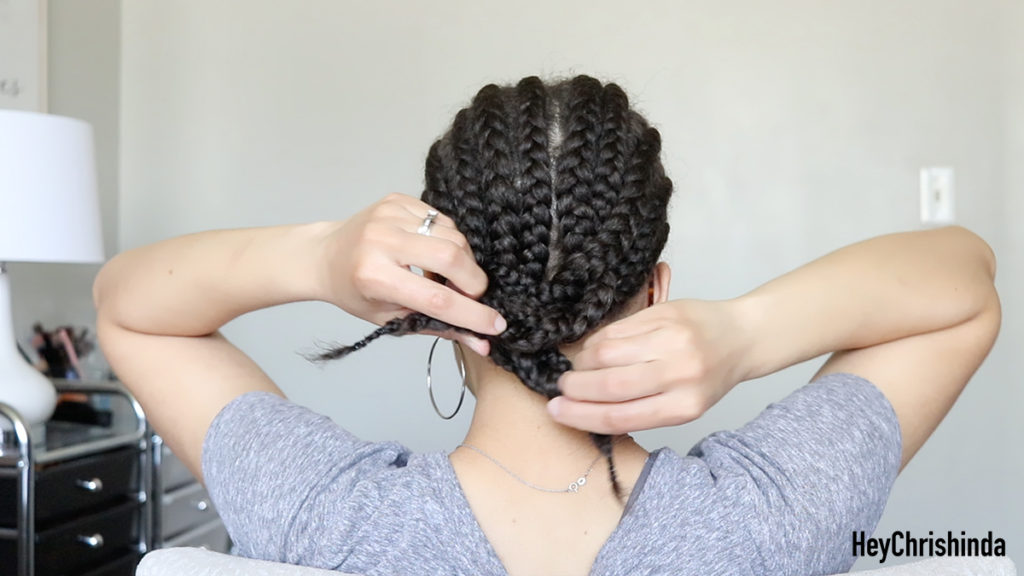
• Take the side with 5 braids and combine them to create ONE big braid, securing the ends with rubber bands. Repeat on the other side.
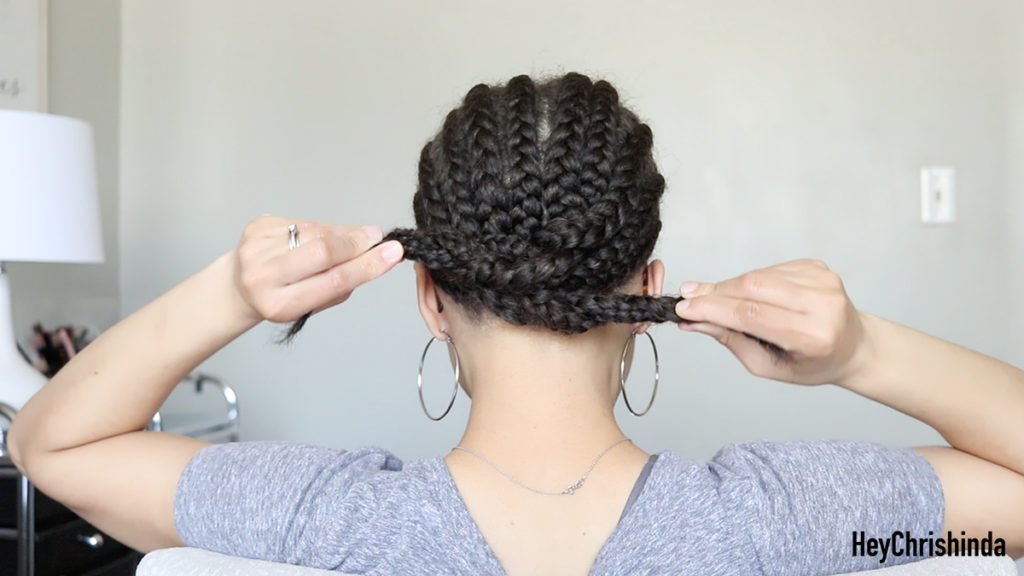
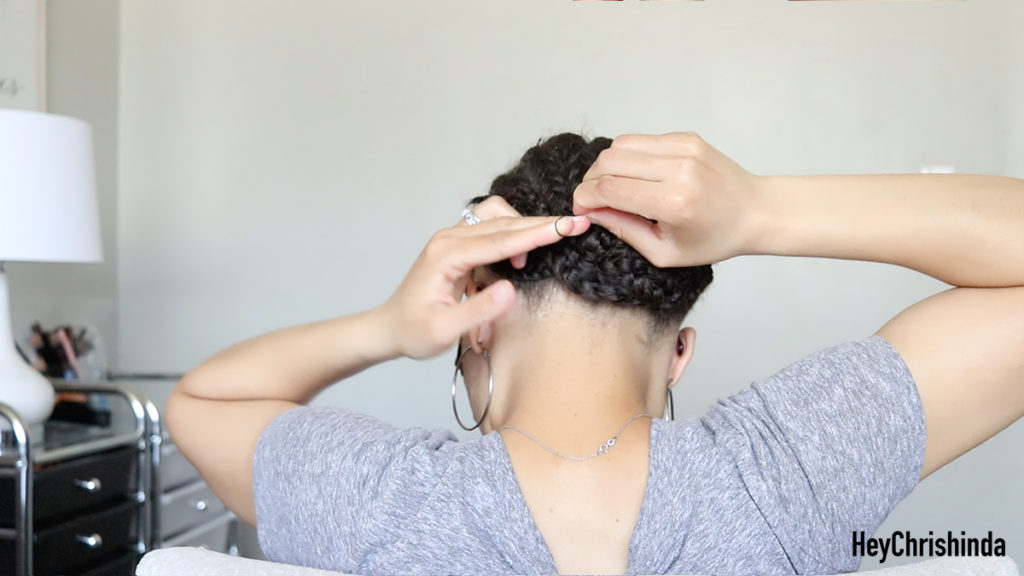
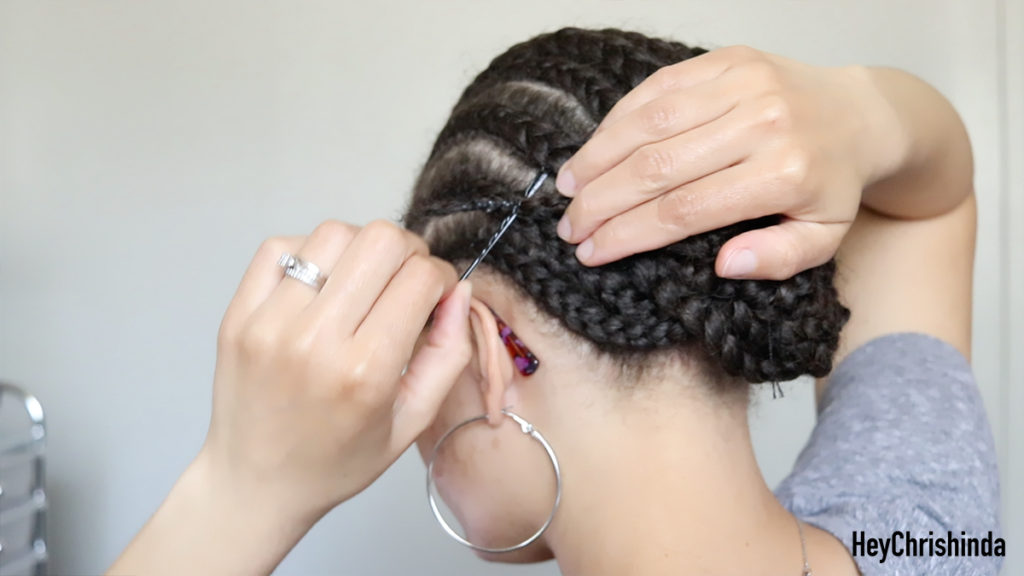
• After you have 2 big braids, you’re going to criss-cross them and then use a bobby pin to secure the braids.
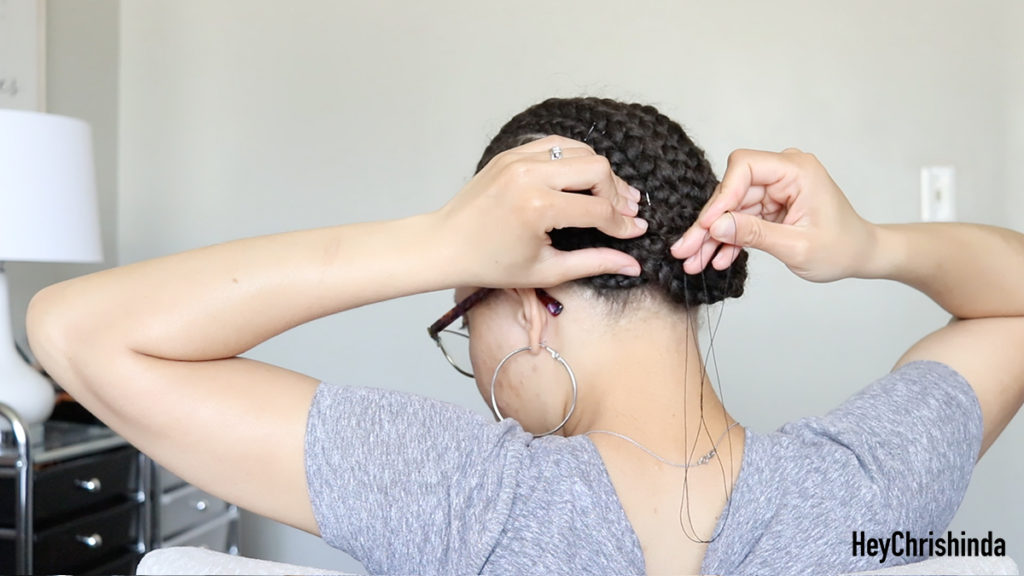
• Pre-thread 3-4 needles if you have enough. If not, you will need to re-thread the needle.
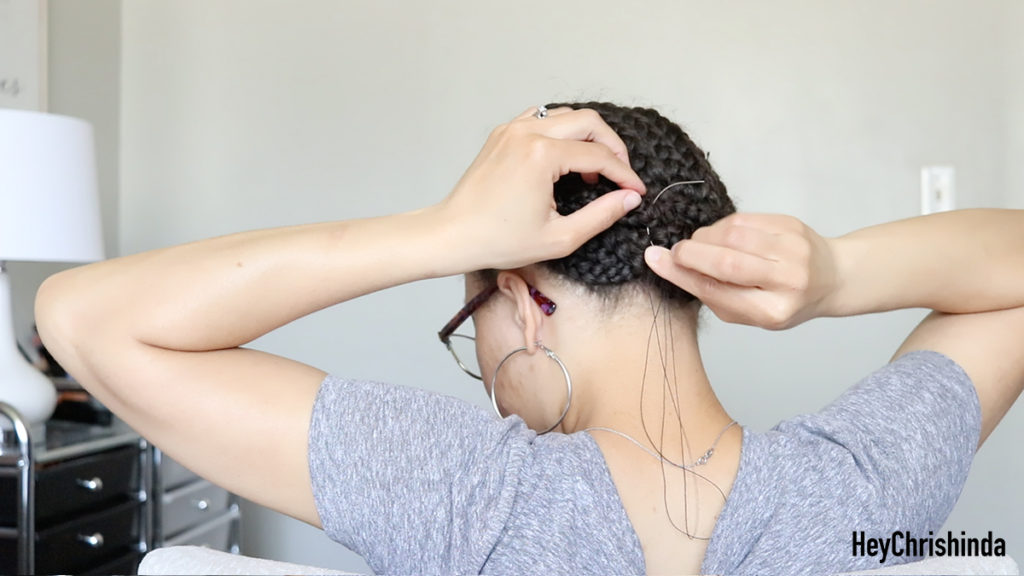
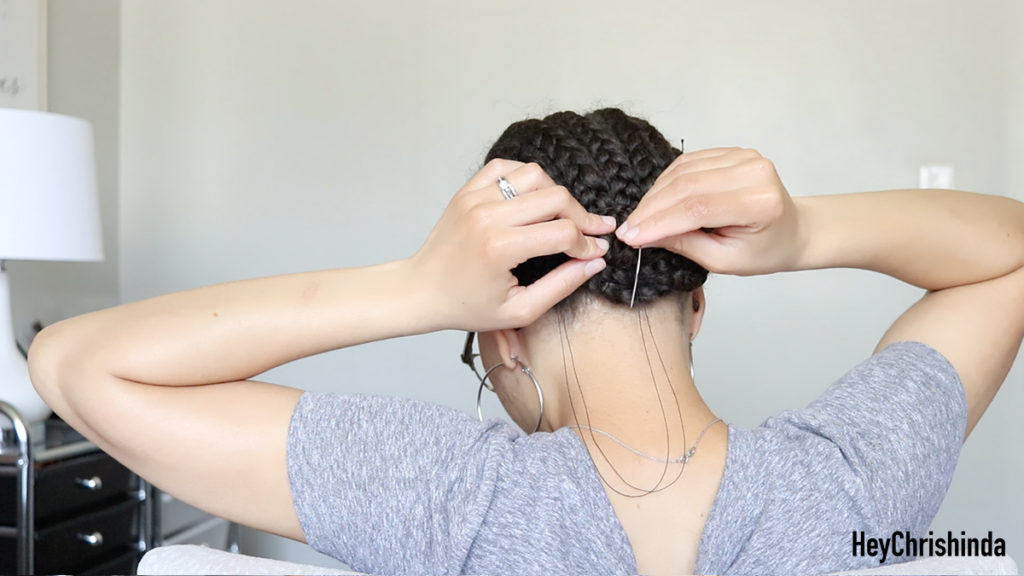
•Start threading. The first time you insert the needle, don’t pull it hard, because it will slip out. Pull the initial insert only until the knot touches your hair…as you keep threading you will be able to pull it tighter.
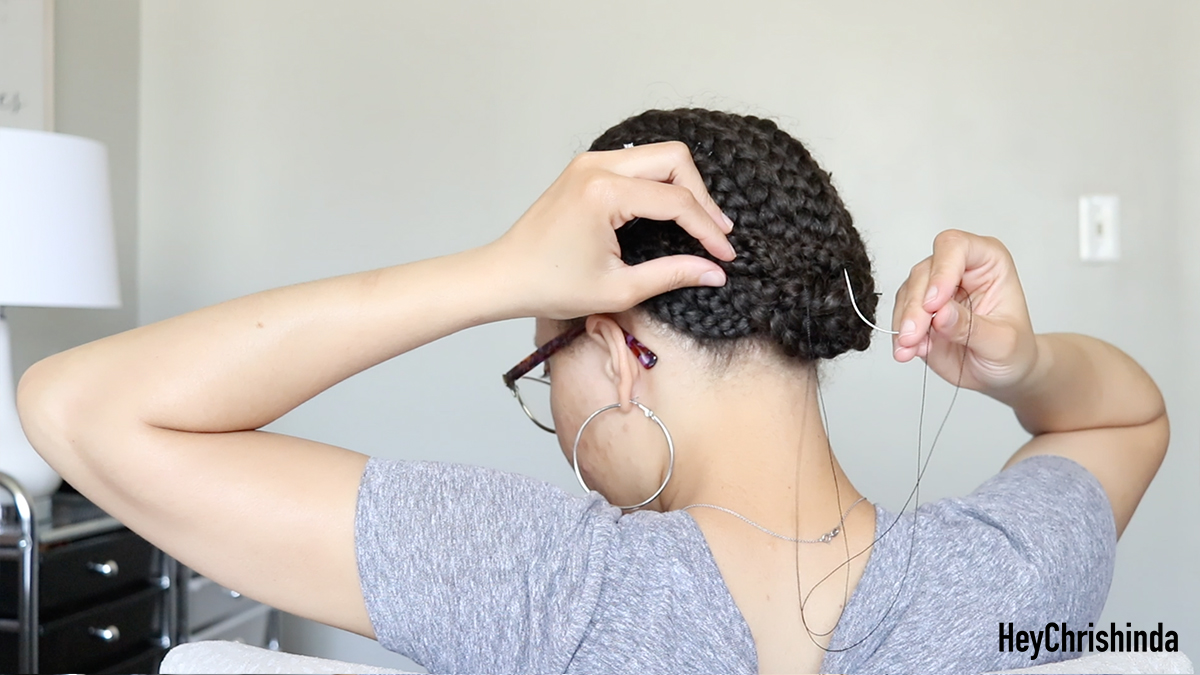
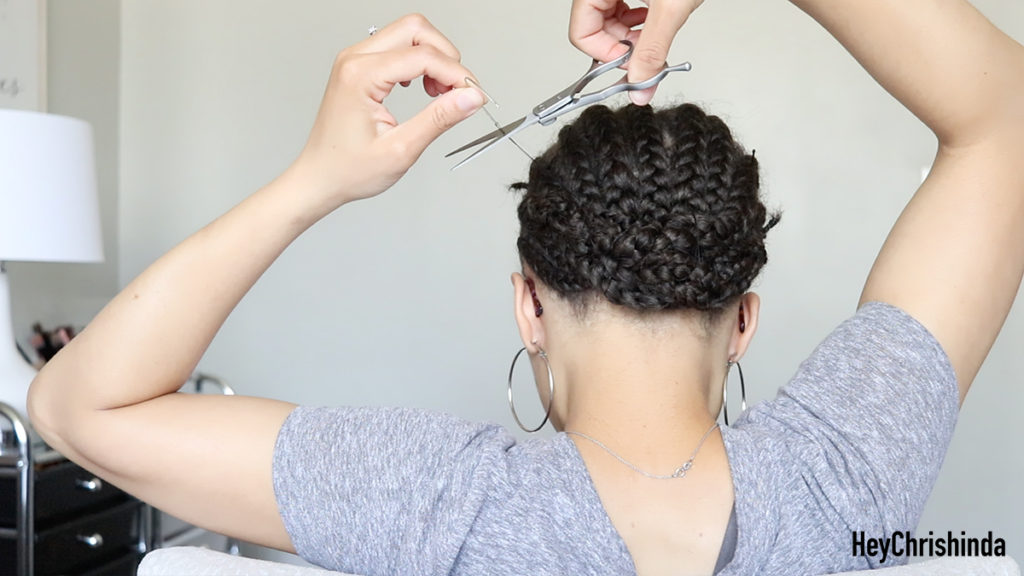
• After your come to the end of your thread, you want to leave enough to cut and then be able to knot it off.
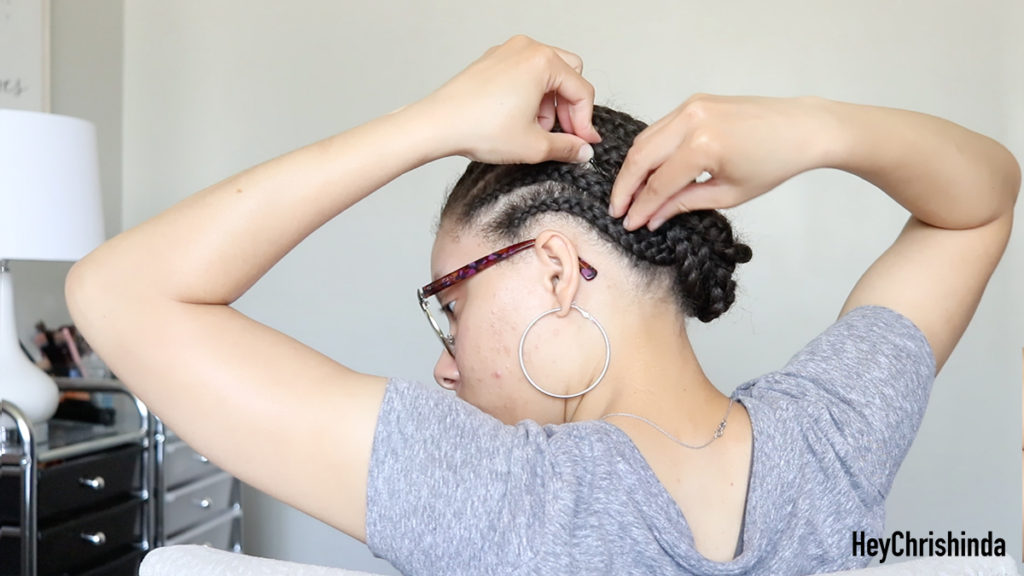
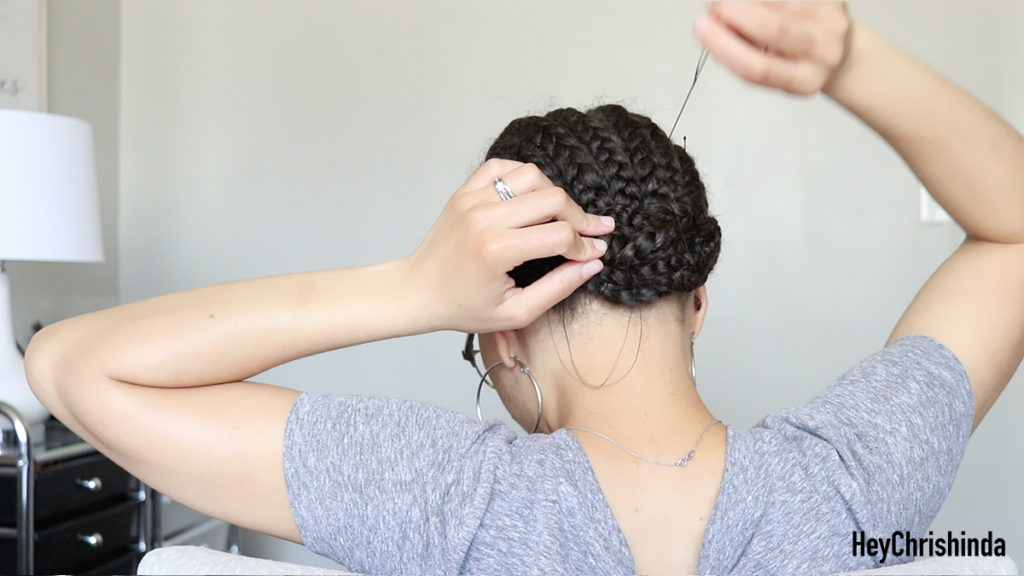
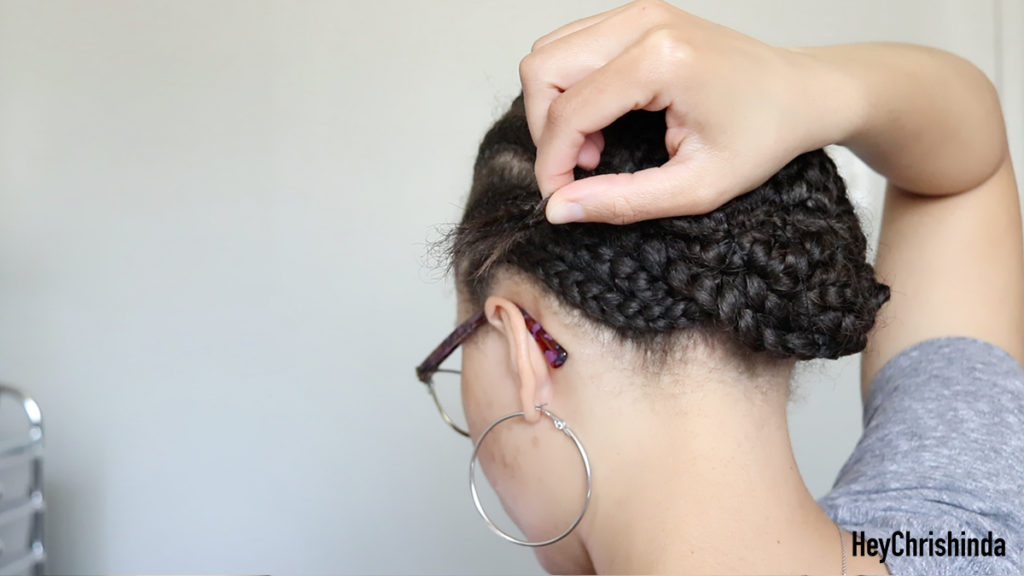
• Now moving on to securing the ends of the two big braids. I am removing the bobby pins…1 side at a time, and then sew the loose ends to one of your braids. You can also fold the ends over and add them to the back section that is already sewed down.
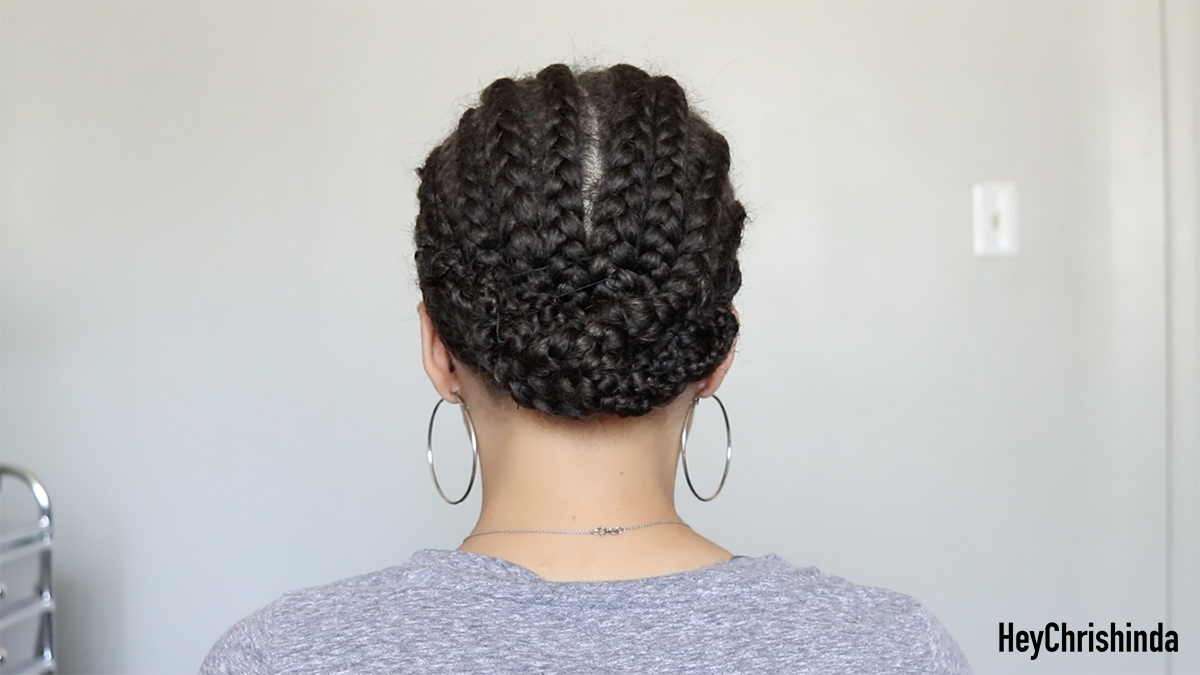
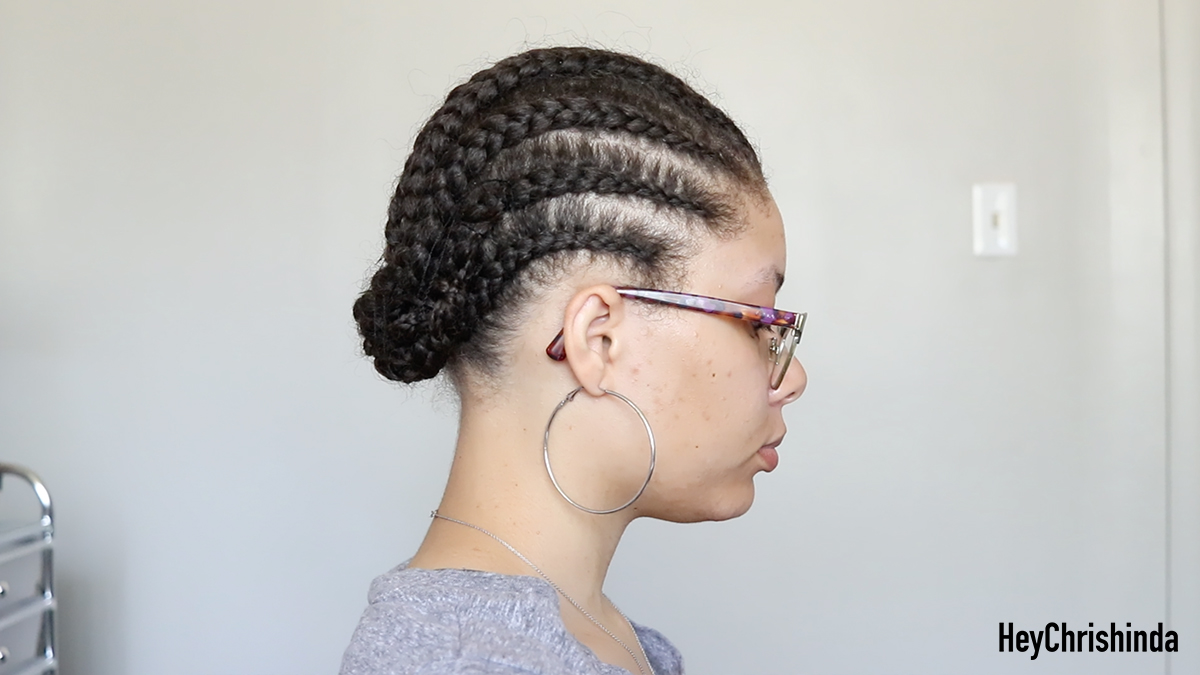
• After you have secured all of your hair, it should look similar to this.
Thank you so much for checking out my blog post and until next time…
Follow me on Instagram at HeyChrishinda .


