I’m gonna be showing you how my husband made a poorly constructed $50 flea market dresser into something other than an eyesore.
Let me tell y’all… Derrick started this project in the middle of August. You wanna know when he finished it?! January!!
We went to so many flea markets around town that I thought I’d never find a decent dresser to turn into a TV stand. When we finally found a dresser, the owner wanted to sell it along with a mirror for $80, but the mirror just wasn’t my cup of tea, so we put in an offer of $50 for just the dresser and the owner accepted. It’s not real wood, and we didn’t know that at the time, but it serves its purpose.
Let me tell y’all… Derrick started this project in the middle of August. You wanna know when he finished it?! January!! He said it was just pure laziness. I kept nagging him to finish it because the DVD player needed something to sit on. I ended up just using two pieces of wood that he had cut for a different project, and putting it through the dresser so the DVD player would be high enough that the remote would work. It was definitely a bootleg setup.
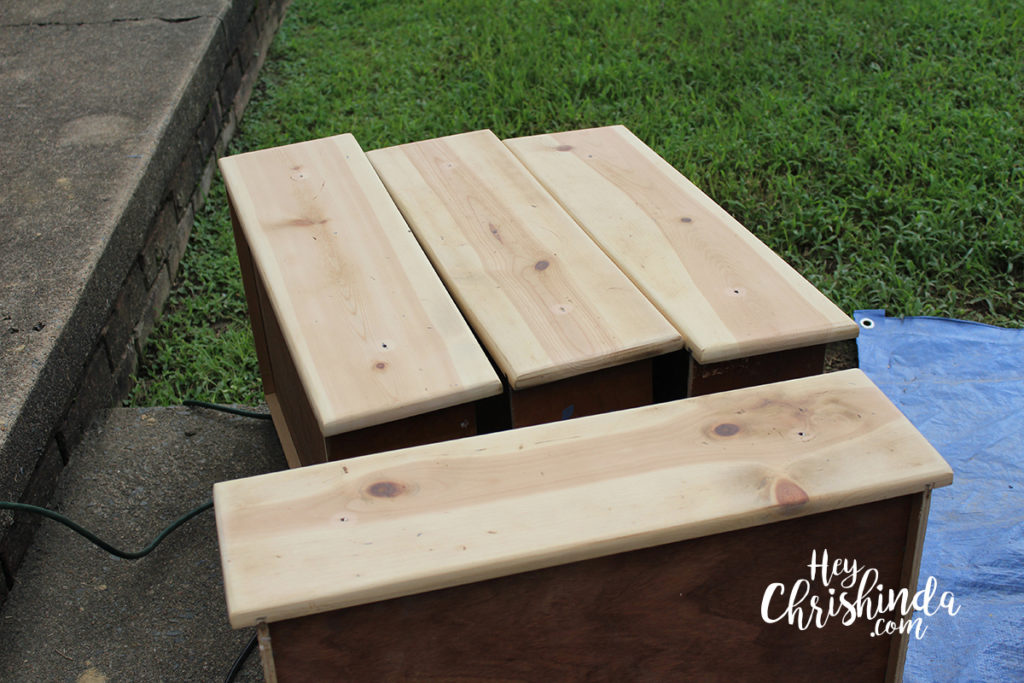
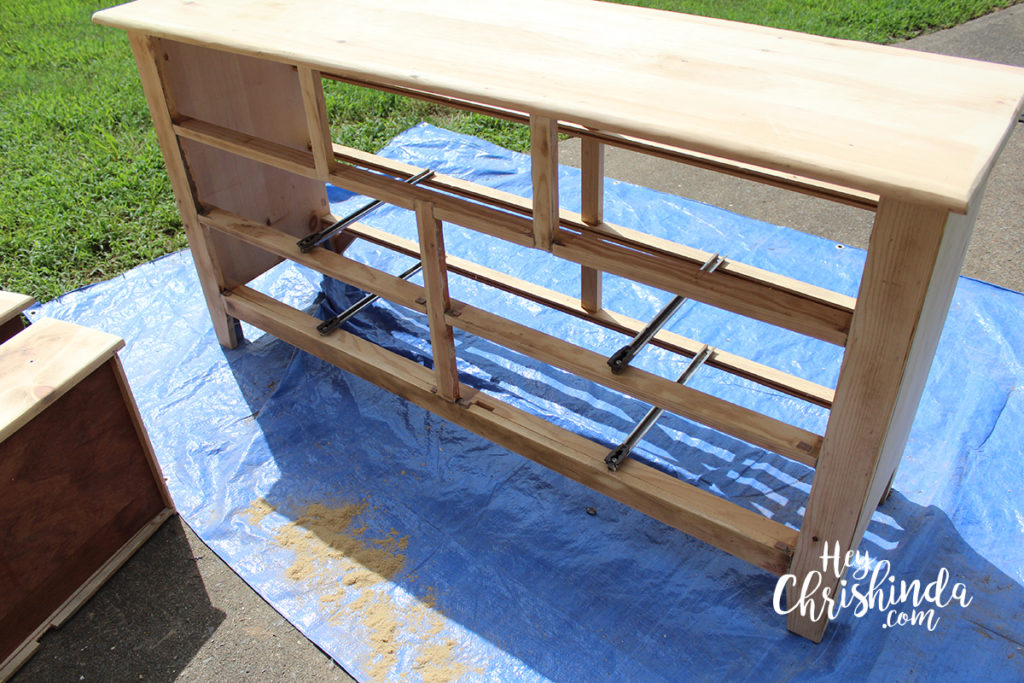
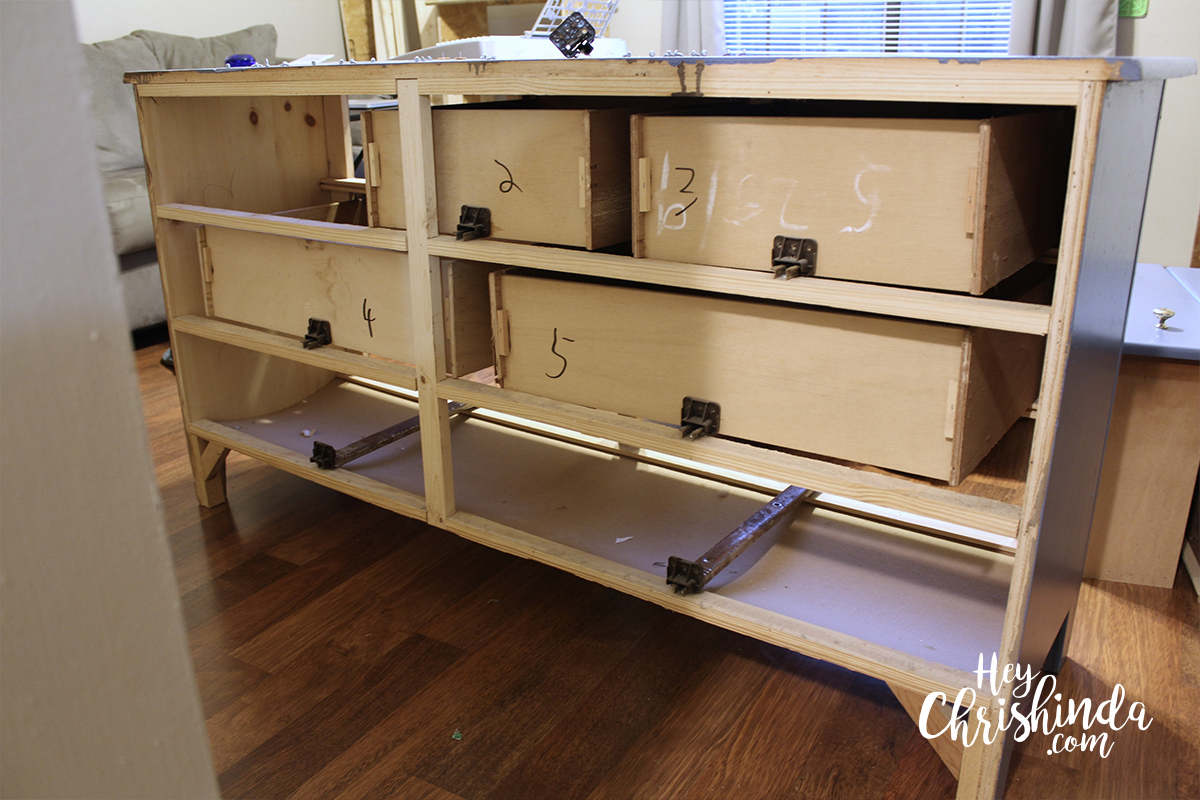 He started by taking the backing off, which had way too many staples. After that, he removed all 7 of the drawers and only the top 3 slides, which was unnecessarily hard to do.
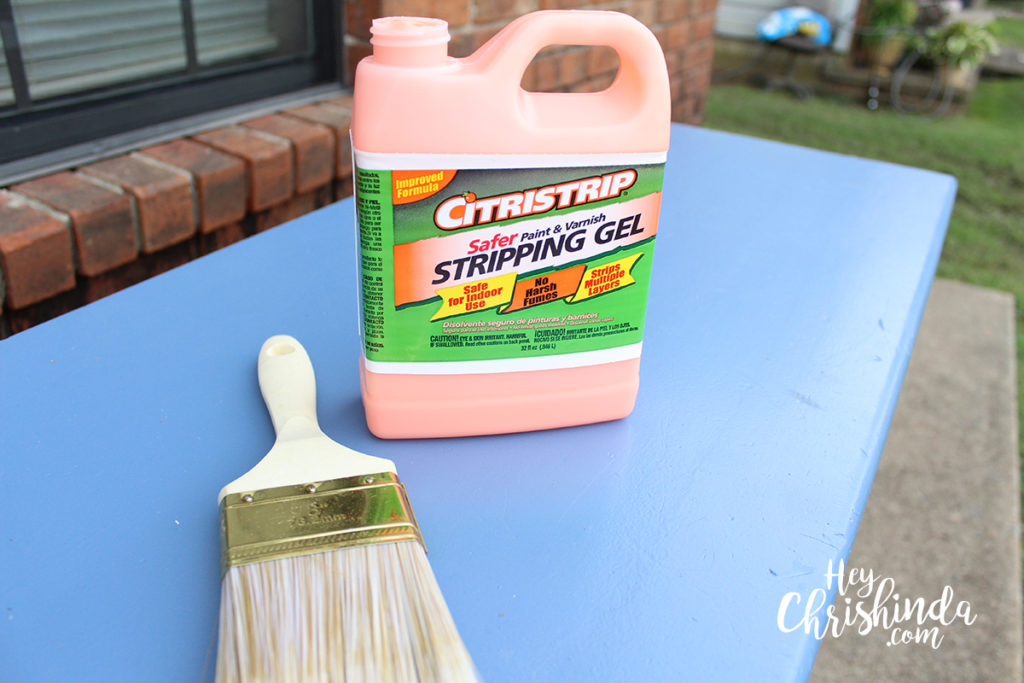
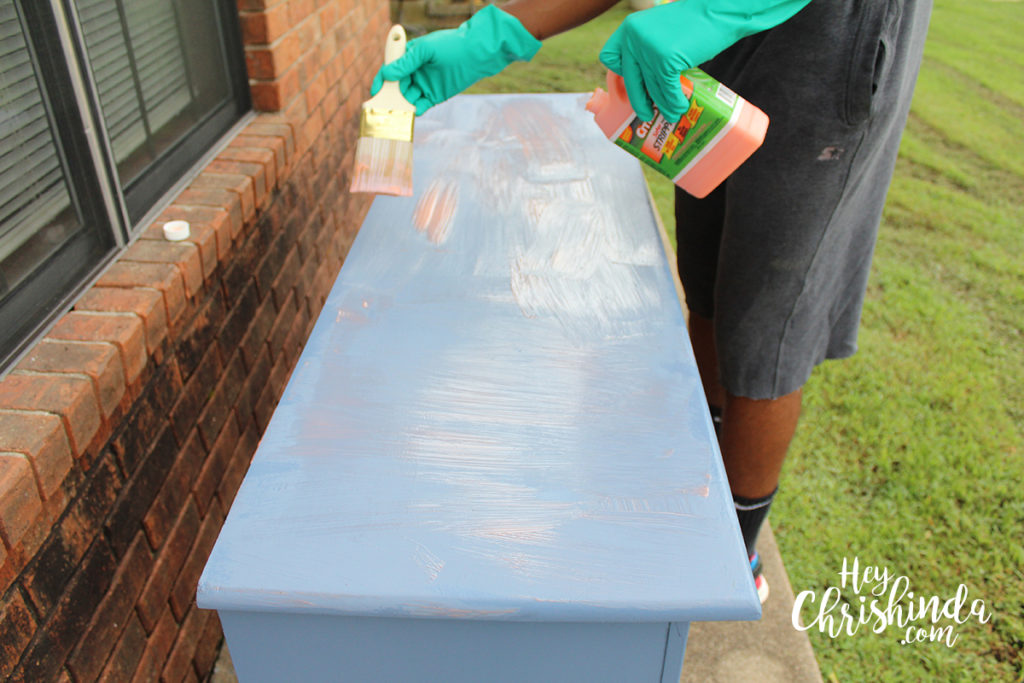
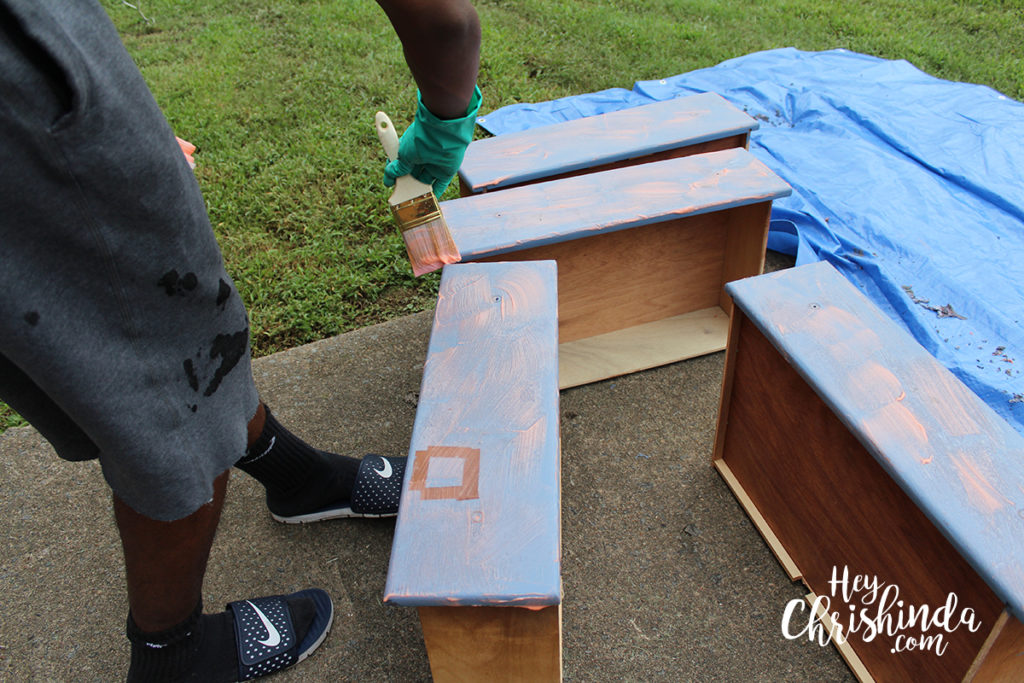
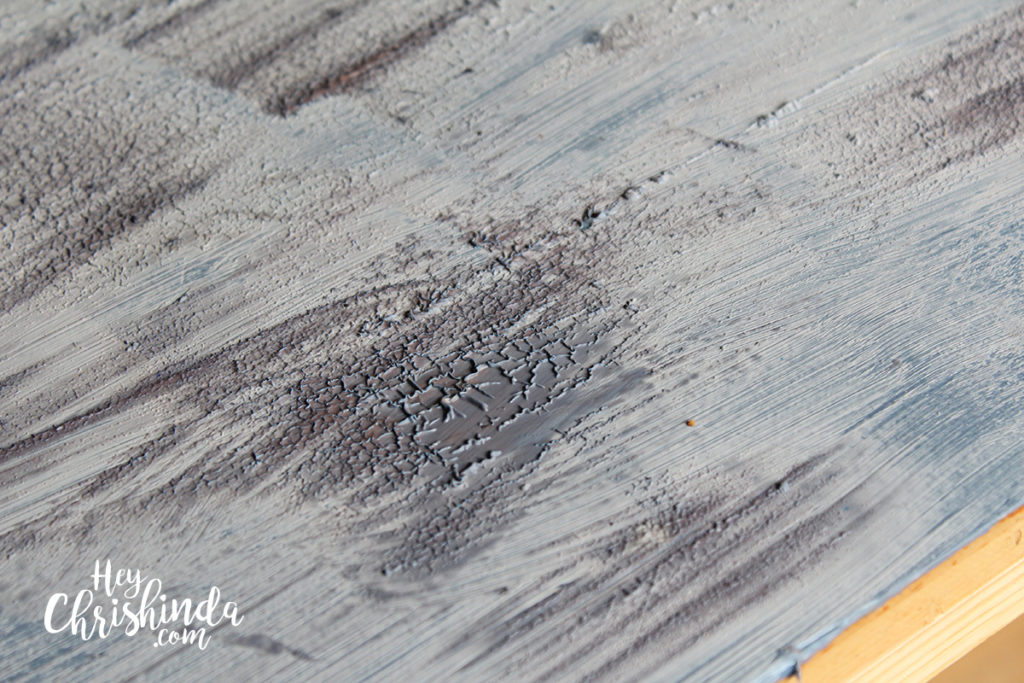
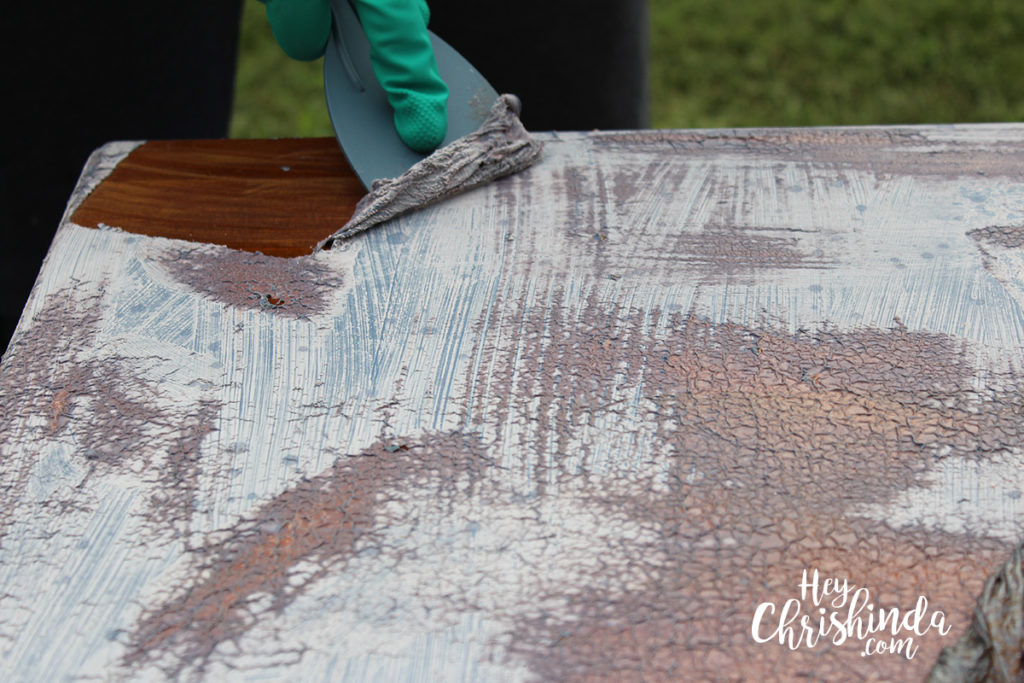
Now onto the nitty gritty. He took the Citristrip, which is a paint-stripping gel, and brushed it all over the dresser and the drawers and let it sit overnight like the directions state. The paint will start to crinkle after only a few minutes.
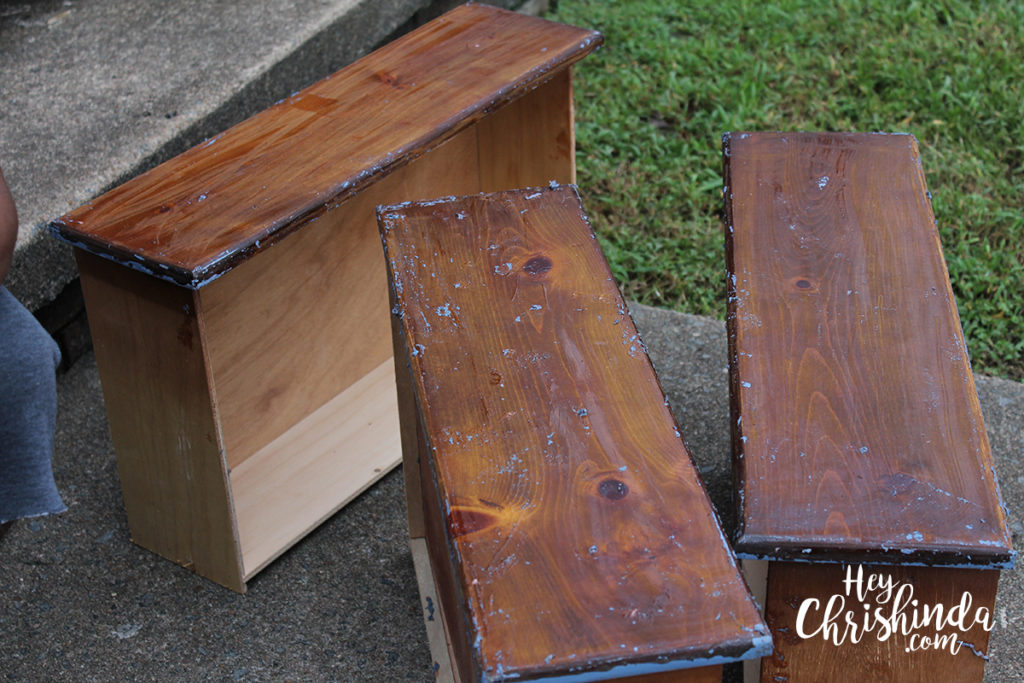
When the next afternoon came around, he used a plastic paint scraper to take the paint off.
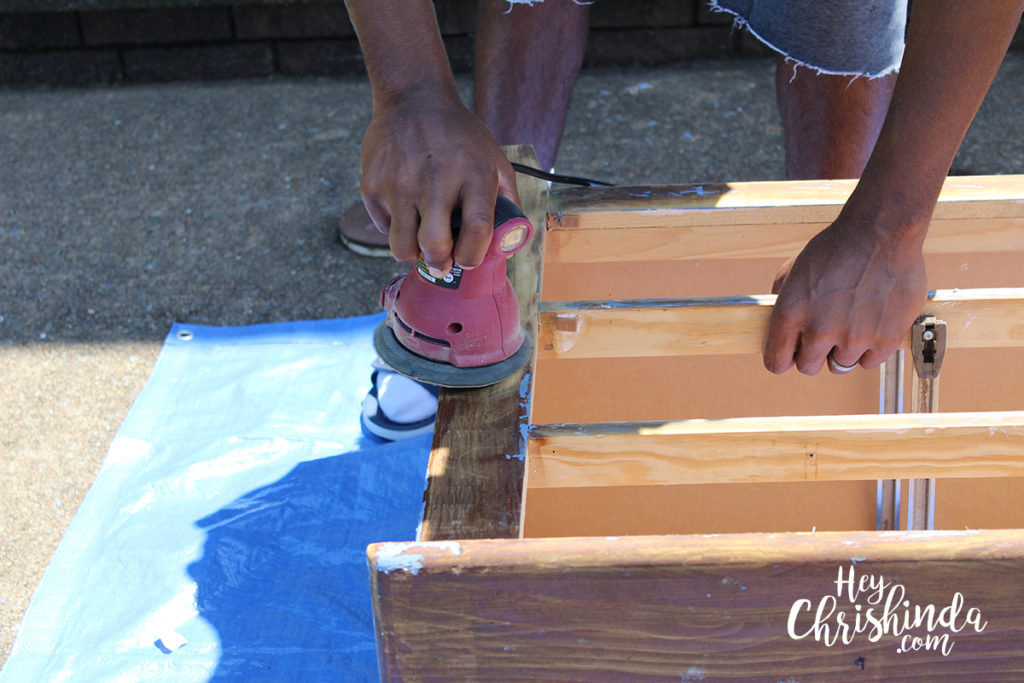
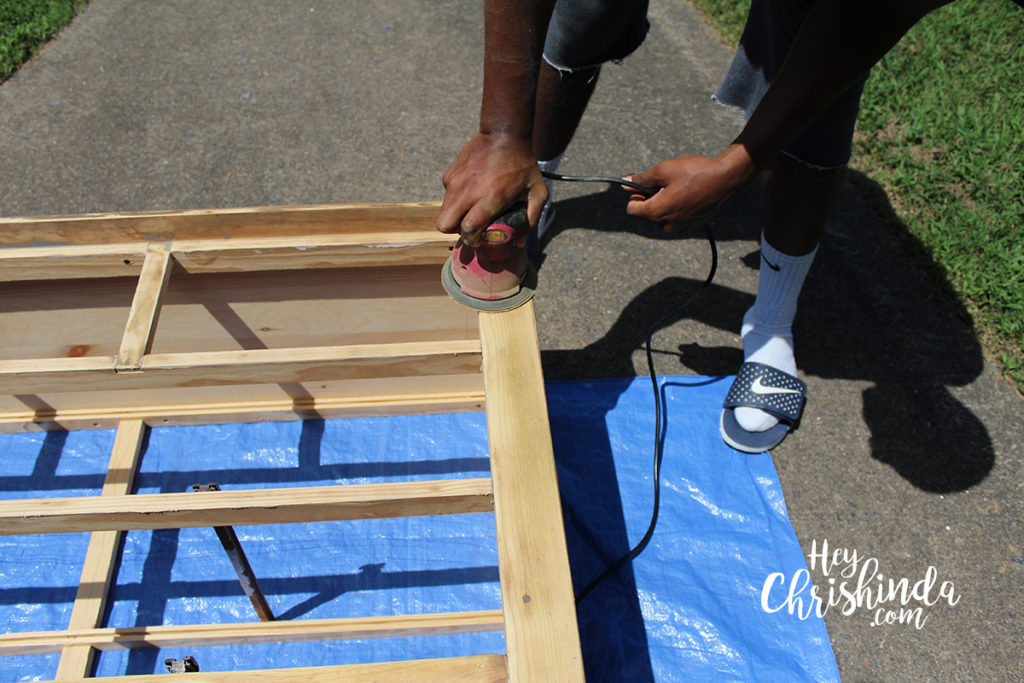
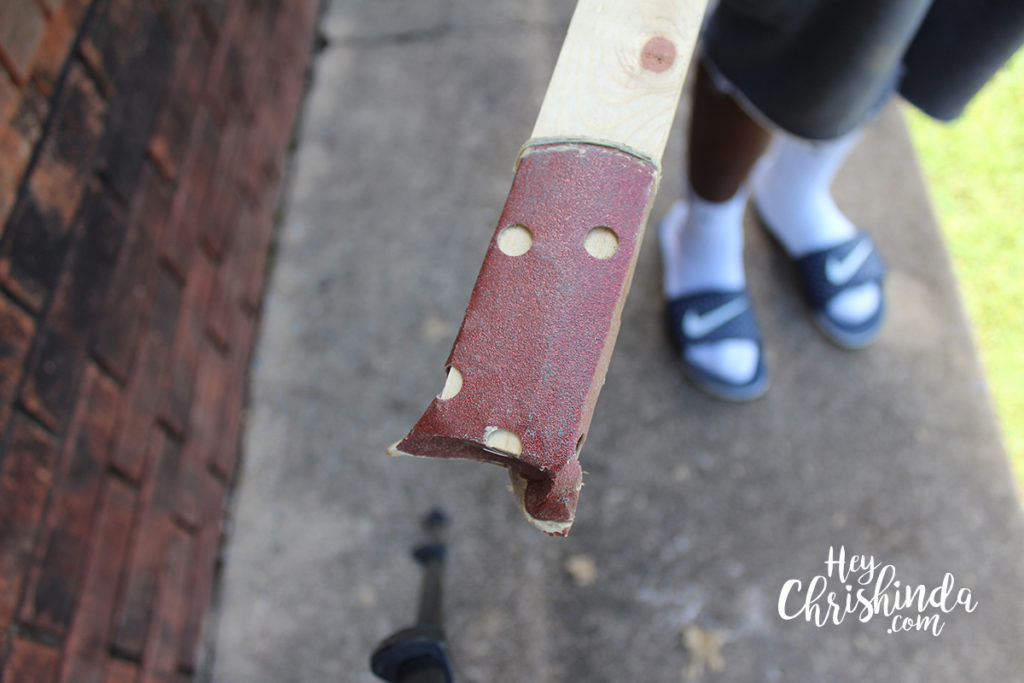
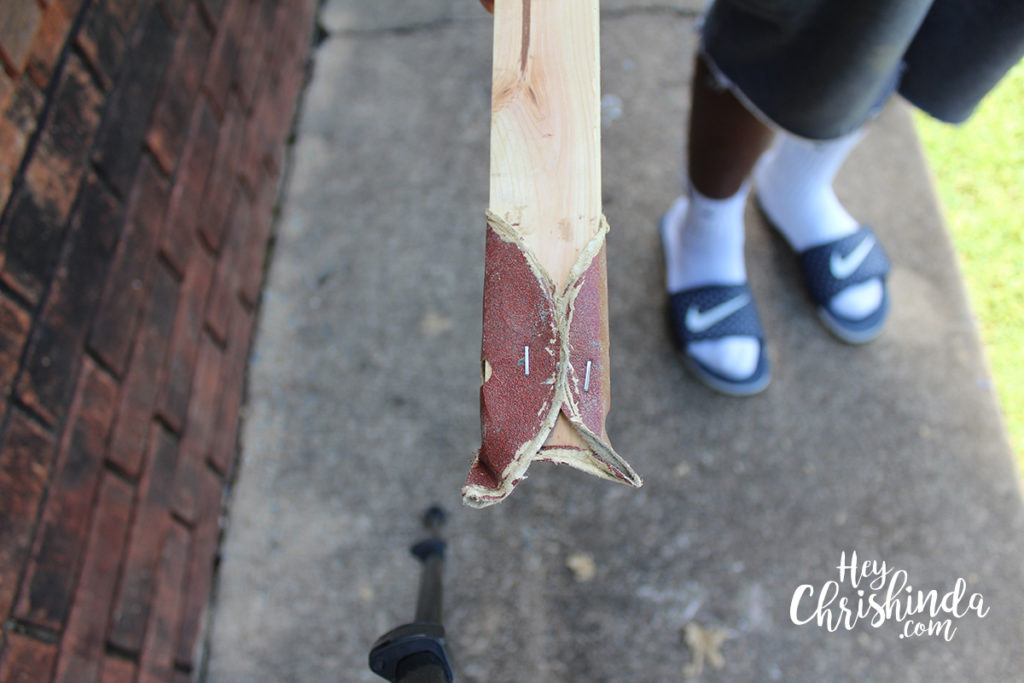
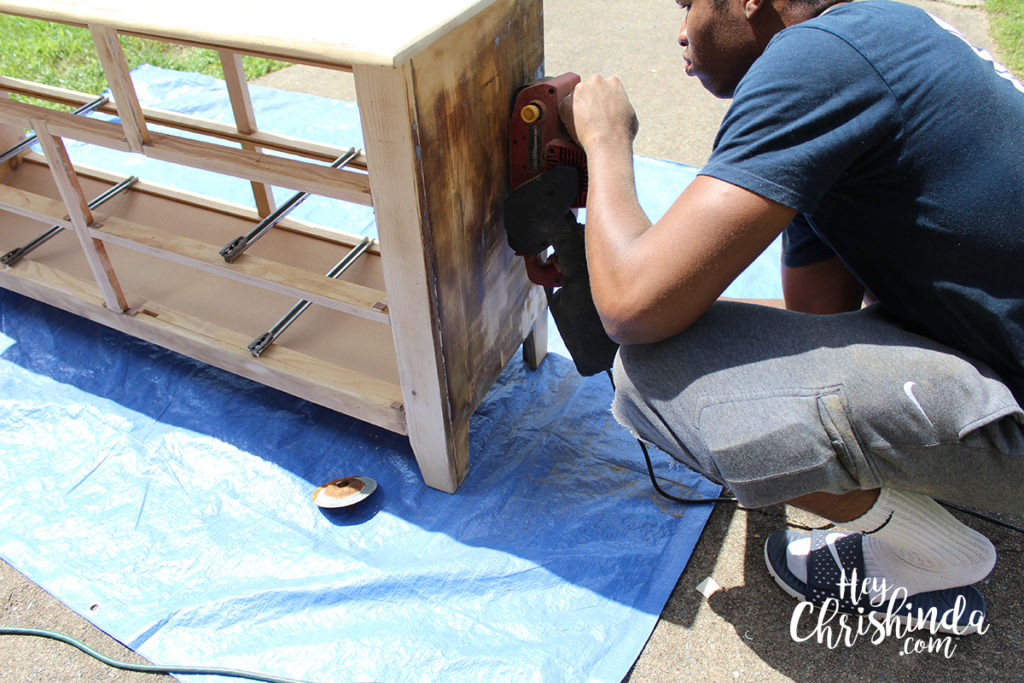
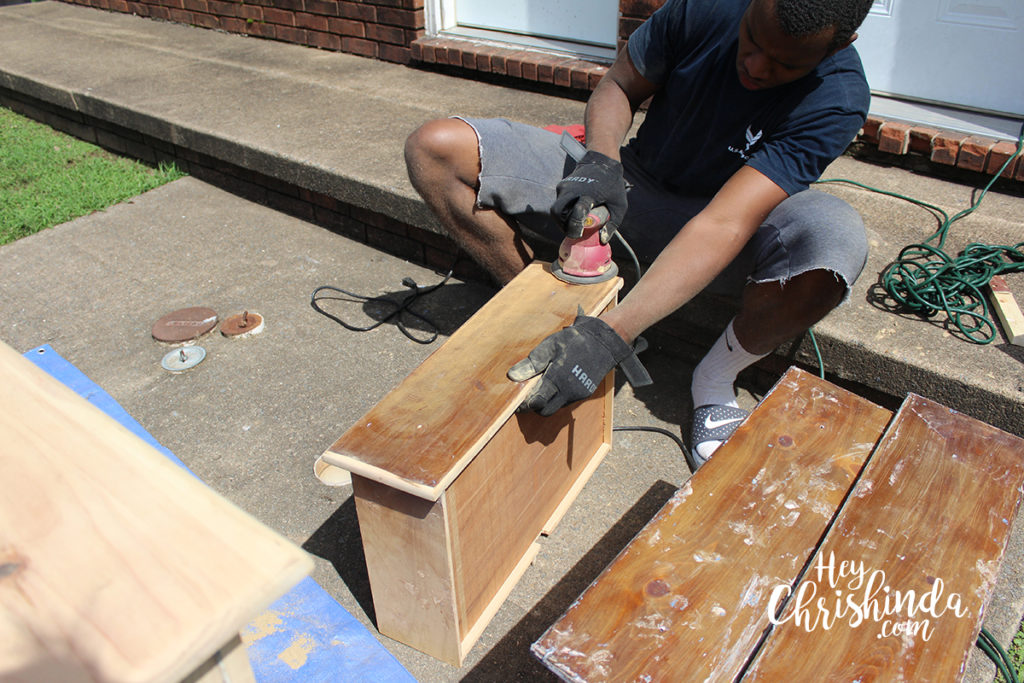
Once the wetness from the gel dried, it was time to sand the dresser and the drawers. He took a piece of scrap wood, wrapped a piece of sandpaper around it, and stapled it to make a bootleg manual sander so he could get under the lip of the dresser. Gotta give him props for his creativity.
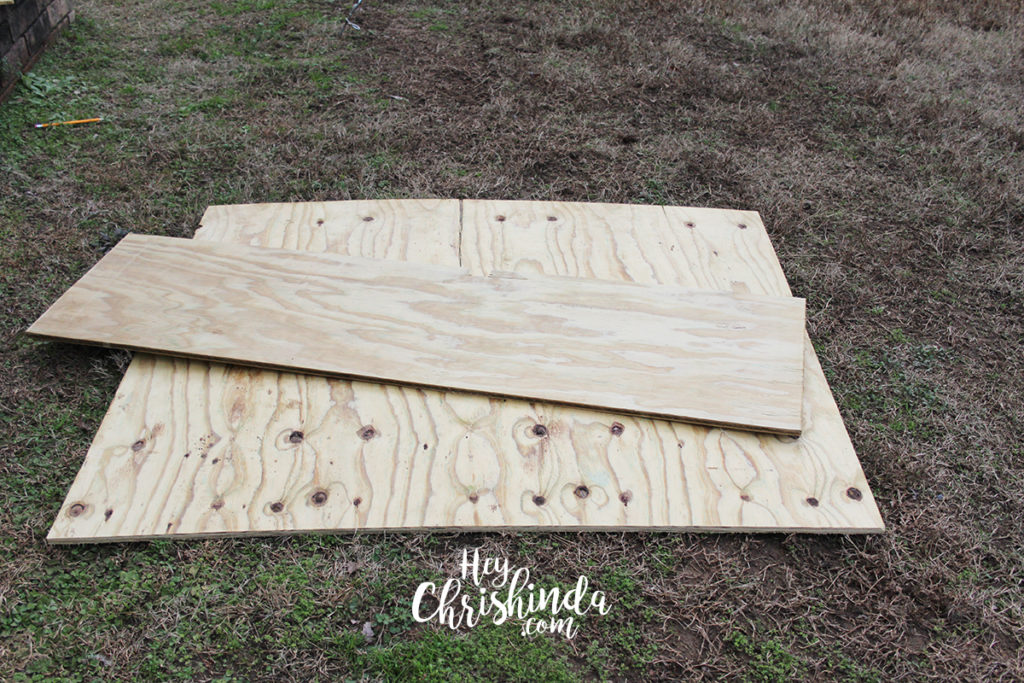
For the top shelf, where the DVD player and other decorations will sit, Derrick cut a piece of plywood and measured it to sit perfectly in the dresser.
He decided not to put the back piece back on the dresser and just leave it open. At first I was opposed to leaving it open, but it works…and it looks really good!
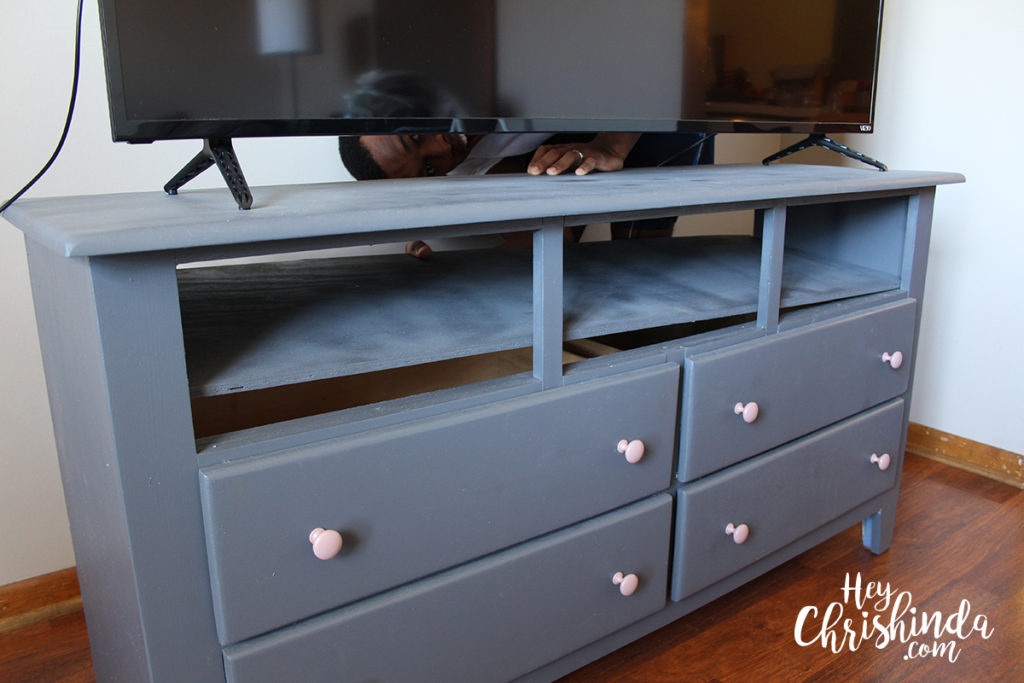
Once that was done, he used Olympic Assure paint + primer in the color “Peppercorn” from Lowes to paint the dresser and the drawers. He did two coats of paint. After a couple days, we started sitting mail and other little knick knacks on the dresser and it would stick to it. To solve this problem, he sprayed it with what he thought was polyurethane, but it was actually clear spray paint…silly goose. We were wondering why it was leaving a frosty coat, but we are rockin’ with it … for now at least.
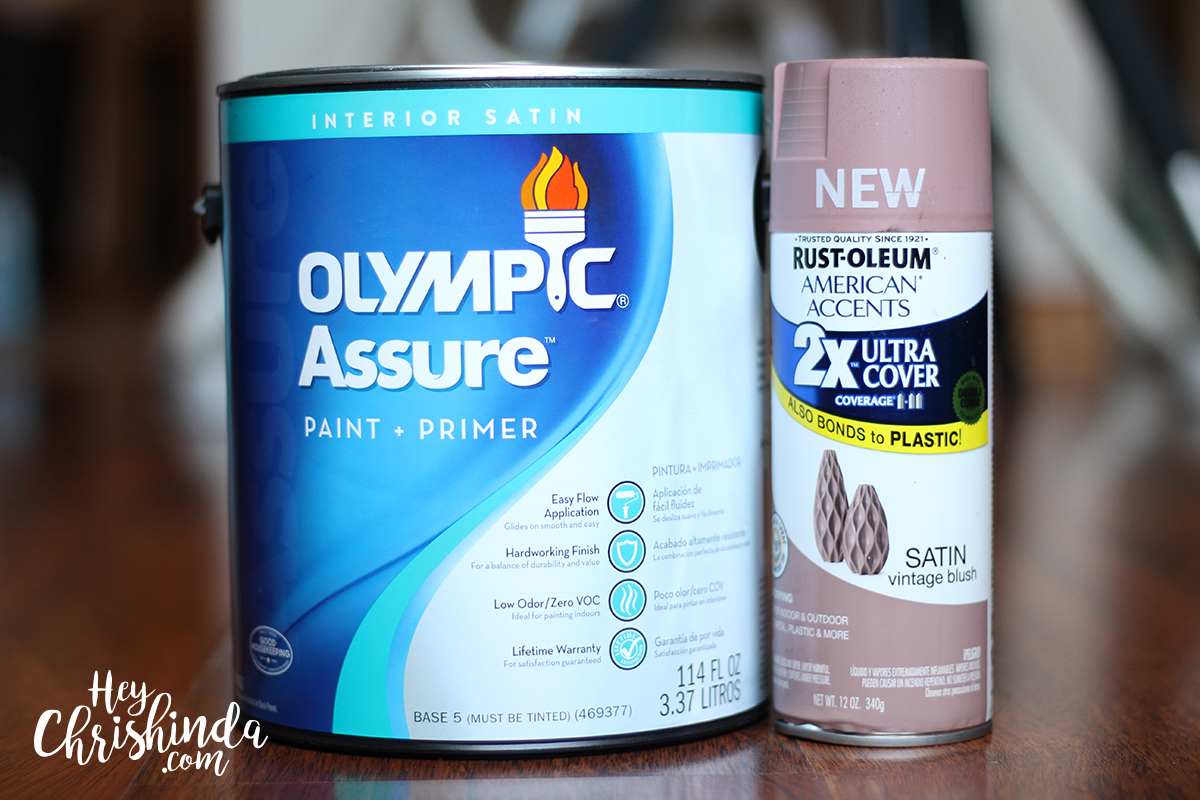 The knobs were originally gold, but gold isn’t my thing, so he used the vintage blush spray paint that matches the mirror in our living room. Spraying them pink was his idea.
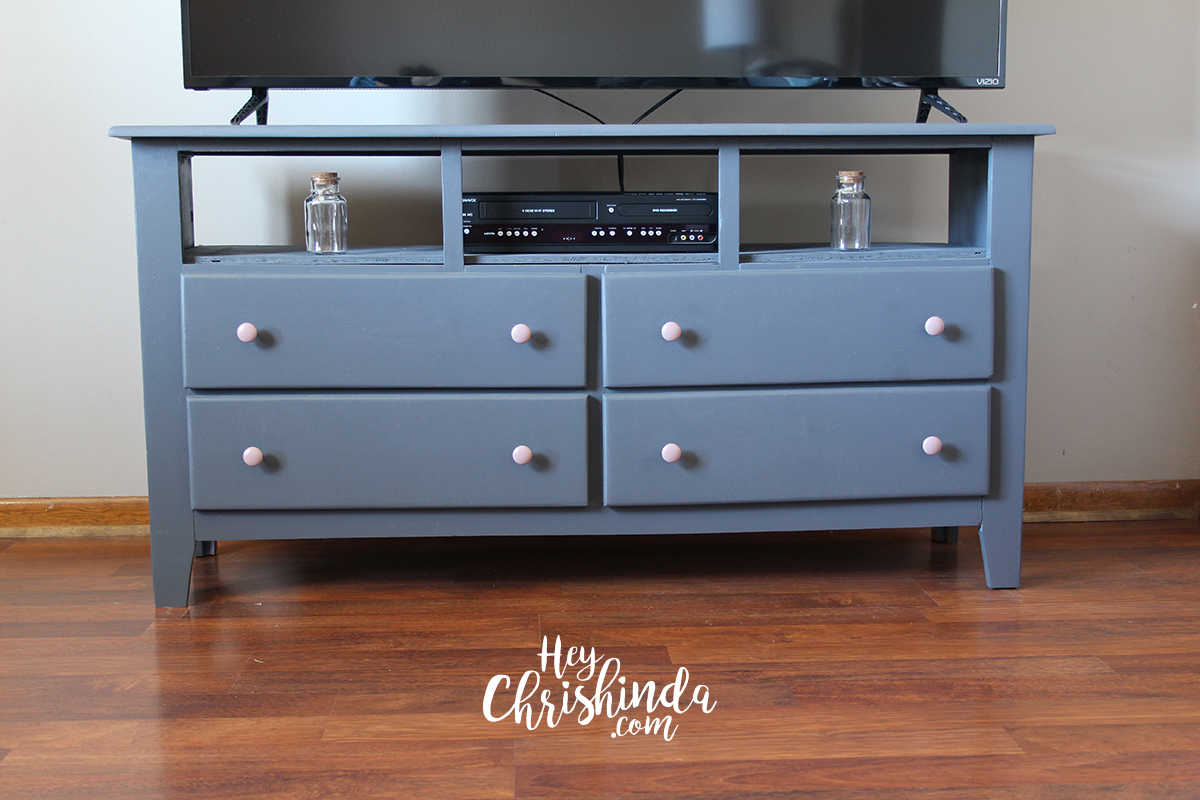
 Here is our finished product. We hope you like it!
 Share this post with your friends and family!
Follow me on social @HeyChrishinda


